今天尝试自己动手做一个日期选择器
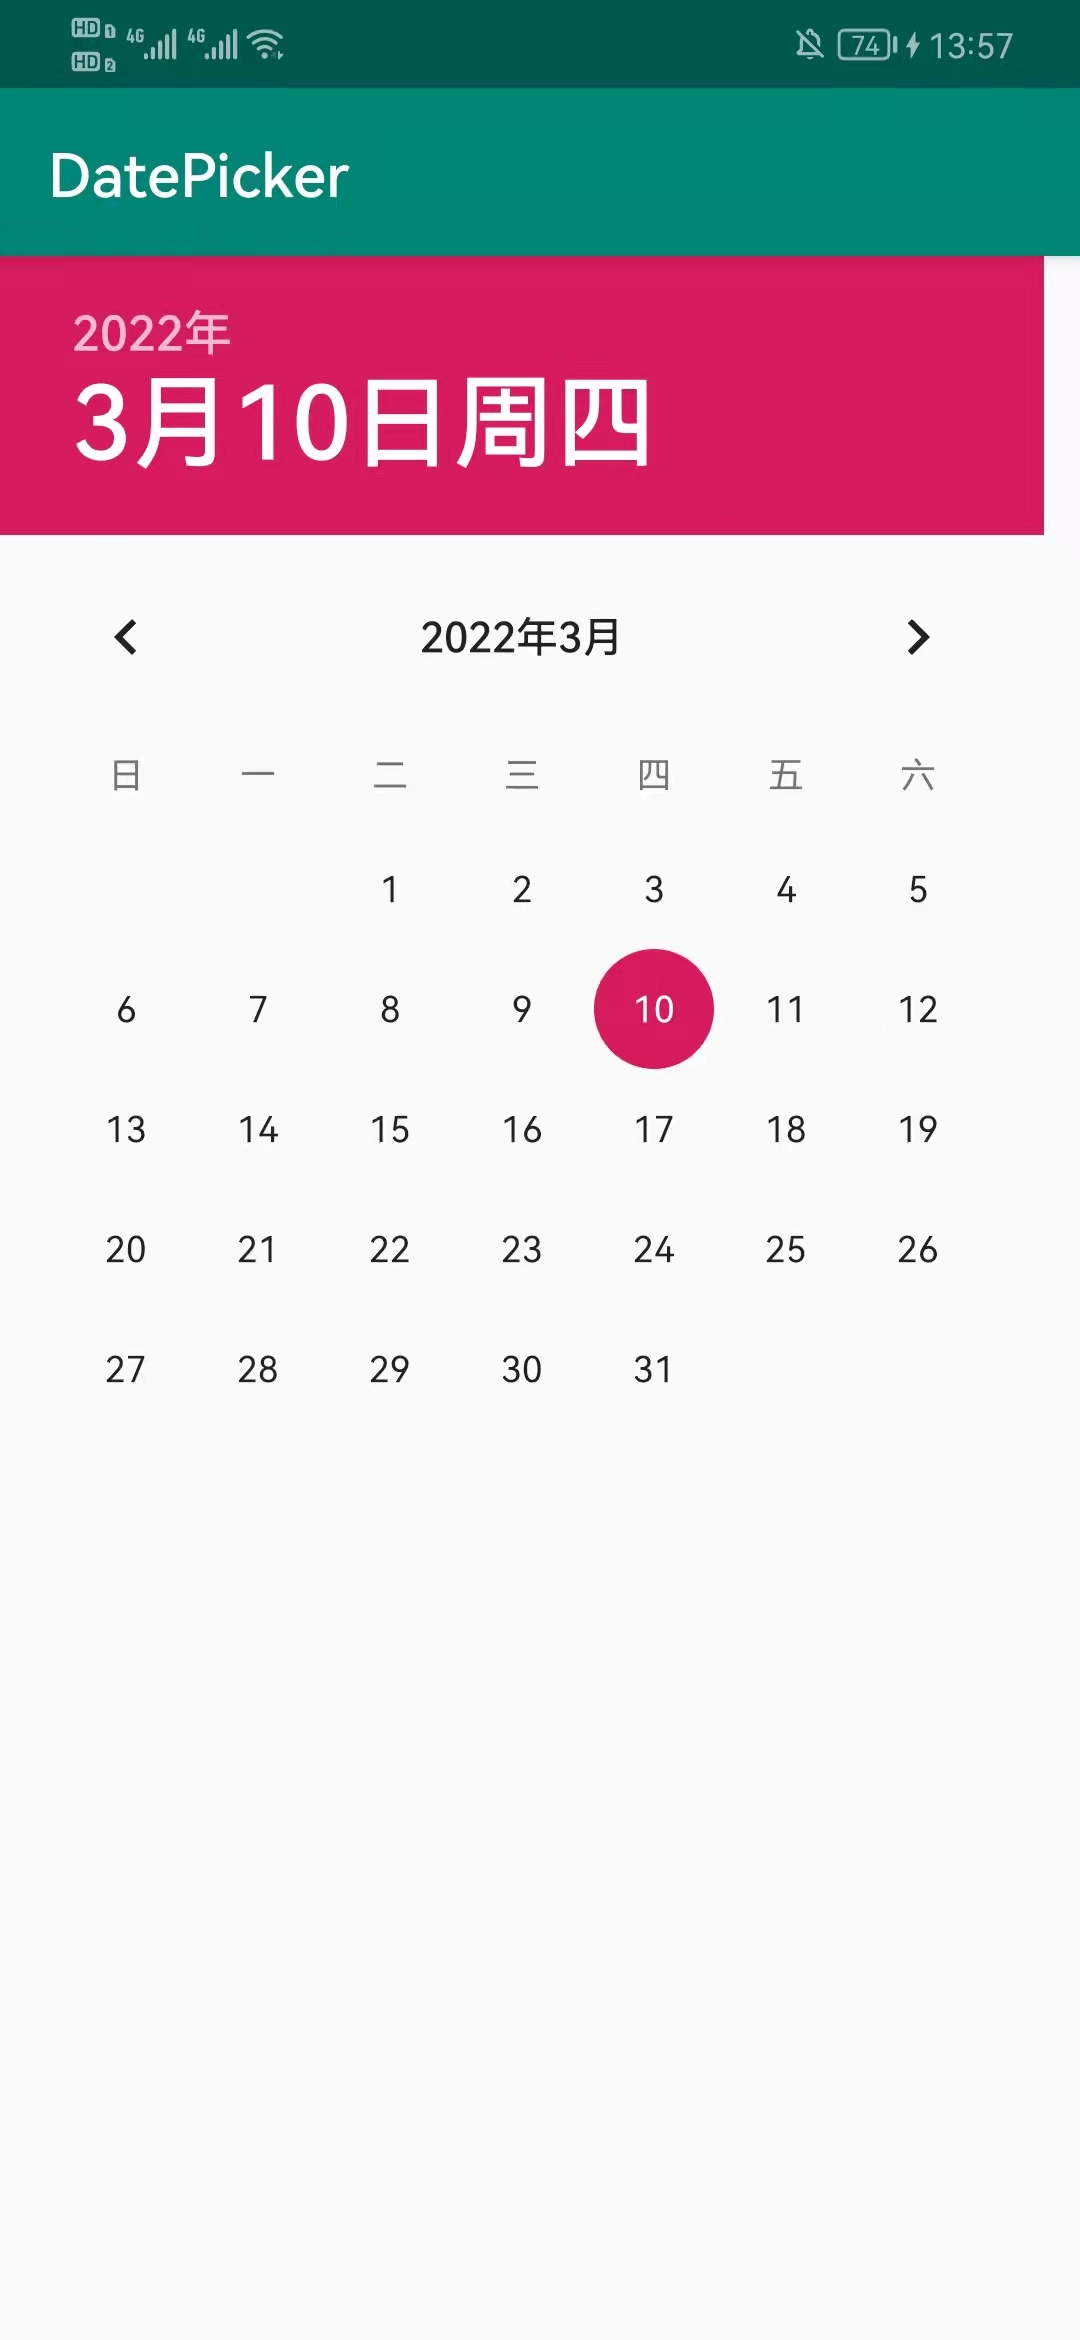
1、在布局文件中添加DatePicker
...
<DatePicker
    android:layout_width="match_parent"
    android:layout_height="match_parent"
    android:id="@+id/datepicker"
    >
</DatePicker>
...
2、java代码:
通过id获取布局里的datepicker:
datePicker=findViewById(R.id.datepicker);
声明一个日历对象Calendar获取当前时间的日历(不声明Calendar则datepicker默认1900年)
Calendar calendar=Calendar.getInstance();//获取当前时间的日历,不然默认1900年
年月日赋值:
year=calendar.get(Calendar.YEAR);//今年
month=calendar.get(Calendar.MONTH);//今月
day=calendar.get(Calendar.DAY_OF_MONTH);//今日
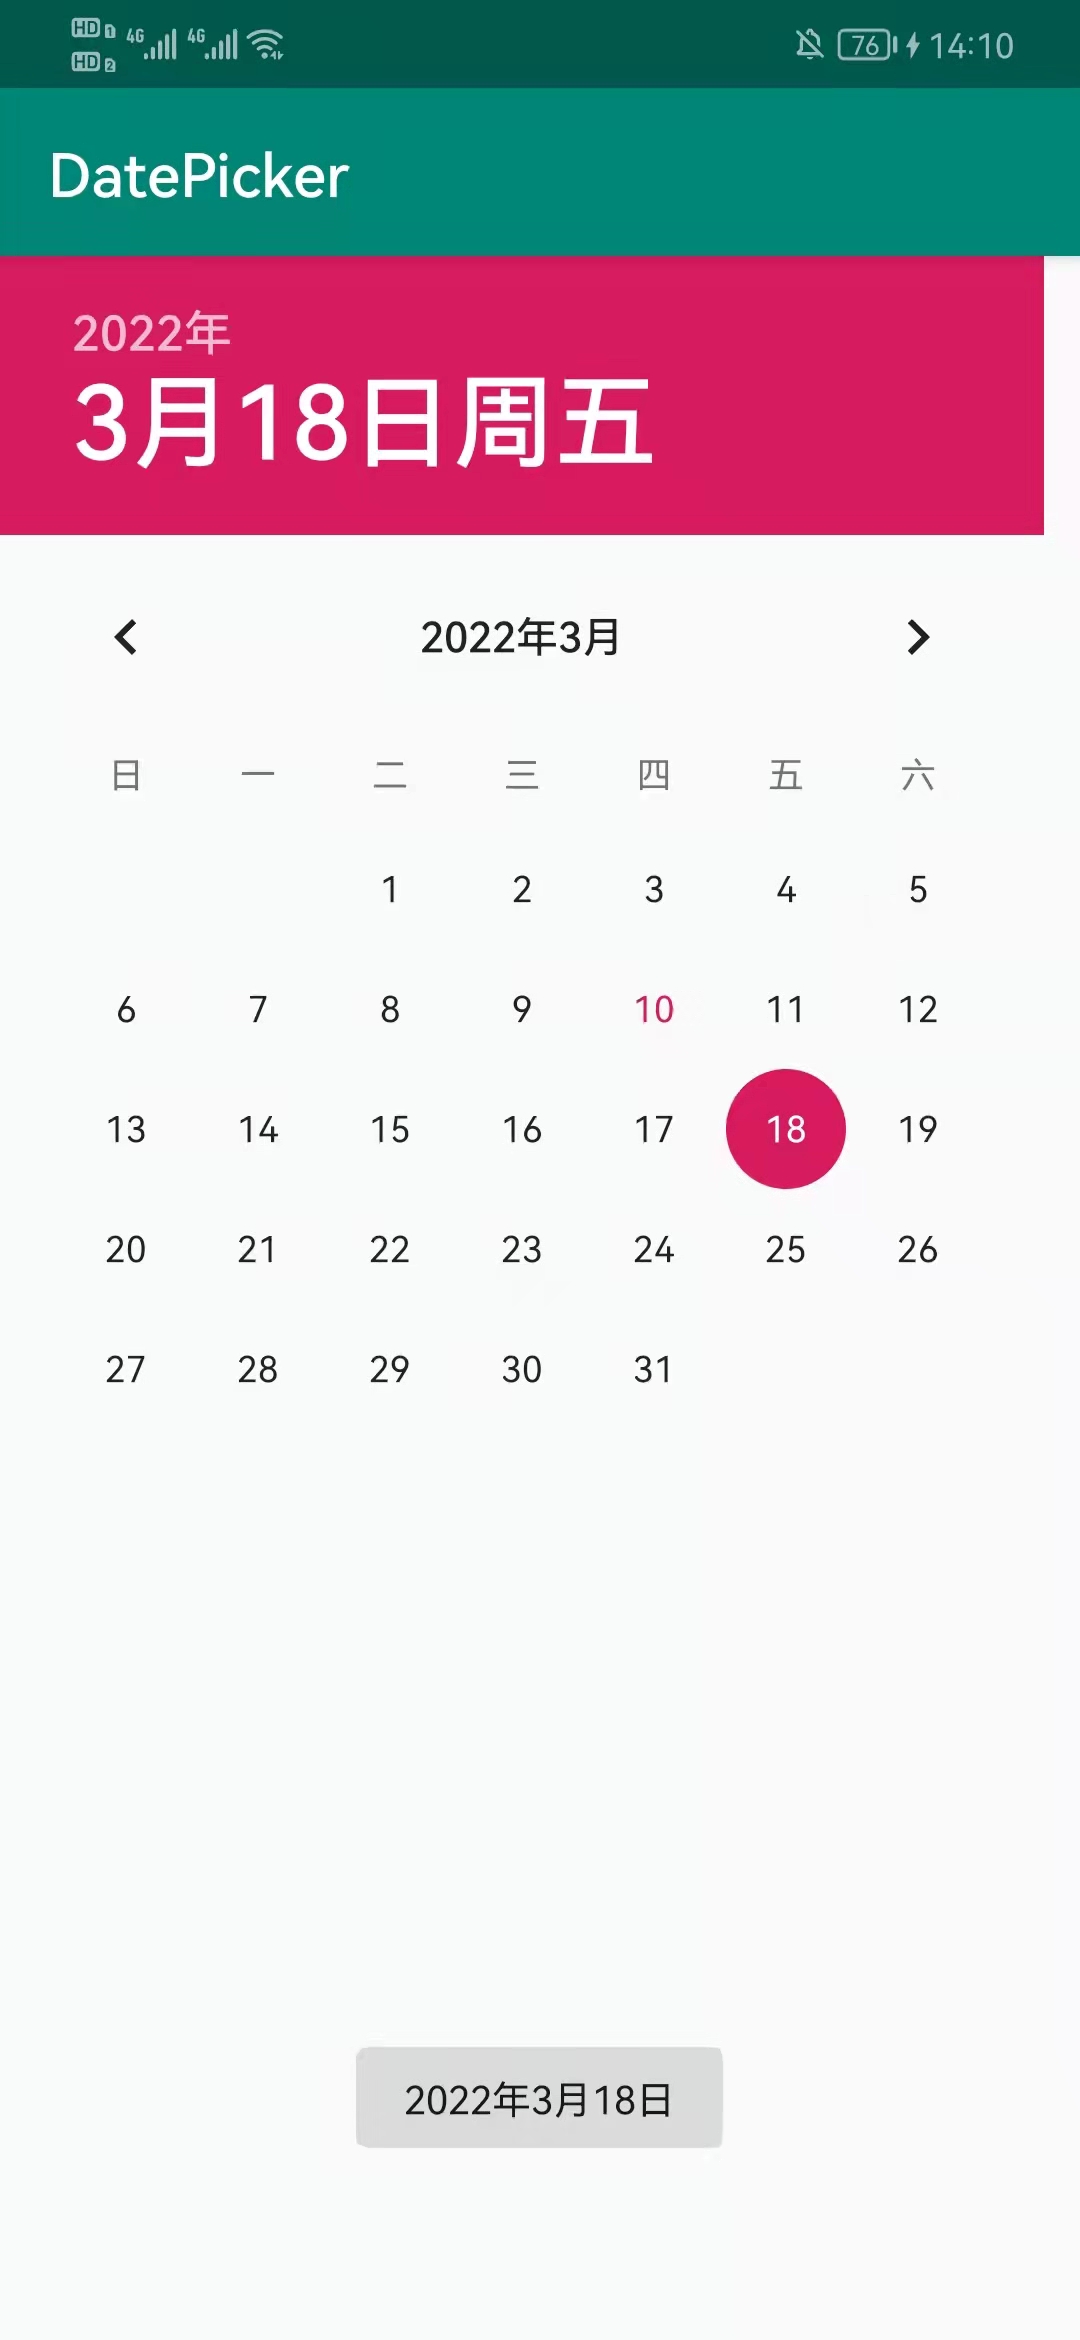
自定义show方法显示选中的日期:(java月份默认从0开始,显示需要+1)
private void show(int year,int month,int day){
    String str=year+"年"+(month+1)+"月"+day+"日";
    Toast.makeText(DatepickerActivity.this,str,Toast.LENGTH_LONG).show();
}
日期选择器DatePicker初始化,显示今天,onDateChanged参数是选中的日期:
datePicker.init(year, month, day, new DatePicker.OnDateChangedListener() {
    @Override
    //onDateChanged参数是选中的日期
    public void onDateChanged(DatePicker datePicker, int i, int i1, int i2) {
        year=i;
        month=i1;
        day=i2;
        show(i,i1,i2);
    }
});
最后
以上就是含糊蜡烛最近收集整理的关于android简单易上手的日期选择器DatePicker的全部内容,更多相关android简单易上手内容请搜索靠谱客的其他文章。
本图文内容来源于网友提供,作为学习参考使用,或来自网络收集整理,版权属于原作者所有。


发表评论 取消回复