串口是嵌入式设备最常用的一种外设,串口的描述笔者这里就不讲解了,网上搜索一大把。
嵌入式开发流程大致如下:
- 硬件接口电路设计
- Linux 系统移植
- 系统驱动搭建
- 应用程序搭建
1、硬件电路设计
imx6ull 串口的外设有很多,我们可以借助linux内核中的 imx6ul-pinfunc.h 和 imx6ull-pinfunc.h 文件查询IO可复用的功能(路劲在:arch/arm/boot/dts/)另外也可以借助数据手册查看。
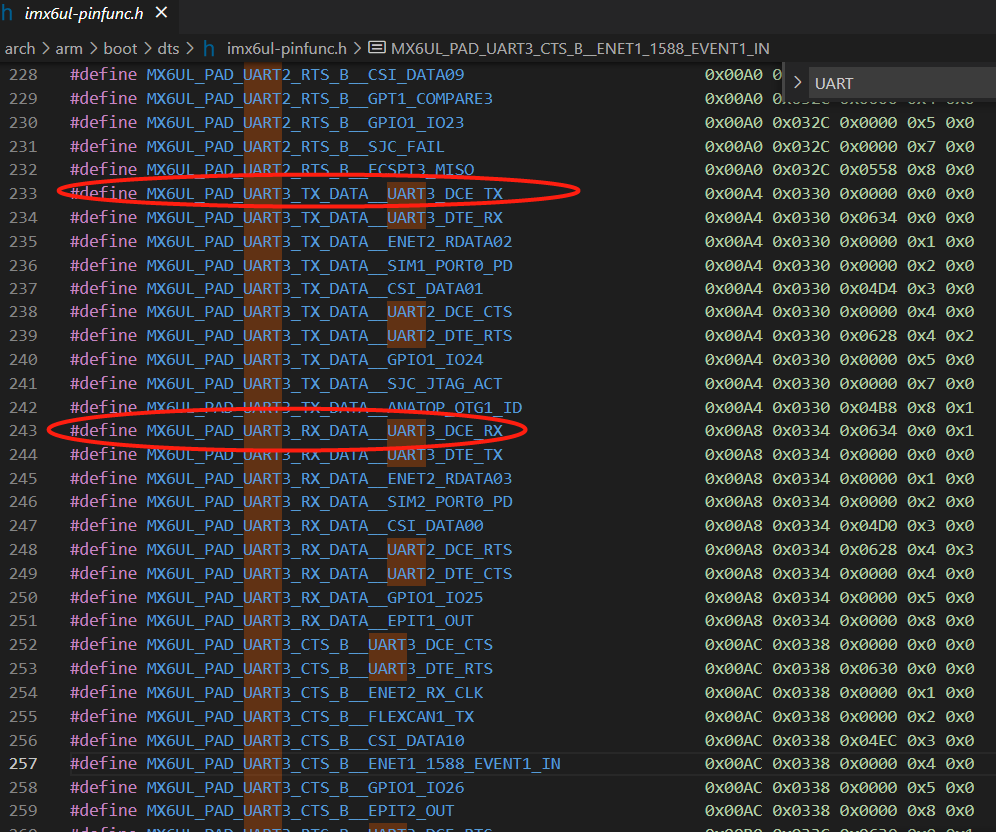
具体的设计需要根据项目中串口的用途而具体设计(像485 Lin等),笔者只是用于常规的串口测试,所以暂时不考虑。如上图所示,笔者挑选UART3(毕竟开发板有引出来,所以选这个了)
2、Linux 系统移植
Linux系统移植主要分为:U-boot移植、Linux内核移植、跟文件系统移植。本章不将这个,具体可网上搜索相关资料。
3、系统驱动搭建
imx6ull 串口驱动搭建,其实很简单,简单到什么程度呢?因为nxp官方提供的内核已经写好了串口驱动框架(可查看路劲:drivers/tty/serial/imx.c),我们只需要在其基础上添加设备信息和节点即可。
imx6ull.dtsi 文件中有如下配置:
uart3: serial@021ec000 {
    compatible = "fsl,imx6ul-uart",
    "fsl,imx6q-uart", "fsl,imx21-uart";
    reg = <0x021ec000 0x4000>;
    interrupts = <GIC_SPI 28 IRQ_TYPE_LEVEL_HIGH>;
    clocks = <&clks IMX6UL_CLK_UART3_IPG>,
    <&clks IMX6UL_CLK_UART3_SERIAL>;
    clock-names = "ipg", "per";
    dmas = <&sdma 29 4 0>, <&sdma 30 4 0>;
    dma-names = "rx", "tx";
    status = "disabled";
};
根据uart3配置,我们需要配置uart3 pinctrl 子节点,写在我们要使用的 dts 文件中,内容如下:
//pinctrl 配置如下
pinctrl_uart3: uart3grp {
fsl,pins = <
MX6UL_PAD_UART3_TX_DATA__UART3_DCE_TX 0X1b0b1
MX6UL_PAD_UART3_RX_DATA__UART3_DCE_RX 0X1b0b1
>;
};
//节点配置如下,基本就是把 imx6ull.dtsi 文件中,uart3节点再重新配置一遍
//可以把 imx6ull.dtsi 当作默认配置文件
&uart3 {
pinctrl-names = "default";
pinctrl-0 = <&pinctrl_uart3>;
status = "okay";
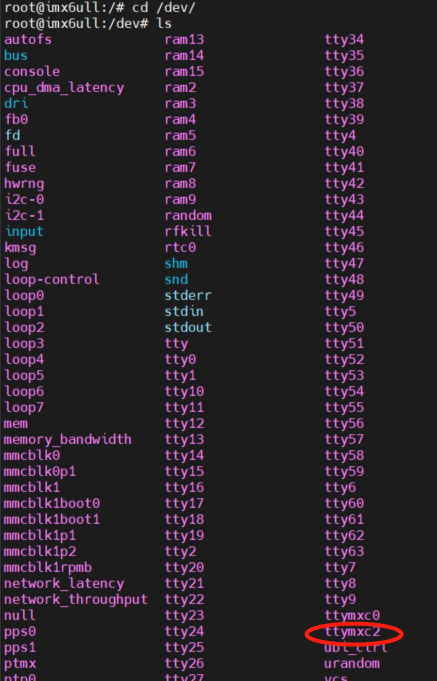
};修改完成后,编译一下dts文件,然后使用编译后的dtb文件,启动系统,在文件系统路径:/dev/中出现 ttymxc2 便是驱动搭建完毕。
4、应用程序搭建
linux下的串口应用开发,同样也挺简单的(类似于windows应用),这里我们直接调用通用API,在C文件中,包含 <termios.h> 文件。这里我们需要重点关注如下结构体:
struct termios
{
    tcflag_t c_iflag; /* input mode flags */
    tcflag_t c_oflag; /* output mode flags */
    tcflag_t c_cflag; /* control mode flags */
    tcflag_t c_lflag; /* local mode flags */
    cc_t c_line; /* line discipline */
    cc_t c_cc[NCCS]; /* control characters */
    speed_t c_ispeed; /* input speed */
    speed_t c_ospeed; /* output speed */
};
具体功能是什么,百度一大把,就不细将了。好了,下面直接贴出代码:
/****************************************Start of file************************************/
/*----------------------------------------------------------------------------------------
Includes
*/
#include <stdio.h>
#include <stdlib.h>
#include <string.h>
#include <sys/types.h>
#include <sys/stat.h>
#include <fcntl.h>
#include <unistd.h>
#include <termios.h>
/*----------------------------------------------------------------------------------------
Macros
*/
/*----------------------------------------------------------------------------------------
Variables
*/
struct termios newtio,oldtio;
int main(int argc , char ** argv)
{
int hFile;
int nset,nread;
char buf1[100] = {0};
char *filename;
/*1.参数校验*/
if(argc !=2)
{
printf("输入错误!!!rn");
printf("请向终端输入: ./uartApp /dev/ttymxc2 rn");
return -1;
}
filename = argv[1];
hFile = open( filename, O_RDWR);
if (hFile == -1)
{
printf("打开执行文件 %s 错误rn",filename);
exit(1);
}
printf("打开执行文件 %s 成功!!n",filename);
/*初始化串口*/
if ( tcgetattr( hFile,&oldtio) != 0)
{
perror("获取终端失败");
exit(1);
}
bzero( &newtio, sizeof( newtio ) );
newtio.c_cflag |= CLOCAL | CREAD; //CLOCAL:忽略modem控制线 CREAD:打开接受
newtio.c_cflag &= ~CSIZE;
newtio.c_cflag |= CS8; //字符长度掩码。取值为:CS5,CS6,CS7或CS8
newtio.c_cflag &= ~PARENB;
newtio.c_cflag &= ~CSTOPB; //停止位设置
//波特率设置
cfsetispeed(&newtio, B115200);
cfsetospeed(&newtio, B115200);
newtio.c_cc[VTIME] = 0; //VTIME:非cannoical模式读时的延时,以十分之一秒位单位
newtio.c_cc[VMIN] = 0; //VMIN:非canonical模式读到最小字符数
tcflush(hFile,TCIFLUSH); // 改变在所有写入 fd 引用的对象的输出都被传输后生效,所有已接受但未读入的输入都在改变发生前丢弃。
if((tcsetattr(hFile,TCSANOW,&newtio))!=0)
{
printf("串口初始化失败!!n");
exit(1);
}
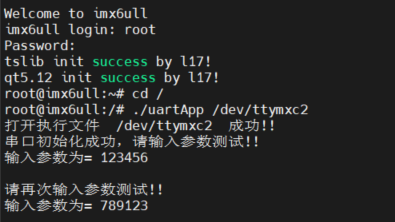
printf("串口初始化成功,请输入参数测试!!n");
while (1)
{
nread = read(hFile, buf1, 100);
if(nread > 0)
{
printf("输入参数为= %sn", buf1);
printf("请再次输入参数测试!!n");
memset(buf1, 0, sizeof(buf1));
}
sleep(1);
}
close(hFile);
return 0;
}
/****************************************End of file************************************/
直接编译代码,然后将执行文件,uartApp拷贝到文件系统中测试:
arm-linux-gnueabihf-gcc -o uartApp uartApp.c5、测试输入输出
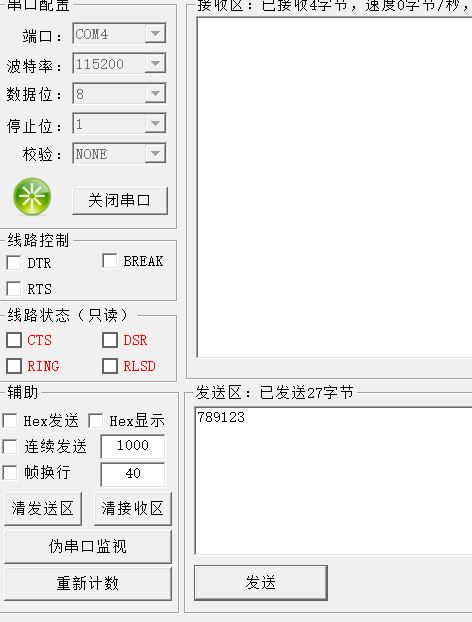
笔者这里用了USB转TTL工具,具体根据自己硬件情况调试。
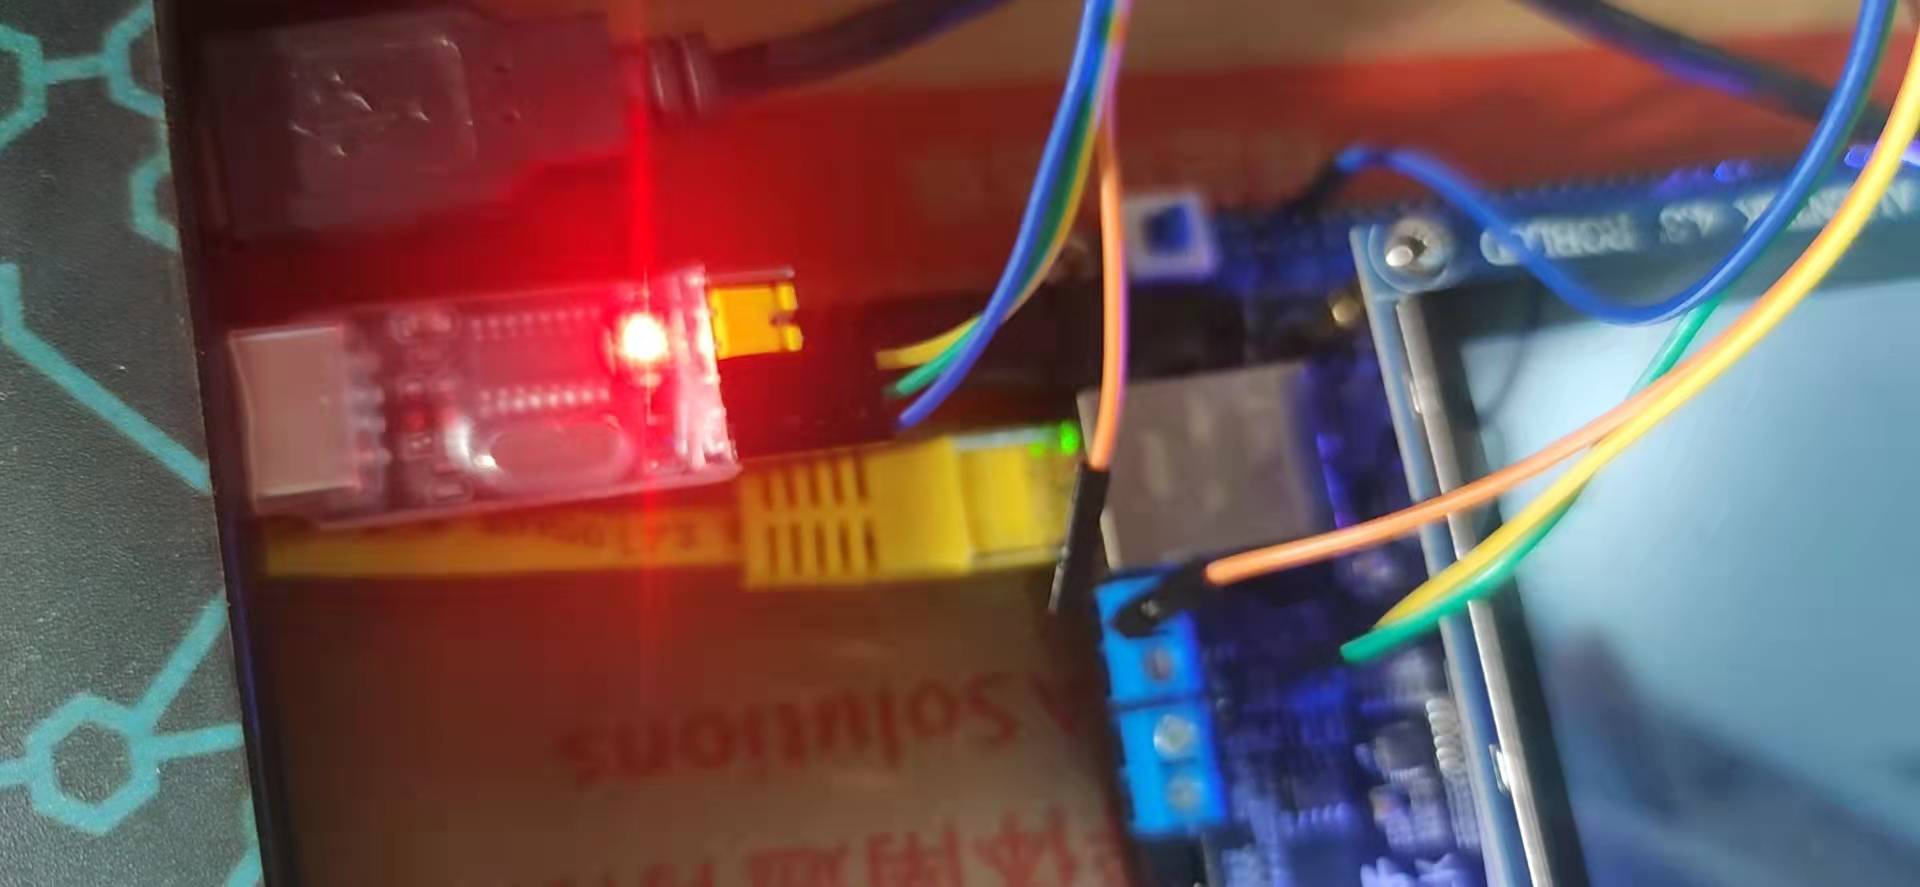
接下来开启两个终端(一个是imx6ull 终端,另外一个是usb串口)测试:
好了,具体功能大家可以逐步完善,就讲到这里啦。
最后
以上就是虚幻丝袜最近收集整理的关于【IMX6ULL笔记】-- 从驱动到应用之串口的全部内容,更多相关【IMX6ULL笔记】--内容请搜索靠谱客的其他文章。


发表评论 取消回复