一、项目创建
打开ideal intelij
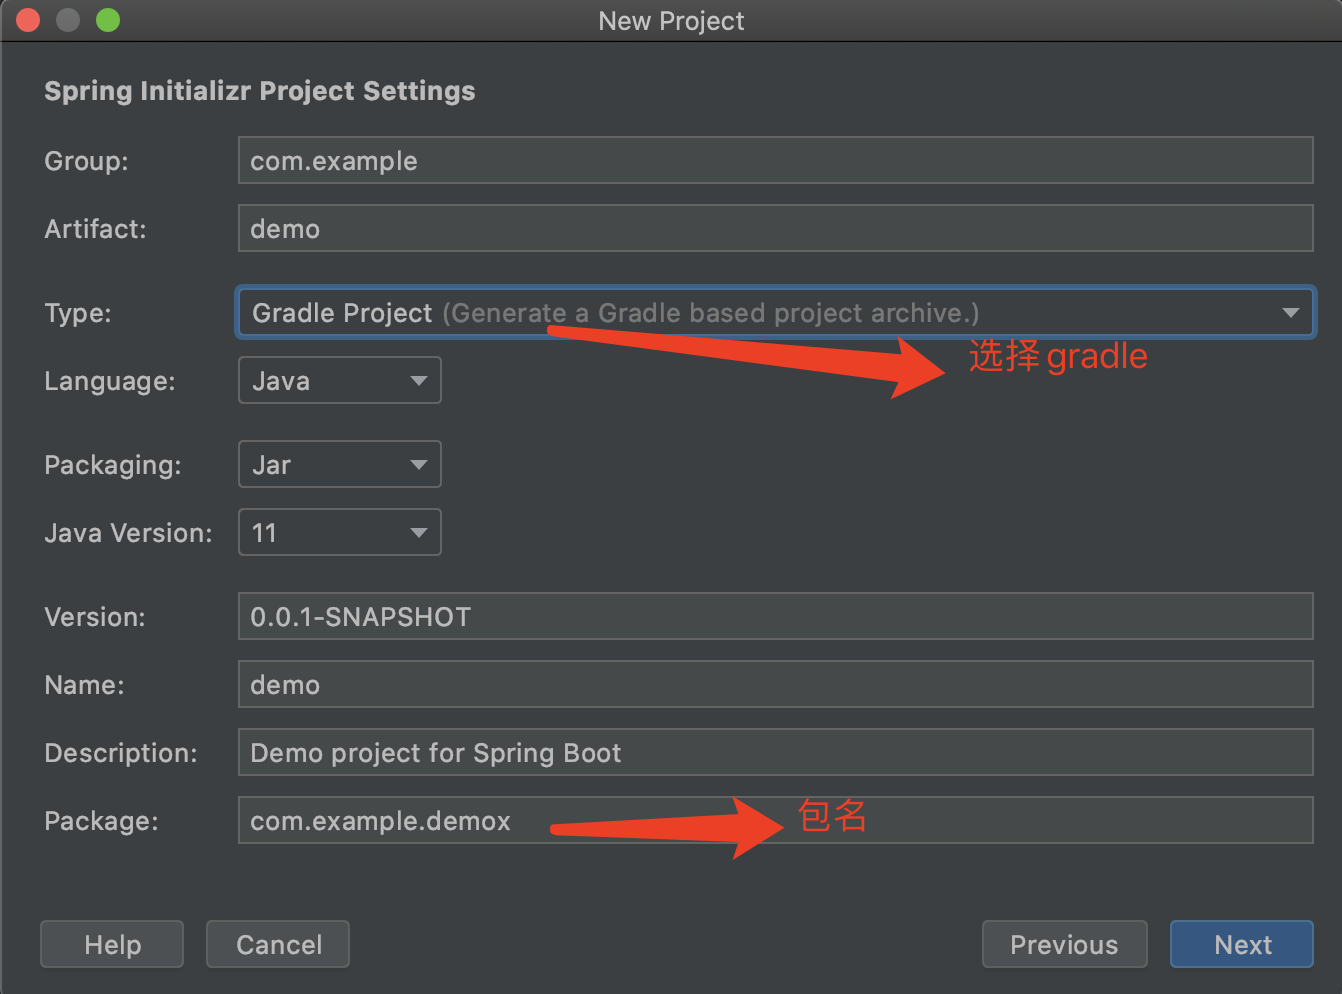
编辑包名选择gradle
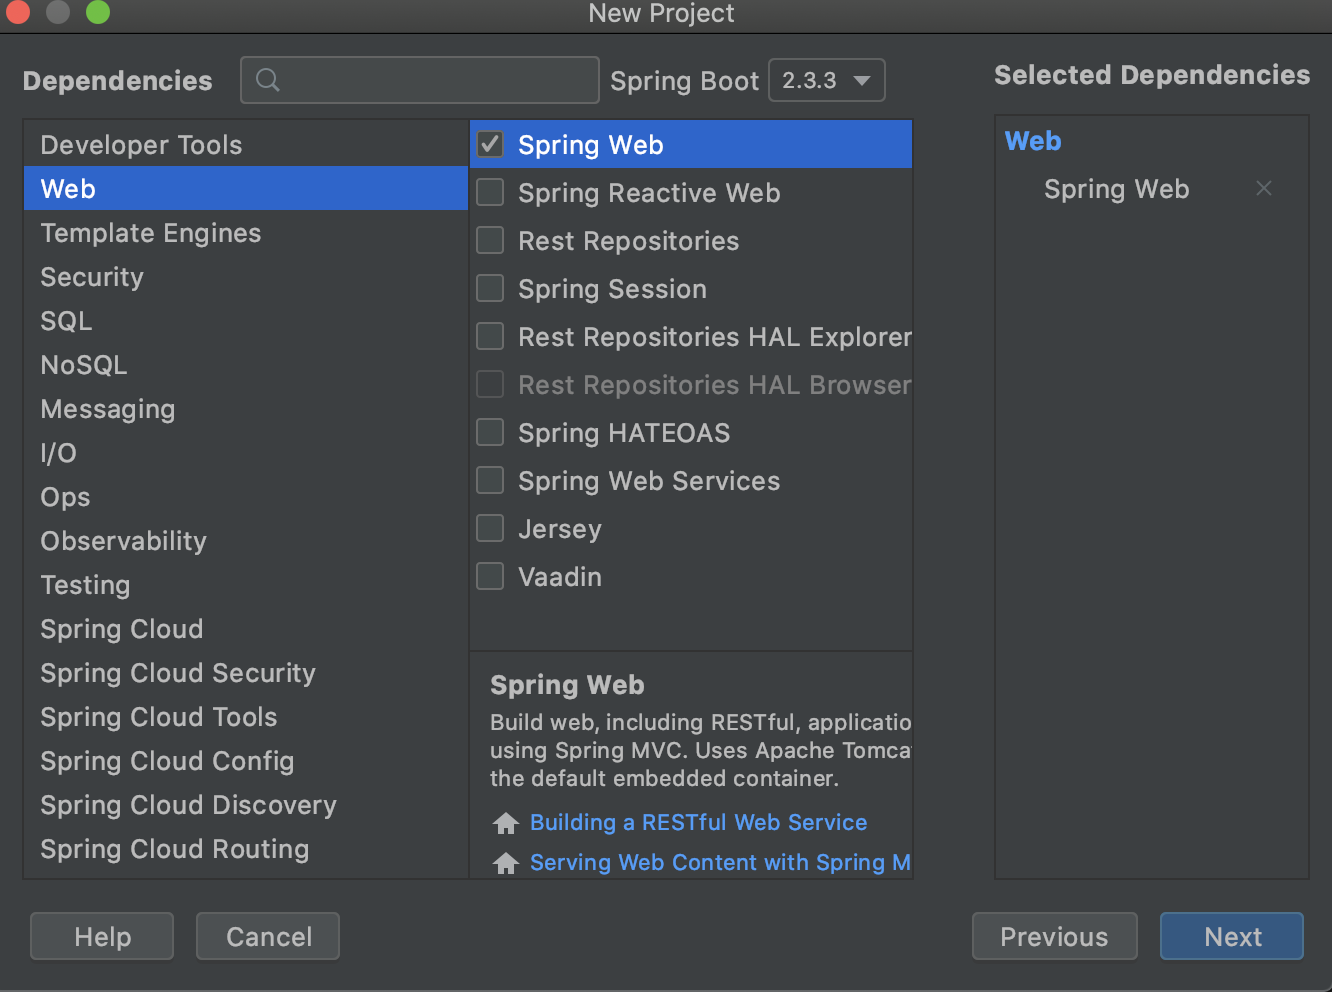
选择集成内容SpringWeb
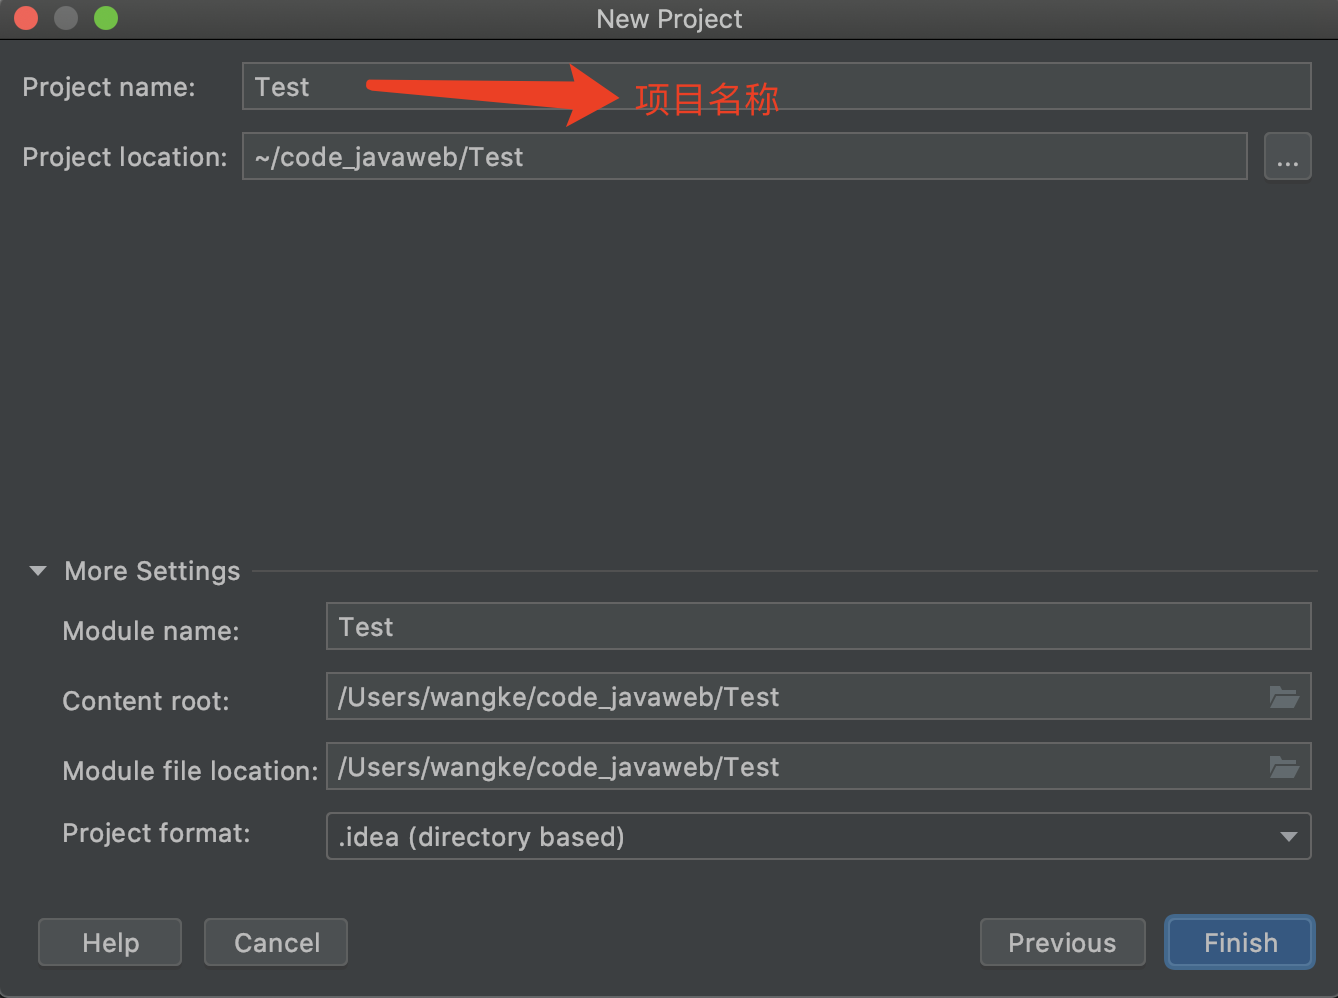
填写项目名称
二、项目配置
1、引进html解析包
build.gradle文件下:
implementation 'org.springframework.boot:spring-boot-starter-thymeleaf'
dependencies {
    implementation 'org.springframework.boot:spring-boot-starter-web'
    testImplementation('org.springframework.boot:spring-boot-starter-test') {
        exclude group: 'org.junit.vintage', module: 'junit-vintage-engine'
    }
    implementation 'org.springframework.boot:spring-boot-starter-thymeleaf'
}
2、端口配置
默认端口维8080,不修改可以直接使用,如果要自定义端口,resources/application.properties文件中修改。
server.port=8888

三、项目运行
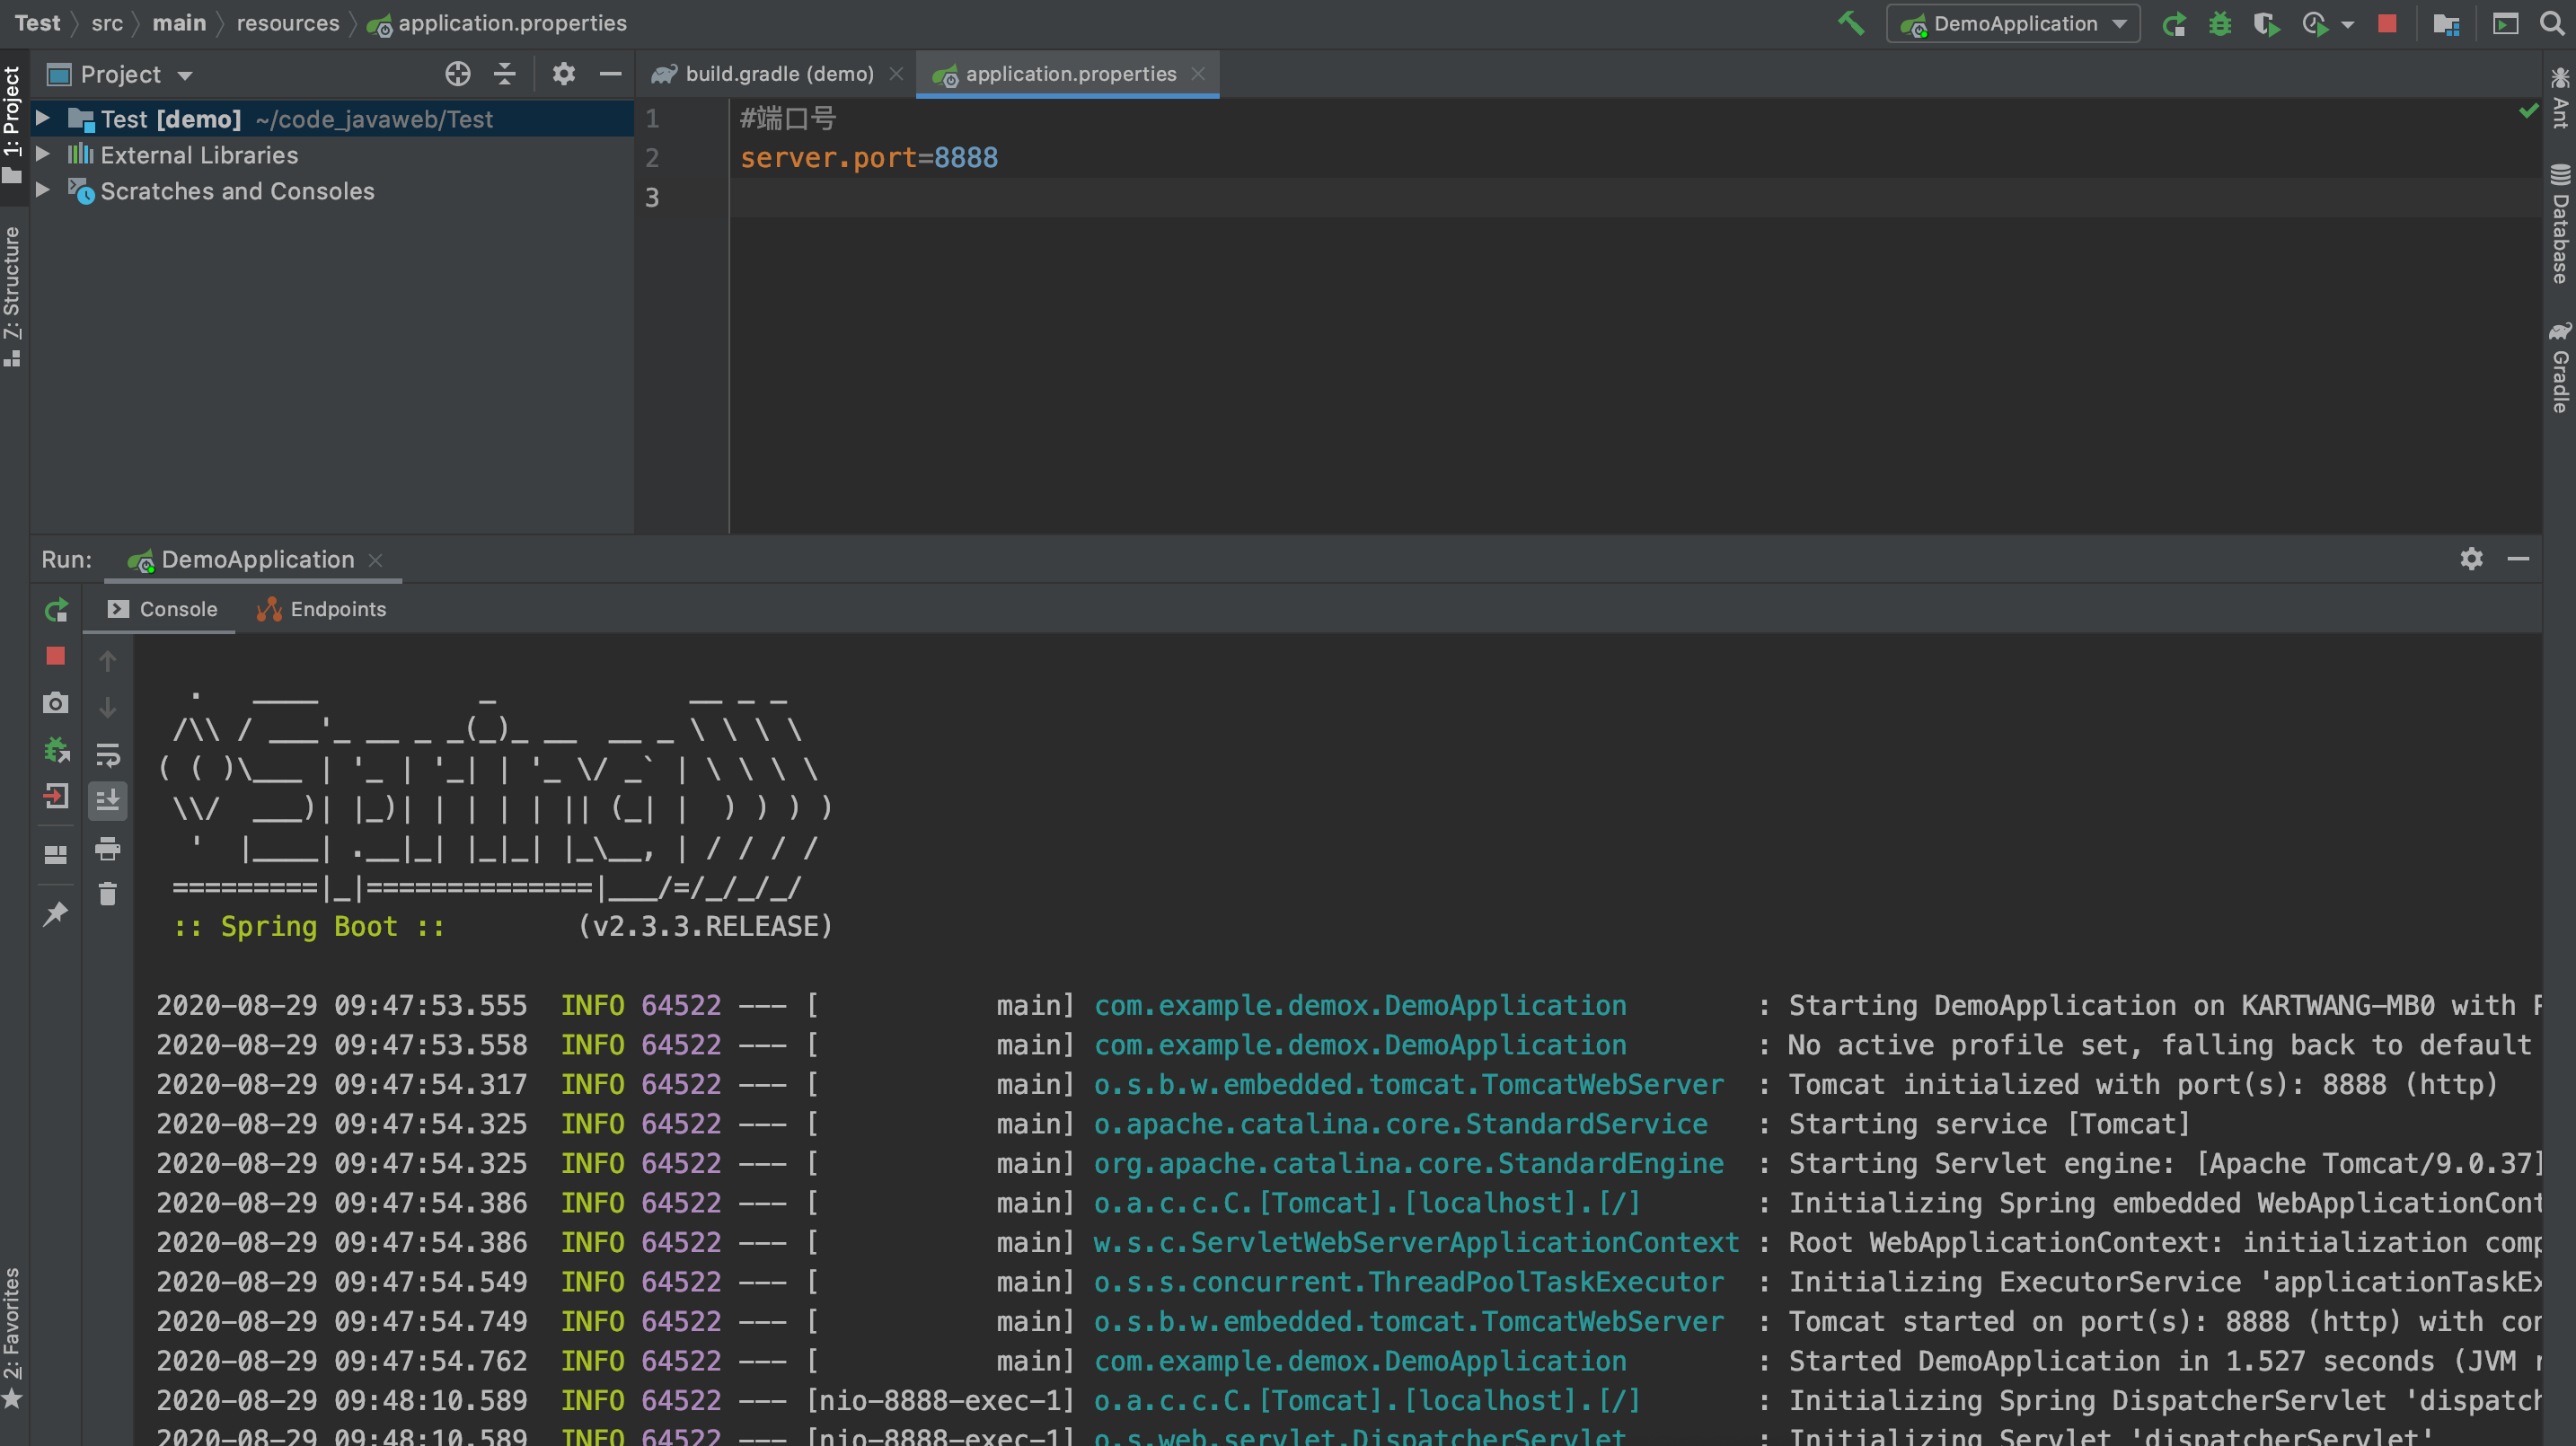
运行效果如上,浏览器输入http://localhost:8888/,效果如下:

则说明项目已经运行成功。
最后
以上就是甜蜜人生最近收集整理的关于springboot+gradle搭建web服务器——项目创建的全部内容,更多相关springboot+gradle搭建web服务器——项目创建内容请搜索靠谱客的其他文章。
本图文内容来源于网友提供,作为学习参考使用,或来自网络收集整理,版权属于原作者所有。


发表评论 取消回复