我是靠谱客的博主 可爱水池,这篇文章主要介绍基于gradle创建springBoot web项目(idea版本)1:创建纯净基于gradle的项目(idea版本)2:设置多模块项目gradle jar管理(idea版本),现在分享给大家,希望可以做个参考。
1:创建纯净基于gradle的项目(idea版本)
我们不基于https://start.spring.io 来创建项目,因为其中有很多配置是我们不需要的;
-
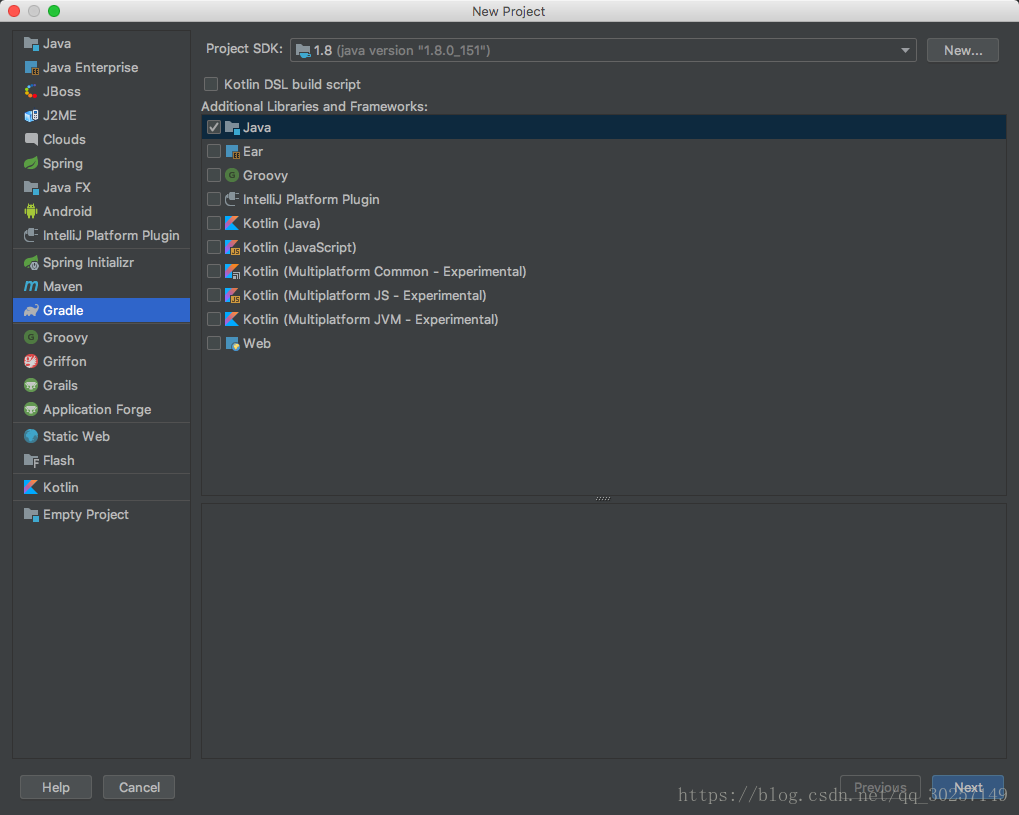
第一步:FIle–>New–>Project
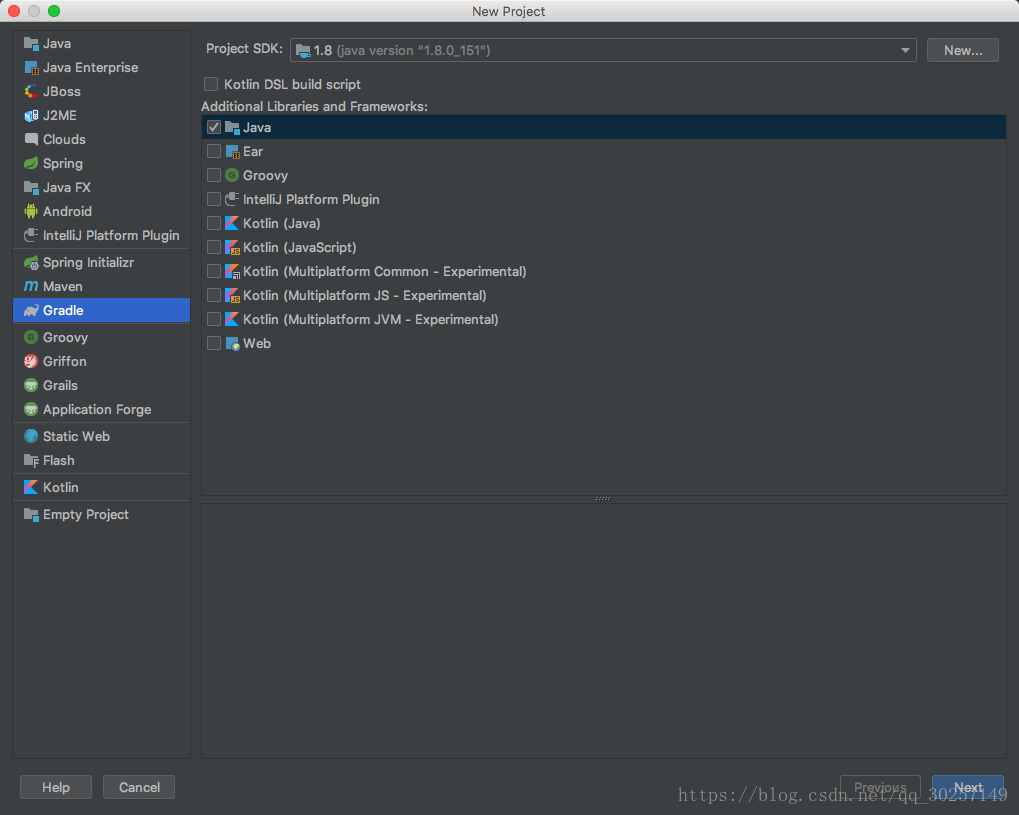
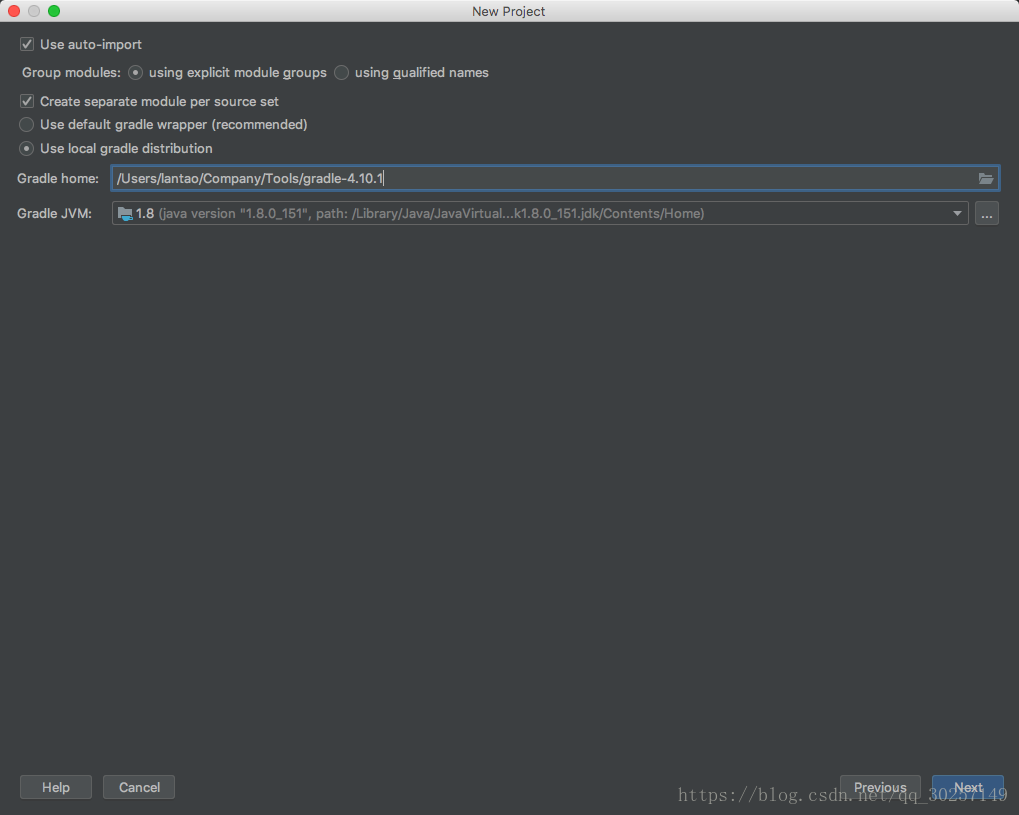
选择Gradle Home 地址;
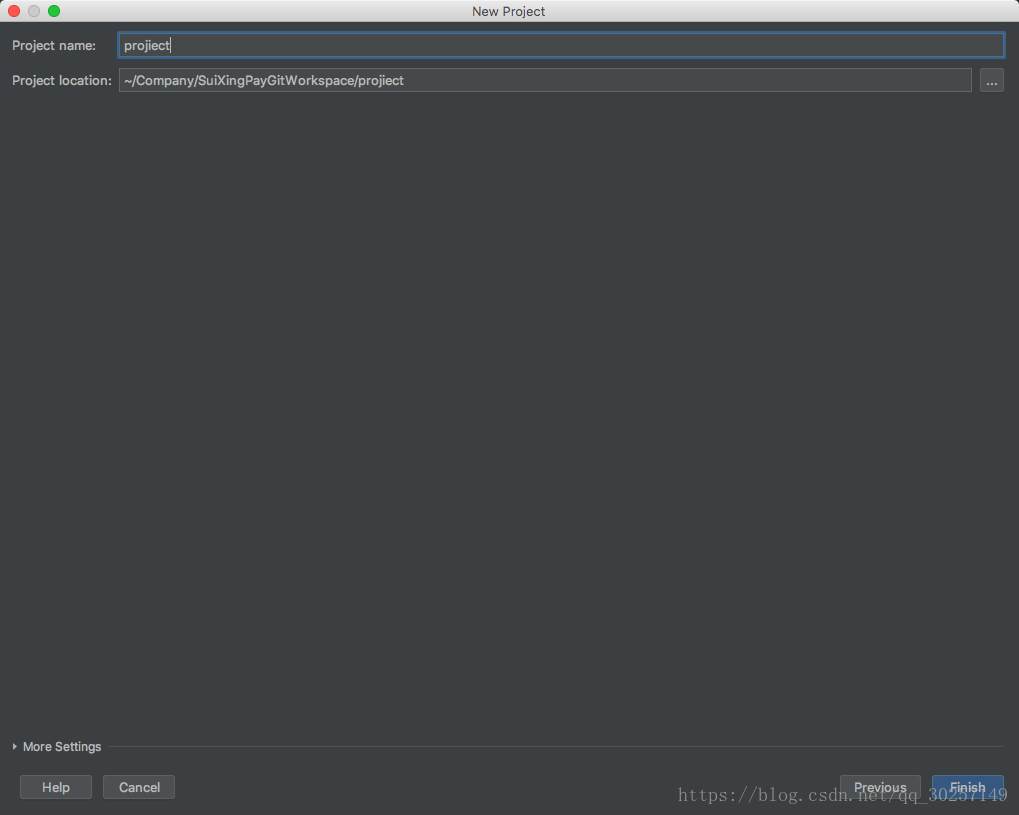
Finish 结束;
-
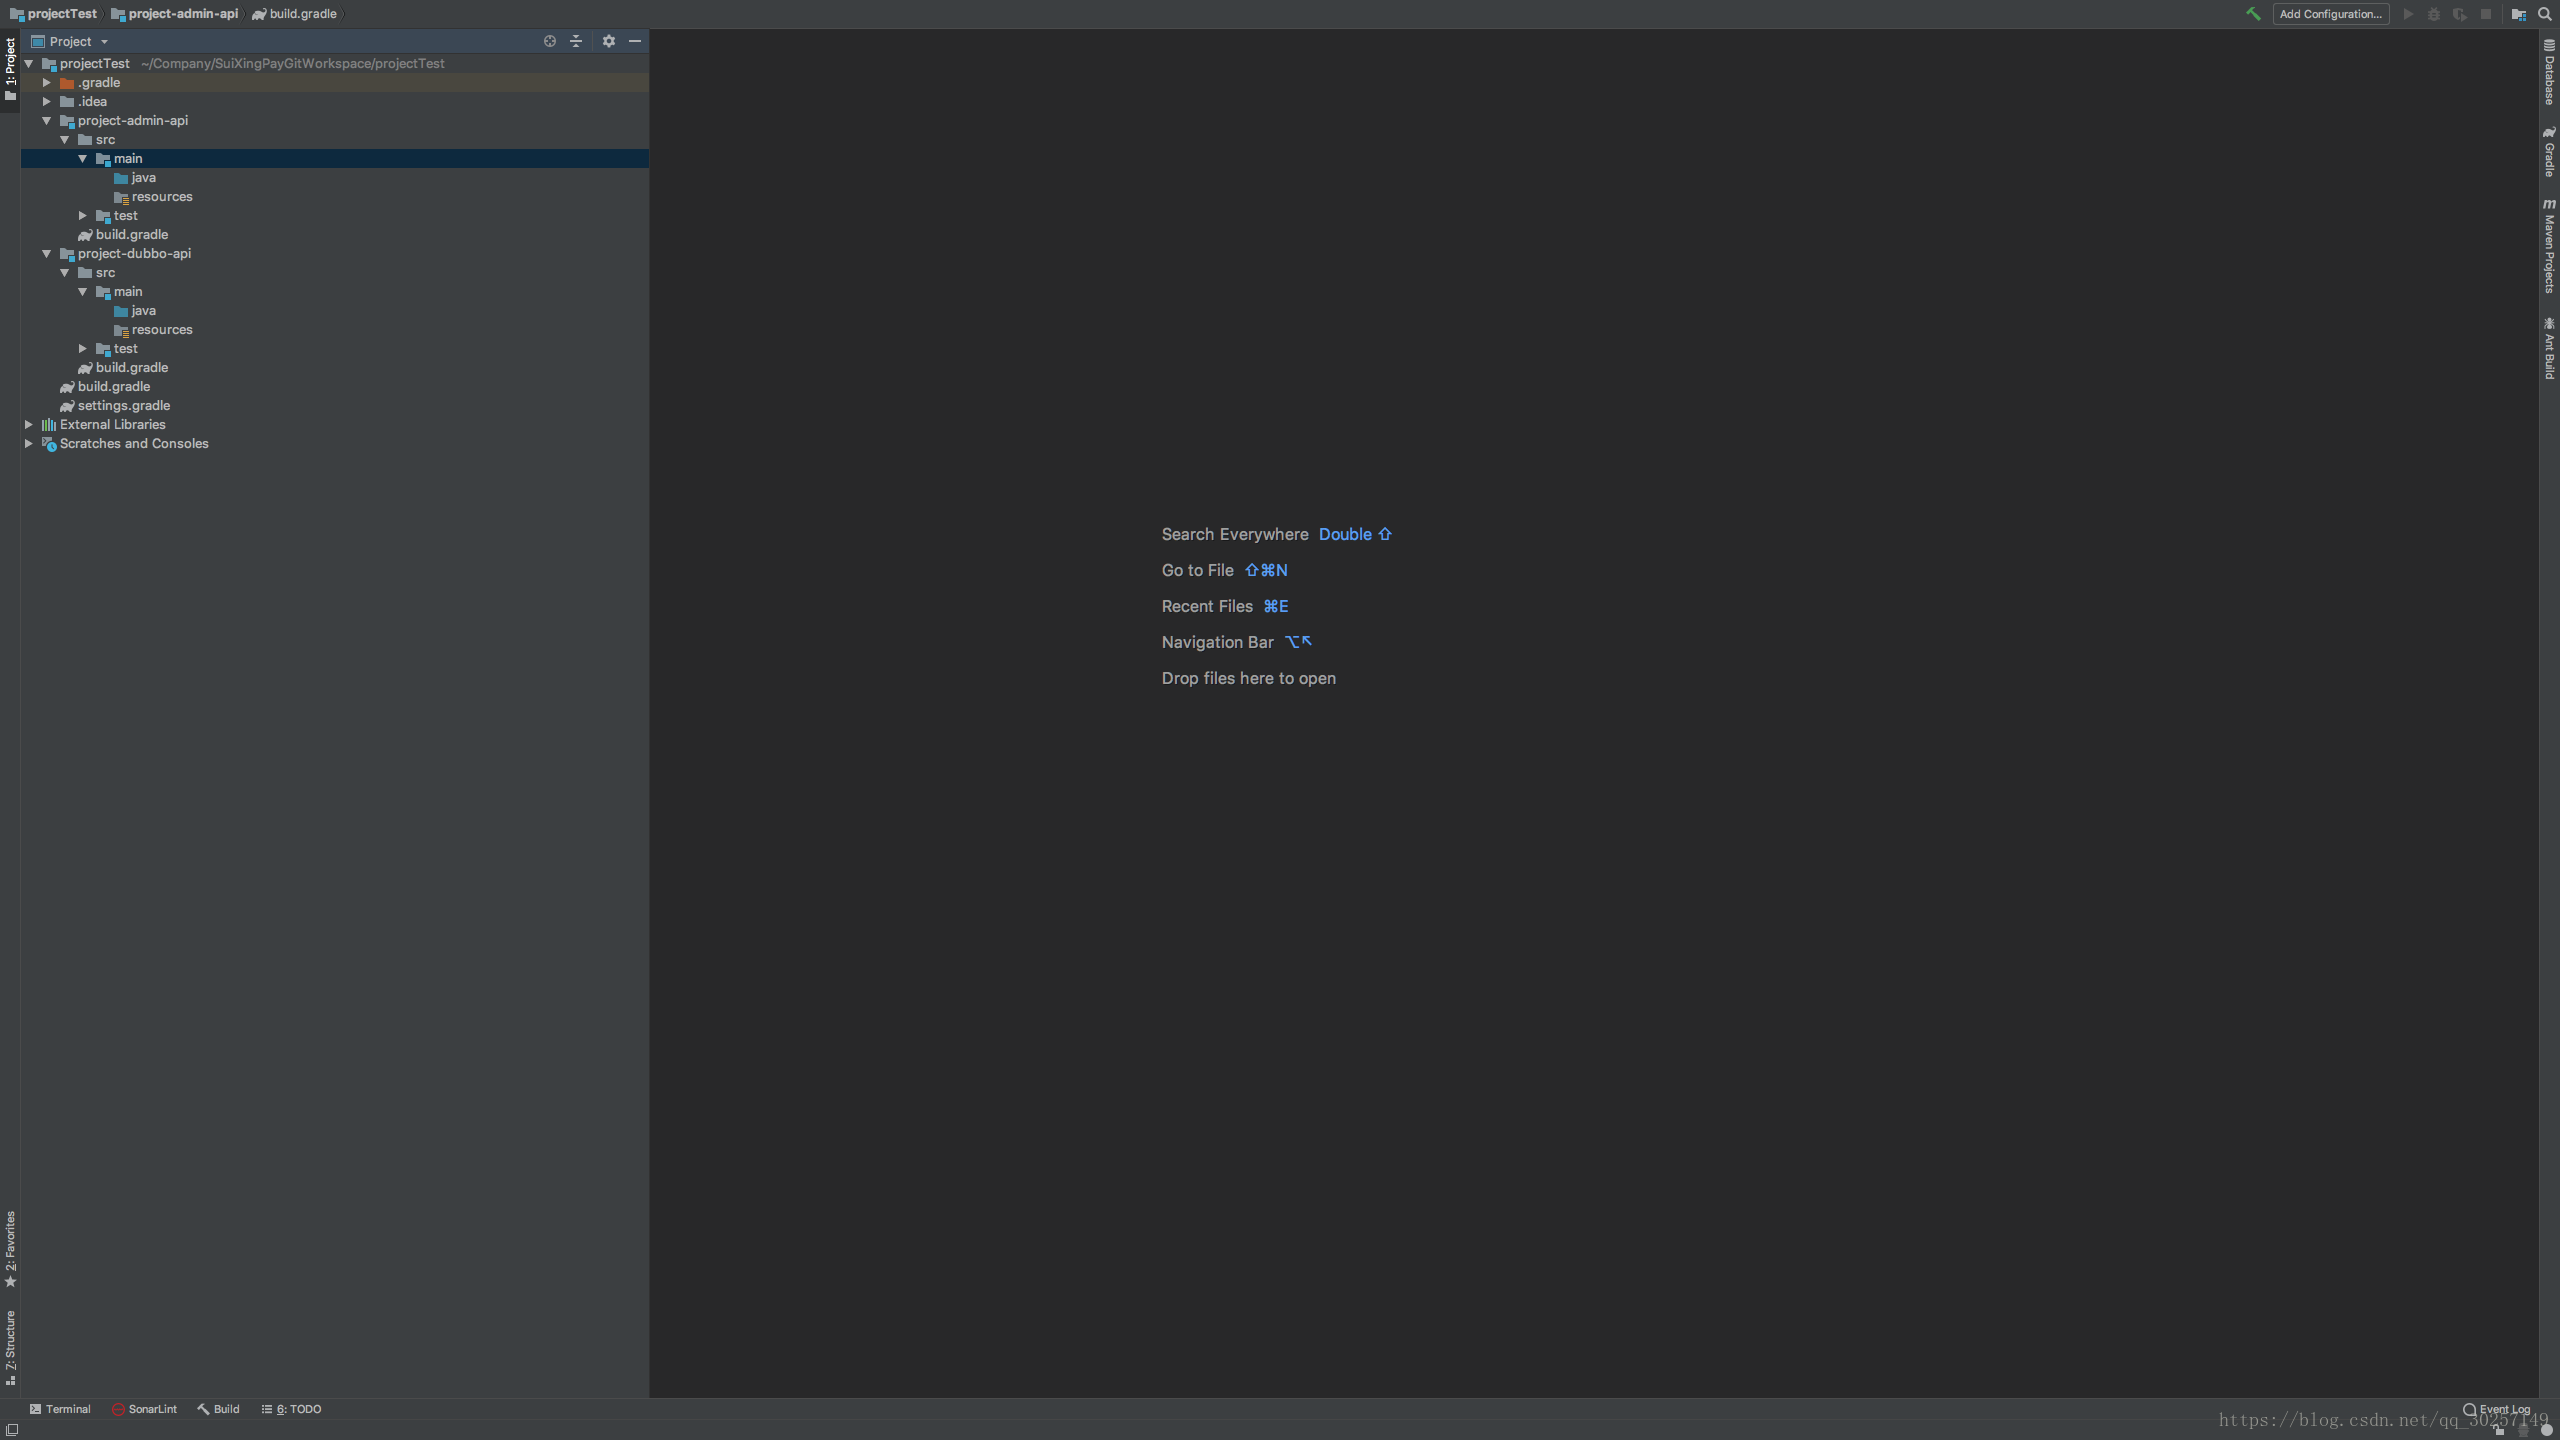
第二步:展示完成项目
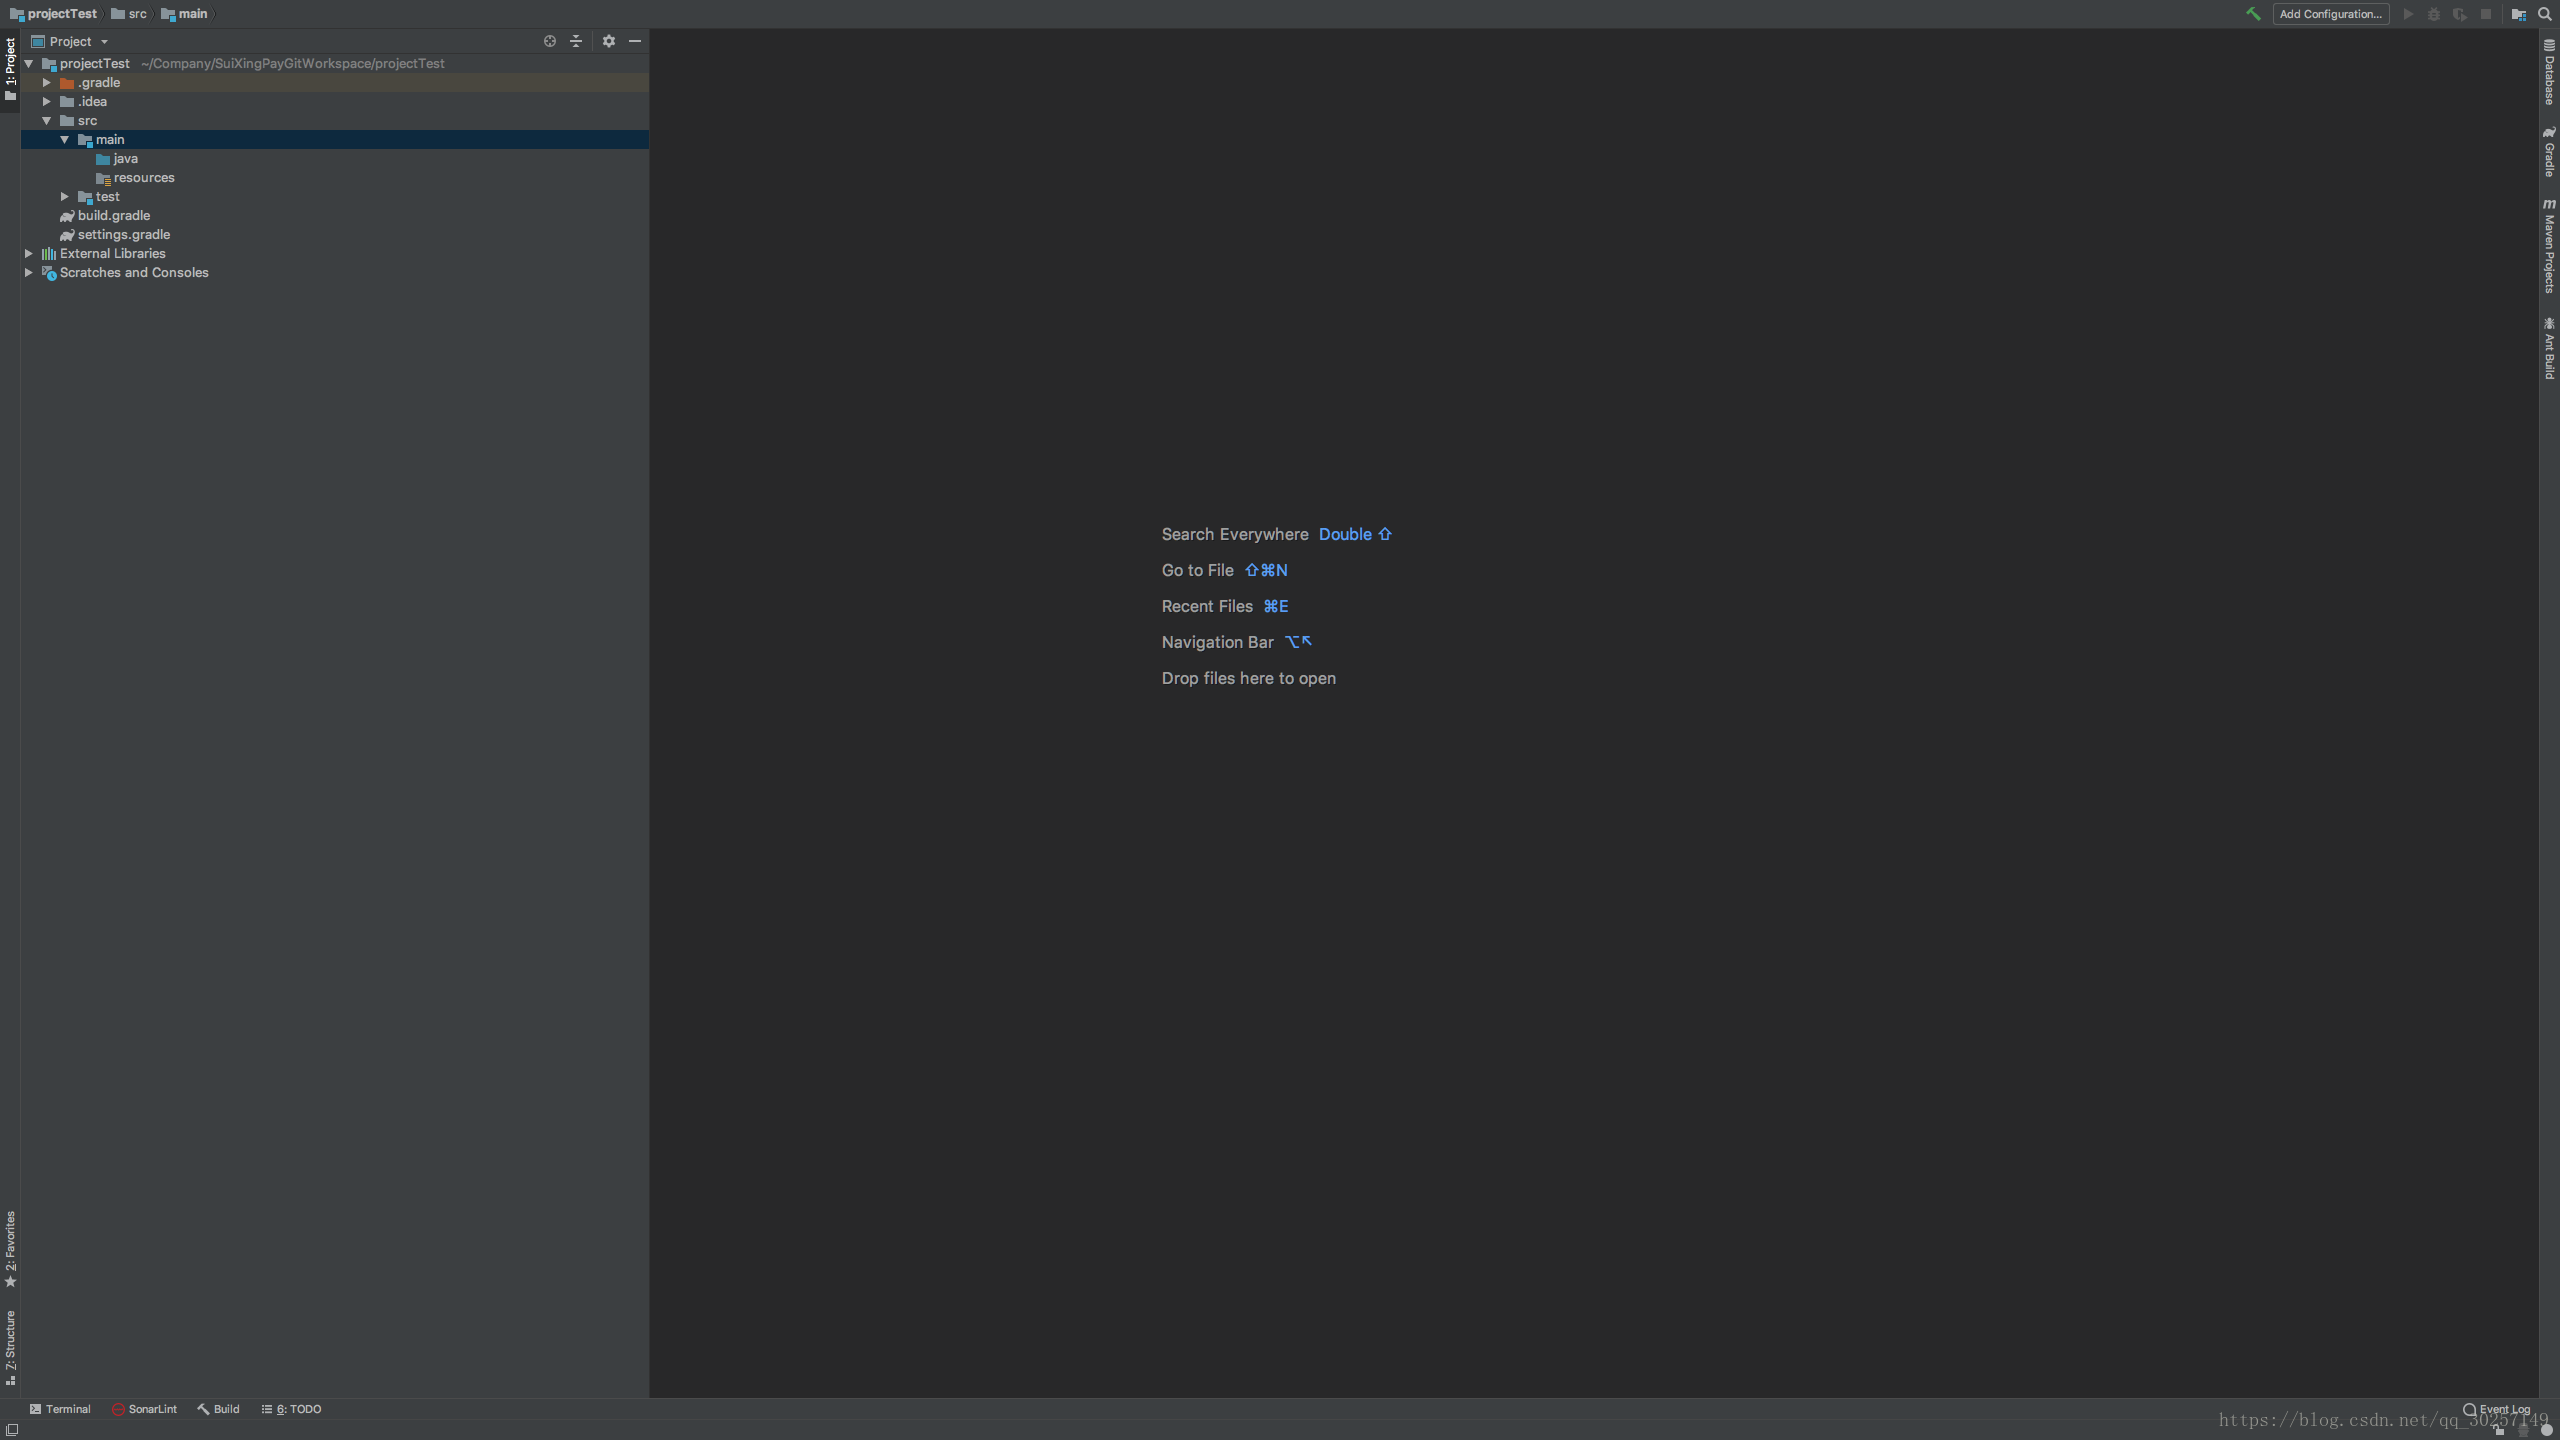
-
第三步:创建多模块(module)
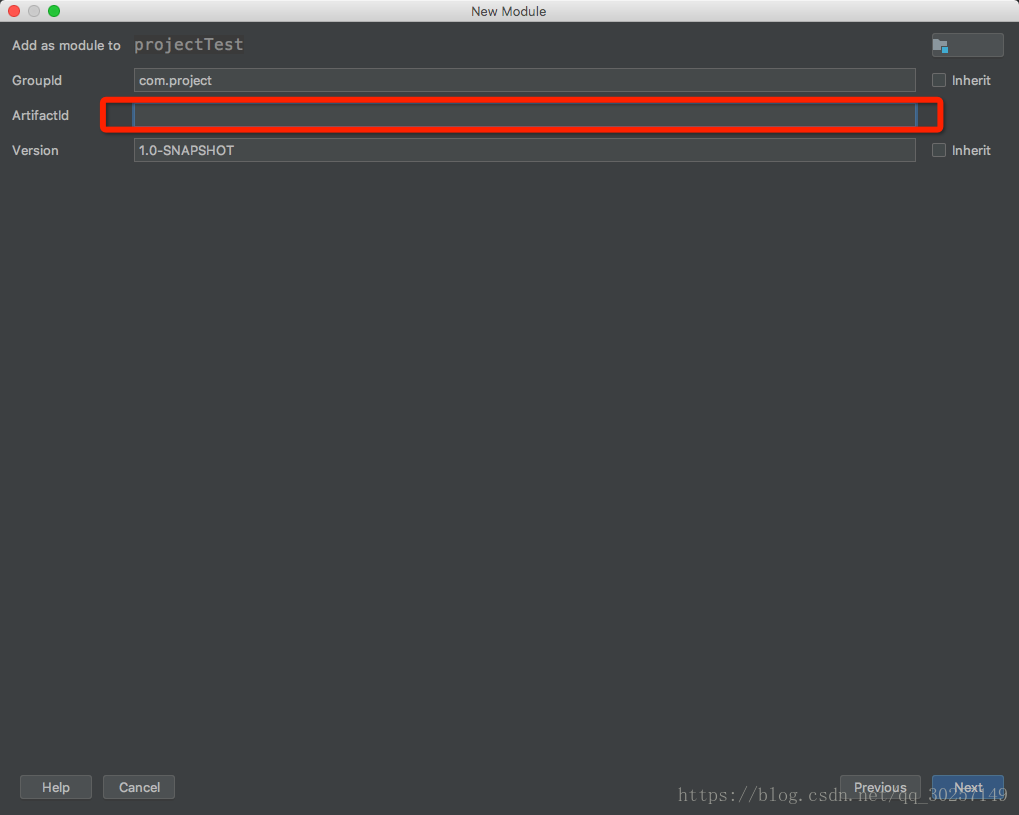
填写Artifactid 名称(模块名称)
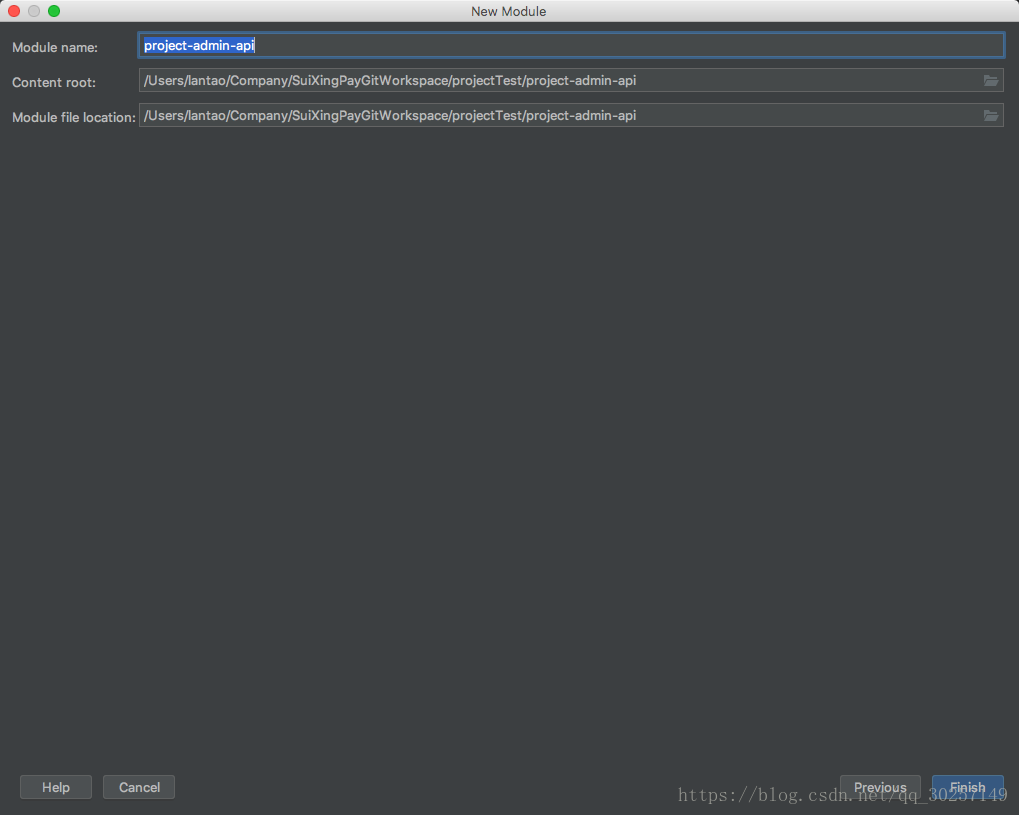
Finish 完成 并删除模块之外的src;
按照第二步骤再次创建一个模块,完成多模块项目;多模块 project项目搭建完成
2:设置多模块项目gradle jar管理(idea版本)
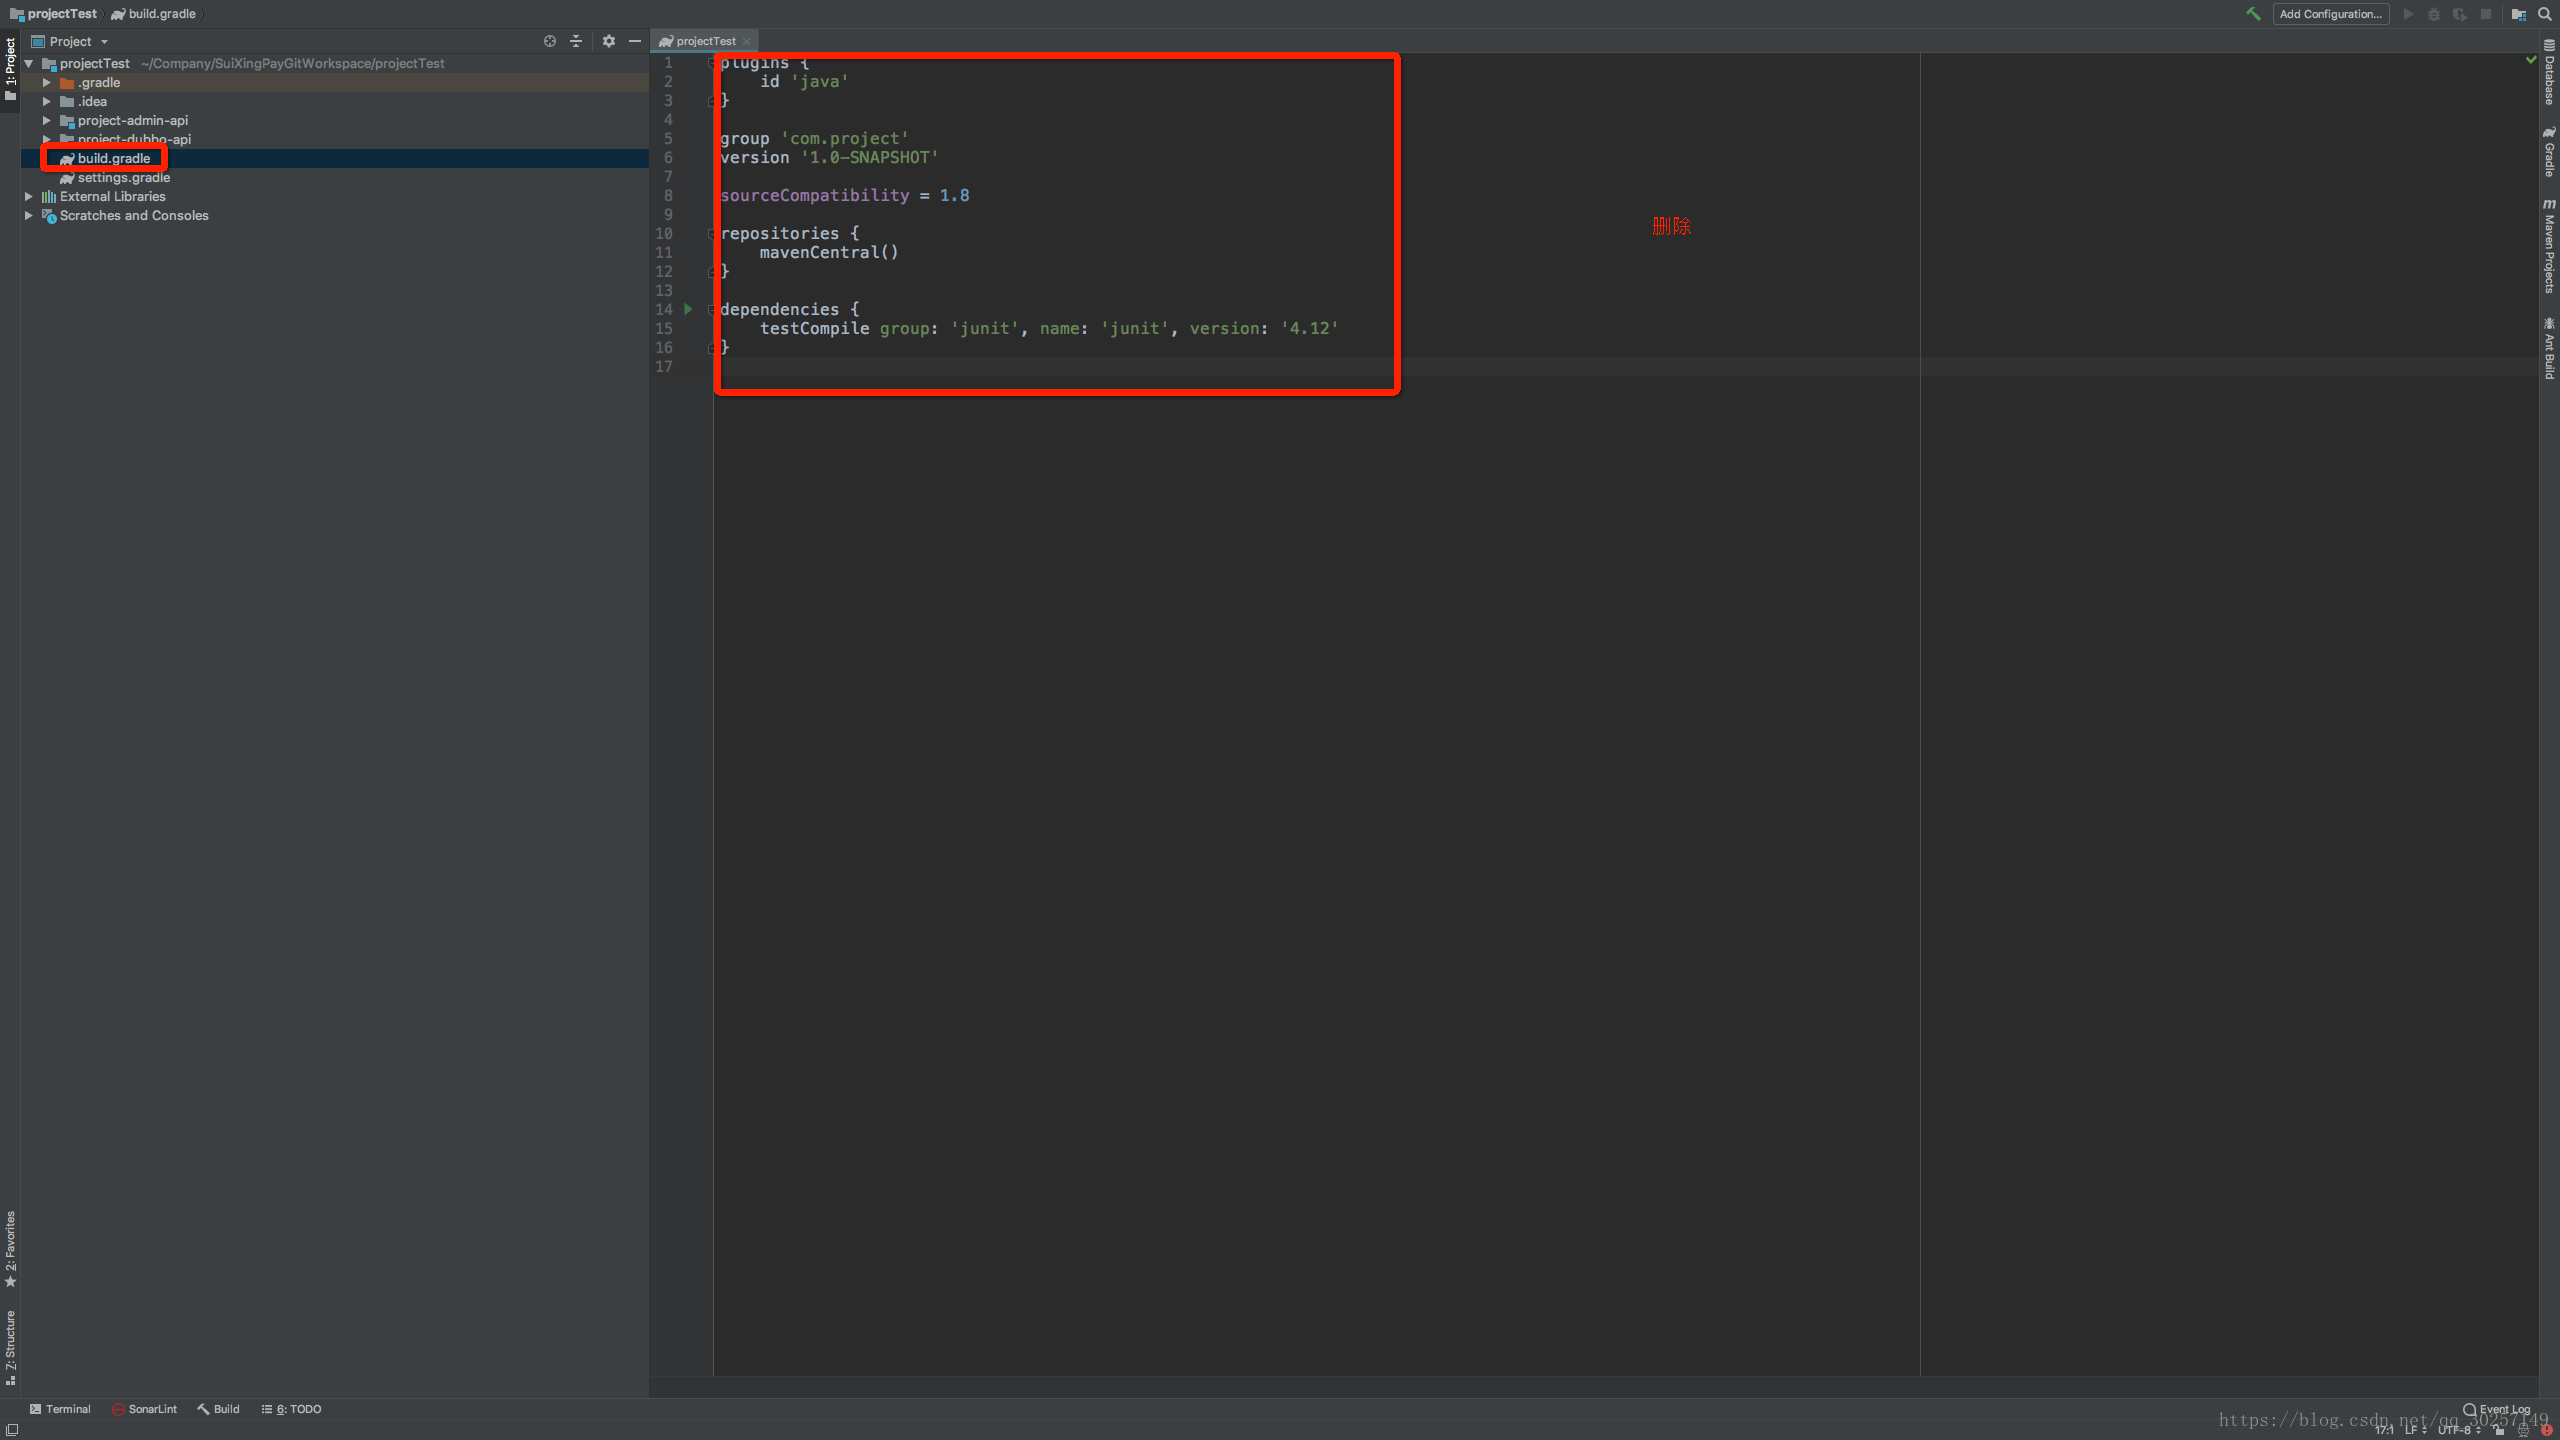
- 第一步:首先删除projectTest项目的最外层 Build.gardle中内容重新配置;
改为:
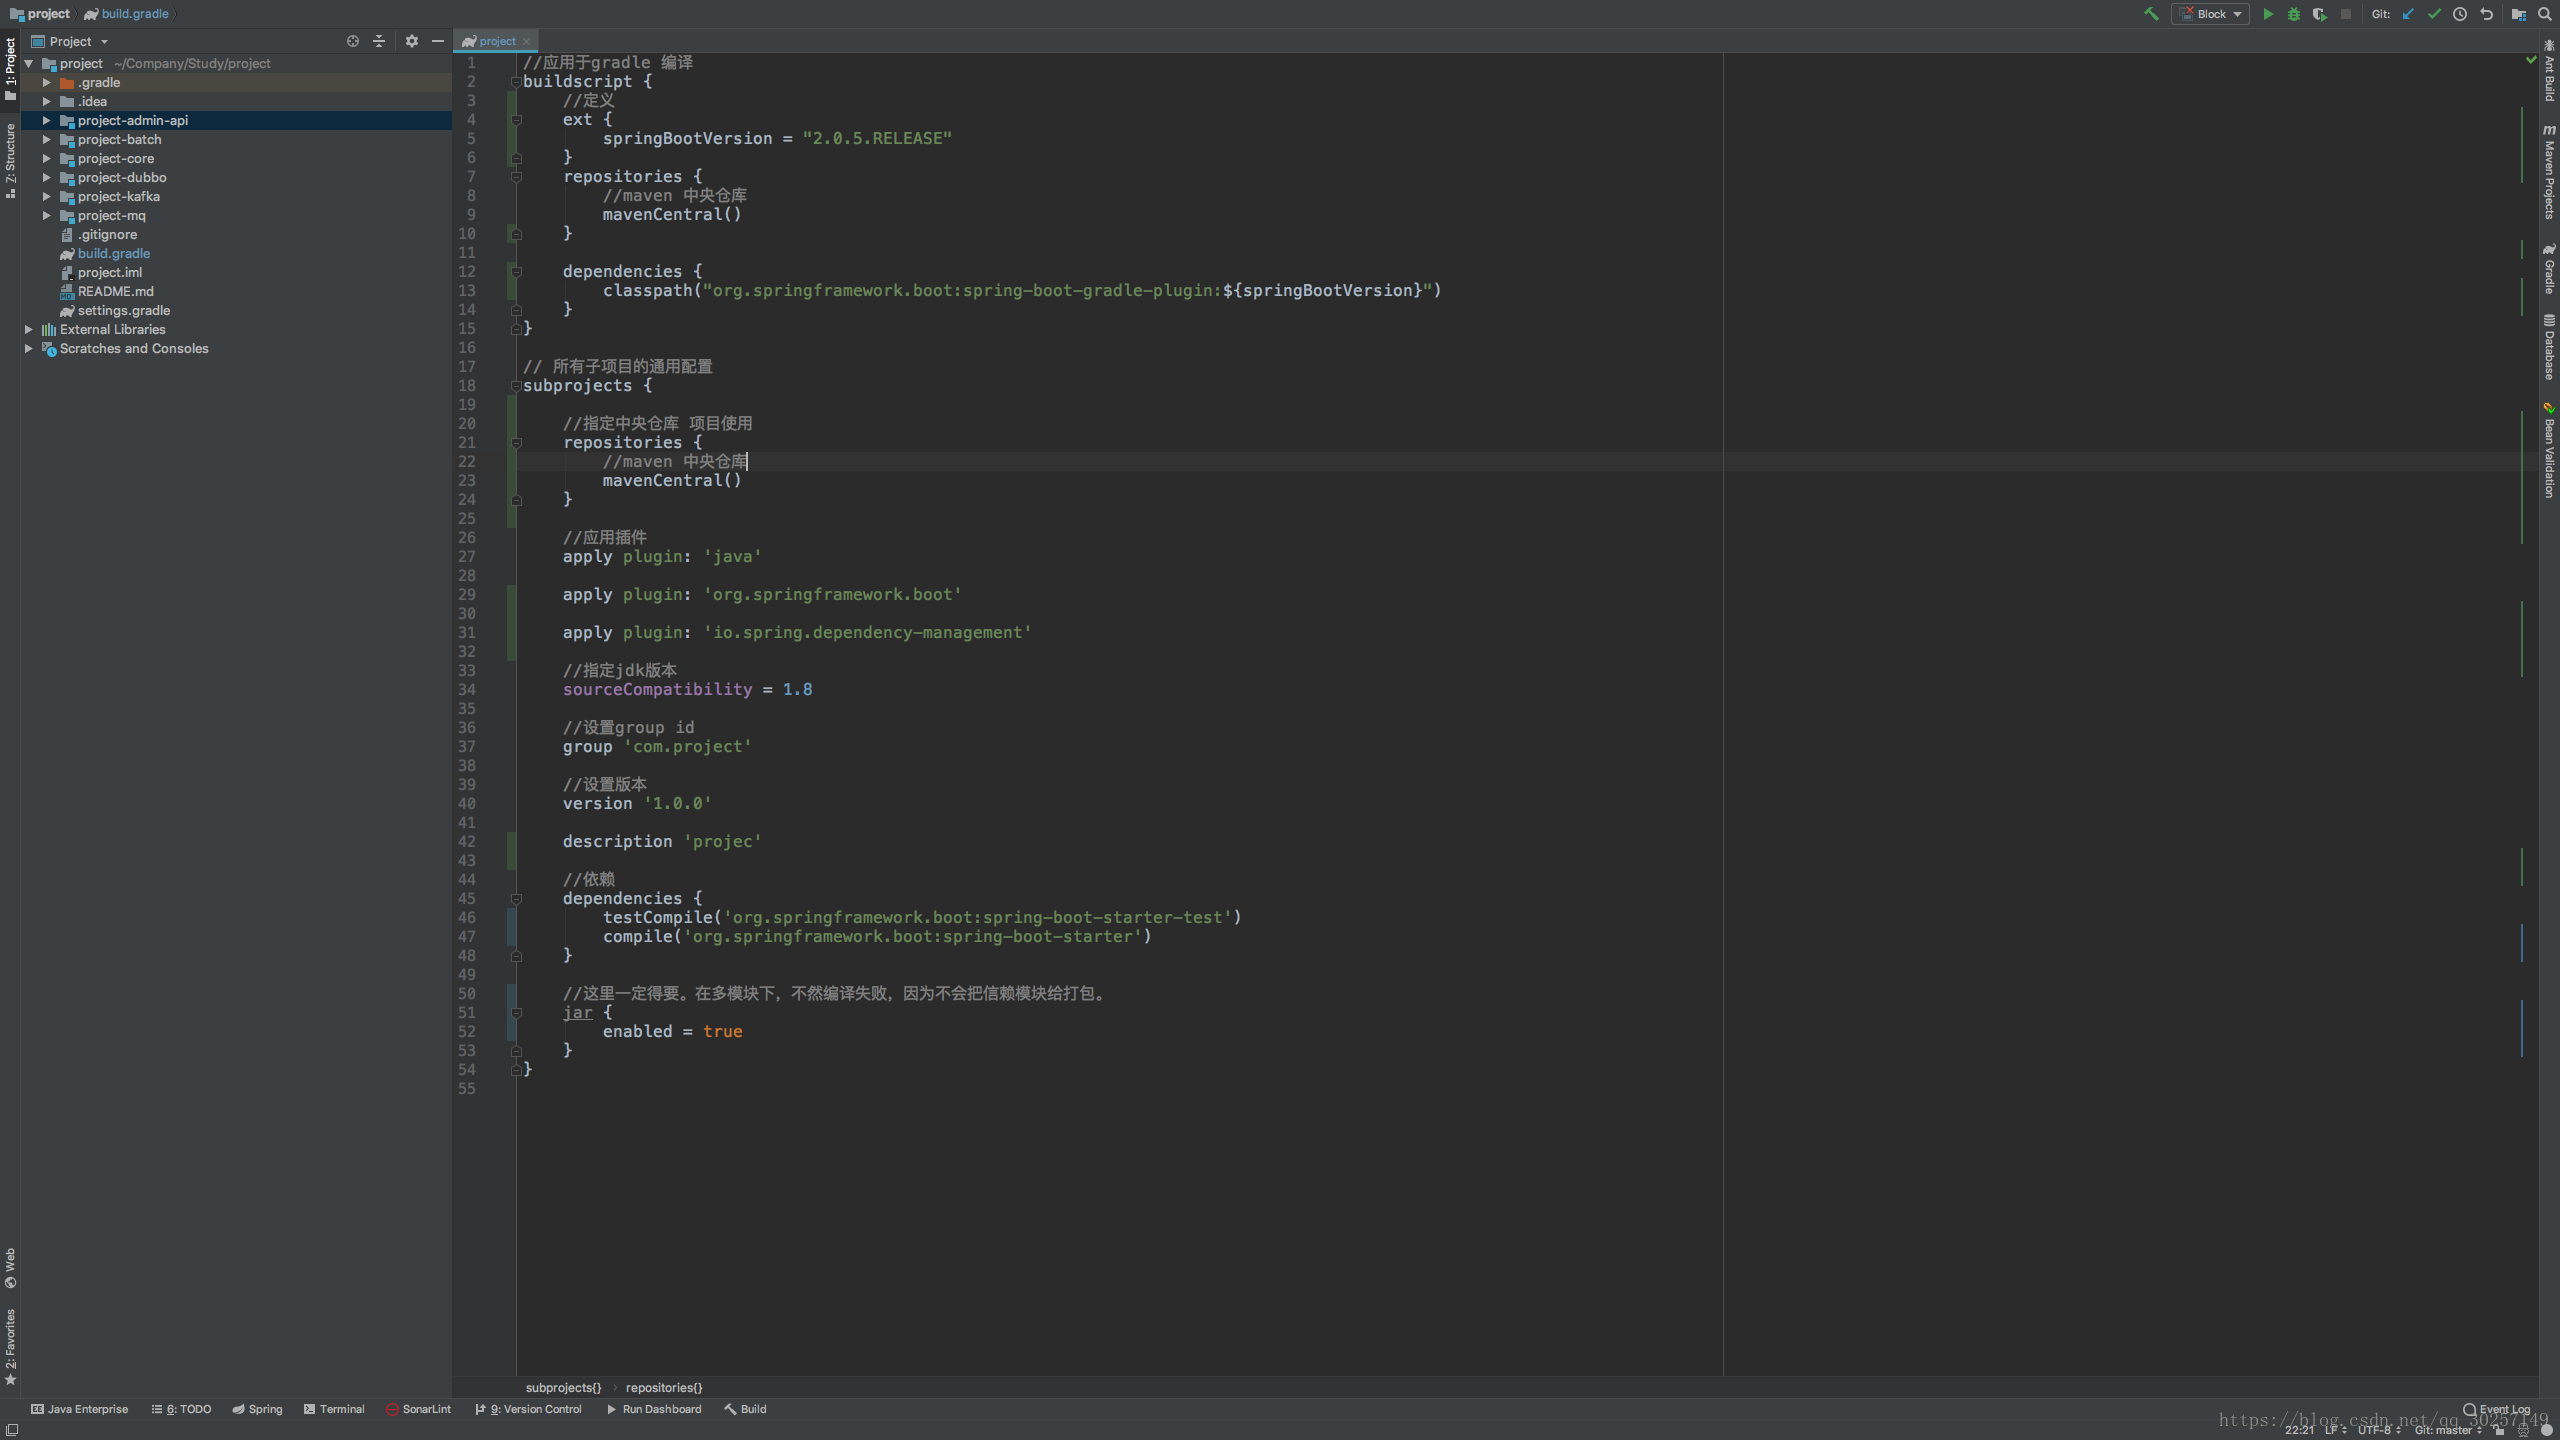
//应用于gradle 编译
buildscript {
   //定义
   ext {
       springBootVersion = "2.0.5.RELEASE"
   }
   repositories {
       //maven 中央仓库
       mavenCentral()
   }

   dependencies {
       // 指定gradle spring boot plugin 版本 用于spring boot 版本依赖控制
       classpath("org.springframework.boot:spring-boot-gradle-plugin:${springBootVersion}")
   }
}

// 所有子项目的通用配置
subprojects {

   //指定中央仓库 项目使用
   repositories {
       //maven 中央仓库
       mavenCentral()
   }

   //应用插件
   apply plugin: 'java'

   apply plugin: 'org.springframework.boot'

   //用于spring boot 版本jar依赖
   apply plugin: 'io.spring.dependency-management'

   //指定jdk版本
   sourceCompatibility = 1.8

   //设置group id
   group 'com.project'

   //设置版本
   version '1.0.0'

   description 'projec'

   //依赖
   dependencies {
       testCompile('org.springframework.boot:spring-boot-starter-test')
       compile('org.springframework.boot:spring-boot-starter')
   }

   //这里一定得要。在多模块下,不然编译失败,因为不会把信赖模块给打包。
   jar {
       enabled = true
   }
}
- 第二步:将所有module的build.gradle文件只需要设置自己所需要的jar
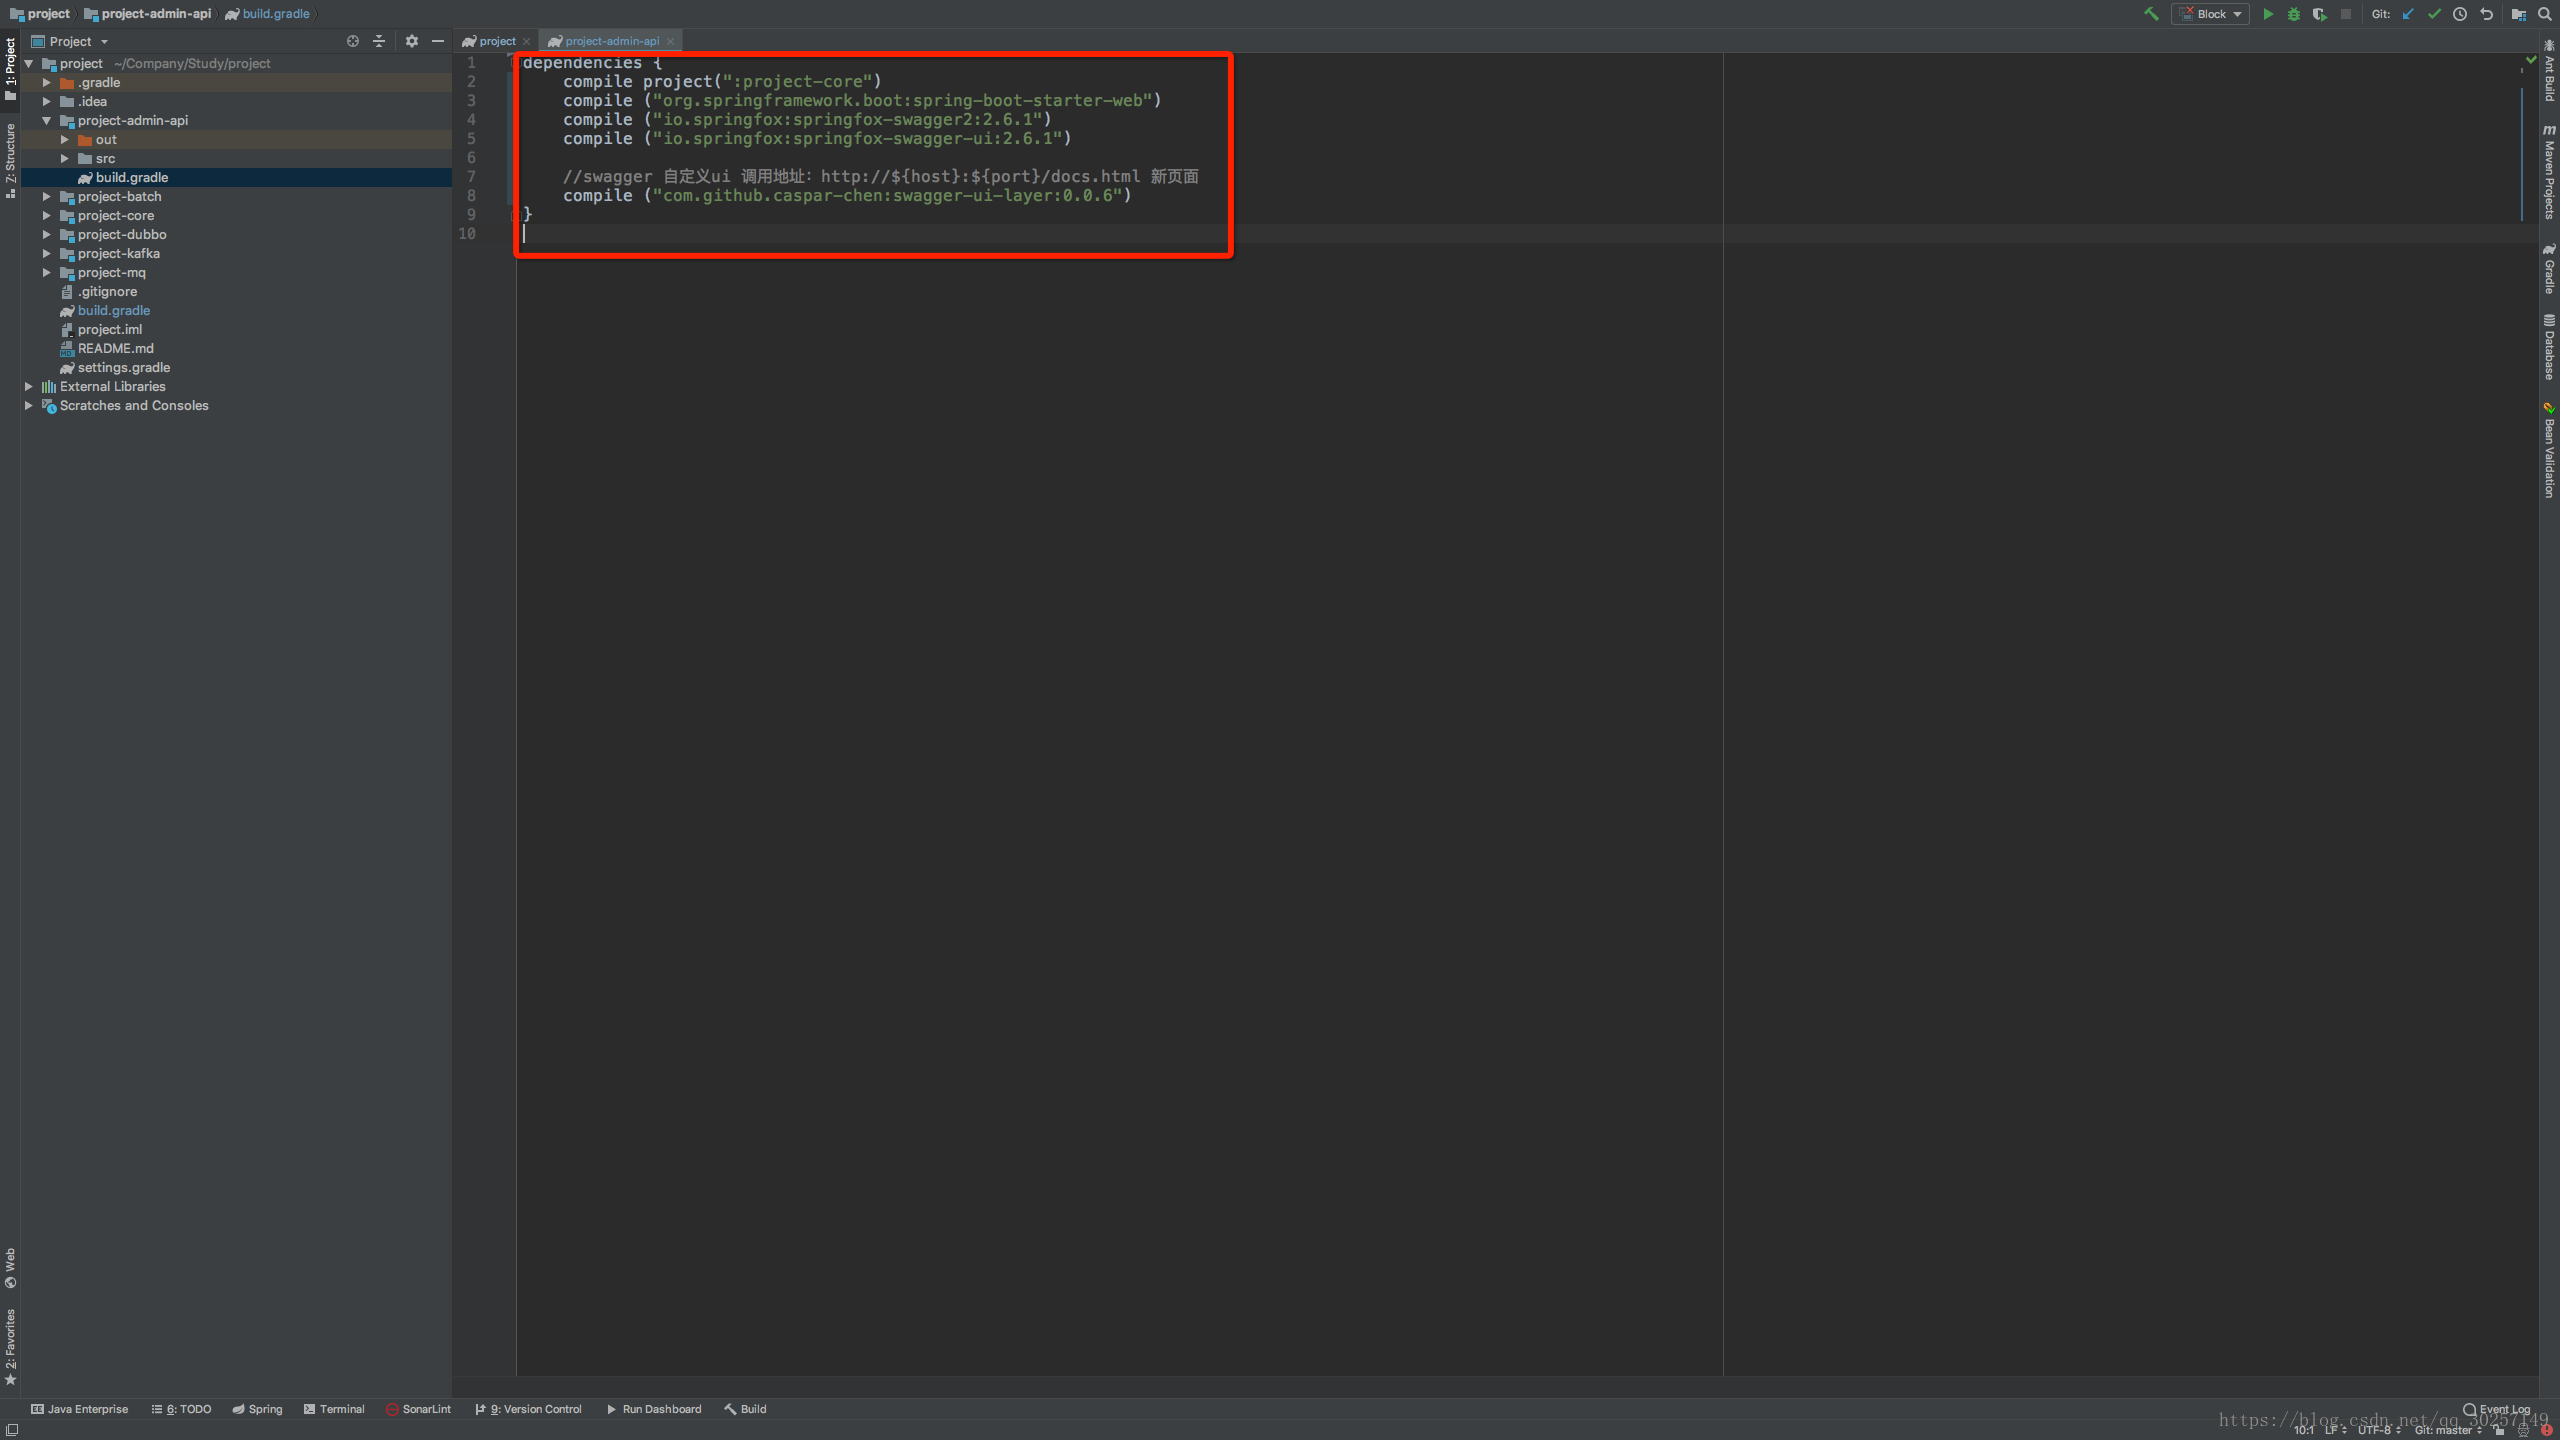
 dependencies {
   compile project(":project-core")
   compile ("org.springframework.boot:spring-boot-starter-web")
   compile ("io.springfox:springfox-swagger2:2.6.1")
   compile ("io.springfox:springfox-swagger-ui:2.6.1")

   //swagger 自定义ui 调用地址:http://${host}:${port}/docs.html 新页面
   compile ("com.github.caspar-chen:swagger-ui-layer:0.0.6")
}
讲解
最外层的build.gradle 中分为 两大块 buildscript{} 和 subprojects{};
- buildscript{} : 应用于gradle 编译使用 包含
//应用于gradle 编译
buildscript {
    //定义
    ext {
        springBootVersion = "2.0.5.RELEASE"
    }
    repositories {
        //maven 中央仓库
        mavenCentral()
    }

    dependencies {
        classpath("org.springframework.boot:spring-boot-gradle-plugin:${springBootVersion}")
    }
}
- subprojects{}: 所有子项目的通用配置
// 所有子项目的通用配置
subprojects {

   //指定中央仓库 项目使用
   repositories {
       //maven 中央仓库
       mavenCentral()
   }

   //应用插件
   apply plugin: 'java'

   apply plugin: 'org.springframework.boot'

   apply plugin: 'io.spring.dependency-management'

   //指定jdk版本
   sourceCompatibility = 1.8

   //设置group id
   group 'com.project'

   //设置版本
   version '1.0.0'

   description 'projec'

   //依赖
   dependencies {
       testCompile('org.springframework.boot:spring-boot-starter-test')
       compile('org.springframework.boot:spring-boot-starter')
   }

   //这里一定得要。在多模块下,不然编译失败,因为不会把信赖模块给打包。
   jar {
       enabled = true
   }
}

最后
以上就是可爱水池最近收集整理的关于基于gradle创建springBoot web项目(idea版本)1:创建纯净基于gradle的项目(idea版本)2:设置多模块项目gradle jar管理(idea版本)的全部内容,更多相关基于gradle创建springBoot内容请搜索靠谱客的其他文章。
本图文内容来源于网友提供,作为学习参考使用,或来自网络收集整理,版权属于原作者所有。


发表评论 取消回复