一、简介
本文主要以matlab 2019b版本,主要讲解怎么用simulink生Autosar C/S接口:
1.设置Autosar嵌入式C代码;
2.加入C/S接口;
二、具体实现方法
matlab simulink 中和Autosar接口对应关系如下表:
| Autosae接口 | simulink模块 |
|---|---|
| ReceiverPorts | In1 |
| SenderPorts | Out1 |
| ClientPorts | Function Caller |
| SeverPorts | Function-Caller Subsystem |
建立测试模型如下图:
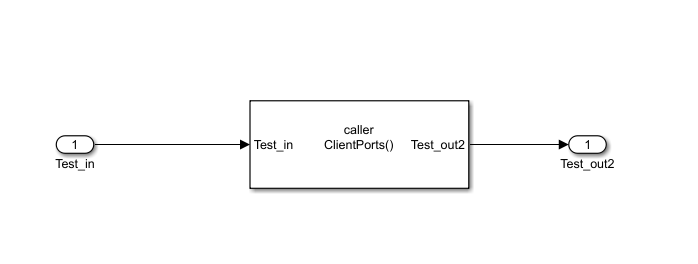
Function Caller 中设置:
1.Function prototype:Test_out2 = ClientPorts(Test_in) 设置函数输入输出参数及接口名
2.Input argument specifications (e.g., int8(1)):int8(1) 设置输入参数数据类型,不填写默认为空
3.Output argument specifications (e.g., int8(1)):int16(1) 设置输出参数数据类型,不填写默认为空
点击Apps->Autosar Component Tools 工具,根据自己需要对模型进行Autosar化,生成Client接口如下

生成代码如下:
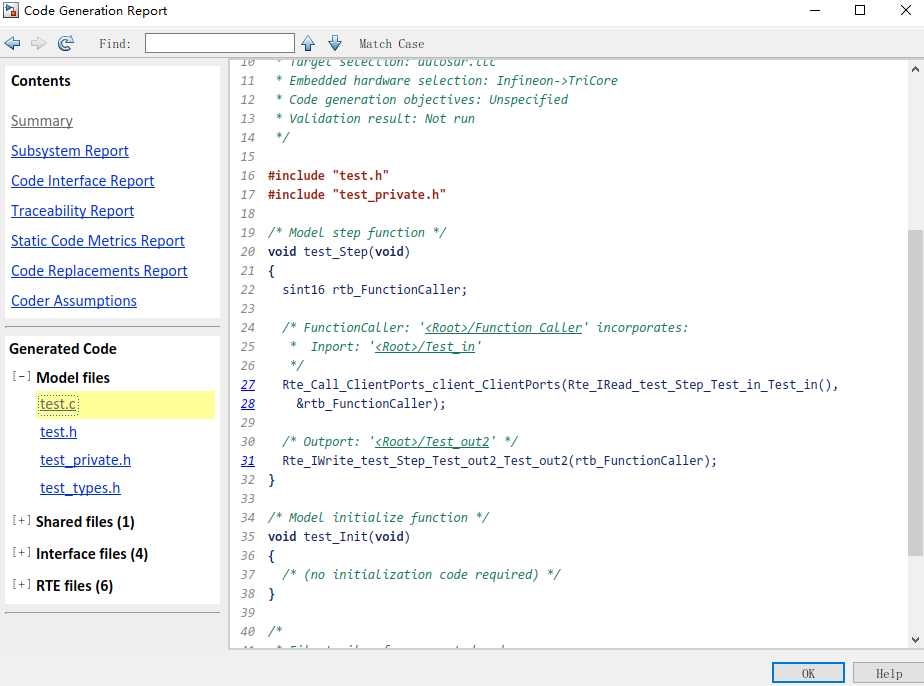
severports接口和上面一样操作。
最后
以上就是包容画板最近收集整理的关于使用simulink生成Autosar C/S接口代码的全部内容,更多相关使用simulink生成Autosar内容请搜索靠谱客的其他文章。
本图文内容来源于网友提供,作为学习参考使用,或来自网络收集整理,版权属于原作者所有。


发表评论 取消回复