背景
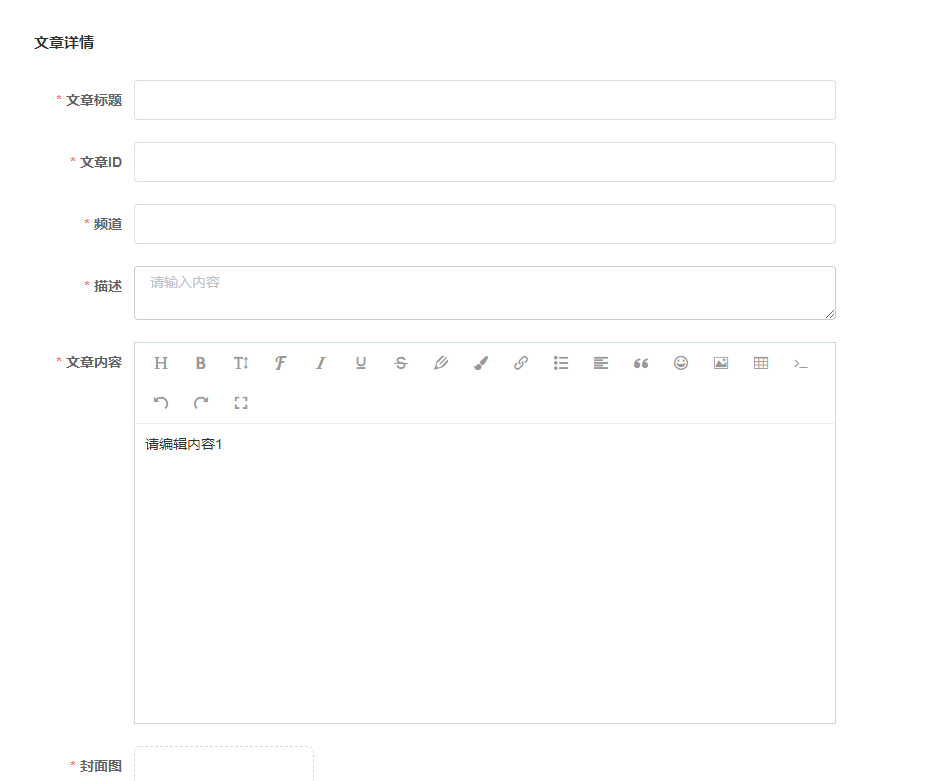
公司需要做一个后台文章管理的模块,通过富文本编辑器编辑文章,在前端显示。调研了很久,决定使用wangEditor —— 轻量级 web 富文本编辑器,配置方便,使用简单。一些编辑器的说明。
开始步骤
1.vue项目中安装wangEditor。使用的npm安装:
npm install wangeditor --save
2.创建一个 editoritem.vue,把编辑器封装成一个组件,组件内容
<template>
    <div id="wangeditor">
        <div ref="editorElem" style="text-align: left"></div>
    </div>
</template>
<script>
import E from "wangeditor";
export default {
    name: "editorElem",
    data() {
        return {
            editor: null,
            editorContent: "",
        };
    },
    props: ["catchData", "content"], // 接收父组件的方法
    watch: {
        content() {
            this.editor.txt.html(this.content);
        },
    },
    mounted() {
        this.editor = new E(this.$refs.editorElem);
        console.log("this.editor====>", this.editor);
        this.editor.config.onchange = (html) => {
            this.editorContent = html;
            this.catchData(this.editorContent); // 把这个html通过catchData的方法传入父组件
        };
        this.editor.config.uploadImgServer = "你的上传图片的接口";
        this.editor.config.uploadFileName = "你自定义的文件名";
        this.editor.config.menus = [
            // 菜单配置
            "head", // 标题
            "bold", // 粗体
            "fontSize", // 字号
            "fontName", // 字体
            "italic", // 斜体
            "underline", // 下划线
            "strikeThrough", // 删除线
            "foreColor", // 文字颜色
            "backColor", // 背景颜色
            "link", // 插入链接
            "list", // 列表
            "justify", // 对齐方式
            "quote", // 引用
            "emoticon", // 表情
            "image", // 插入图片
            "table", // 表格
            "code", // 插入代码
            "undo", // 撤销
            "redo", // 重复
        ];
        // 下面是最重要的的方法
        this.editor.config.uploadImgHooks = {
            before: function (xhr, editor, files) {
                // 图片上传之前触发
                // xhr 是 XMLHttpRequst 对象,editor 是编辑器对象,files 是选择的图片文件
                // 如果返回的结果是 {prevent: true, msg: 'xxxx'} 则表示用户放弃上传
                // return {
                //     prevent: true,
                //     msg: '放弃上传'
                // }
            },
            success: function (xhr, editor, result) {
                // 图片上传并返回结果,图片插入成功之后触发
                // xhr 是 XMLHttpRequst 对象,editor 是编辑器对象,result 是服务器端返回的结果
                this.imgUrl = Object.values(result.data).toString();
            },
            fail: function (xhr, editor, result) {
                // 图片上传并返回结果,但图片插入错误时触发
                // xhr 是 XMLHttpRequst 对象,editor 是编辑器对象,result 是服务器端返回的结果
            },
            error: function (xhr, editor) {
                // 图片上传出错时触发
                // xhr 是 XMLHttpRequst 对象,editor 是编辑器对象
            },
            timeout: function (xhr, editor) {
                // 图片上传超时时触发
                // xhr 是 XMLHttpRequst 对象,editor 是编辑器对象
            },

            // 如果服务器端返回的不是 {errno:0, data: [...]} 这种格式,可使用该配置
            // (但是,服务器端返回的必须是一个 JSON 格式字符串!!!否则会报错)
            customInsert: function (insertImg, result, editor) {
                // 图片上传并返回结果,自定义插入图片的事件(而不是编辑器自动插入图片!!!)
                // insertImg 是插入图片的函数,editor 是编辑器对象,result 是服务器端返回的结果
                // 举例:假如上传图片成功后,服务器端返回的是 {url:'....'} 这种格式,即可这样插入图片:
                let url = Object.values(result.data); // result.data就是服务器返回的图片名字和链接
                JSON.stringify(url); // 在这里转成JSON格式
                insertImg(url);
                // result 必须是一个 JSON 格式字符串!!!否则报错
            },
        };

        this.editor.create(); // 创建富文本实例
        if (!this.content) {
            this.editor.txt.html("请编辑内容1");
        }
    },
};
</script>
<style lang="scss">
</style>
3.在需要的父组件页面中调用富文本编辑器。
// 引入组件
import EditorBar from "./editoritem";
// 声明组件
components: {
  EditorBar,
},
// 引用组件  catchData监听富文本的输入  editorContent为富文本中的内容
<editor-bar
  :catchData="catchData"
  :content="editorContent"
></editor-bar>
// 在父组件中定义传入的catchData方法和 editorContent 在data中定义
catchData(content) {
     console.log("content=====?>", content);
     console.log("qqqq");
 },
完成
根据以上3步即可完成富文本的调用,至此完成wangEditor的调用。

注意事项
官方文档:


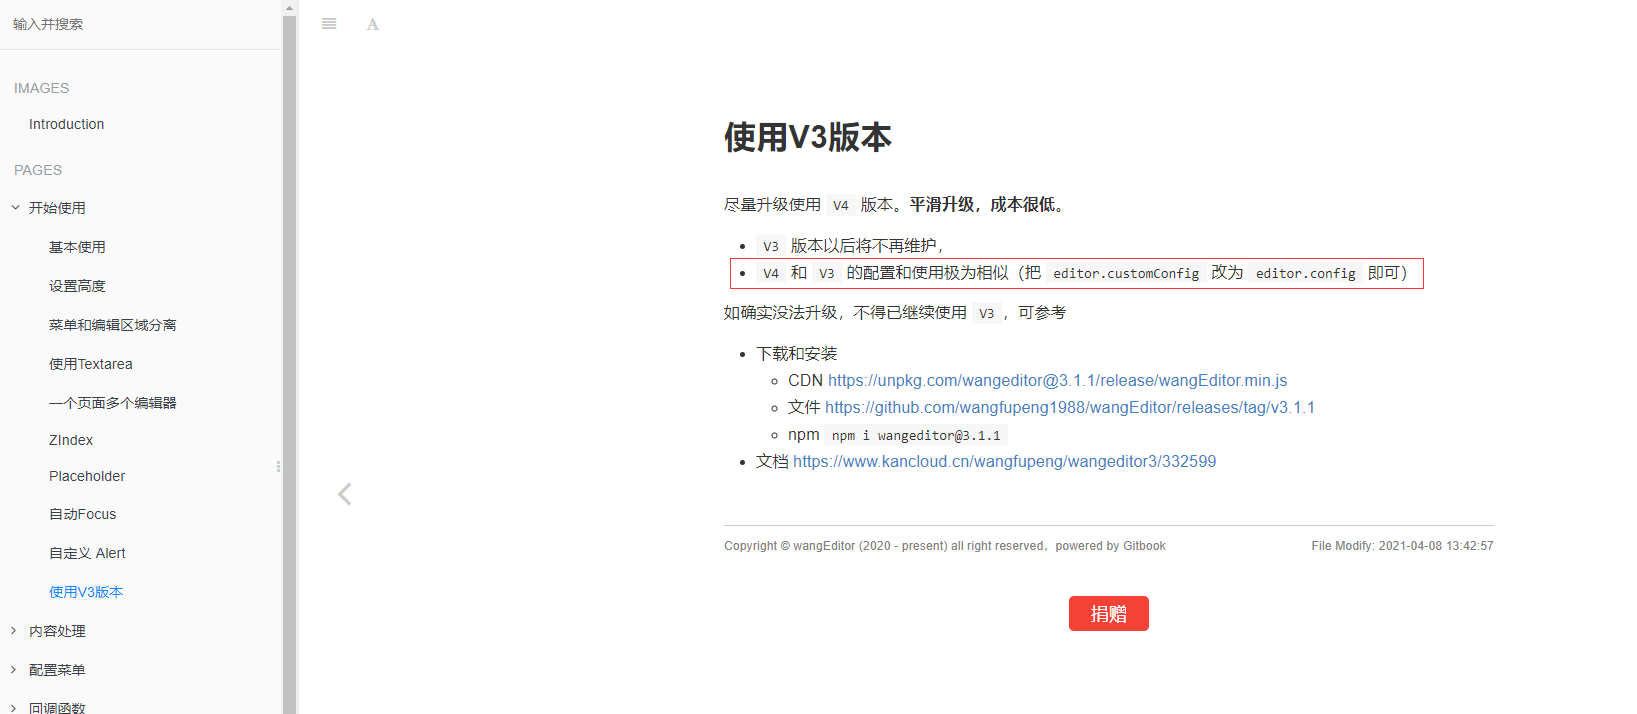
有的地方不是this.editor.config 而是 this.editor.customConfig,具体的可以看官方文档或者打印出来看具体的参数。
最后
以上就是包容小懒虫最近收集整理的关于vue管理后台项目中使用wangEditor富文本编辑器背景开始步骤完成注意事项的全部内容,更多相关vue管理后台项目中使用wangEditor富文本编辑器背景开始步骤完成注意事项内容请搜索靠谱客的其他文章。
本图文内容来源于网友提供,作为学习参考使用,或来自网络收集整理,版权属于原作者所有。


发表评论 取消回复