优美的应用体验 来自于细节的处理,更源自于码农的自我要求与努力,当然也需要码农年轻灵活的思维,不局限于思维,不局限语言限制,才是编程的最高境界。
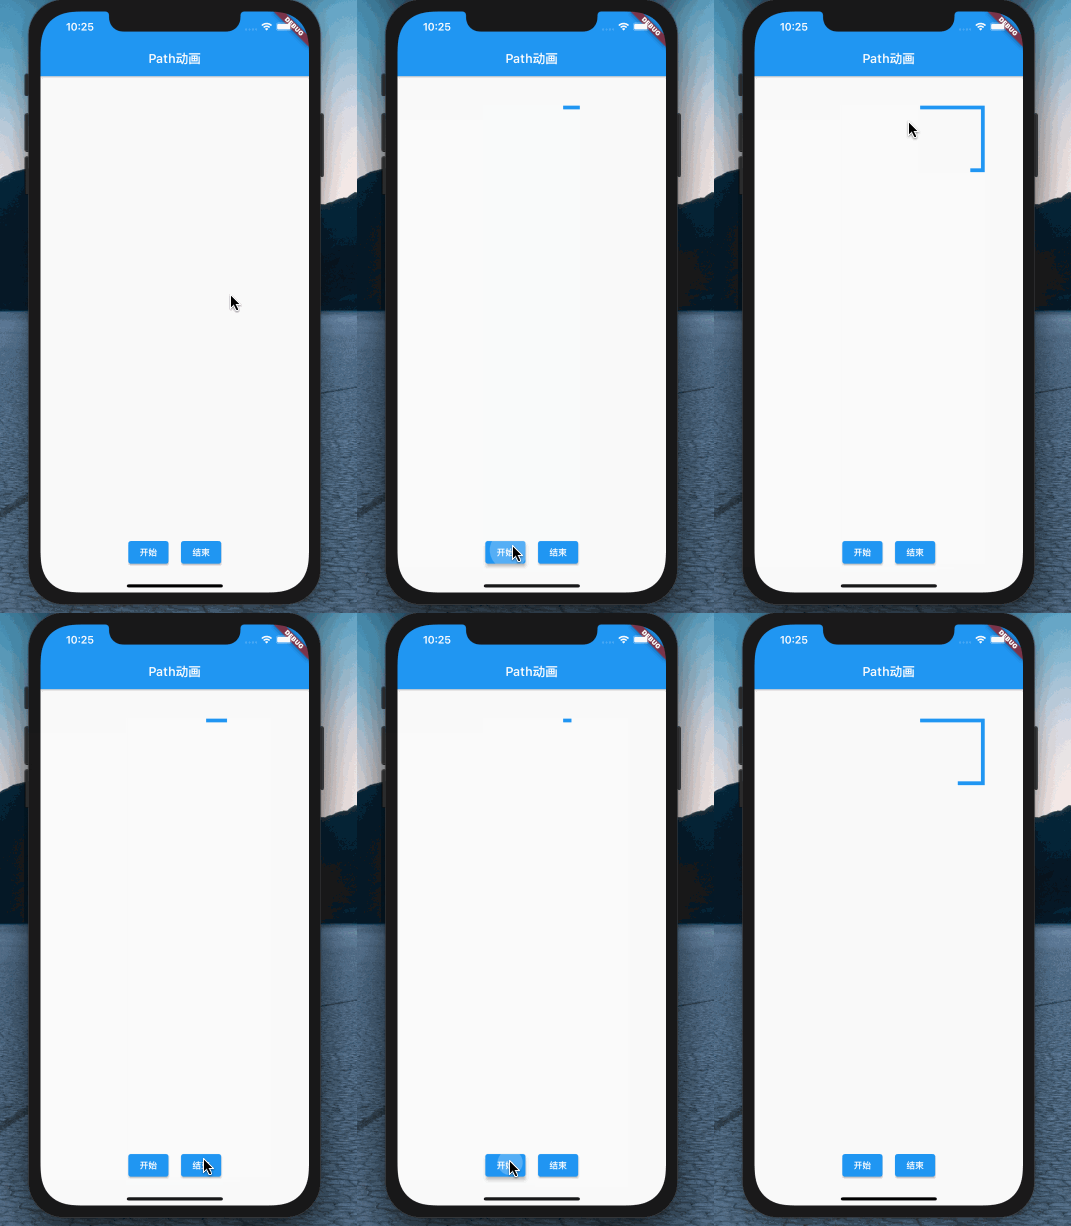
本文章是一个基础篇,实现的Demo如下:

首先在Flutter项目工程中定义一个单文件启动页面,用来方便测试,代码如下:
void main() { runApp(MaterialApp( home: RootPage(), ));}RootPage 就是定义的上图Demo中的效果,在这里创建了一个动画控制器,用来实现在一定时间内,匀速控制一个从 0.0 到 1.0的变化速率,以实现上述Demo中的画线操作,代码如下:
class RootPage extends StatefulWidget { @override State createState() { return _RootPageState(); }}class _RootPageState extends State with SingleTickerProviderStateMixin { //动画控制器 AnimationController _animationController; @override void initState() { super.initState(); _animationController = new AnimationController( vsync: this, duration: Duration(milliseconds: 1000)); //动画监听 _animationController.addListener(() { setState(() {}); }); //添加一个动画状态监听 _animationController.addStatusListener((status) { if (status == AnimationStatus.completed) { //动画正向执行完成 重新执行 _animationController.reset(); _animationController.forward(); } }); } ... ... }页面构建函数如下:
@override Widget build(BuildContext context) { return Scaffold( appBar: AppBar( title: Text("Path动画"), ), body: Column( children: [ //第一部分 画布 画线处 Expanded( child: buildContainer(), ), //第二部分 底部的按钮区域 buildControllerContainer() ], ), ); }按钮区域就是线性排列的按钮,代码如下:
//第二部分 底部的按钮区域 Container buildControllerContainer() { return Container( margin: EdgeInsets.only(bottom: 40), child: Row( mainAxisAlignment: MainAxisAlignment.center, children: [ //按钮 ElevatedButton( onPressed: () { //重置动画 _animationController.reset(); //正向执行动画 _animationController.forward(); }, child: Text("开始"), ), SizedBox( width: 20, ), //按钮 ElevatedButton( onPressed: () { _animationController.reset(); }, child: Text("结束"), ) ], ), ); }第一部分的画线部分代码如下:
//第一部分 画布 画线处 buildContainer() { return Container( //定义 一个画板 child: CustomPaint( //定义一个画布 painter: PathPainter(_animationController.value), ), ); }自定义的 画布 PathPainter 代码如下:
class PathPainter extends CustomPainter { //记录绘制进度 0.0 - 1.0 double progress = 0.0; PathPainter(this.progress); //定义画笔 Paint _paint = new Paint() ..color = Colors.blue //画笔颜色 ..style = PaintingStyle.stroke ..strokeWidth = 6.0 ..isAntiAlias = true; @override void paint(Canvas canvas, Size size) { //画一个矩形 //创建一个Path Path startPath = new Path(); //路径中添加矩形 startPath.addRect( Rect.fromCenter( height: 100, width: 100, center: Offset(100, 100), ), ); //核心功能实现 //测量Path PathMetrics pathMetrics = startPath.computeMetrics(); //获取第一小节信息 PathMetric pathMetric = pathMetrics.first; //测量并裁剪Path Path extrPath = pathMetric.extractPath(0, pathMetric.length * progress); //绘制 canvas.drawPath(extrPath, _paint); // canvas.drawPath(startPath, _paint); } @override bool shouldRepaint(covariant CustomPainter oldDelegate) { //返回ture 实时更新 return true; }}最后
以上就是冷艳太阳最近收集整理的关于绘画矩形_Flutter 绘画专题 Path动画 矩形的画线动画的全部内容,更多相关绘画矩形_Flutter内容请搜索靠谱客的其他文章。
本图文内容来源于网友提供,作为学习参考使用,或来自网络收集整理,版权属于原作者所有。


发表评论 取消回复