0. 前言
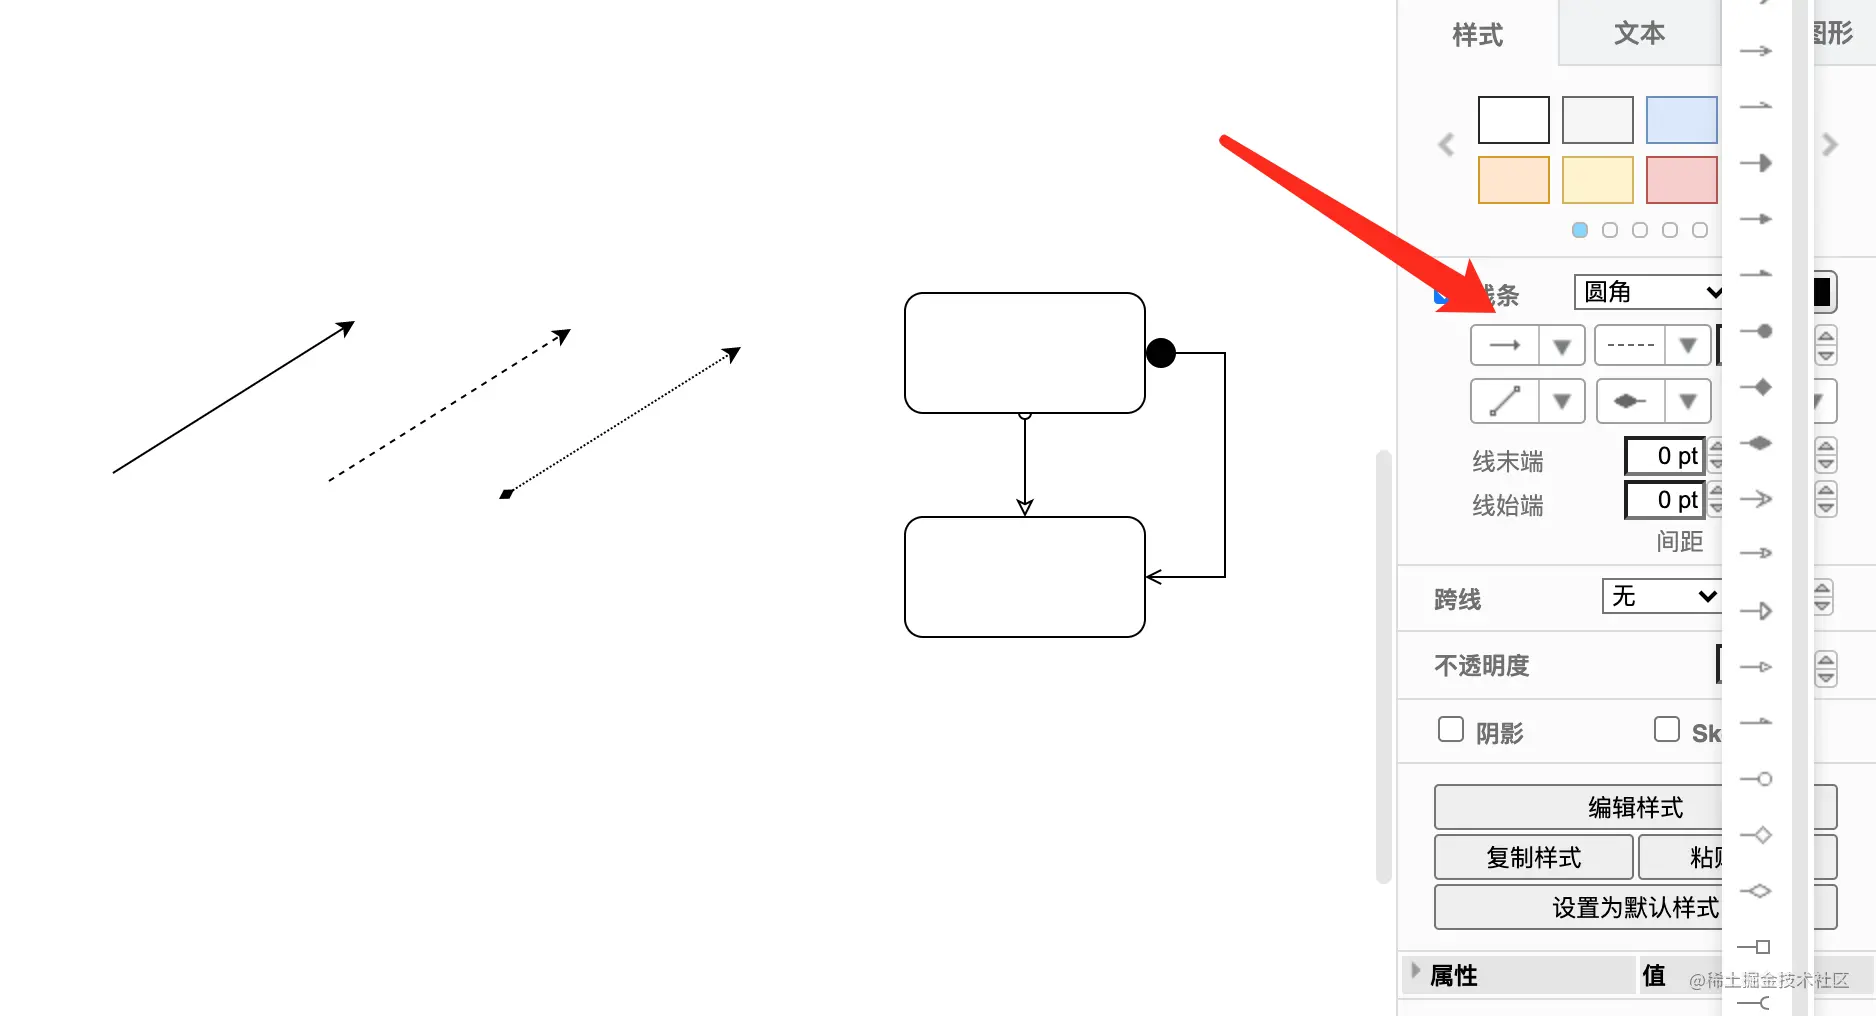
可能有人会觉得,画箭头有什么好说的,不就一根线加两个头吗?其实箭头的绘制还是比较复杂的,其中也蕴含着很多绘制的小技巧。箭头本身有着很强的 示意功能 ,通常用于指示、标注、连接。各种不同的箭头端,再加上线型的不同,可以组合成一些固定连接语法,比如 UML 中的类图。

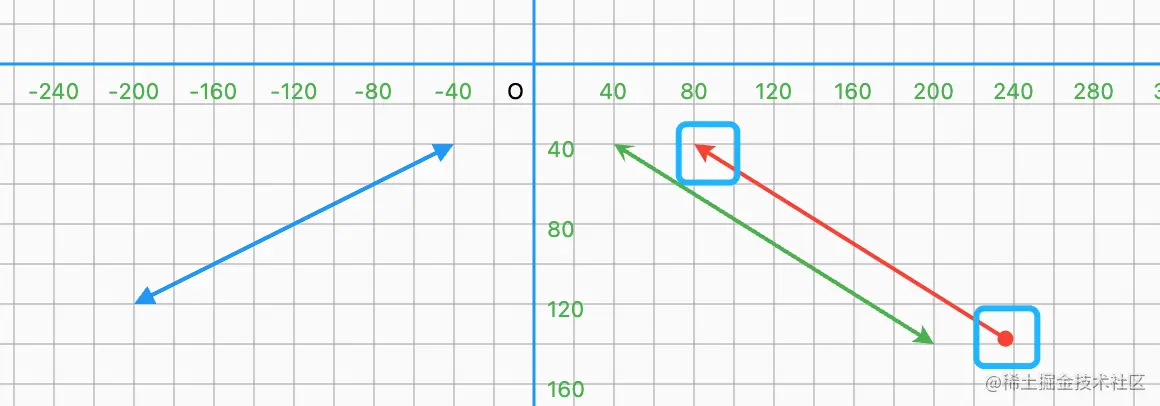
一个箭头,其核心数据是两个点的坐标,由 左右端点 和 线型 构成。这篇文章就来探索一下,如何绘制一个支持各种样式,而且容易拓展的箭头。

1. 箭头部位的划分
首先要说一点,我希望获取的是箭头的 路径 ,而非单纯的绘制箭头。因为有了路径,可以做更多的事,比如根据路径裁剪、沿路径运动、多个路径间的合并操作等。当然,路径形成之后,绘制自然是非常简单的。所以在绘制技巧中,路径一个非常重要的话题。
如下所示,我们先来生成三个部分的路径,并进行绘制,两端暂时是圆形路径:
[外链图片转存失败,源站可能有防盗链机制,建议将图片保存下来直接上传(img-evTuUncE-1657777368533)(https://upload-images.jianshu.io/upload_images/27762813-4c11341ebbedc0a6.png?imageMogr2/auto-orient/strip%7CimageView2/2/w/1240)]
代码实现如下,测试使用的起始点分别是 (40,40) 和 (200,40),圆形路径以起始点为中心,宽高为 10。可以看出虽然实现了需求,但是都写在一块,代码看起来比较乱。当要涉及生成各种样式箭头时,在这里修改代码也是非常麻烦的,接下来要做的就是对箭头的路径形成过程进行抽象。
final Paint arrowPainter = Paint();

Offset p0 = Offset(40, 40);
Offset p1 = Offset(200, 40);
double width = 10;
double height = 10;

Rect startZone = Rect.fromCenter(center: p0, width: width, height: height);
Path startPath = Path()..addOval(startZone);
Rect endZone = Rect.fromCenter(center: p1, width: width, height: height);
Path endPath = Path()..addOval(endZone);

Path linePath = Path()..moveTo(p0.dx, p0.dy)..lineTo(p1.dx, p1.dy);

arrowPainter
  ..style = PaintingStyle.stroke..strokeWidth = 1
  ..color = Colors.red;

canvas.drawPath(startPath, arrowPainter);
canvas.drawPath(endPath, arrowPainter);
canvas.drawPath(linePath, arrowPainter);
如下,定义抽象类 AbstractPath 把 formPath 抽象出来,交由子类实现。端点的路径衍生出 PortPath 进行实现,这就可以将一些重复的逻辑进行封装,也有利于维护和拓展。整体路径的生成由 ArrowPath 类负责:
abstract class AbstractPath{
  Path formPath();
}

class PortPath extends AbstractPath{
  final Offset position;
  final Size size;

  PortPath(this.position, this.size);

  @override
  Path formPath() {
    Path path = Path();
    Rect zone = Rect.fromCenter(center: position, width: size.width, height: size.height);
    path.addOval(zone);
    return path;
  }
}

class ArrowPath extends AbstractPath{
  final PortPath head;
  final PortPath tail;

  ArrowPath({required this.head,required this.tail});

  @override
  Path formPath() {
    Offset line = (tail.position - head.position);
    Offset center = head.position+line/2;
    double length = line.distance;
    Rect lineZone = Rect.fromCenter(center:center,width:length,height:2);
    Path linePath = Path()..addRect(lineZone);
    Path temp = Path.combine(PathOperation.union, linePath, head.formPath());
    return Path.combine(PathOperation.union, temp, tail.formPath());
  }
}
这样,矩形域的确定和路径的生成,交由具体的类进行实现,在使用时就会方便很多:
double width =10;
double height =10;
Size portSize = Size(width, height);
ArrowPath arrow = ArrowPath(
  head: PortPath(p0, portSize),
  tail: PortPath(p1, portSize),
);
canvas.drawPath(arrow.formPath(), arrowPainter);

2. 关于路径的变换
上面我们的直线其实是矩形路径,这样就会出现一些问题,比如当箭头不是水平线,会出现如下问题:

解决方案也很简单,只要让矩形直线的路径沿两点的中心进行旋转即可,旋转的角度就是两点与水平线的夹角。这就涉及了绘制中非常重要的技巧:矩阵变换 。如下代码添加的四行 Matrix4 的操作,就可以通过矩阵变换,让 linePath 以 center 为中心旋转两点间角度。这里注意一下,tag1 处的平移是为了将变换中心变为 center、而tag2 处的反向平移是为了抵消 tag1 平移的影响。这样在两者之间的变换,就是以 center 为中心的变换:
class ArrowPath extends AbstractPath{
  final PortPath head;
  final PortPath tail;

  ArrowPath({required this.head,required this.tail});

  @override
  Path formPath() {
    Offset line = (tail.position - head.position);
    Offset center = head.position+line/2;
    double length = line.distance;
    Rect lineZone = Rect.fromCenter(center:center,width:length,height:2);
    Path linePath = Path()..addRect(lineZone);

    // 通过矩阵变换,让 linePath 以 center 为中心旋转 两点间角度
    Matrix4 lineM4 = Matrix4.translationValues(center.dx, center.dy, 0); // tag1
    lineM4.multiply(Matrix4.rotationZ(line.direction));
    lineM4.multiply(Matrix4.translationValues(-center.dx, -center.dy, 0)); // tag2
    linePath = linePath.transform(lineM4.storage);

    Path temp = Path.combine(PathOperation.union, linePath, head.formPath());
    return Path.combine(PathOperation.union, temp, tail.formPath());
  }
}
这样就一切正常了,可能有人会疑惑,为什么不直接用两点形成路径呢?这样就不需要旋转了:

前面说了,这里希望获得的是一个 箭头路径 ,使用线型模式就可以看处用矩形的妙处。如果单纯用路径的移动来处理,需要计算点位,比较复杂。而用矩形加旋转,就方便很多:

3.尺寸的矫正
可以看出,目前是以起止点为圆心的矩形区域,但实际我们需要让箭头的两端顶点在两点上。有两种解决方案:其一,在 PortPath 生成路径时,对矩形区域中心进行校正;其二,在合成路径前通过偏移对首位断点进行校正。
[外链图片转存失败,源站可能有防盗链机制,建议将图片保存下来直接上传(img-v4L8kZ2m-1657777368535)(https://upload-images.jianshu.io/upload_images/27762813-70f57bf7142182bd.png?imageMogr2/auto-orient/strip%7CimageView2/2/w/1240)]
我更倾向于后者,因为我希望 PortPath 只负责断点路径的生成,不需要管其他的事。另外 PortPath 本身也不知道端点是起点还是终点,因为起点需要沿线的方向偏移,终点需要沿反方向偏移。处理后效果如下:

---->[ArrowPath#formPath]----
Path headPath = head.formPath();
Matrix4 headM4 = Matrix4.translationValues(head.size.width/2, 0, 0);
headPath = headPath.transform(headM4.storage);

Path tailPath = tail.formPath();
Matrix4 tailM4 = Matrix4.translationValues(-head.size.width/2, 0, 0);
tailPath = tailPath.transform(tailM4.storage);
虽然表面上看起来和顶点对齐了,但换个不水平的线就会看出端倪。我们需要 沿线的方向 进行平移,也就是说,要保证该直线过矩形区域圆心:

如下所示,我们在对断点进行平移时,需要根据线的角度来计算偏移量:

 Path headPath = head.formPath();
 double fixDx = head.size.width/2*cos(line.direction);
 double fixDy = head.size.height/2*sin(line.direction);

 Matrix4 headM4 = Matrix4.translationValues(fixDx, fixDy, 0);
 headPath = headPath.transform(headM4.storage);
 Path tailPath = tail.formPath();
 Matrix4 tailM4 = Matrix4.translationValues(-fixDx, -fixDy, 0);
 tailPath = tailPath.transform(tailM4.storage);
4.箭头的绘制
每个 PortPath 都有一个矩形区域,接下来只要专注于在该区域内绘制箭头即可。比如下面的 p0 、p1 、p2 可以形成一个三角形:

对应代码如下:
class PortPath extends AbstractPath{
  final Offset position;
  final Size size;

  PortPath(this.position, this.size);

  @override
  Path formPath() {
    Path path = Path();
    Rect zone = Rect.fromCenter(center: position, width: size.width, height: size.height);
    Offset p0 = zone.centerLeft;
    Offset p1 = zone.bottomRight;
    Offset p2 = zone.topRight;
    path..moveTo(p0.dx, p0.dy)..lineTo(p1.dx, p1.dy)..lineTo(p2.dx, p2.dy)..close();
    return path;
  }
}
由于在 PortPath 中无法感知到子级是头还是尾,所以下面可以看出两个箭头都是向左的。处理方式也很简单,只要转转 180° 就行了。

另外,这样虽然看起来挺好,但也有和上面类似的问题,当改变坐标时,就会出现不和谐的情景。解决方案和前面一样,为断点的箭头根据线的倾角添加旋转变换即可。

如下进行旋转,即可得到期望的箭头,tag3 处可以顺便旋转 180° 把尾点调正。这样任意指定两点的坐标,就可以得到一个箭头。

Matrix4 headM4 = Matrix4.translationValues(fixDx, fixDy, 0);
center = head.position;
headM4.multiply(Matrix4.translationValues(center.dx, center.dy, 0));
headM4.multiply(Matrix4.rotationZ(line.direction));
headM4.multiply(Matrix4.translationValues(-center.dx, -center.dy, 0));
headPath = headPath.transform(headM4.storage);

Matrix4 tailM4 = Matrix4.translationValues(-fixDx, -fixDy, 0);
center = tail.position;
tailM4.multiply(Matrix4.translationValues(center.dx, center.dy, 0));
tailM4.multiply(Matrix4.rotationZ(line.direction-pi)); // tag3
tailM4.multiply(Matrix4.translationValues(-center.dx, -center.dy, 0));
tailPath = tailPath.transform(tailM4.storage);
5.箭头的拓展
从上面可以看出,这个箭头断点的拓展能力是很强的,只要在矩形区域内形成相应的路径即可。比如下面带两个尖角的箭头形式,路径生成代码如下:

class PortPath extends AbstractPath{
  final Offset position;
  final Size size;

  PortPath(this.position, this.size);

  @override
  Path formPath() {
    Rect zone = Rect.fromCenter(center: position, width: size.width, height: size.height);
    return pathBuilder(zone);
  }

  Path pathBuilder(Rect zone){
    Path path = Path();
    Rect zone = Rect.fromCenter(center: position, width: size.width, height: size.height);
    final double rate = 0.8;
    Offset p0 = zone.centerLeft;
    Offset p1 = zone.bottomRight;
    Offset p2 = zone.topRight;
    Offset p3 = p0.translate(rate*zone.width, 0);
    path..moveTo(p0.dx, p0.dy)..lineTo(p1.dx, p1.dy)
      ..lineTo(p3.dx, p3.dy)..lineTo(p2.dx, p2.dy)..close();
    return path;
  }
}
这样如下所示,只要更改 pathBuilder 中的路径构建逻辑,就可以得到不同的箭头样式。而且你只需要在矩形区域创建正着的路径即可,箭头跟随直线的旋转已经被封装在了 ArrowPath 中。这就是 屏蔽细节 ,简化使用流程。不然创建路径时还有进行角度偏转计算,岂不麻烦死了。

到这里,多样式的箭头设置方案应该就呼之欲出了。就像是 Flutter 动画中的各种 Curve 一样,通过抽象进行衍生,实现不同类型的数值转变。这里我们也可以对路径构建的行为进行抽象,来衍生出各种路径类。这样的好处在于:在实现类中,可以定义额外的参数,对绘制的细节进行控制。
如下,抽象出 PortPathBuilder ,通过 fromPathByRect 方法,根据矩形区域生成路径。在 PortPath 中就可以依赖 抽象 来完成任务:
abstract class PortPathBuilder{
  const PortPathBuilder();
  Path fromPathByRect(Rect zone);
}

class PortPath extends AbstractPath {
  final Offset position;
  final Size size;
  PortPathBuilder portPath;

  PortPath(
    this.position,
    this.size, {
    this.portPath = const CustomPortPath(),
  });

  @override
  Path formPath() {
    Rect zone = Rect.fromCenter(
        center: position, width: size.width, height: size.height);
    return portPath.fromPathByRect(zone);
  }
}
在使用时,可以通过指定 PortPathBuilder 的实现类,来配置不同的端点样式,比如实现一开始那个常规的 CustomPortPath :
class CustomPortPath extends PortPathBuilder{
  const CustomPortPath();

  @override
  Path fromPathByRect(Rect zone) {
    Path path = Path();
    Offset p0 = zone.centerLeft;
    Offset p1 = zone.bottomRight;
    Offset p2 = zone.topRight;
    path..moveTo(p0.dx, p0.dy)..lineTo(p1.dx, p1.dy)..lineTo(p2.dx, p2.dy)..close();
    return path;
  }
}
以及三个箭头的 ThreeAnglePortPath ,我们可以将 rate 提取出来,作为构造入参,这样就可以让箭头拥有更多的特性,比如下面是 0.5 和 0.8 的对比:

class ThreeAnglePortPath extends PortPathBuilder{
  final double rate;

  ThreeAnglePortPath({this.rate = 0.8});

  @override
  Path fromPathByRect(Rect zone) {
    Path path = Path();
    Offset p0 = zone.centerLeft;
    Offset p1 = zone.bottomRight;
    Offset p2 = zone.topRight;
    Offset p3 = p0.translate(rate * zone.width, 0);
    path
      ..moveTo(p0.dx, p0.dy)
      ..lineTo(p1.dx, p1.dy)
      ..lineTo(p3.dx, p3.dy)
      ..lineTo(p2.dx, p2.dy)
      ..close();
    return path;
  }
}
想要实现箭头不同的端点类型,只有在构造 PortPath 时,指定对应的 portPath 即可。如下红色箭头的两端分别使用 ThreeAnglePortPath 和 CirclePortPath 。

ArrowPath arrow = ArrowPath(
  head: PortPath(
    p0.translate(40, 0),
    const Size(10, 10),
    portPath: const ThreeAnglePortPath(rate: 0.8),
  ),
  tail: PortPath(
    p1.translate(40, 0),
    const Size(8, 8),
    portPath: const CirclePortPath(),
  ),
);
这样一个使用者可以自由拓展的箭头绘制小体系就已经能够完美运转了。大家可以基于此体会一下其中 抽象 的意义,以及 多态 的体现。本篇中有很多旋转变换的绘制小技巧,下一篇,我们来一起绘制各种各样的 PortPathBuilder 实现类,以此丰富箭头绘制,打造一个小巧但强大的箭头绘制库。
作者:张风捷特烈
链接:https://juejin.cn/post/7120010916602576926
最后
以上就是可爱唇膏最近收集整理的关于Flutter 绘制技巧探索:一起画箭头(技巧拓展)的全部内容,更多相关Flutter内容请搜索靠谱客的其他文章。


发表评论 取消回复