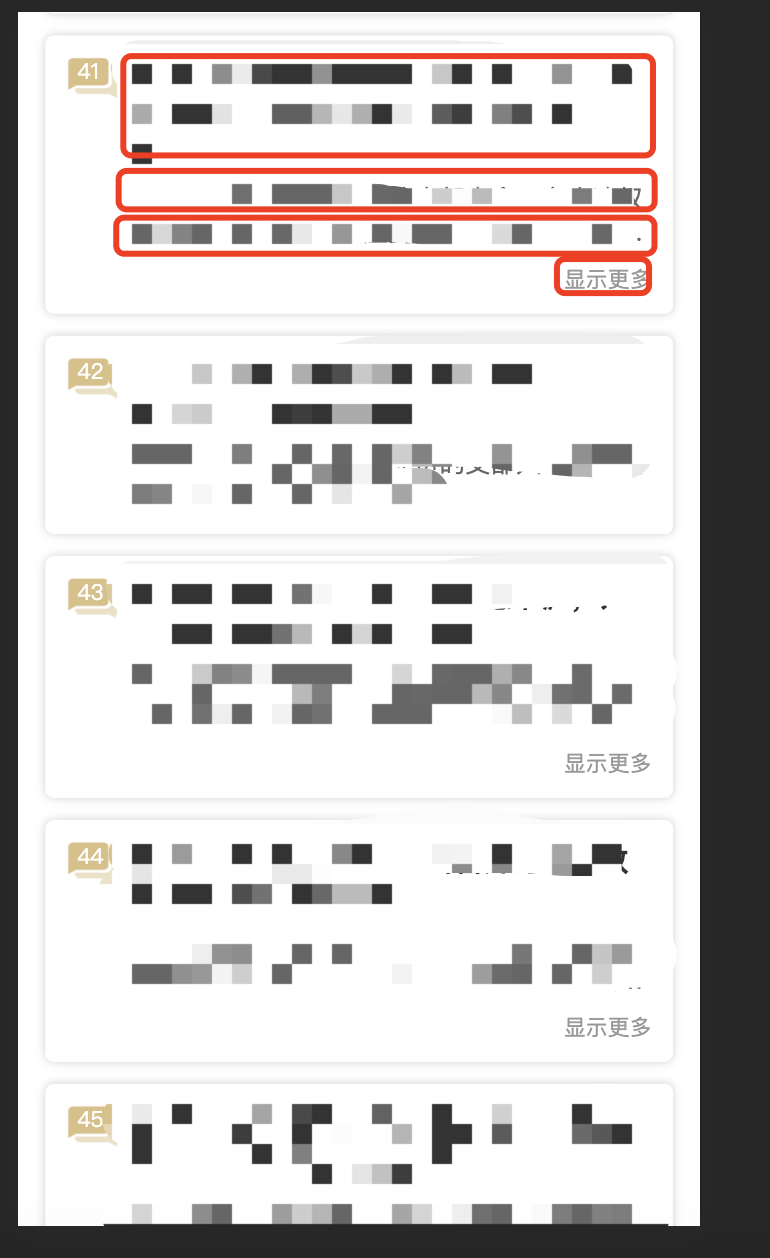
楼主有个需求,Span标签内容超过2行,就隐藏剩余文本,第二行文本末尾省略号表示,这就需要一个显示更多 / 收起 的控制开关了
那我们怎么知道文本到底有几行呢?
实现原理是:行数 = 文本总高度 / 文本实际行高(非单纯的lineHeight,而是包含margin, padding)
然后我们需要一个隐藏且绝对定位脱离文档流的同样内容的标签,这个标签是不让用户看到的,只是为了方便计算文本总高度而存在
{/* 拷贝标签,计算文本行数, 行数 = 文本总高度 / 每行文本高度 */}
// 假的文本标签
<span
     className="hiddenContent"
     style={{ position: 'absolute', zIndex: -1, visibility: 'hidden' }}
>
     {content}
</span>

// 实际文本标签
{!!isNeedShowMore && (
     <p className={`${styles['show-more']}`} onClick={this.showMore}>
         {this.state.isShow ? '收起' : '显示更多'}
     </p>
)}
核心代码:
computeLineCount = () => {
    const { currentIndex } = this.props
    const hiddenContent = document.getElementsByClassName('hiddenContent')[
      currentIndex
    ]  // 该文本所在的标签 因为标签很多,所以需要制定索引值Index

    // 获取实际文本样式(包含lineHeight和height,fontSize等等)
    let style = window.getComputedStyle(hiddenContent, null)
    let fontSize = style.fontSize
    let lineHeight = (style.lineHeight === 'normal'
      ? fontSize
      : style.lineHeight
    ).replace('px', '')
    let height = style.height.replace('px', '')
    // console.warn('lineHeight, height:', lineHeight, height, height / lineHeight)
    if (height / lineHeight > 2) {
      this.setState({ isNeedShowMore: true })
    } else {
      this.setState({ isNeedShowMore: false })
    }
}
以下是具体实践代码:
CustomCard.js
import React from 'react'
import styles from './card.less'

export default class extends React.Component {
  constructor(props) {
    super(props)
    this.state = {
      isShow: false,
      isNeedShowMore: true,
    }
  }

  componentDidMount() {
    this.computeLineCount()
  }

  computeLineCount = () => {
    const { currentIndex } = this.props
    const hiddenContent = document.getElementsByClassName('hiddenContent')[
      currentIndex
    ]

    // 获取实际文本行高
    let style = window.getComputedStyle(hiddenContent, null)
    let fontSize = style.fontSize
    let lineHeight = (style.lineHeight === 'normal'
      ? fontSize
      : style.lineHeight
    ).replace('px', '')
    let height = style.height.replace('px', '')
    // console.warn('lineHeight, height:', lineHeight, height, height / lineHeight)
    if (height / lineHeight > 2) {
      this.setState({ isNeedShowMore: true })
    } else {
      this.setState({ isNeedShowMore: false })
    }
  }

  showMore = () => {
    const { isShow } = this.state
    const { currentIndex } = this.props
    const contentWrap = document.getElementsByClassName('contentWrap')[
      currentIndex
    ]

    if (contentWrap) {
      if (!isShow) {
        contentWrap.style.overflow = 'visible'
        contentWrap.style.webkitLineClamp = 'unset'
      } else {
        contentWrap.style.overflow = 'hidden'
        contentWrap.style.webkitLineClamp = '2'
      }
      this.setState({ isShow: !isShow })
    }
  }

  juadgePlatForm = () => {
    var u = navigator.userAgent
    if (u.indexOf('Android') > -1 || u.indexOf('Linux') > -1) {
      return 'Android'
      //安卓手机
    } else if (u.indexOf('iPhone') > -1) {
      return 'iPhone'
      //苹果手机
    } else if (u.indexOf('Windows Phone') > -1) {
      //winphone手机
      return 'Windows Phone'
    }
  }

  render() {
    const { title, content, currentIndex } = this.props
    const { isNeedShowMore } = this.state
    let leftSize = '8px'
    if (currentIndex > 8 && currentIndex < 99) {
      const platform = this.juadgePlatForm()
      leftSize = platform === 'Android' ? '5px' : '5.7px'
    }
    if (currentIndex > 98) {
      leftSize = '2px'
    }

    return (
      <div style={{ padding: '6px 4px' }}>
        <div className={`${styles['shadow-wrap']}`}>
          <div
            style={{
              position: 'relative',
              width: '10%',
              marginRight: '5px',
            }}
          >
            <span
              style={{
                position: 'absolute',
                top: '1px',
                left: leftSize,
                color: 'white',
                fontSize: '12px',
              }}
            >
              {currentIndex + 1}
            </span>
            <img
              src="https://img-blog.csdnimg.cn/2022010701433423128.png"
              style={{ width: '28px', height: '23px' }}
            />
          </div>
          <div
            style={{
              width: '90%',
            }}
          >
            <span className={`${styles['title']}`}>{title}</span>
            <span className={`${styles['content-wrap']} contentWrap`}>
              {content}
            </span>
            {/* 拷贝标签,计算文本行数, 行数 = 文本总高度 / 每行文本高度 */}
            <span
              className="hiddenContent"
              style={{ position: 'absolute', zIndex: -1, visibility: 'hidden' }}
            >
              {content}
            </span>
            {!!isNeedShowMore && (
              <p className={`${styles['show-more']}`} onClick={this.showMore}>
                {this.state.isShow ? '收起' : '显示更多'}
              </p>
            )}
          </div>
        </div>
      </div>
    )
  }
}
Card.less
.content-wrap {
  color: #666;
  font-size: 14px;
  line-height: 18px;
  display: inline-block;
  text-overflow: -o-ellipsis-lastline;
  overflow: hidden;
  text-overflow: ellipsis;
  display: -webkit-box;
  /* autoprefixer: ignore next */
  -webkit-line-clamp: 2;
  line-clamp: 2;
  /* autoprefixer: ignore next */
  -webkit-box-orient: vertical;
  white-space: pre-wrap;
}
.shadow-wrap {
  box-shadow: 0px 0px 5px rgba(0, 0, 0, 0.18);
  border-radius: 5px;
  display: flex;
  flex-direction: row;
  justify-content: space-between;
  padding: 12px;
}
.title {
  margin-bottom: 9px;
  color: #333;
  font-weight: bold;
  font-size: 16px;
  line-height: 20px;
  display: inline-block;
}
.show-more {
  margin: 10px 0 0 0;
  color: #999;
  font-size: 12px;
  text-align: right;
  line-height: 14px;
}
以下是参考自一修博主的文章,实践有效且少计算逻辑,赞????一个
作者:一俢
链接:https://www.jianshu.com/p/6cedb432a763
来源:简书
著作权归作者所有。商业转载请联系作者获得授权,非商业转载请注明出处。
在前端经常会遇到内容太多了,需要对多余的内容进行截取并打上省略号的问题。CSS2 可以解决超出一行省略的问题,Chrome 可以通过-webkit-line-clamp来实现多行省略的问题,还是还需要配合其它的一些样式属性。解决这个问题的主要问题在于如何计算当前 DOM 内部的文本的行数。
方案
要想知道文本的行数,那就需要知道文本的总高度和每一行的高度,总高度除以行高就是行数。当然总高度的计算必须是文字所在的 DOM 没有对高度的限制,随着文本的增加 DOM 要随之变高才行;最后还要考虑 DOM 的样式padding和margin对高度的影响。这样一来我们就可以计算出文本的行数了。总结一下我们需要如下几步:
- 克隆文本所在的 DOM;
- 清除 DOM 的高度限制;
- 获取 DOM 的行高和高度;
- 计算行数;
- 去除克隆的 DOM。
清除文本在 DOM 内部高度的限制
拷贝文本所在的 DOM,将 DOM 的width、padding-right、padding-left、margin-right、margin-left保持和原有 DOM 一致;清除文本的height、padding-top、padding-bottom、margin-top、margin-bottom样式,这样一来文本就处于一个没有高度限制的 DOM 中,而且高度不受padding和margin的影响,并且它的宽度和原有宽度保持一致。
注意:代码基于 zepto.js
var getRow = function(id) {
    var clone = $(id).clone().appendTo('body');

    // clear some style
    clone.css({
        "height":"auto",
        "padding-top": 0,
        "padding-bottom": 0,
        "margin-top": 0,
        "margin-bottom": 0
    });

    // todo...
};
获取行高
获取行高比较容易,直接通过window.getComputedStyle(element, null)可以获取元素所有的最终所使用的样式。
var getRow = function(id) {
    var clone = $(id).clone().appendTo('body');

    // clear some style
    // ...

    // get line-height
    var style = window.getComputedStyle(clone[0], null);
    var fontSize = style.fontSize;
    var lineHeight = style.lineHeight === "normal" ? fontSize : style.lineHeight;

    // todo...
};
计算行数
计算行数前必须要知道总高度,总高度获取的方式太多了,可以和获取行高一样通过window.getComputedStyle(element, null),也可以通过document.clientHeight获取,当然像 jQuery 等框架已经把获取文档对象的高度封装好了。
注意:在计算之前需要把px转成数字类型
var pxToNumber = function(px) {
   var num = Number(px.replace("px", ""));

   return num;
};

var getRow = function(id) {
    var clone = $(id).clone().appendTo('body');

    // clear some style
    // ...

    // get line-height
    // ...

    //get row count
    var height = style.height;
    var row = pxToNumber(height) / pxToNumber(lineHeight);

    clone.remove();

    return row;
};
最后
当然我们在计算高度的时候,这个克隆出来的 DOM 不能让用户看到,可以通过opacity: 0.0001或者visibility: hidden来隐藏它。
var pxToNumber = function(px) {
   var num = Number(px.replace("px", ""));

   return num;
};
var getRow = function(id) {
    var clone = $(id).clone().appendTo('body');

    // clear some style
    clone.css({
        "height":"auto",
        "padding-top": 0,
        "padding-bottom": 0,
        "margin-top": 0,
        "margin-bottom": 0,
        "visibility": "hidden"
    });

    // get line-height
    var style = window.getComputedStyle(clone[0], null);
    var fontSize = style.fontSize;
    var lineHeight = style.lineHeight === "normal" ? fontSize : style.lineHeight;

    //get row count
    var height = style.height;
    var row = pxToNumber(height) / pxToNumber(lineHeight);

    clone.remove();

    return row;
};
最后
以上就是俏皮发卡最近收集整理的关于JavaScript 如何计算HTML标签文本的行数的全部内容,更多相关JavaScript内容请搜索靠谱客的其他文章。


发表评论 取消回复