一、代码解析
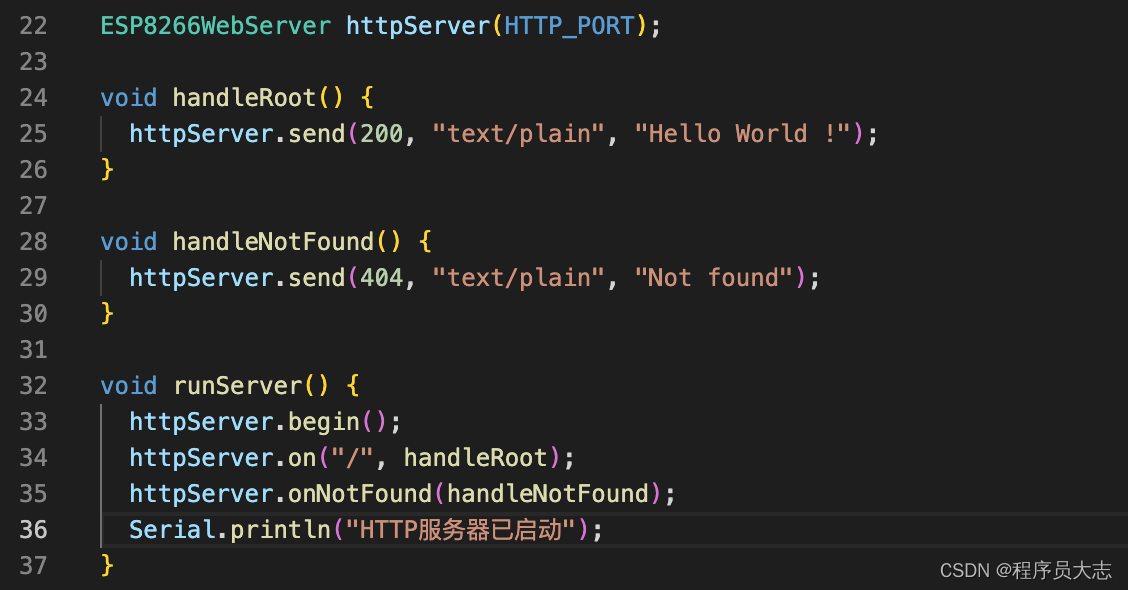
第22行:创建HTTP服务器
第24行:首页请求处理函数
第28行:错误页请求处理函数
第32行:HTTP服务器启动函数
第33行:启动HTTP服务器
第34~35行:设置请求回调函数,处理客户端请求
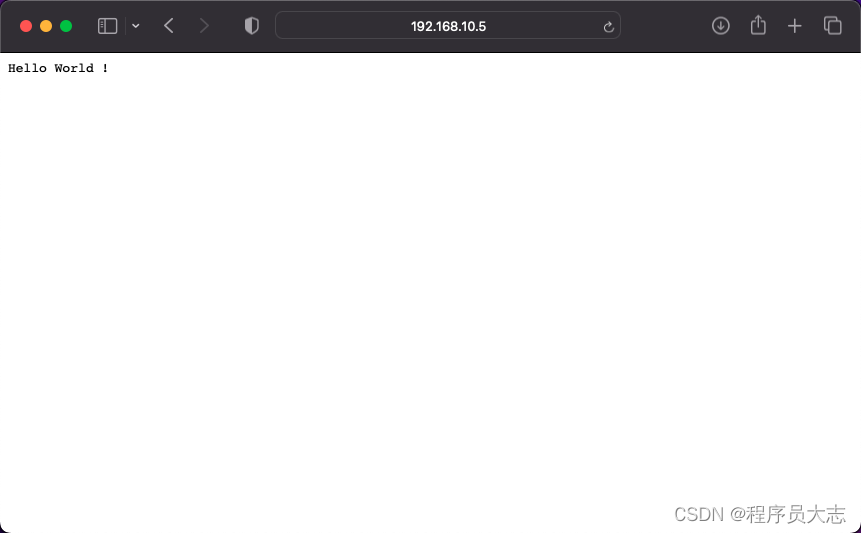
二、测试效果
1、访问HTTP服务器首页
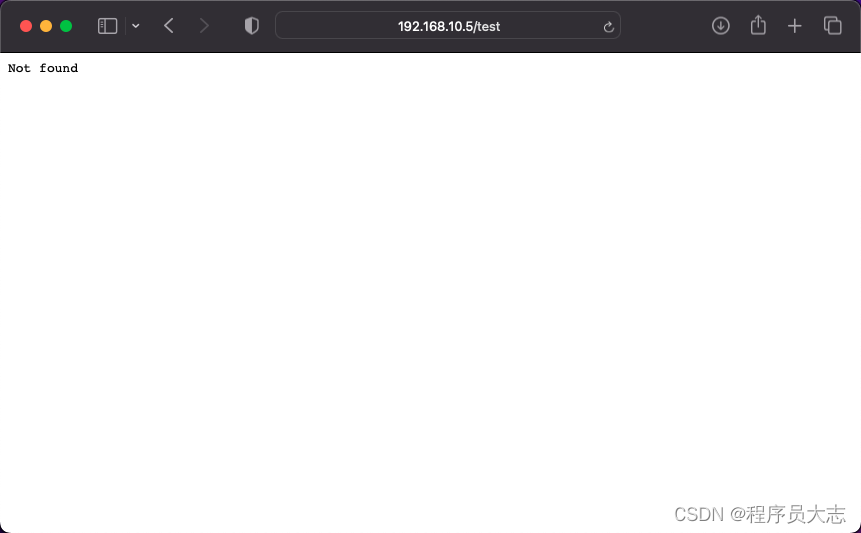
2、访问不存在的页面
三、完整代码
#include <Arduino.h>
#include <ESP8266WiFi.h>
#include <ESP8266WebServer.h>

#define WIFI_SSID "WWW"
#define WIFI_PASS "00000000"
#define HTTP_PORT 80

void connectWIFI() {
  // 连接WIFI热点
  WiFi.begin(WIFI_SSID, WIFI_PASS);
  int retryCount = 1;
  while (WiFi.status() != WL_CONNECTED) {
    Serial.println("重试次数: " + String(retryCount));
    retryCount++;
    delay(1000);
  }
  Serial.println("WIFI连接成功");
  Serial.println("IP地址: " + WiFi.localIP().toString());
}

ESP8266WebServer httpServer(HTTP_PORT);

void handleRoot() {
  httpServer.send(200, "text/plain", "Hello World !");
}

void handleNotFound() {
  httpServer.send(404, "text/plain", "Not found");
}

void runServer() {
  httpServer.begin();
  httpServer.on("/", handleRoot);
  httpServer.onNotFound(handleNotFound);
  Serial.println("HTTP服务器已启动");
}

void setup() {
  // put your setup code here, to run once:

  // 设置波特率
  Serial.begin(9600);
  Serial.println();

  // 连接WIFI热点
  connectWIFI();

  // 运行HTTP服务器
  runServer();
}

void loop() {
  // put your main code here, to run repeatedly:

  // 处理客户端请求
  httpServer.handleClient();
}
最后
以上就是腼腆店员最近收集整理的关于ESP8266入门教程09:HTTP服务端一、代码解析二、测试效果三、完整代码的全部内容,更多相关ESP8266入门教程09内容请搜索靠谱客的其他文章。
本图文内容来源于网友提供,作为学习参考使用,或来自网络收集整理,版权属于原作者所有。


发表评论 取消回复