放几个很重要的网址
Apollo开发者平台
ApolloAotu/apollo git官网(给安装方法所在网址,gitee的)
SVL地图、车辆store and library
apollo系统重装
2021不同于2020.5版本,除了支持的地图和车辆更多了,他的交互方式也发生了变化,从应用连接的方式变成了类似于jupyter的网页交互的方式,可视化程度更强了。
1、Apollo6.0环境的加载与启动
!!非常重要,不要使用root权限,一切都在根目录~下执行。你git后的文件所属用户和用户组组(ll查看)一定是你的本地用户和组,而不是root,否则后面问题会很多!!!
1.1 从gitee克隆需要的源代码,由于源代码比较大,所以绝大部分计算机无法直接克隆下来,这里推荐两种可能的解决方案:
1.1.1 配置ssh公钥,使用ssh地址克隆(这里给出gitee国内站的方法,github类似)
- Cmd或者termin(生成公钥、私钥):
ssh-keygen -t ed25519 -C “xxxx@xxxx.com”。这里的邮箱地址只是一个称谓,只是为了便于辨识。 - 读取公钥:
cat ~/.ssh/id_ed25519.pub。ubuntu下是这个命令,windows下请找到生成路径,cmd中会给出,用记事本打开就可查看了。 - 进入gitee个人账户:设置-SSH公钥-添加公钥。
- 测试连接:
ssh -T git@gitee.com - 克隆使用ssh地址:
cd ~git clone git@gitee.com:ApolloAuto/apollo.git - 完事之后,
ll查看一下,确认一下,是不是属于当前用户组,如果不是,重新拉。
1.1.2 从源码重新编译git,如果你遇到了这样的问题:error: RPC failed; curl 56 GnuTLS recv error (-110): The TLS connection was non-properly terminated。
- 这里细节比较多,给出我的blog:https://blog.csdn.net/qq_40574123/article/details/121626415?spm=1001.2014.3001.5501
1.2 Apollo运行有很多依赖,就像数据库管理contain的运行依赖mysql一样,apollo也是架构在docker容器基础上的,所以我们要先搭建docker环境与Nvidia GPU环境。(这里介绍ubuntu18.04环境下的安装,windows下的比较简单,安装cuda{https://developer.nvidia.com/cuda-toolkit-archive}和对应版本的cudnn{https://developer.nvidia.com/rdp/cudnn-archive})
1.2.1 Nvidia GPU
- 替换国内源,网上教程很多,但是一定要记住不要去轻易修改sources.list文件,尽可能使用软件与更新功能,更改的sources.list文件的时候尽可能确保前缀相同(是清华源就都是清华地址,sources.list的作用实际上类似于路由注册)。
su rootapt update && apt upgradeapt-add-repository multiverseapt updateapt install nvidia-driver-455(安装相关问题,见我的blog:https://blog.csdn.net/qq_40574123/article/details/121037037?spm=1001.2014.3001.5501)nvidia-smi
1.2.2 install docker
curl https://get.docker.com | shsystemctl start docker && sudo systemctl enable dockersystemctl enable containeral.service
1.2.3 install NVIDIA Container Toolkit
distribution=$(. /etc/os-release;echo $ID$VERSION_ID)curl -s -L https://nvidia.github.io/nvidia-docker/gpgkey | sudo apt-key add –curl -s L https://nvidia.github.io/nvidia-docker/$distribution/nvidia-docker.listapt updateapt install nvidia-docker2 -ysystemctl restart docker
1.3 在clone后你会得到一个叫做apollo的文件,按照如下命令操作,windows同
i. cd ~/apollo
给docker权限,这样才能使得docker能在本地用户组下运行相关指令。
sudo gpasswd -a $USER docker
sudo usermod -aG docker $USER
sudo chmod 777 /var/run/docker.sock
ii. bash docker/scripts/dev_start.sh
iii. bash docker/scripts/dev_into.sh(你已经进入docker容器了,且位于/apollo目录下)
iv. ./apollo.sh build
v. source cyber/setup.bash
vi. ./scripts/bootstrap.sh
vii. ./scripts/bridg.sh
1.4 打开浏览器,输出localhost:8080,理论进入apollo系统dreamview操作界面。更多问题,见我的blog:https://blog.csdn.net/qq_40574123/article/details/121037037.
2. 启动LGSVLsimulator
2.1 仿真软件的安装
i. 去官网下载下载(windows、Linux):https://www.svlsimulator.com/。
ii. 打开可执行文件,选择open browser,sign up and sign in
iii. 依次点击:clusters-Add New,然后你会得到一个与本机相连接的客户端,在这里,便可以操作仿真了。
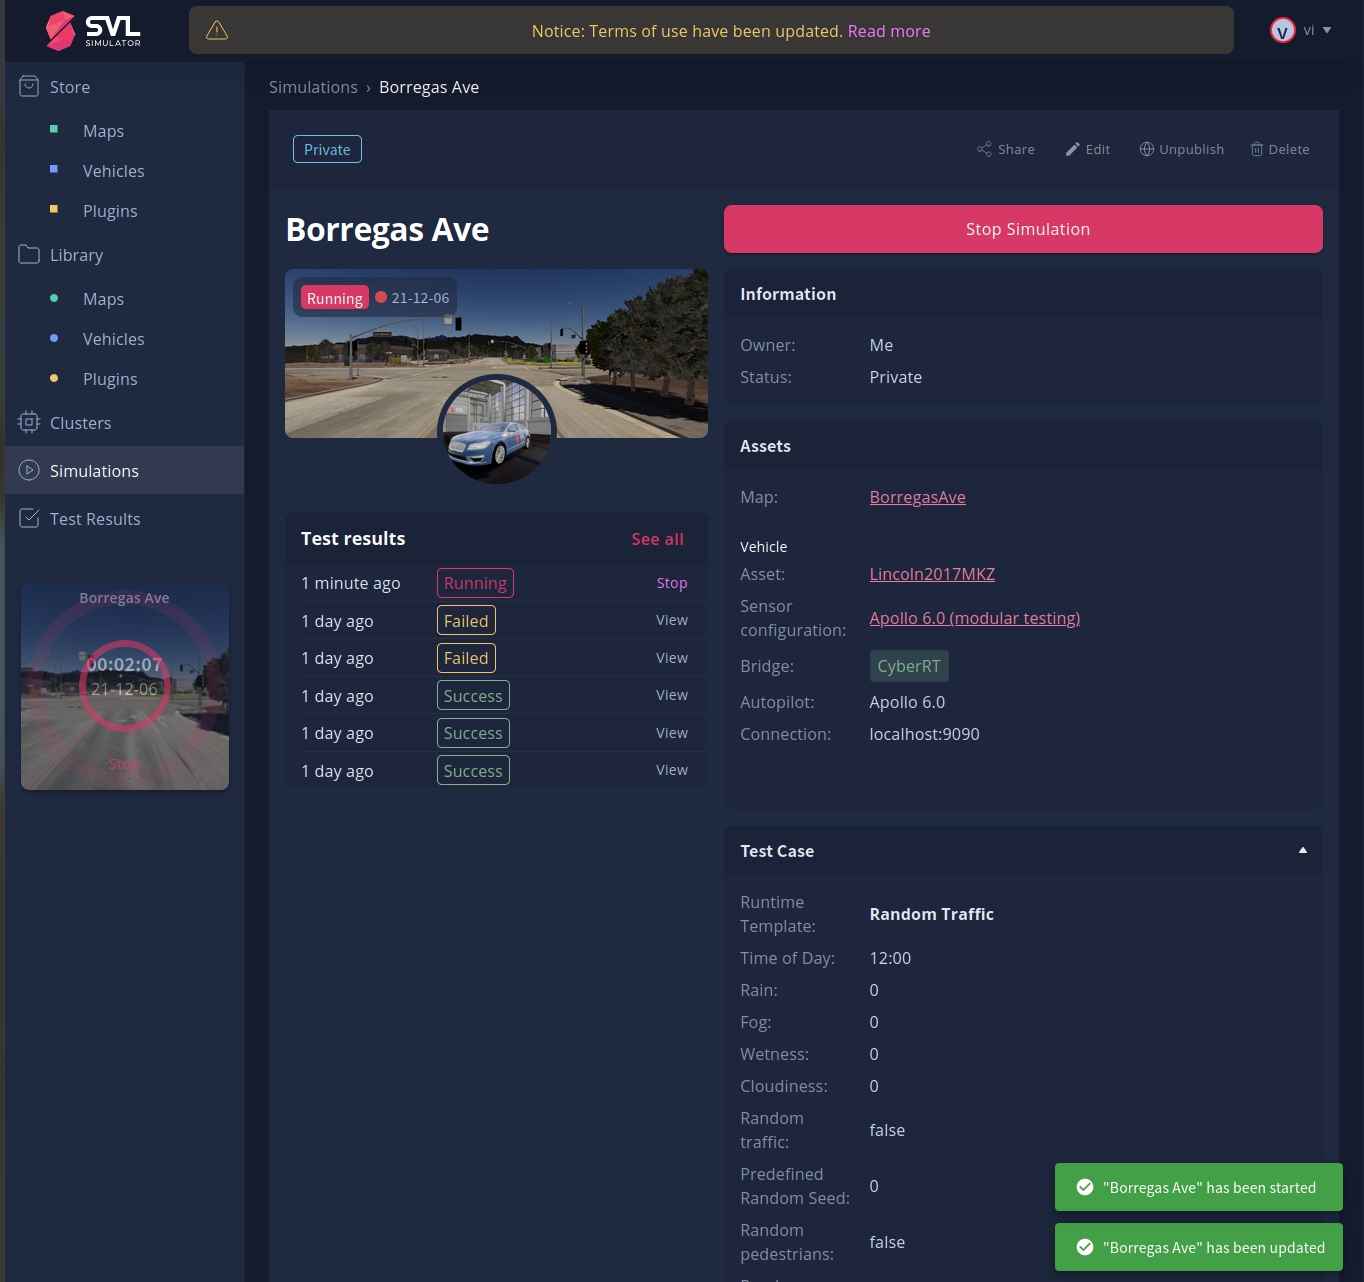
iv. 点击simulations,Add New:
- General:Select Cluster:选择连接上当前主机的cluster;开启Create test report、Interactive mode.
- Test case: Runtime Template: Random Traffic; Map: BorregasAve; Vehicle: Lincoln2017MKZ/Apollo 6.0(modular testing); you can open Random Traffic or more.
- Autopilot:Apollo 6.0.
- Click Publish.
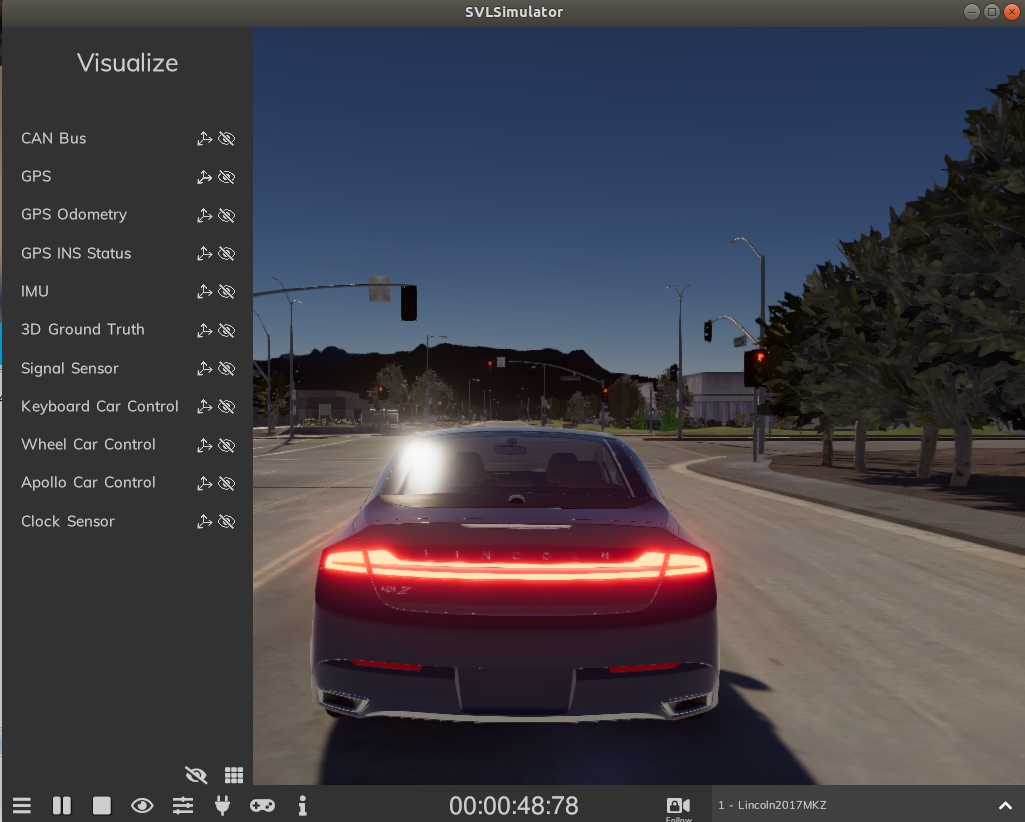
v. 你会在第ii中启动的程序中看到,仿真已经运行起来了,接下来我们要桥接上apoolo程序。
3.Bridge
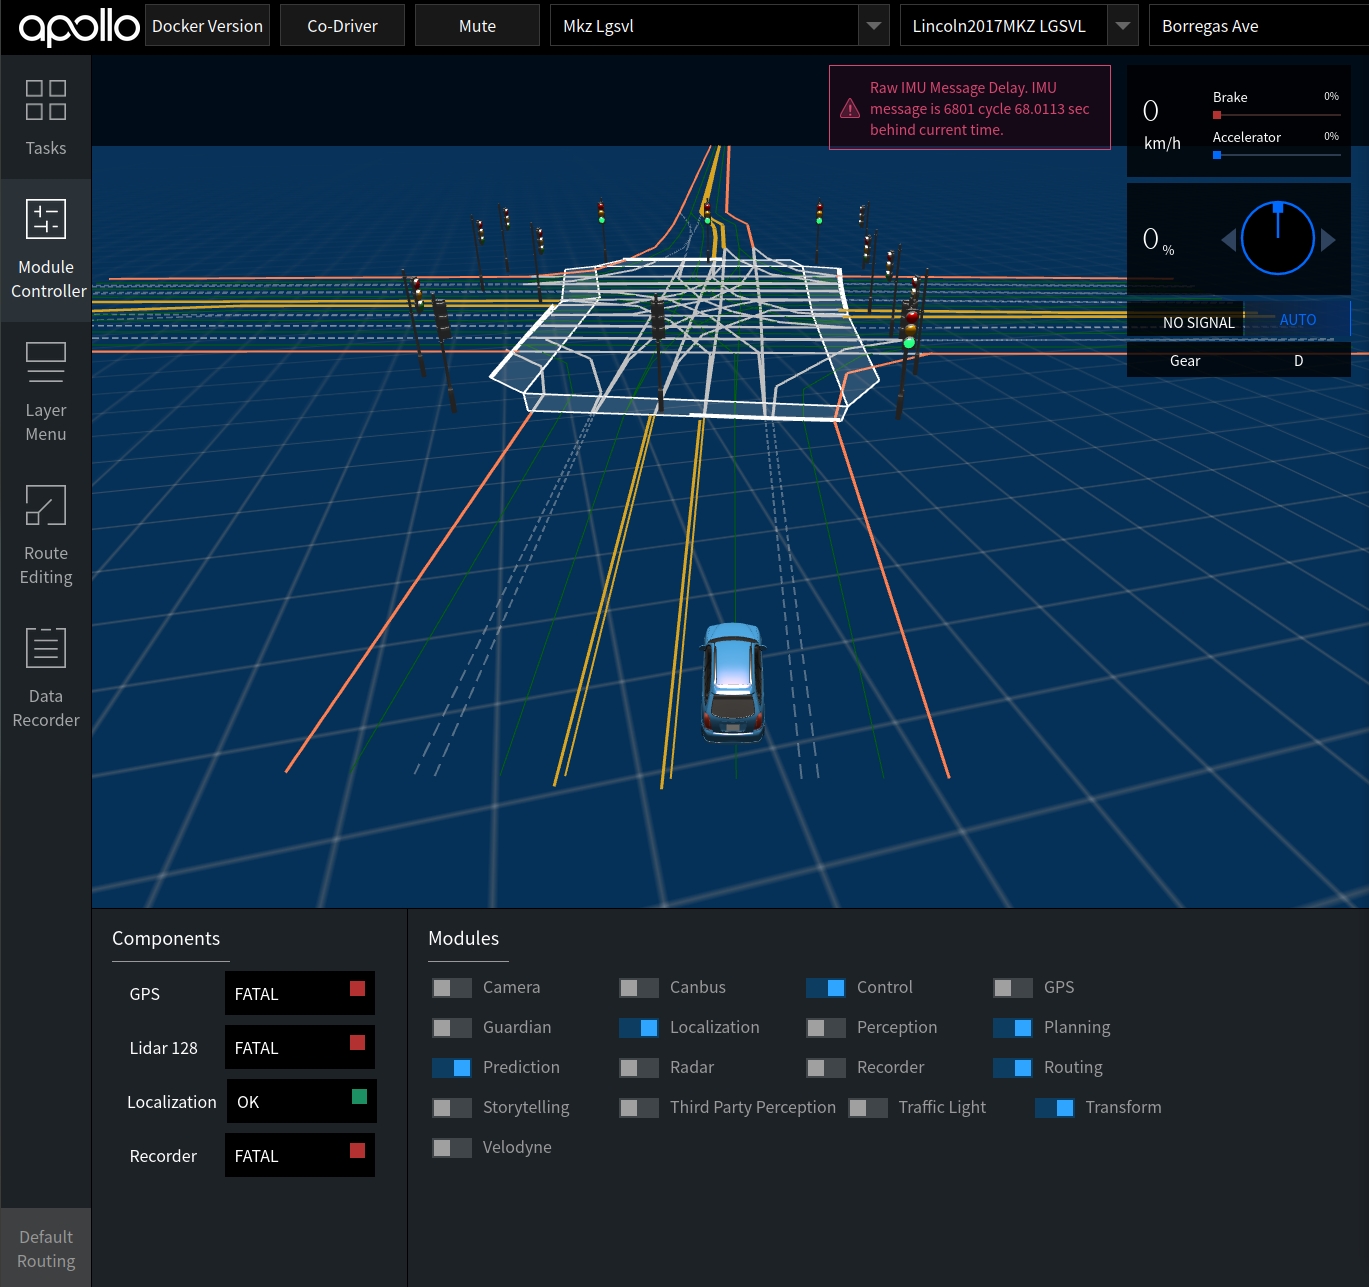
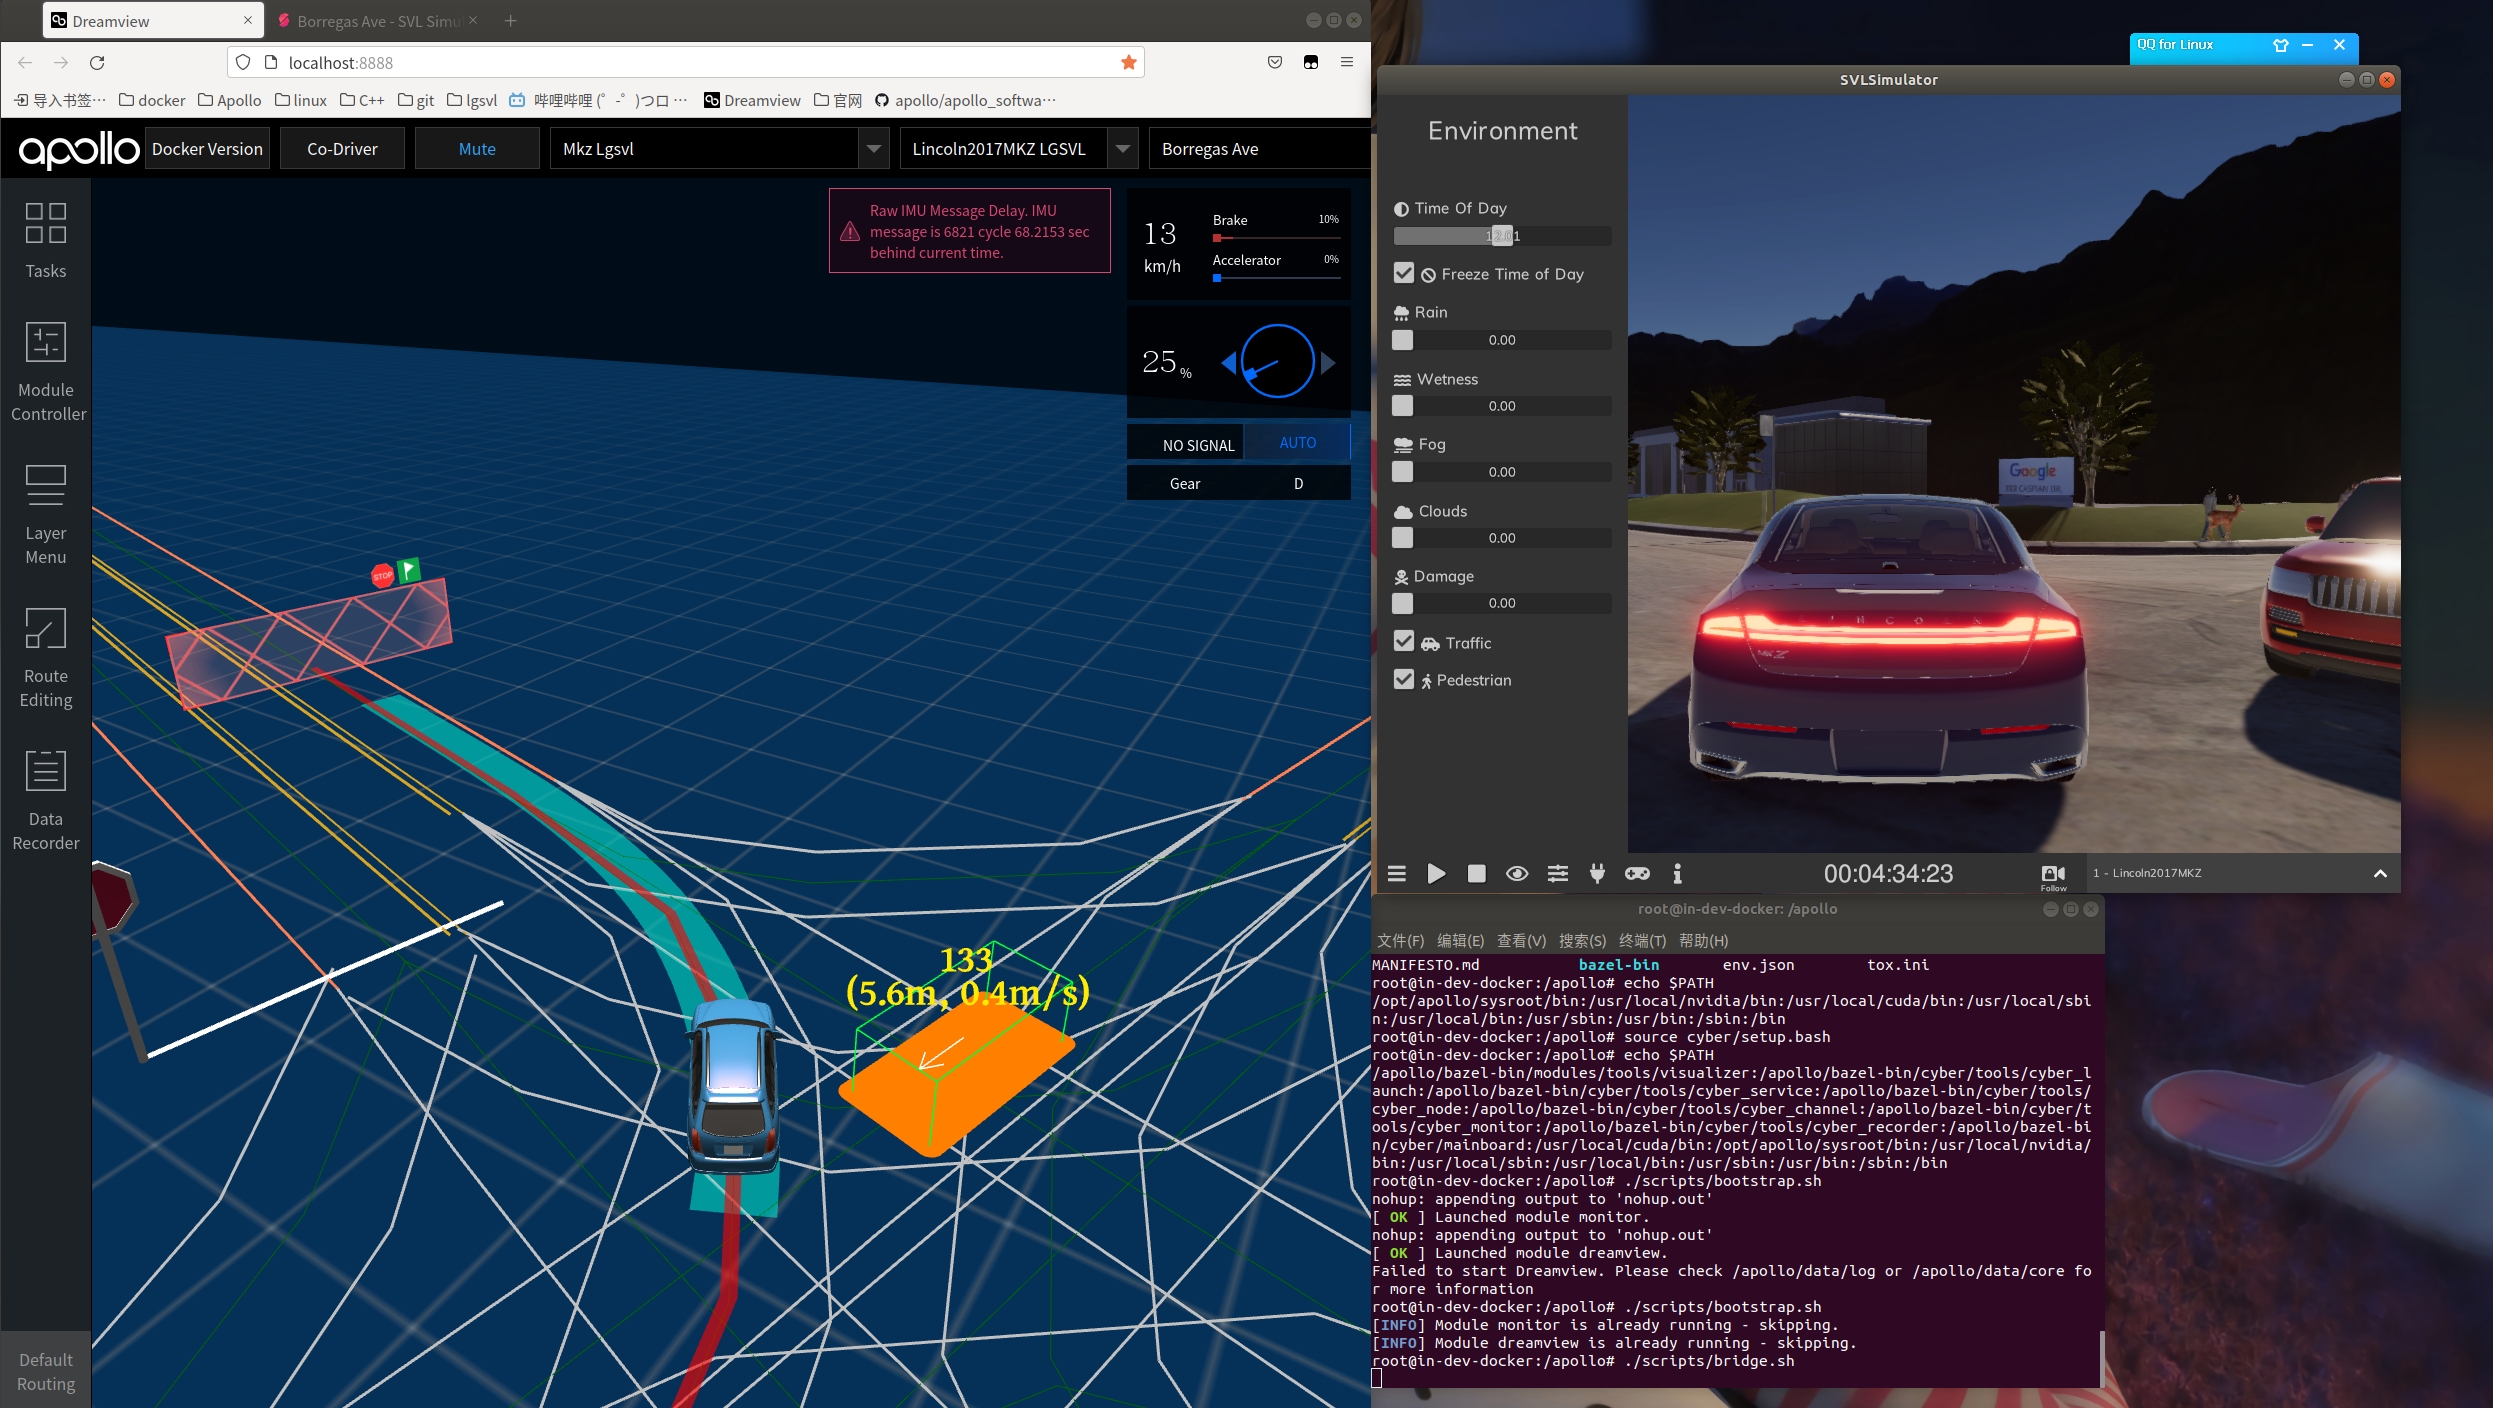
a) 进入到在1.d中打开的浏览器界面中,选择车辆与地图信息,详情见附录图。
b) 点击 Module Controller,开启Preception,Planning,Prediction,Localization,Routing,Control,Transform,(Traffic Light)模块。
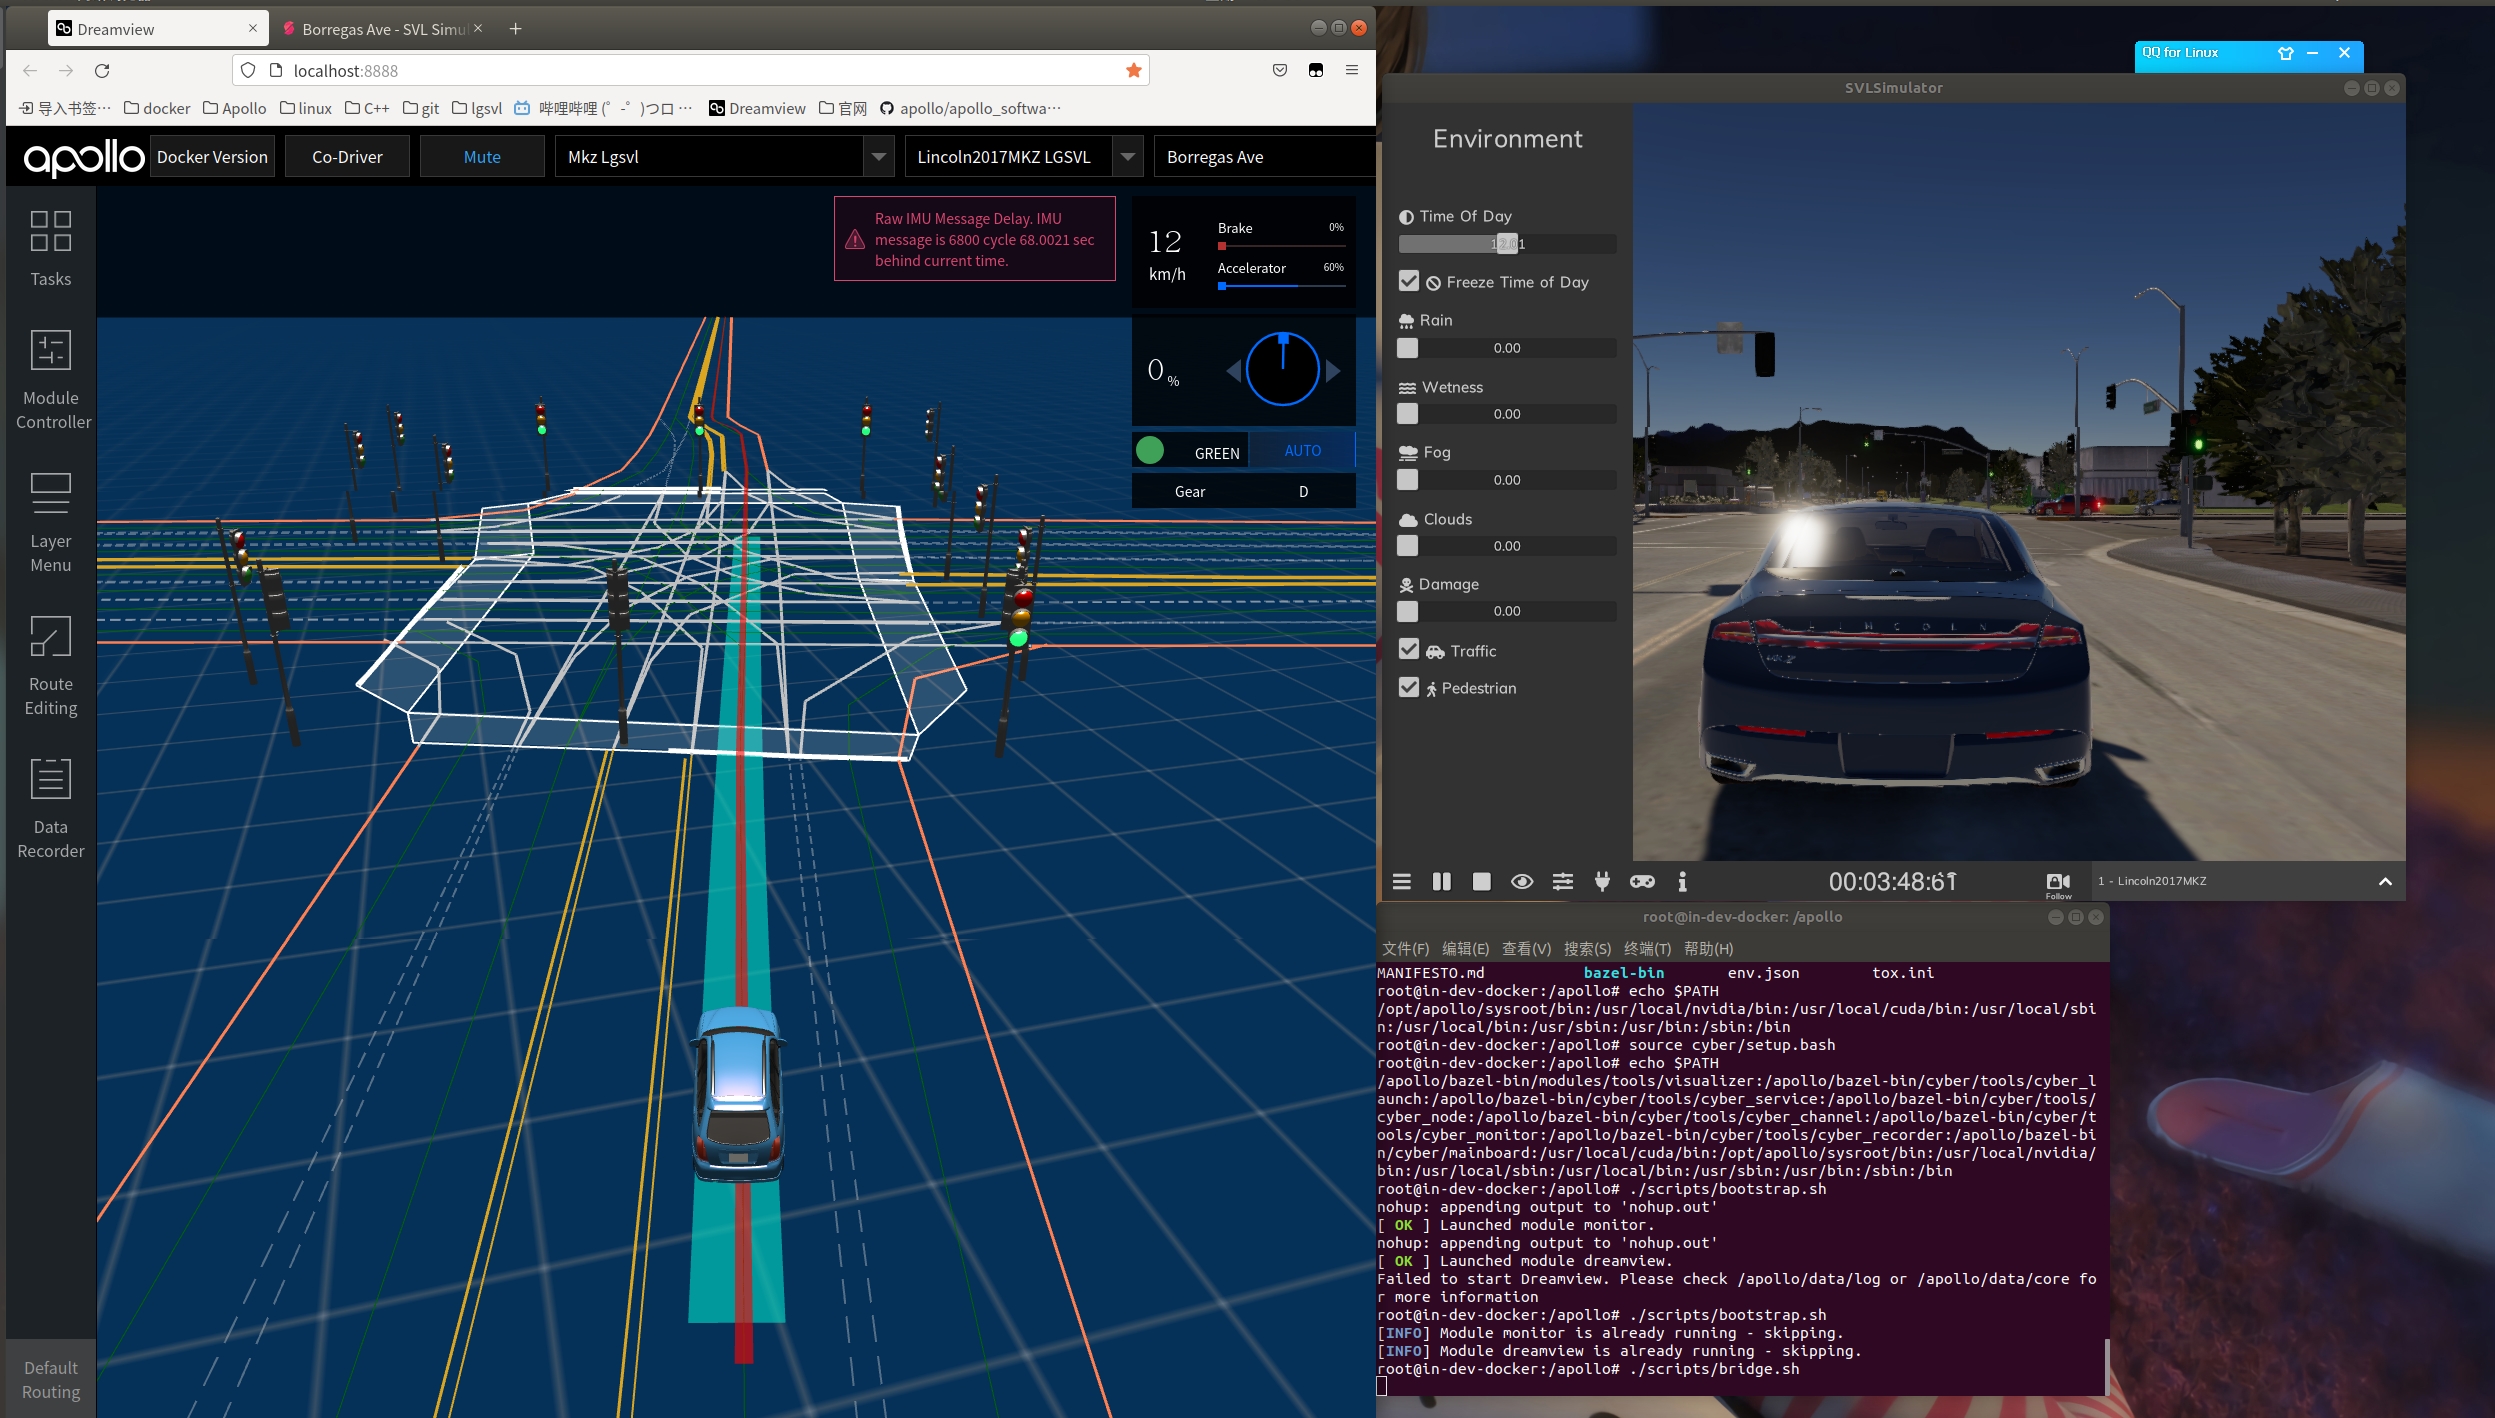
c) 依次点击Route Editing,Romove All Points,在地图上选择一个点(车将会自动驾驶到这个点),点击Send Routing Request。
d) 接下来你会在LGSVLsimulator中看到apollo车自己在向目标前进,过程包含:路径规划、避障、定位、感知等等。如果你桥接的是真车,那真车也会同simulator中显示的运动一样作动。
最后
以上就是迷人蜜粉最近收集整理的关于SVLsimulator与apollo6.0联合仿真的全部内容,更多相关SVLsimulator与apollo6内容请搜索靠谱客的其他文章。


发表评论 取消回复