目录
- 前置的一些配置
- 验证码图片的下载
- 计算偏移
- 实现滑动效果
- 完整代码
- 结尾
前置的一些配置
from urllib import request
import cv2
from selenium import webdriver
# from random import random
import pyautogui
from numpy import random


class JD_Verification_code():

    def __init__(self):
        self.url = 'https://passport.jd.com/new/login.aspx?ReturnUrl=https%3A%2F%2Fwww.jd.com%2F'#京东登录的url地址
        self.driver = webdriver.Chrome()#实例化一个Chrome浏览器(我个人是把chromedriver.exe放在了Scripts目录下所有没写路径)
        self.wath = self.driver.implicitly_wait(10)#设置隐式等待时间
        self.username = '123456789'
        self.password = '123456789'
验证码图片的下载


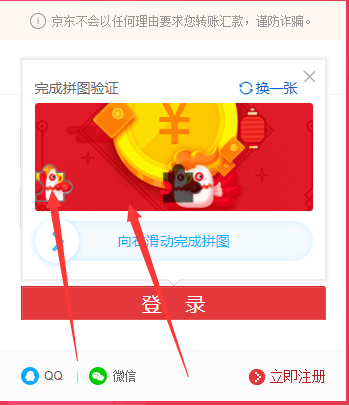
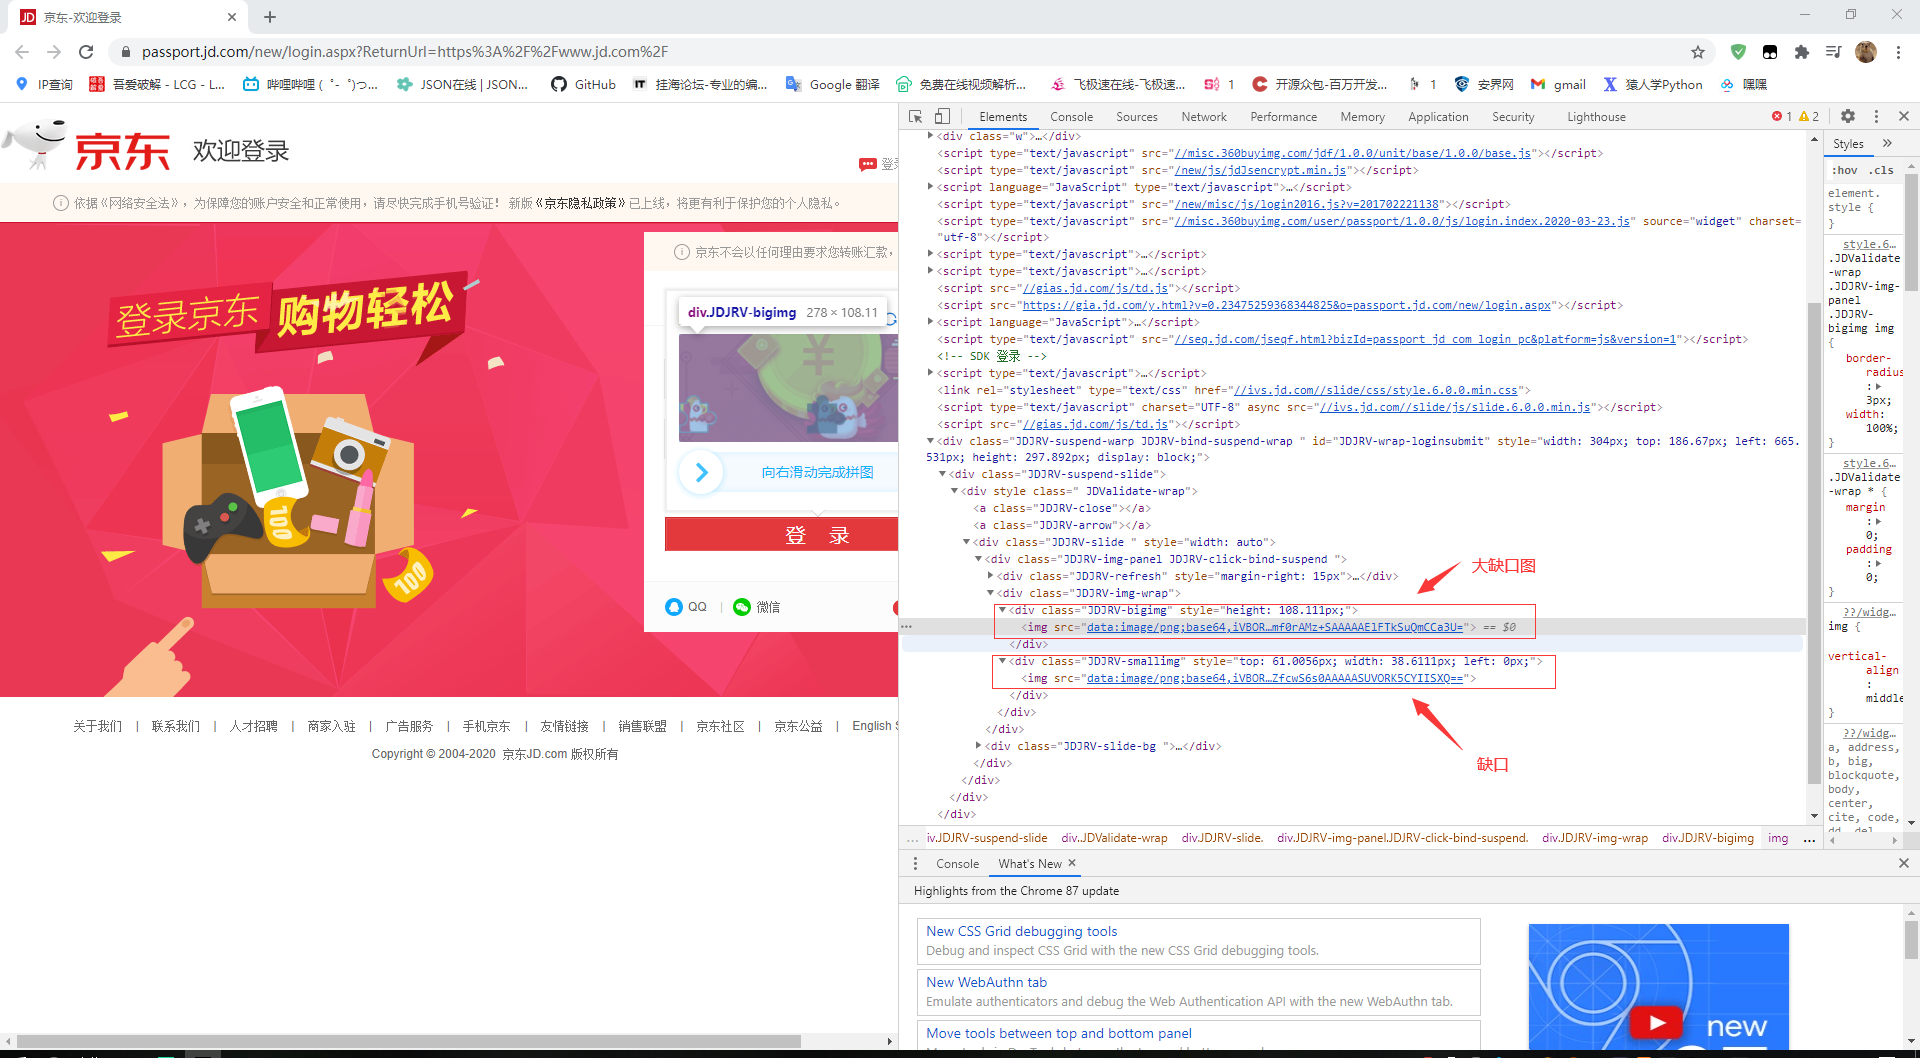
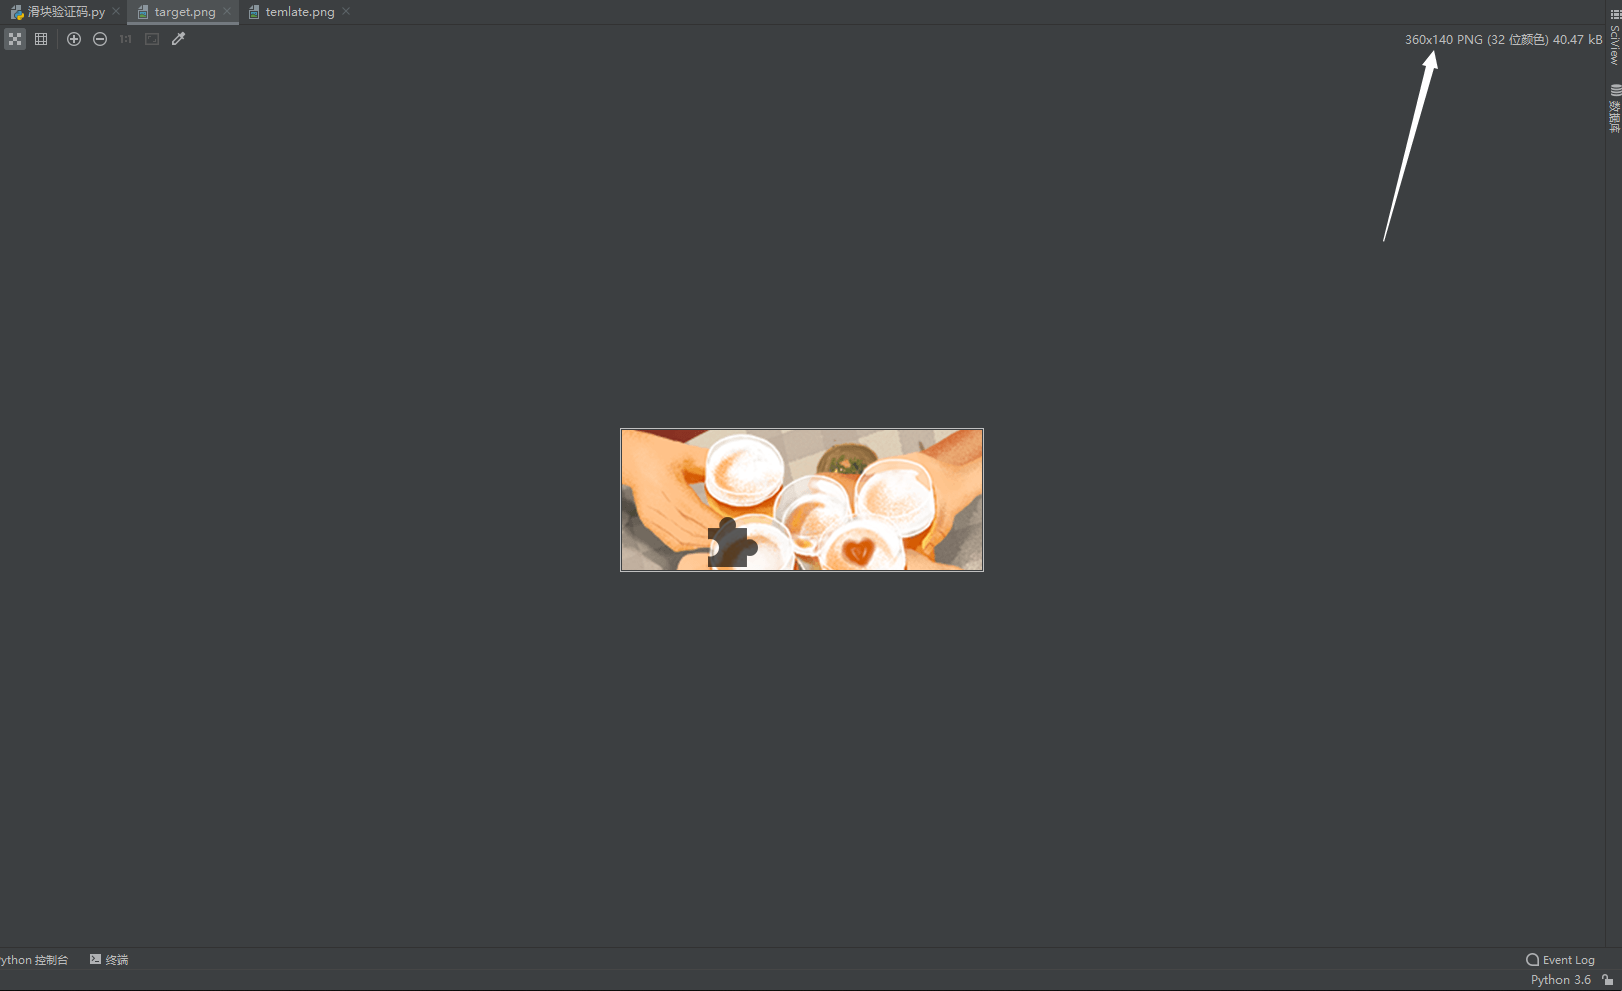
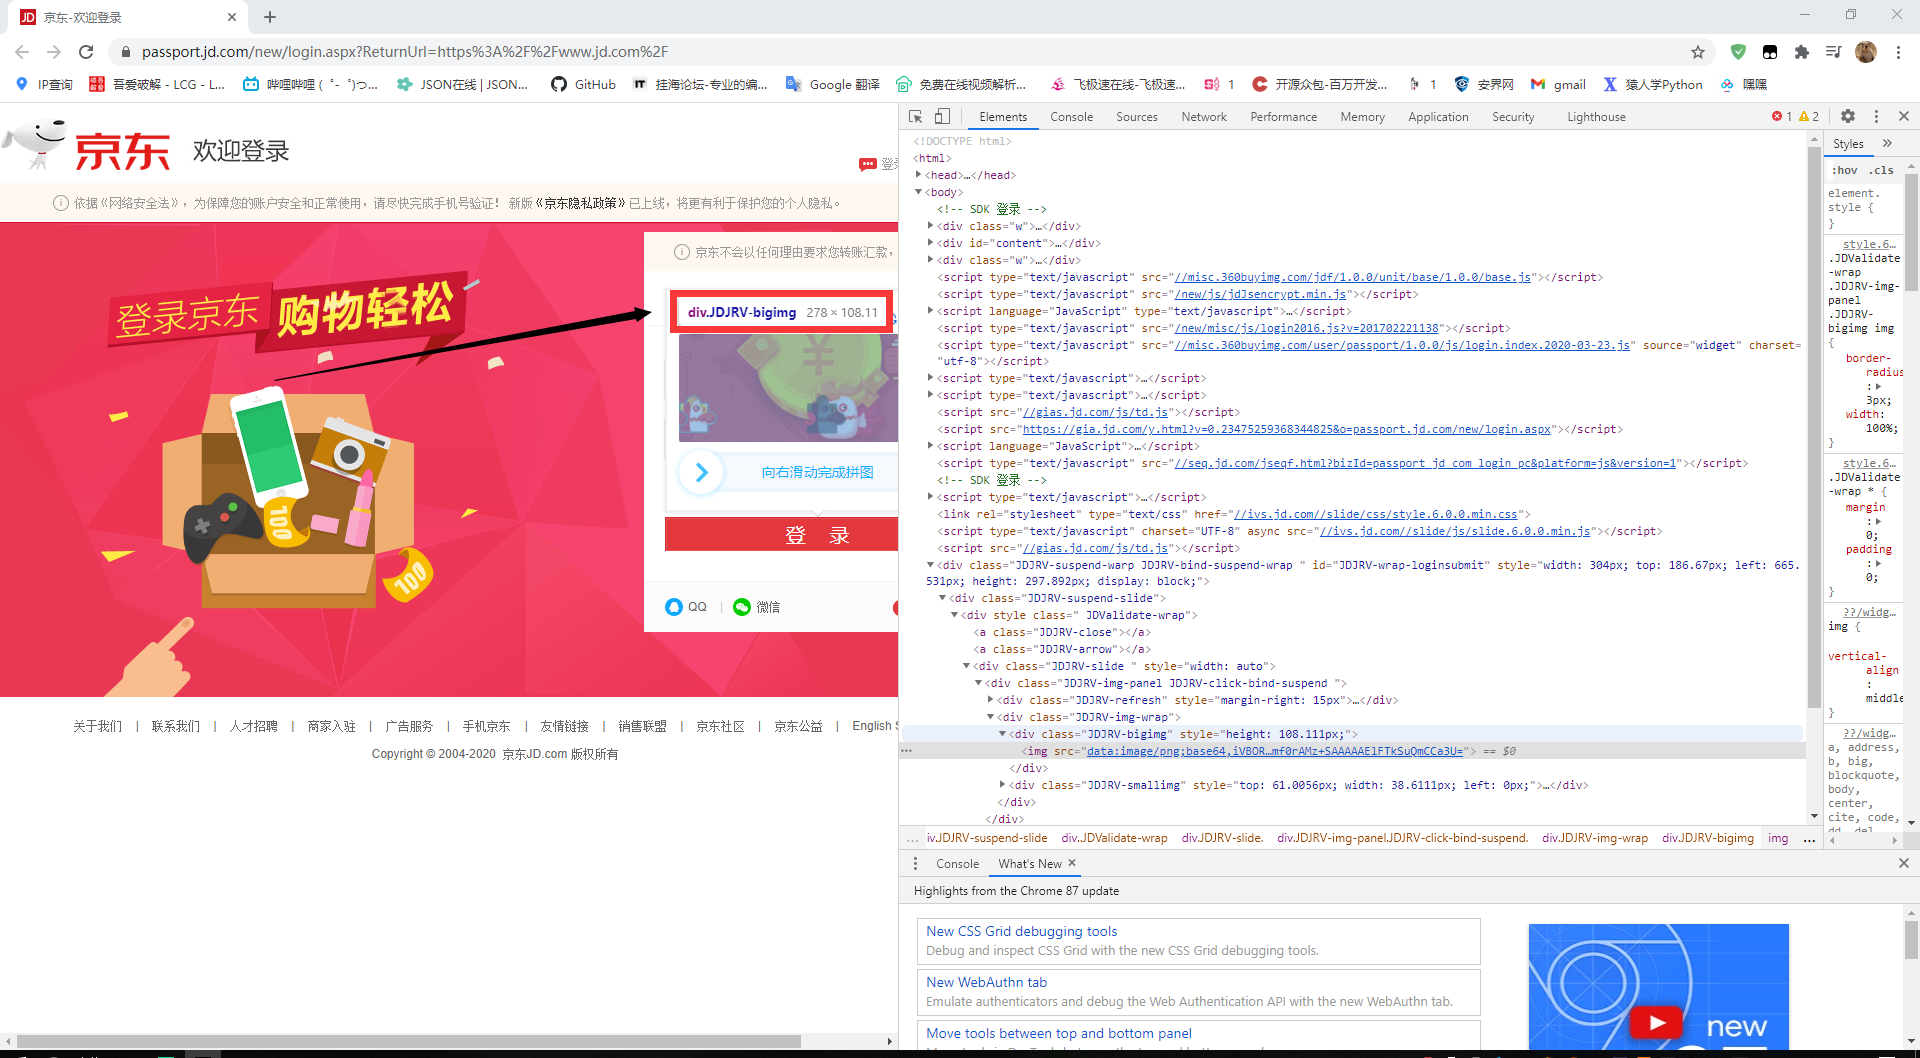
因为京东验证码底图和缺口图片都是base64的,所以在这我就用了urllib.request.urlretrieve直接去处理保存到本地了
    def get_image(self):
        self.driver.get(self.url)
        self.driver.maximize_window()
        self.driver.find_element_by_xpath('//*[@id="content"]/div[2]/div[1]/div/div[3]/a').click()
        self.driver.find_element_by_xpath('//*[@id="loginname"]').send_keys(self.username)
        self.driver.find_element_by_xpath('//*[@id="nloginpwd"]').send_keys(self.password)
        self.driver.find_element_by_xpath('//*[@id="loginsubmit"]').click()
        self.target = self.driver.find_element_by_xpath('//*[@id="JDJRV-wrap-loginsubmit"]/div/div/div/div[1]/div[2]/div[1]/img')
        self.src = self.target.get_attribute('src')
        self.template = self.driver.find_element_by_xpath('//*[@id="JDJRV-wrap-loginsubmit"]/div/div/div/div[1]/div[2]/div[2]/img').get_attribute('src')
        request.urlretrieve(self.src, "target.png")
        request.urlretrieve(self.template, "temlate.png")
计算偏移


第一个函数先把图片进行灰度化去计算原图的移动偏移,然后第二个函数利用本地的图片尺寸和网页的尺寸计算出缩放比例,再把原本计算出的偏移进一步计算就可以得出网页上的偏移距离
    def FindPic(self,target='target.png', template='temlate.png'):
        target_rgb = cv2.imread(target)
        target_gray = cv2.cvtColor(target_rgb, cv2.COLOR_RGB2GRAY)
        template_rgb = cv2.imread(template, 0)
        res = cv2.matchTemplate(target_gray, template_rgb, cv2.TM_CCOEFF_NORMED)
        value = cv2.minMaxLoc(res)
        # print(value)
        return value[2][0]

    def size(self):
        x = self.FindPic()
        img = cv2.imread('target.png')
        w1 = img.shape[1]
        w2 = self.target.size['width']
        self.offset = int(x * w2 / w1 + 25)
        print(self.offset)
        # self.driver.quit()
实现滑动效果
这一步确实挺难搞的,因为京东有人工智能识别的原因,用selenium滑动就会因为鼠标光标不动等一系列的原因,就算缺口滑动的正确了会不通过,这里查了很久最后采用了前辈用pyautogui库写的一个算法才解决
    def Drag_the(self):
        The_slider = self.driver.find_element_by_xpath('//*[@id="JDJRV-wrap-loginsubmit"]/div/div/div/div[2]/div[3]')
        x = The_slider.location.get('x')
        y = The_slider.location.get('y')
        print(The_slider.location, ',kw_x = ', x, ',kw_y = ', y)
        xx = x + self.offset
        pyautogui.moveTo(x+24, y+127, duration=0.1)
        pyautogui.mouseDown()
        y += random.randint(9, 19)
        pyautogui.moveTo(x + int(self.offset * random.randint(15, 23) / 20), duration=0.28)
        y += random.randint(-9, 0)
        pyautogui.moveTo(x + int(self.offset * random.randint(17, 21) / 20), duration=(random.randint(20, 31)) / 100)
        y += random.randint(0, 8)
        pyautogui.moveTo(xx, duration=0.3)
        pyautogui.mouseUp()
完整代码
from urllib import request
import cv2
from selenium import webdriver
# from random import random
import pyautogui
from numpy import random


class JD_Verification_code():

    def __init__(self):
        self.url = 'https://passport.jd.com/new/login.aspx?ReturnUrl=https%3A%2F%2Fwww.jd.com%2F'
        self.driver = webdriver.Chrome()
        self.wath = self.driver.implicitly_wait(10)
        self.username = '123456789'
        self.password = '123456789'

    def get_image(self):
        self.driver.get(self.url)
        self.driver.maximize_window()
        self.driver.find_element_by_xpath('//*[@id="content"]/div[2]/div[1]/div/div[3]/a').click()
        self.driver.find_element_by_xpath('//*[@id="loginname"]').send_keys(self.username)
        self.driver.find_element_by_xpath('//*[@id="nloginpwd"]').send_keys(self.password)
        self.driver.find_element_by_xpath('//*[@id="loginsubmit"]').click()
        self.target = self.driver.find_element_by_xpath('//*[@id="JDJRV-wrap-loginsubmit"]/div/div/div/div[1]/div[2]/div[1]/img')
        self.src = self.target.get_attribute('src')
        self.template = self.driver.find_element_by_xpath('//*[@id="JDJRV-wrap-loginsubmit"]/div/div/div/div[1]/div[2]/div[2]/img').get_attribute('src')
        request.urlretrieve(self.src, "target.png")
        request.urlretrieve(self.template, "temlate.png")

    def FindPic(self,target='target.png', template='temlate.png'):
        target_rgb = cv2.imread(target)
        target_gray = cv2.cvtColor(target_rgb, cv2.COLOR_RGB2GRAY)
        template_rgb = cv2.imread(template, 0)
        res = cv2.matchTemplate(target_gray, template_rgb, cv2.TM_CCOEFF_NORMED)
        value = cv2.minMaxLoc(res)
        # print(value)
        return value[2][0]

    def size(self):
        x = self.FindPic()
        img = cv2.imread('target.png')
        w1 = img.shape[1]
        w2 = self.target.size['width']
        self.offset = int(x * w2 / w1 + 25)
        print(self.offset)
        # self.driver.quit()

    def Drag_the(self):
        The_slider = self.driver.find_element_by_xpath('//*[@id="JDJRV-wrap-loginsubmit"]/div/div/div/div[2]/div[3]')
        x = The_slider.location.get('x')
        y = The_slider.location.get('y')
        print(The_slider.location, ',kw_x = ', x, ',kw_y = ', y)
        xx = x + self.offset
        pyautogui.moveTo(x+24, y+127, duration=0.1)
        pyautogui.mouseDown()
        y += random.randint(9, 19)
        pyautogui.moveTo(x + int(self.offset * random.randint(15, 23) / 20), duration=0.28)
        y += random.randint(-9, 0)
        pyautogui.moveTo(x + int(self.offset * random.randint(17, 21) / 20), duration=(random.randint(20, 31)) / 100)
        y += random.randint(0, 8)
        pyautogui.moveTo(xx, duration=0.3)
        pyautogui.mouseUp()


jd = JD_Verification_code()
jd.get_image()
jd.FindPic()
jd.size()
jd.Drag_the()
结尾
搞了一夜写完的时候天已经亮了就没有写识别错误后的重试循环,加上接触python的时间不长,部分代码写的可能不太行
参考的文章和视频视频链接:
https://blog.csdn.net/qq_36853469/article/details/100580753?ops_request_misc=%25257B%252522request%25255Fid%252522%25253A%252522160707993219724838586592%252522%25252C%252522scm%252522%25253A%25252220140713.130102334…%252522%25257D&request_id=160707993219724838586592&biz_id=0&utm_medium=distribute.pc_search_result.none-task-blog-2alltop_click~default-1-100580753.first_rank_v2_pc_rank_v29&utm_term=%E4%BA%AC%E4%B8%9C%E9%AA%8C%E8%AF%81%E7%A0%81
https://www.bilibili.com/video/BV1cC4y1Y7Wm
如有侵权,望告删
最后
以上就是愤怒电源最近收集整理的关于python实现滑动京东滑块验证码前置的一些配置验证码图片的下载计算偏移实现滑动效果完整代码结尾的全部内容,更多相关python实现滑动京东滑块验证码前置内容请搜索靠谱客的其他文章。


![[爬虫] 京东滑动验证码破解(selenium+python)](https://www.shuijiaxian.com/files_image/reation/bcimg7.png)

发表评论 取消回复