这篇教程介绍如何在应用程序中进行拍摄照片,并将照片添加到APP中。
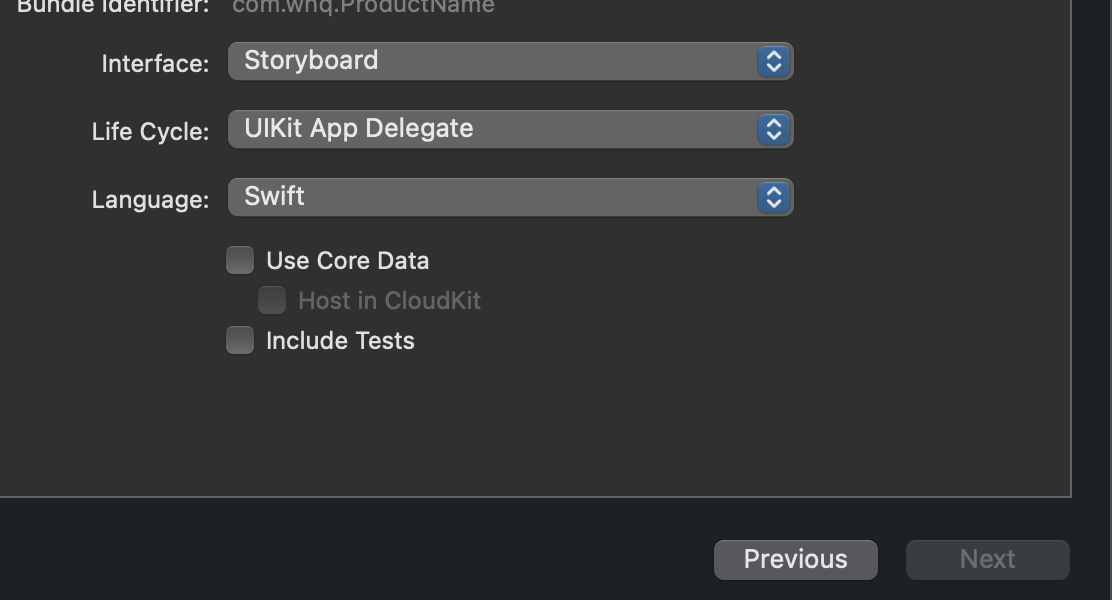
创建一个UIkit的框架项目
一、info.list
申请权限
Privacy - Camera Usage Description
二、代码
//
// ViewController.swift
// TakingPictures
//
// Created by whq on 2021/8/15.
//
import UIKit
class ViewController: UIViewController {
@IBOutlet var imageView : UIImageView!
@IBOutlet var button : UIButton!
override func viewDidLoad() {
super.viewDidLoad()
imageView.backgroundColor = .secondarySystemBackground
button.backgroundColor = .systemBlue
button.setTitle("Take picture", for: .normal)
button.setTitleColor(.white, for: .normal)
}
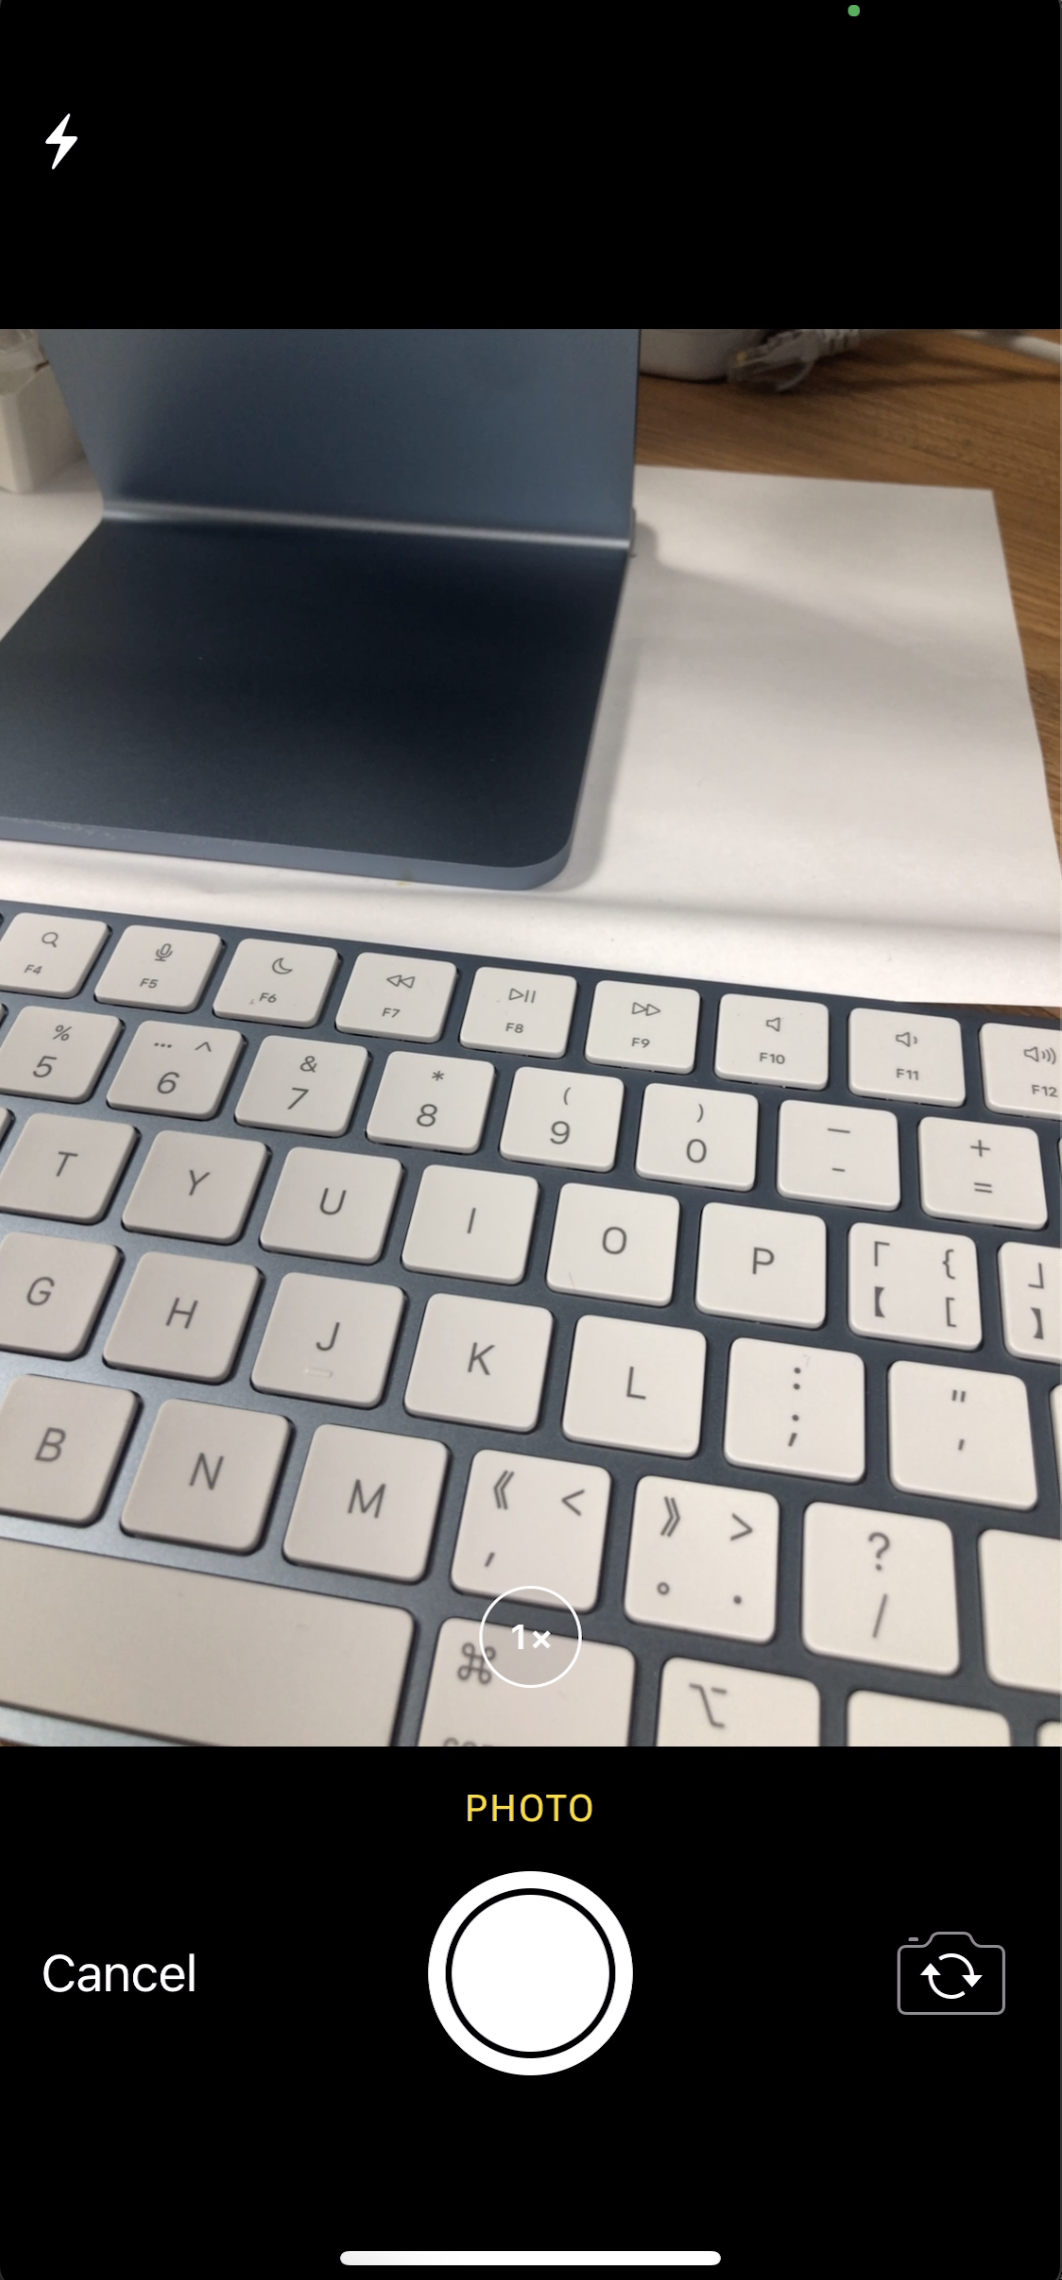
@IBAction func didTapButton(){
let picker = UIImagePickerController()
picker.sourceType = .camera
picker.allowsEditing = true
picker.delegate = self
present(picker, animated: true)
}
}
extension ViewController :UIImagePickerControllerDelegate,UINavigationControllerDelegate{
func imagePickerControllerDidCancel(_ picker: UIImagePickerController) {
picker.dismiss(animated: true, completion: nil)
}
func imagePickerController(_ picker: UIImagePickerController, didFinishPickingMediaWithInfo info: [UIImagePickerController.InfoKey : Any]) {
picker.dismiss(animated: true, completion: nil)
guard let image = info[UIImagePickerController.InfoKey.editedImage] as? UIImage else{
return
}
imageView.image = image
}
}
三、main.storyboard
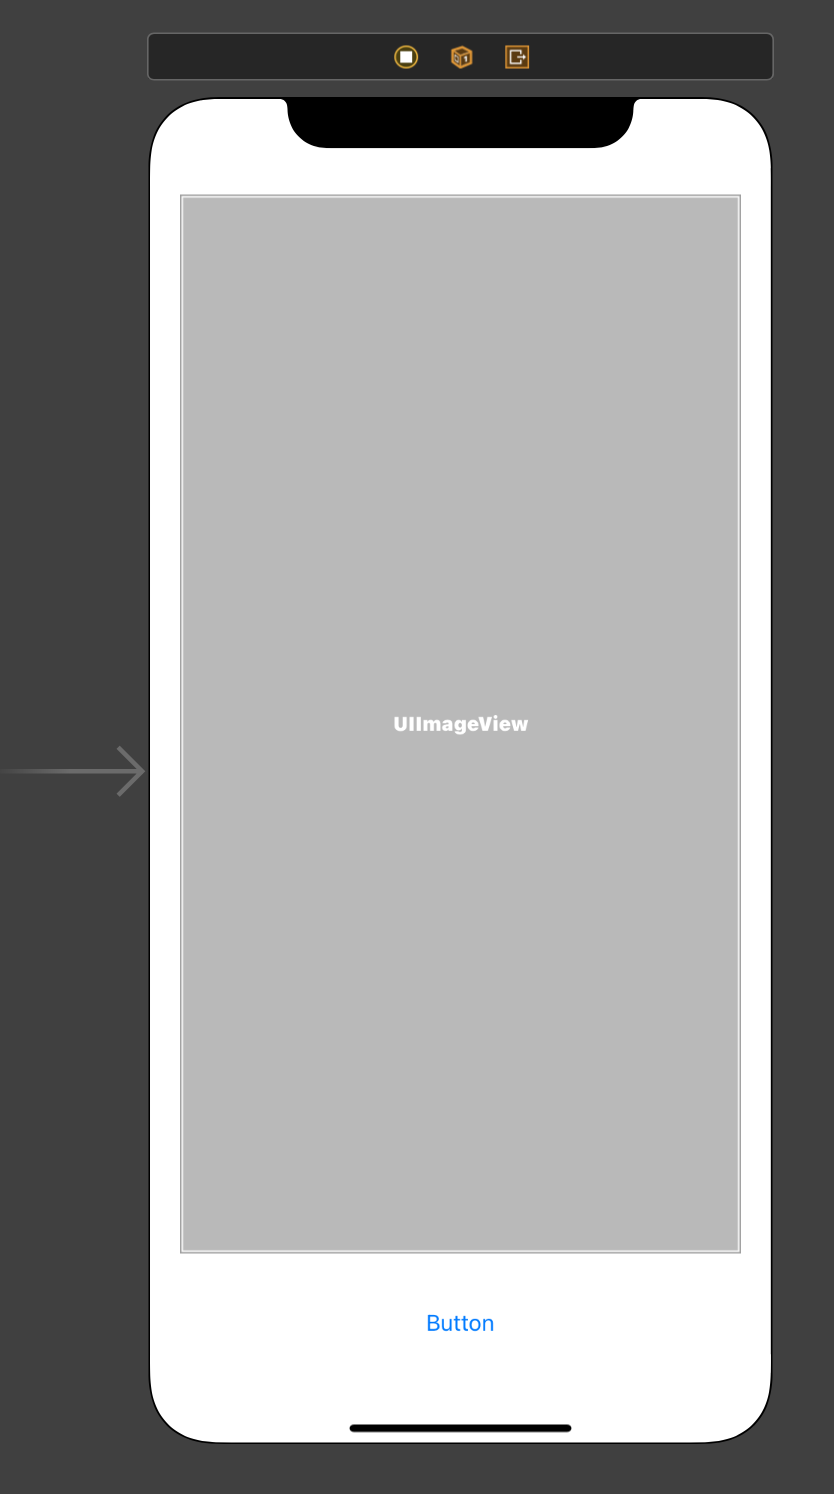
自行绑定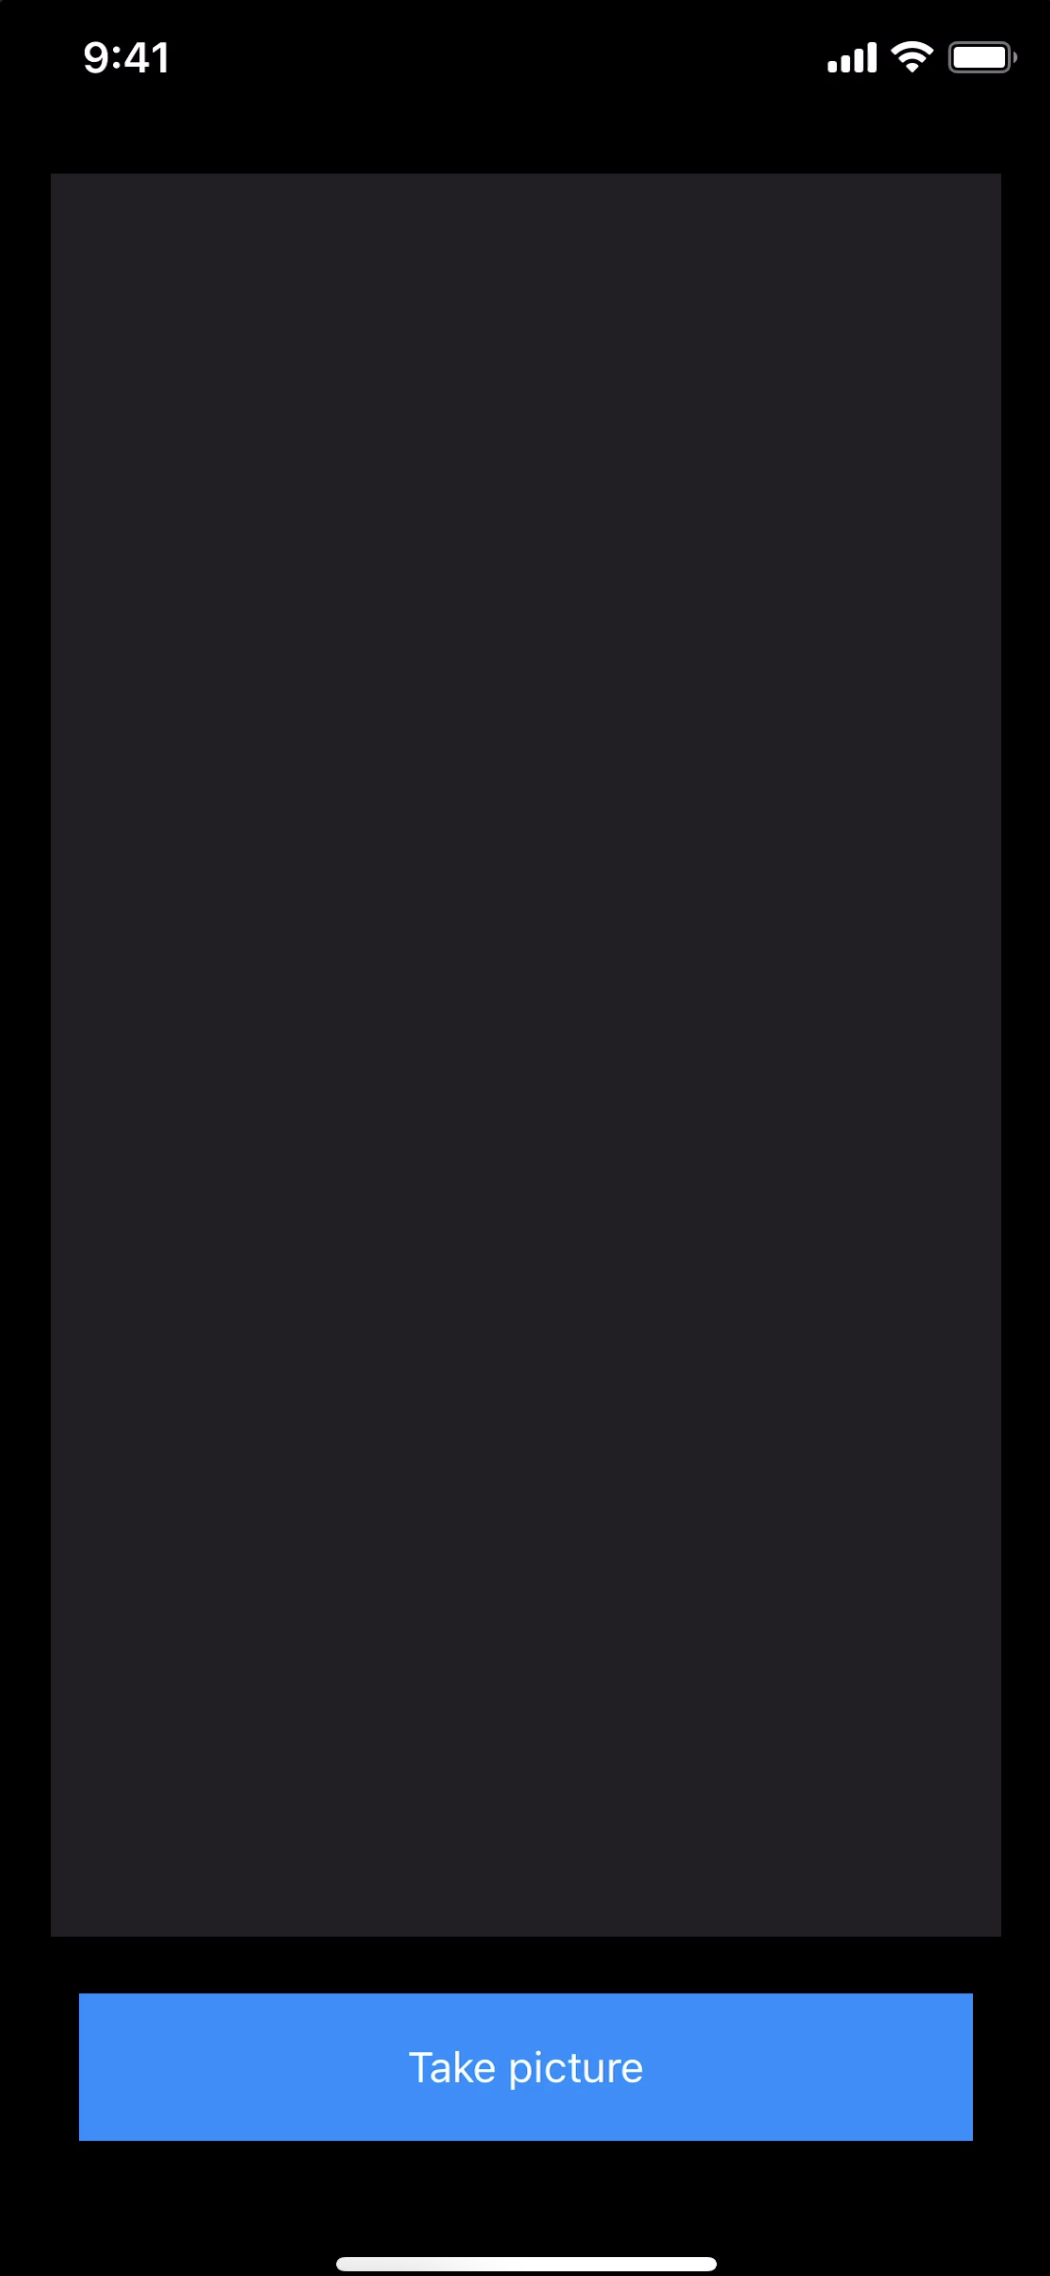
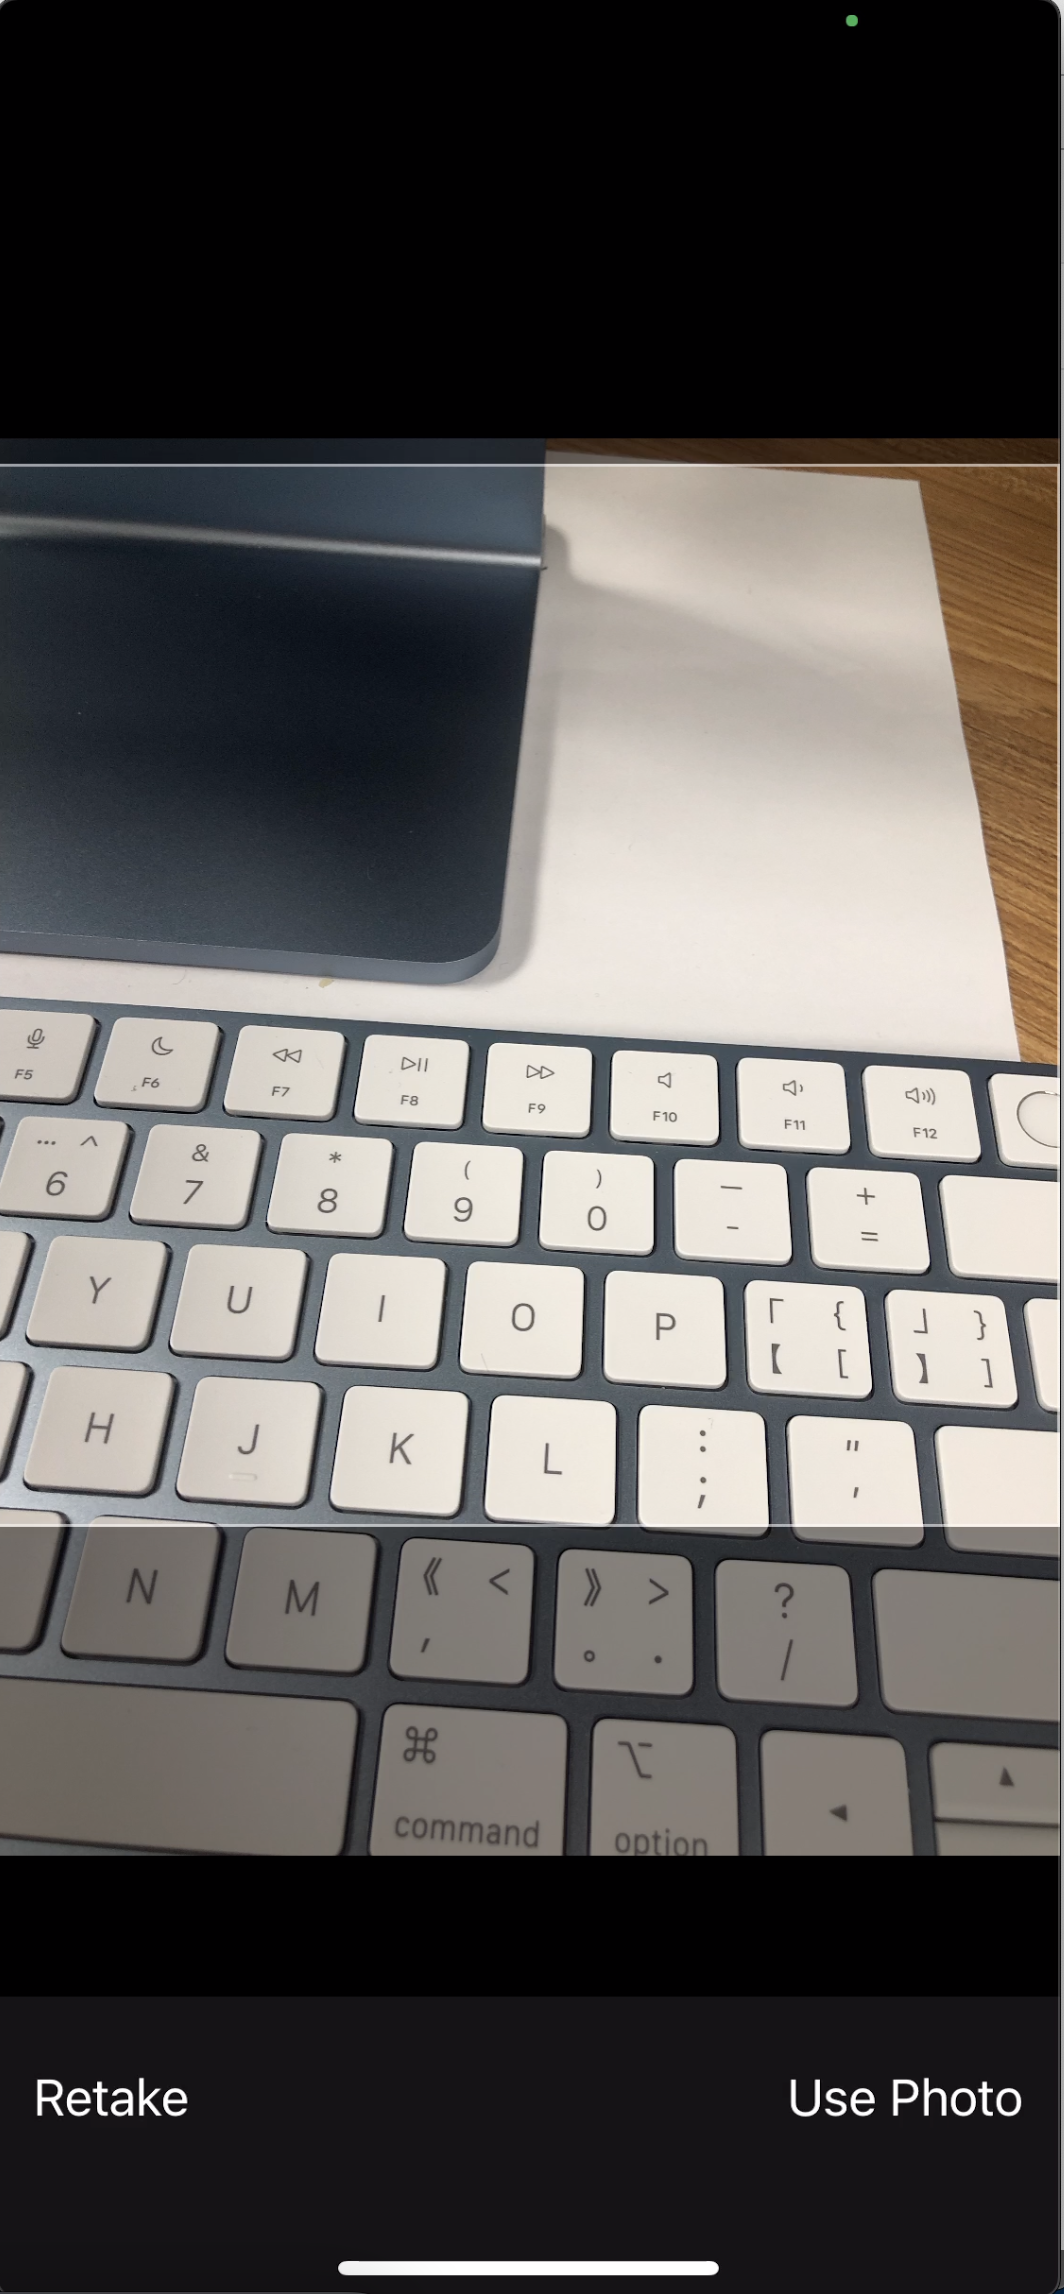
这样效果就出来了!
最后
以上就是粗心大地最近收集整理的关于swift使用相机拍照一、info.list二、代码三、main.storyboard的全部内容,更多相关swift使用相机拍照一、info内容请搜索靠谱客的其他文章。
本图文内容来源于网友提供,作为学习参考使用,或来自网络收集整理,版权属于原作者所有。


发表评论 取消回复