https://blog.csdn.net/kxj19980524/article/details/87009660
在上面的基础上添加依赖
<!-- hystrix断路器 -->
<dependency>
<groupId>org.springframework.cloud</groupId>
<artifactId>spring-cloud-starter-netflix-hystrix-dashboard</artifactId>
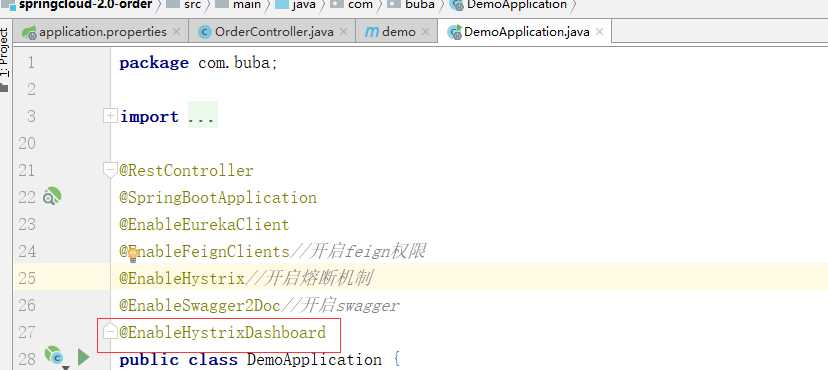
</dependency>启动累上加@EnableHystrixDashboard
添加bean对象
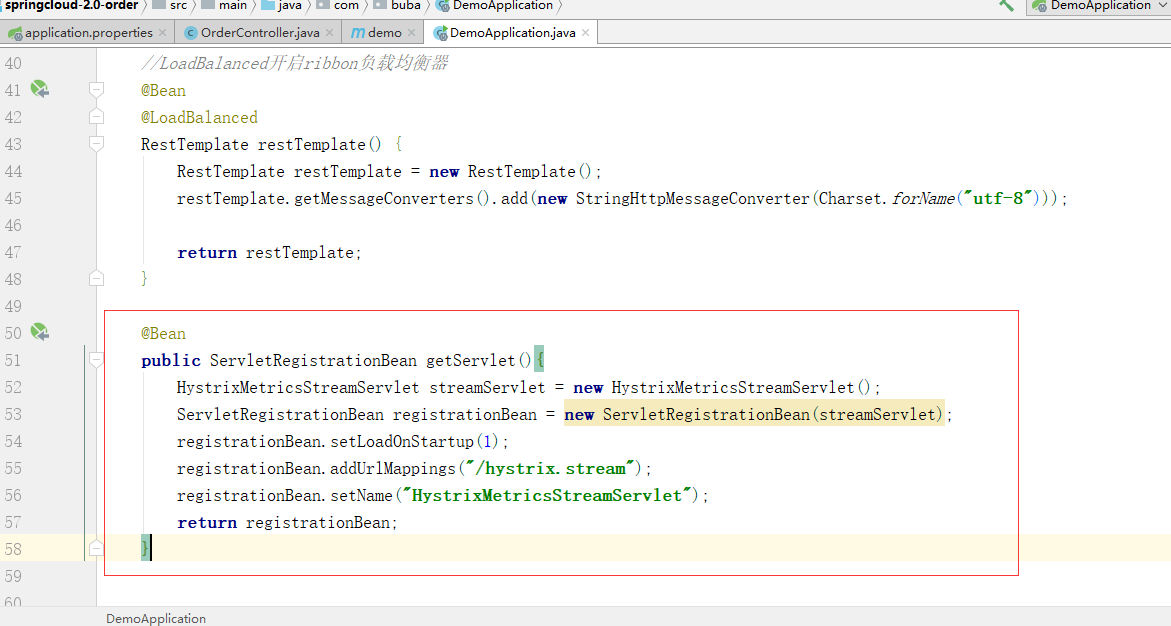
@Bean
public ServletRegistrationBean getServlet(){
HystrixMetricsStreamServlet streamServlet = new HystrixMetricsStreamServlet();
ServletRegistrationBean registrationBean = new ServletRegistrationBean(streamServlet);
registrationBean.setLoadOnStartup(1);
registrationBean.addUrlMappings("/hystrix.stream");
registrationBean.setName("HystrixMetricsStreamServlet");
return registrationBean;
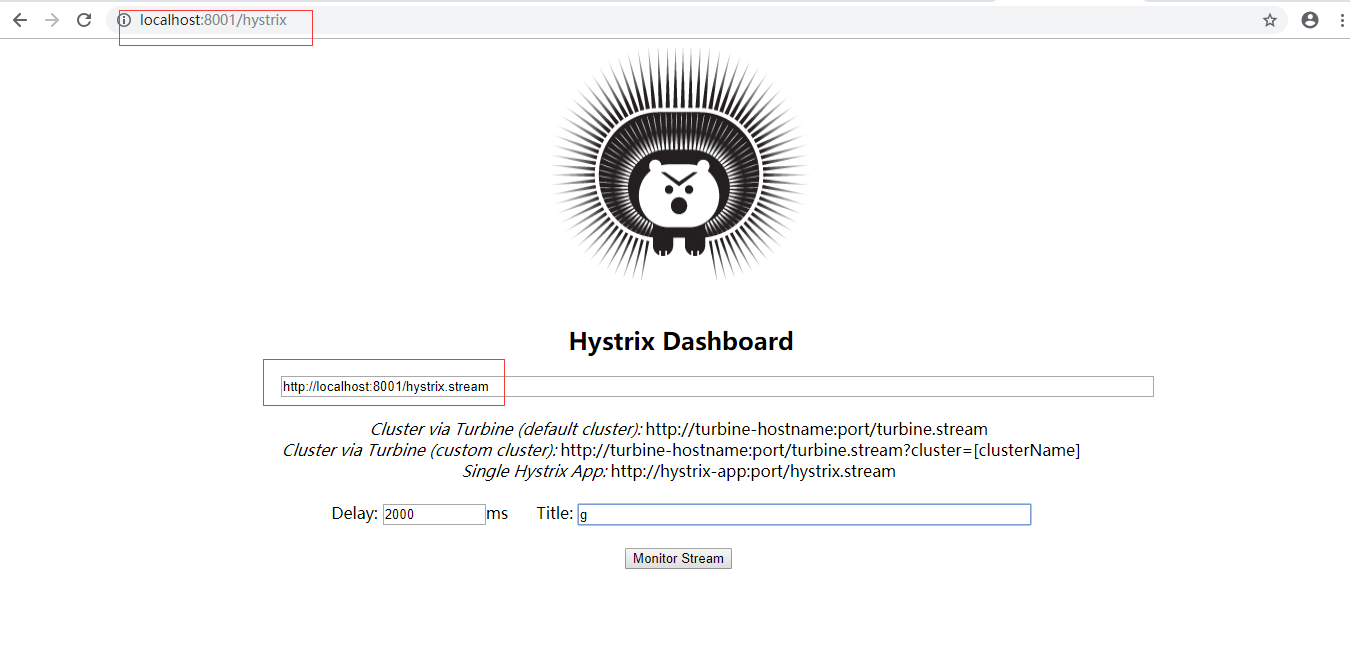
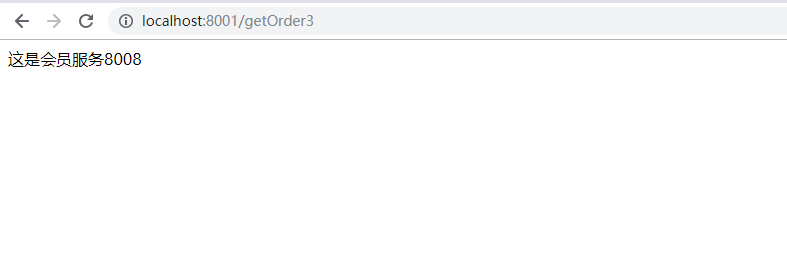
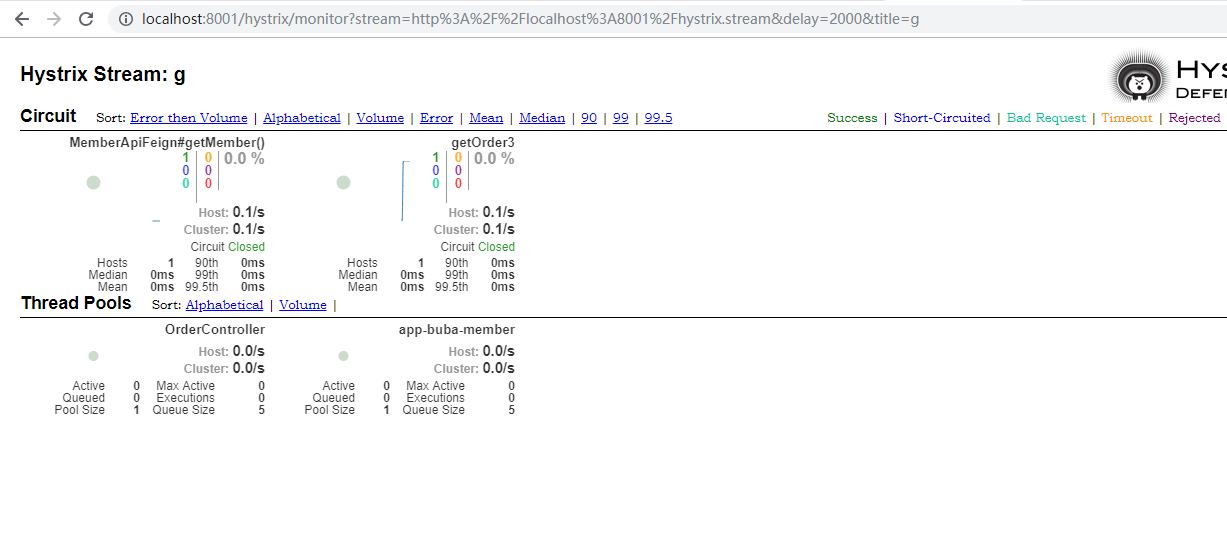
}启动各个组件进行测试,访问hystrix的服务的那个端口
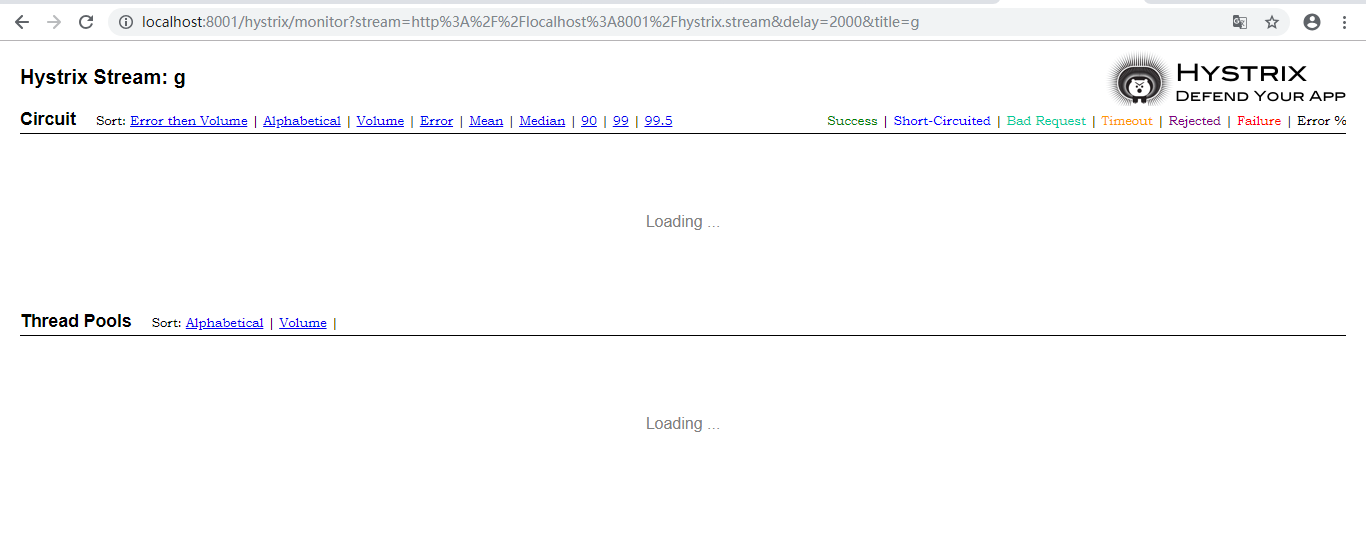
然后访问一下hystrix的服务,这边就出来详细的信息了.
最后
以上就是勤奋星月最近收集整理的关于SpringCloud之HystrixDashboard仪表盘使用方式的全部内容,更多相关SpringCloud之HystrixDashboard仪表盘使用方式内容请搜索靠谱客的其他文章。
本图文内容来源于网友提供,作为学习参考使用,或来自网络收集整理,版权属于原作者所有。


发表评论 取消回复