前言
想写个demo,demo中想用下ButterKnife,结果,配置的方法又记不清了,找了下以前的代码,又百度了一下,才重新配置成功,这他瞄的多费功夫,花点时间做下笔记,哪怕花点,~.~,最近欠的总结是越来越多,再不记下来,都要忘完了。然后配置Butterknife不同版本之间有差异,我这里只记我遇到了,其它的,遇到了再补充。
1. 版本 Android Studio 2.3.2 && ButterKnife 8.4.0
1.1 module build.gradle 配置
dependencies 依赖配置
 compile 'com.jakewharton:butterknife:8.4.0'
 apt 'com.jakewharton:butterknife-compiler:8.4.0'
文件顶部添加 apply
apply plugin: 'com.neenbedankt.android-apt'总体如下
apply plugin: 'com.android.application'
// butterKnife
apply plugin: 'com.neenbedankt.android-apt'
android {
  //省略
}

dependencies {
    compile fileTree(include: ['*.jar'], dir: 'libs')
    androidTestCompile('com.android.support.test.espresso:espresso-core:2.2.2', {
        exclude group: 'com.android.support', module: 'support-annotations'
    })
    testCompile 'junit:junit:4.12'
    //butterKnife
    compile 'com.jakewharton:butterknife:8.4.0'
    apt 'com.jakewharton:butterknife-compiler:8.4.0'
}
1.2 project build.gradle 配置
dependencies 下添加
  classpath 'com.neenbedankt.gradle.plugins:android-apt:1.8'
  classpath 'com.jakewharton:butterknife-gradle-plugin:8.4.0'
总体如下
// Top-level build file where you can add configuration options common to all sub-projects/modules.

buildscript {
    repositories {
        jcenter()
    }
    dependencies {
        classpath 'com.android.tools.build:gradle:2.3.2'
        classpath 'com.github.dcendents:android-maven-gradle-plugin:1.5'
//butterKnife
        classpath 'com.neenbedankt.gradle.plugins:android-apt:1.8'
        classpath 'com.jakewharton:butterknife-gradle-plugin:8.4.0'
        // NOTE: Do not place your application dependencies here; they belong
        // in the individual module build.gradle files
    }
}

allprojects {
    repositories {
        jcenter()
    }
}

task clean(type: Delete) {
    delete rootProject.buildDir
}
1.3 ButterKnife使用
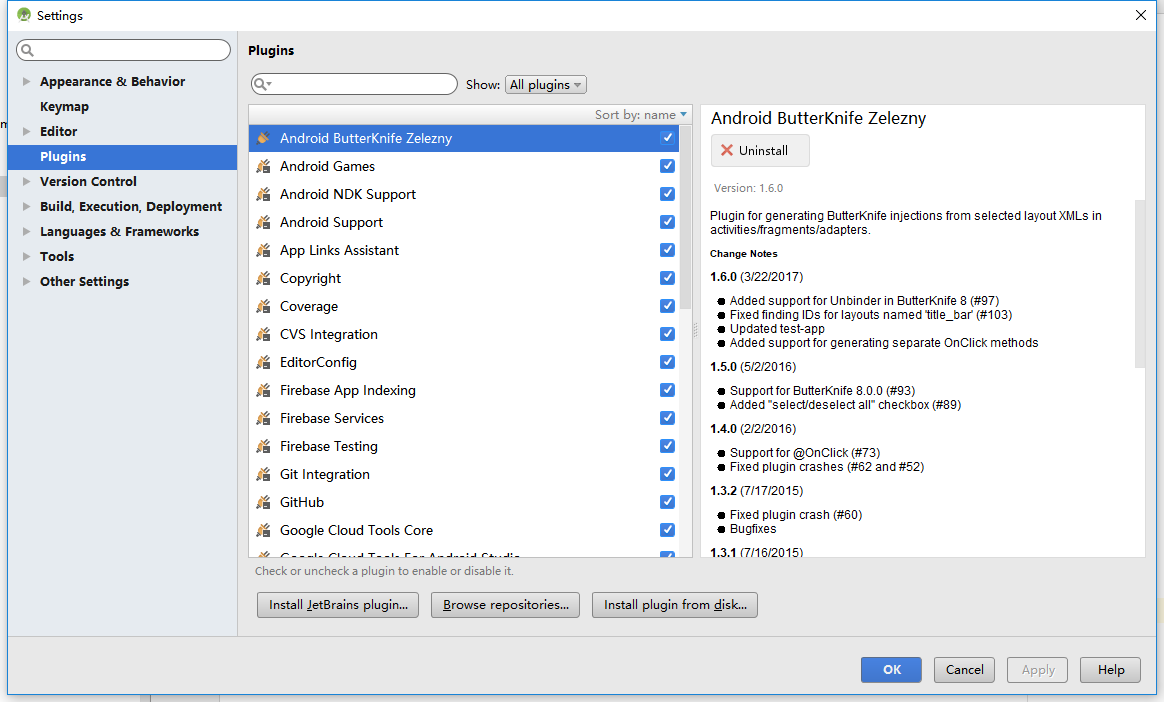
1.安装 BuffterKnife 插件 Android ButterKnife Zelezny

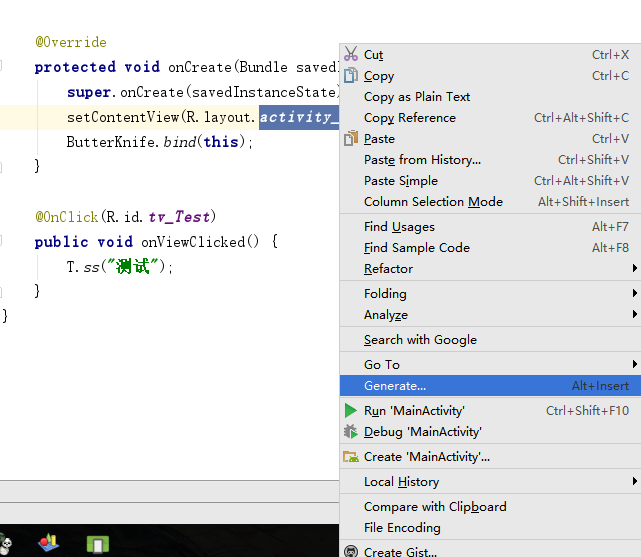
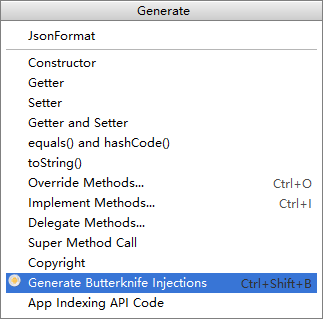
2.选择目标layout > Generate 或 alt insert

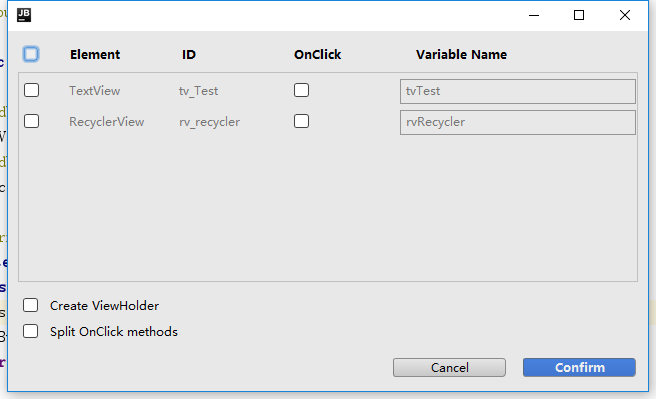
3.选择如下,点击需要生成的控件


4.生成代码如下
public class MainActivity extends AppCompatActivity {

    @BindView(R.id.tv_Test)
    TextView tvTest;
    @BindView(R.id.rv_recycler)
    RecyclerView rvRecycler;

    @Override
    protected void onCreate(Bundle savedInstanceState) {
        super.onCreate(savedInstanceState);
        setContentView(R.layout.activity_main);
        ButterKnife.bind(this);//ButterKnife初始化(会自动生成)
        rvRecycler.setLayoutManager(new LinearLayoutManager(this));
    }

    @OnClick(R.id.tv_Test)
    public void onViewClicked() {
        T.ss("测试");
    }
}
ok,现在就可以正常使用ButterKnife了,然后ButterKnife 需要注意的地方。就是绑定和解绑问题。
最后
以上就是彪壮蜜蜂最近收集整理的关于ButterKnife配置小记前言的全部内容,更多相关ButterKnife配置小记前言内容请搜索靠谱客的其他文章。
本图文内容来源于网友提供,作为学习参考使用,或来自网络收集整理,版权属于原作者所有。


发表评论 取消回复