一、前言
最近通过python实现了发送消息给企业微信的功能,参考链接:
- 【Jenkins学习 】如何编写Python脚本来调用企业微信的api通知企业微信成员关于Jenkins的编译结果? https://blog.csdn.net/qq446282412/article/details/86361318
但是并不是每台Linux服务器上都有合适的python版本,之前这个python脚本是运行在Python 2环境下的,但是可能新的Linux服务器上装的是Python 3 之类的,因此可能写一个Shell脚本更加通用,因此我准备来写个Shell脚本来实现发送消息给企业微信。
但是写好的脚本都是需要传入参数的,因此学习一下Shell命令行参数解析工具getopts是如何使用的?通过下面的链接可以学习到。
- 【Linux学习】Shell命令行参数解析工具getopts是如何使用的? https://mp.csdn.net/postedit/86493502
下面我们来真正实现通过shell脚本调用企业微信api来发消息给企业微信成员的功能。
二、企业微信封装接口介绍
公司负责企业微信推广的同事对企业微信发送消息的api进行了再次封装,然后发送了一篇api文档给我,大致如下:
2.1 请求接口步骤
-
1 获取apid与Secret
请联系公司内部推广企业微信的同事,可得到调用所需的ClientId与Secret -
2 获取token的api
请求api
	POST: http://ip地址:8000/connect/token
	{
		client_id:步骤1中获得,
		client_secret:步骤1中获得,
		grant_type:"client_credentials",
		scope:"ApiGateway"
	}
注:body使用x-www-form-urlencoded
返回的内容
	返回内容:
	{
		"access_token":"",
		"expires_in": 3600,
		"token_type":"Bearer"
	}
- 3 使用步骤2中得到的Bearer Token请求资源.
2.2 请求接口步骤发送微信消息接口说明
-
- 发送图文信息
POST: http://ip地址:8000/api/wechat/news
{
   "toUser" : "工号1|工号2....",
   "agentId" : 0,
   "news" : {
       "articles" : [
           {
               "title" : "中秋节礼品领取",
               "description" : "今年中秋节公司有豪礼相送",
               "url" : "URL",
               "picurl" : "http://res.mail.qq.com/node/ww/wwopenmng/images/independent/doc/test_pic_msg1.png",
               "btntxt":"更多"
           }
        ]
   }
}
-
- 发送文本消息
POST: http://ip地址:8000/api/wechat/text
{
   "toUser" : "工号1|工号2....",
   "agentId" : 0,
   "content":"xxxxxx"
}
-
- 文本卡片消息
POST: http://ip地址:8000/api/wechat/textcard

{
   "toUser" : "工号1|工号2....",
   "agentId" : 0,
   "title" : "领奖通知",
   "description" : "<div class="gray">2016年9月26日</div> <div class="normal">恭喜你抽中iPhone 7一台,领奖码:xxxx</div><div class="highlight">请于2016年10月10日前联系行政同事领取</div>",
   "url":"http://www.baidu.com",
   "btntxt":"更多"

}
三、编写shell脚本来调用企业微信api
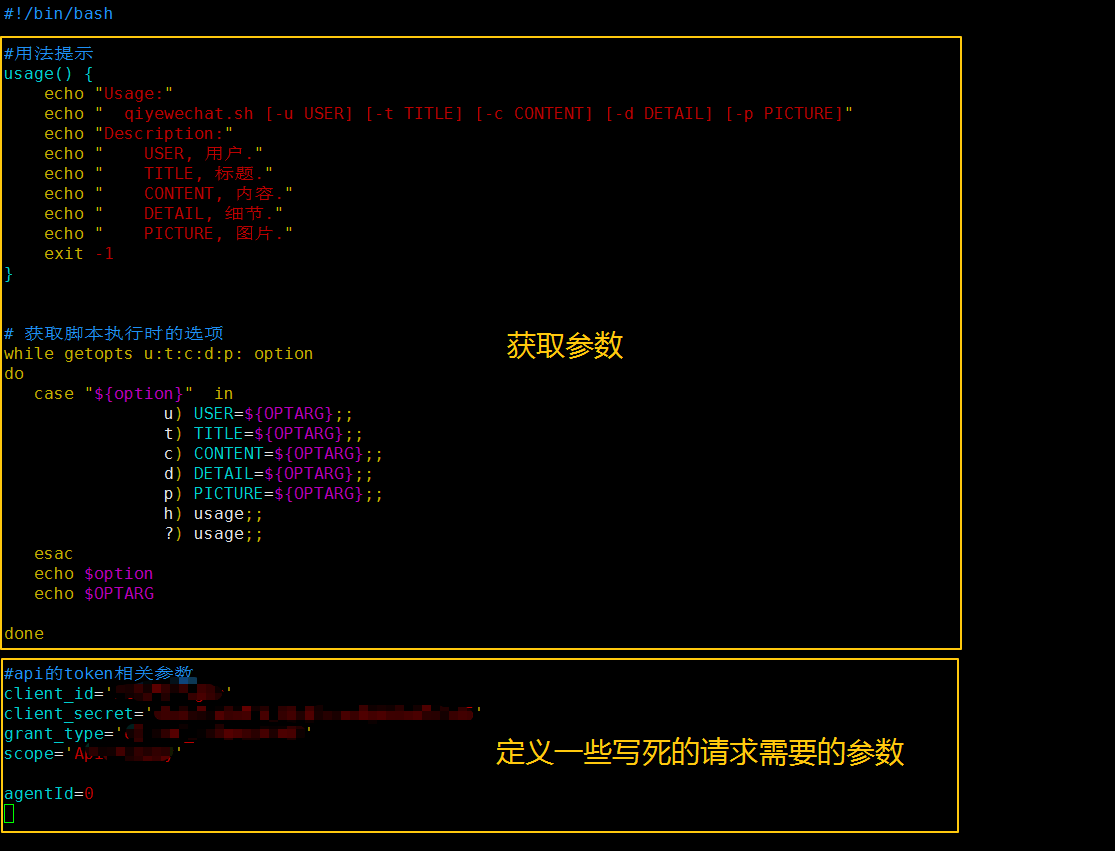
#!/bin/bash

#用法提示
usage() {
    echo "Usage:"
    echo "  qiyewechat.sh [-u USER] [-t TITLE] [-c CONTENT] [-d DETAIL] [-p PICTURE]"
    echo "Description:"
    echo "    USER, 用户."
    echo "    TITLE, 标题."
    echo "    CONTENT, 内容."
    echo "    DETAIL, 细节."
    echo "    PICTURE, 图片."
    exit -1
}


# 获取脚本执行时的选项
while getopts u:t:c:d:p: option
do
   case "${option}"  in
                u) USER=${OPTARG};;
                t) TITLE=${OPTARG};;
                c) CONTENT=${OPTARG};;
                d) DETAIL=${OPTARG};;
                p) PICTURE=${OPTARG};;
                h) usage;;
                ?) usage;;
   esac
   echo $option
   echo $OPTARG

done

#api的token相关参数
client_id='yourId'
client_secret='yourSecret'
grant_type='client_credentials'
scope='ApiGateway'

agentId=0

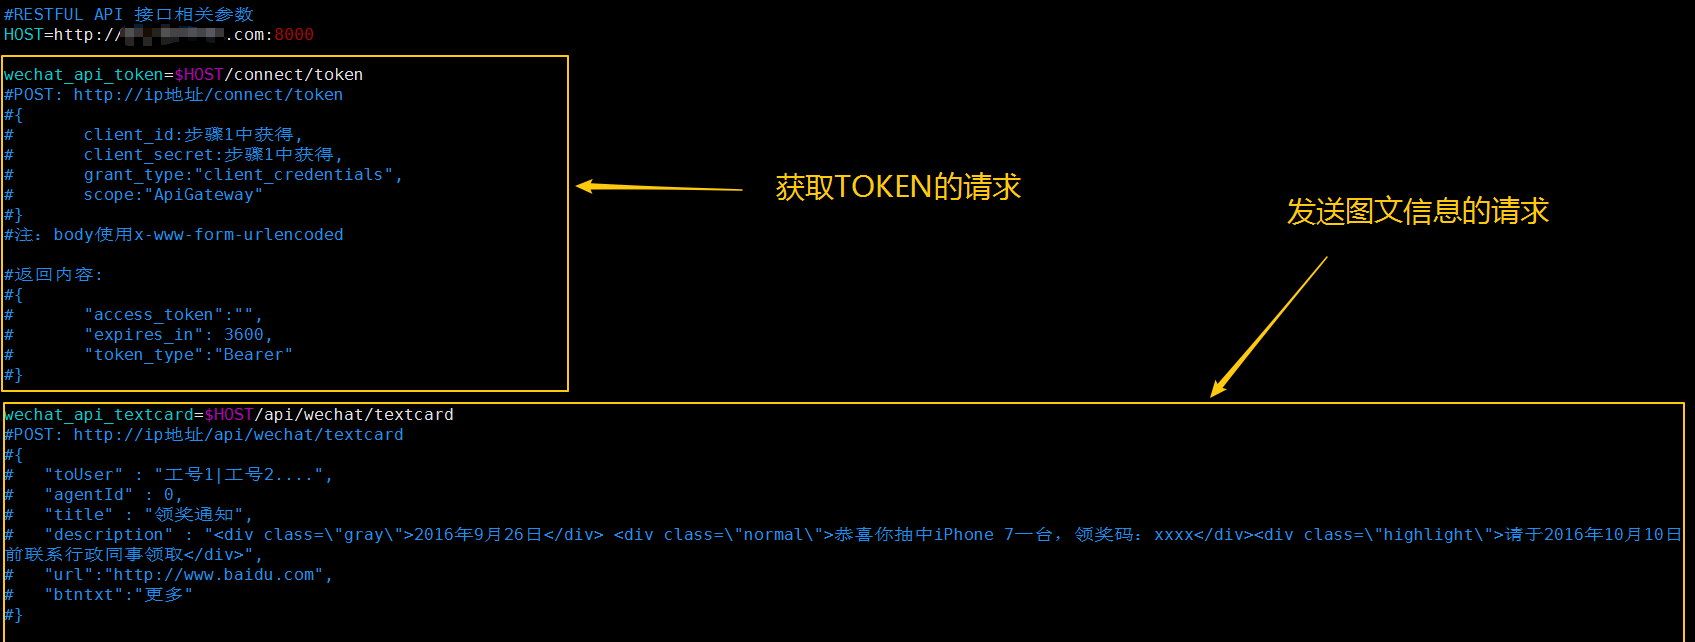
#RESTFUL API 接口相关参数
HOST=http://xxx.xxxxxx.com:8000

wechat_api_token=$HOST/connect/token
#POST: http://ip地址/connect/token
#{
#       client_id:步骤1中获得,
#       client_secret:步骤1中获得,
#       grant_type:"client_credentials",
#       scope:"ApiGateway"
#}
#注:body使用x-www-form-urlencoded

#返回内容:
#{
#       "access_token":"",
#       "expires_in": 3600,
#       "token_type":"Bearer"
#}

wechat_api_textcard=$HOST/api/wechat/textcard
#POST: http://ip地址/api/wechat/textcard
#{
#   "toUser" : "工号1|工号2....",
#   "agentId" : 0,
#   "title" : "领奖通知",
#   "description" : "<div class="gray">2016年9月26日</div> <div class="normal">恭喜你抽中iPhone 7一台,领奖码:xxxx</div><div class="highlight">请于2016年10月10日
前联系行政同事领取</div>",
#   "url":"http://www.baidu.com",
#   "btntxt":"更多"
#}

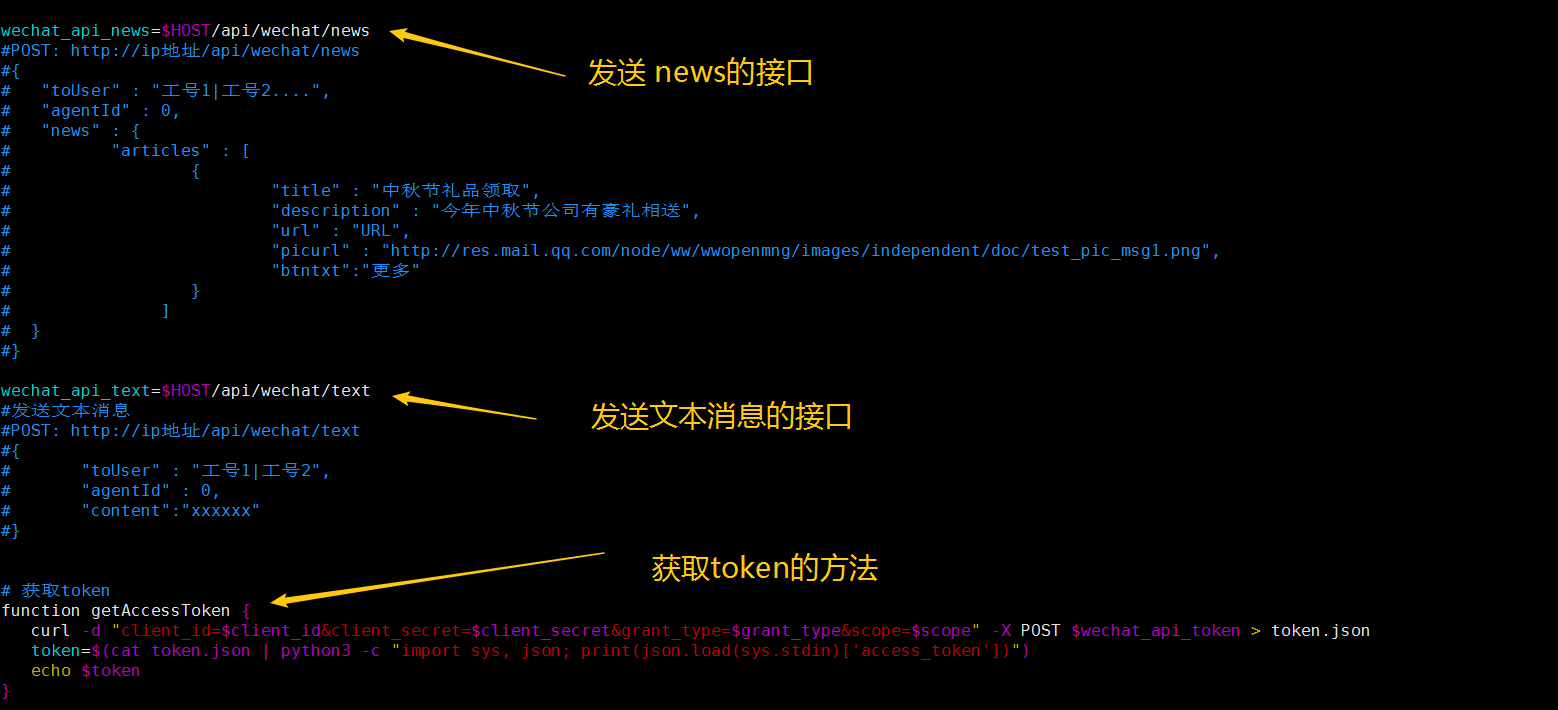
wechat_api_news=$HOST/api/wechat/news
#POST: http://ip地址/api/wechat/news
#{
#   "toUser" : "工号1|工号2....",
#   "agentId" : 0,
#   "news" : {
#          "articles" : [
#                  {
#                          "title" : "中秋节礼品领取",
#                          "description" : "今年中秋节公司有豪礼相送",
#                          "url" : "URL",
#                          "picurl" : "http://res.mail.qq.com/node/ww/wwopenmng/images/independent/doc/test_pic_msg1.png",
#                          "btntxt":"更多"
#                  }
#               ]
#  }
#}

wechat_api_text=$HOST/api/wechat/text
#发送文本消息
#POST: http://ip地址/api/wechat/text
#{
#       "toUser" : "工号1|工号2",
#       "agentId" : 0,
#       "content":"xxxxxx"
#}


# 获取token
function getAccessToken {
   curl -d "client_id=$client_id&client_secret=$client_secret&grant_type=$grant_type&scope=$scope" -X POST $wechat_api_token > token.json
   token=$(cat token.json | python3 -c "import sys, json; print(json.load(sys.stdin)['access_token'])")
   echo $token
}

#发送文本消息
echo -e "{"toUser":""$USER"", "agentId":"$agentId", "content":""$CONTENT""}" > data_textcard.json
curl  --write-out %{http_code} -d '@data_textcard.json' -H "Content-Type: application/json" -H "Authorization: Bearer $(getAccessToken)" -X POST $wechat_api_text

#发送图文信息
#echo -e "{"toUser":""$USER"", "agentId":"$agentId", "title":""$TITLE"", "description":""$CONTENT"", "url":""$DETAIL""}" > data_textcard.json
#curl  --write-out %{http_code} -d '@data_textcard.json' -H "Content-Type: application/json" -H "Authorization: Bearer $(getAccessToken)" -X POST $wechat_api_textcard

#发送图文信息
# echo -e "{"toUser":""$USER"","agentId":"$agentId", "articles":[{"title":""$TITLE"", "description":""$CONTENT"", "url":""$DETAIL"", "picUrl":""$PICTURE""}]}" > data_news.json
# curl  --write-out %{http_code} -d '@data_news.json' -H "Content-Type: application/json" -H "Authorization: Bearer $(getAccessToken)" -X POST $wechat_api_news

其中
token=$(cat token.json | python3 -c "import sys, json; print(json.load(sys.stdin)['access_token'])")
这句中的python3是Linux服务器配置好的,可以参考下面的链接,如果你的系统默认是python2的话,直接改成python即可。
- https://blog.csdn.net/u010383937/article/details/73162281
四、运行shell脚本调用企业微信api来发消息给企业微信成员
我们来测试一下,20xxxxxx是我的工号,我发给自己测试下。
root@ubuntu116:/data/gitlabData/auto_back_shell# ./qiyewechat-notifier.sh  -c “测试下Linux环境下发生企业微信消息” -u 20xxxxxx
c
“测试下Linux环境下发生企业微信消息”
u
20xxxxxx
  % Total    % Received % Xferd  Average Speed   Time    Time     Time  Current
                                 Dload  Upload   Total   Spent    Left  Speed
100   902    0   787  100   115  34220   5000 --:--:-- --:--:-- --:--:-- 35772
{"result":true}200root@ubuntu116:/data/gitlabData/auto_back_shell#

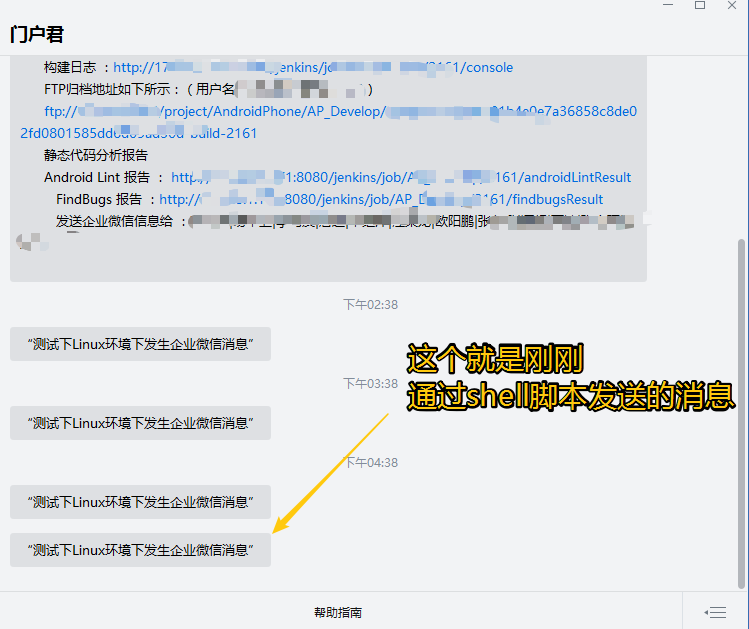
OK了,成功了!现在我可以去修改之前的gitlab备份的全部shell脚本了,之前都是讲备份结果通过发邮件的方式,现在可以改为发送结果到企业微信了。

作者:欧阳鹏 欢迎转载,与人分享是进步的源泉!
转载请保留原文地址:https://blog.csdn.net/qq446282412/article/details/86495251
☞ 本人QQ: 3024665621
☞ QQ交流群: 123133153
☞ github.com/ouyangpeng
☞ oypcz@foxmail.com
最后
以上就是追寻橘子最近收集整理的关于【Linux学习】如何编写Shell脚本调用企业微信api来发消息给企业微信成员?一、前言二、企业微信封装接口介绍三、编写shell脚本来调用企业微信api四、运行shell脚本调用企业微信api来发消息给企业微信成员的全部内容,更多相关【Linux学习】如何编写Shell脚本调用企业微信api来发消息给企业微信成员内容请搜索靠谱客的其他文章。


发表评论 取消回复