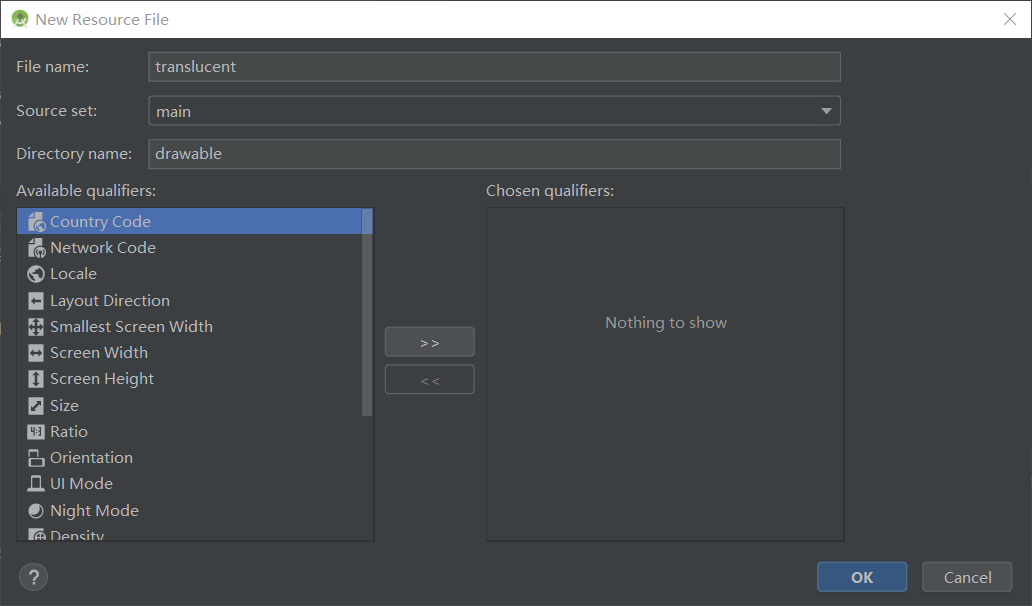
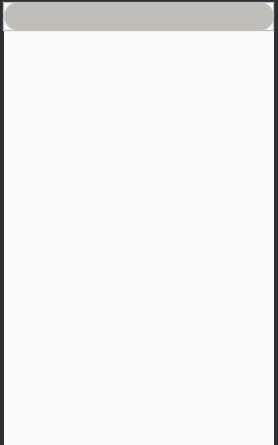
1.先写一个EditText圆角的样式xml,路径res/drawable/translucent.xml(drawable→new→Drawable resource file)

在translucent中写入下面代码
<?xml version="1.0" encoding="utf-8"?>
<shape xmlns:android="http://schemas.android.com/apk/res/android">

    <!-- 背景颜色 -->
    <solid android:color="#80858175" />

    <!-- 边框的宽度和颜色颜色 -->
    <stroke android:width="1dip" android:color="#DBD9D9" />

    <!-- android:radius 弧形的半径 -->
    <corners android:radius="20dp"/>

    <!-- padding:Button里面的文字与Button边界的间隔 -->
    <padding
        android:left="10dp"
        android:top="10dp"
        android:right="10dp"
        android:bottom="10dp"
        />
   />
</shape>
2.把它加入到EditText控件的属性里
<EditText
    xmlns:android="http://schemas.android.com/apk/res/android"
    android:layout_width="match_parent"
    android:layout_height="wrap_content"
    android:inputType="textPassword"
    android:gravity="center"

    <!--将背景设置为弧形-->
    android:background="@drawable/translucent"

   />
最后就完成了

最后
以上就是听话水壶最近收集整理的关于将Android Studio里的EditText控件弄成圆角(即背景设置为弧形)的全部内容,更多相关将Android内容请搜索靠谱客的其他文章。
本图文内容来源于网友提供,作为学习参考使用,或来自网络收集整理,版权属于原作者所有。


发表评论 取消回复