昨天写了个release插件的版本管理,今天就在自动发布过程中遇到了许多坑,只能再写一篇自动发布详细教程,纪念我那昨日逝去的青春 (╥ _ ╥`)
release正常打包发布流程按照如下几个阶段:
- Check that there are no uncommitted changes in the sources
- Check that there are no SNAPSHOT dependencies
- Change the version in the POMs from x-SNAPSHOT to a new version (you will be prompted for the versions to use)
- Transform the SCM information in the POM to include the final destination of the tag
- Run the project tests against the modified POMs to confirm everything is in working order
- Commit the modified POMs
- Tag the code in the SCM with a version name (this will be prompted for)
- Bump the version in the POMs to a new value y-SNAPSHOT (these values will also be prompted for)
- Commit the modified POMs
1. 检出项目
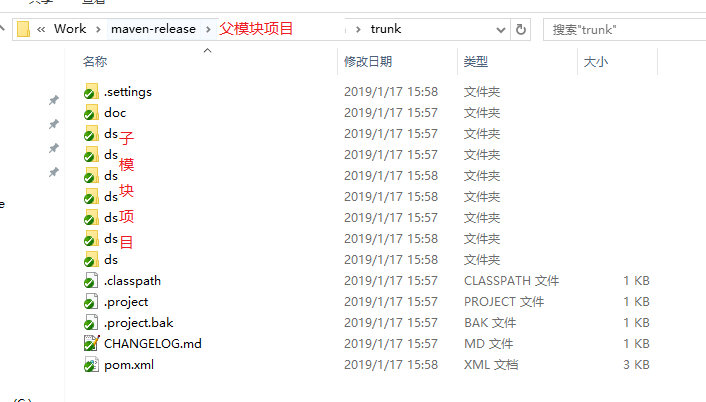
由上述流程可知,release打包发布成功的前提条件是于svn库中代码完全一致(包括配置文件、target文件夹、.classpath文件等),所以不能直接在eclipse进行build。
因此我们需要新建一个文件夹,重新检出项目,专门进行打包发布。

2. 开始打包
在platform中打开控制台输入命令:
测试命令(以文字型输出,并未真正发布):
mvn -DdryRun=true release:prepare-with-pom
正式命令:
mvn release:prepare-with-pom
正常应出现:

如果要用默认值,就直接回车。
“你想将1.1.7-SNAPSHOT发布为什么版本?默认1.1.7。” 我要1.1.7,直接回车。
“发布的tag标签名称是什么?默认为v1.1.7。” 我还是要默认值,直接回车。
“主干上新的版本是什么?默认为1.1.8-SNAPSHOT。” 哈,release插件会自动帮我更新版本到1.1-SNAPSHOT,很好,直接回车。
然后屏幕刷阿刷,maven在build我们的项目,并进行了一些svn操作,你可以仔细查看下日志。
然而事情有时并不是和你想象的那样顺利! (╯>㉨<)╯ ミ ┸┸)`ν゚)
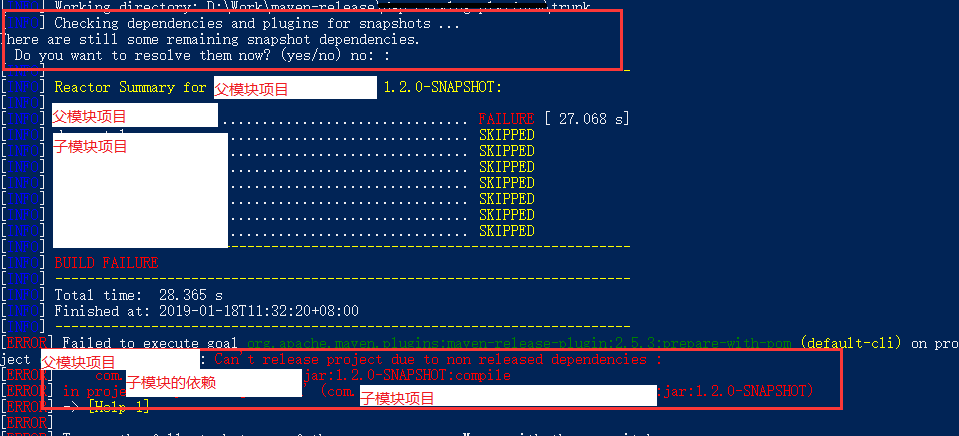
你可能会遇到这种情况:

解决方案:
这是platform的子模块存在快照版本的依赖,应改为正式版。(即没有-SNAPSHOT的jar版本)
或者这种情况:
运行发布命令直接失败,显示release无依赖!!!
解决方案:
检查配置是否齐全。
platform父级模块的配置:
<!-- scm配置,具体路径为待打包代码分支的根路径(trunk、branckes/v1.1.x、/tags/v1.1.5等) -->
    <scm>
          <developerConnection>scm:svn:svn://SVN主路径地址/trunk/</developerConnection>
     </scm>
   <!-- maven-release-plugin插件配置 -->
    <build>
          <plugins>
              <plugin>
                   <groupId>org.apache.maven.plugins</groupId>
                   <artifactId>maven-release-plugin</artifactId>
                   <version>2.5.3</version>
                   <configuration>
                     <autoVersionSubmodules>true</autoVersionSubmodules>
                     <tagNameFormat>v@{project.version}</tagNameFormat>
                     <generateReleasePoms>false</generateReleasePoms>
                     <arguments>-DskipTests</arguments>
                </configuration>
              </plugin>
          </plugins>
     </build>
console、service等子模块的配置
<!-- maven-release-plugin插件配置 -->
    <build>
          <plugins>
              <plugin>
                <groupId>org.apache.maven.plugins</groupId>
                <artifactId>maven-release-plugin</artifactId>
                <version>2.5.3</version>
            </plugin>
          </plugins>
     </build>
又或者这种情况:
运行发布命令直接失败,显示有与SVN库代码不一致。
解决方案:
更新platform打包发布文件夹。
还不是?那么你凉了,赶紧删库跑路吧! ✧*。٩(^㉨^*)و✧*。
给你个传送门,快往这里跑! 内有恶犬
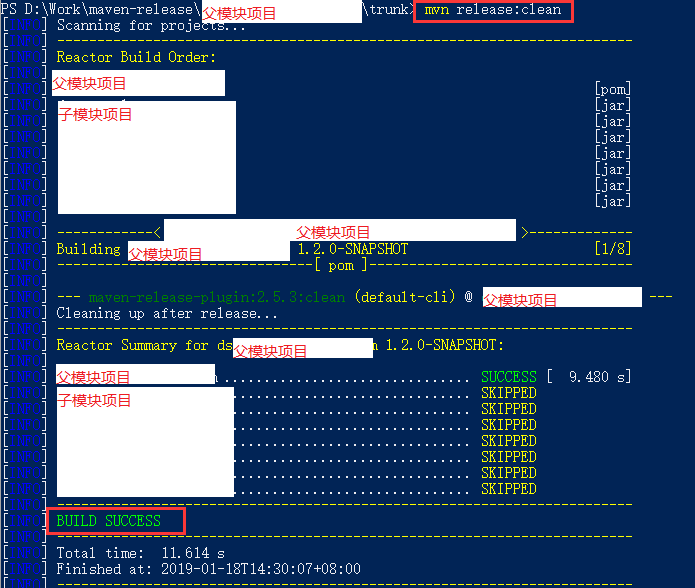
3. 清除release configuration信息
在发布或测试发布之后,会产生发布配置信息,如果下次再发布就需要将其删除,保持和SVN库代码一致。
所用命令:
mvn release:clean


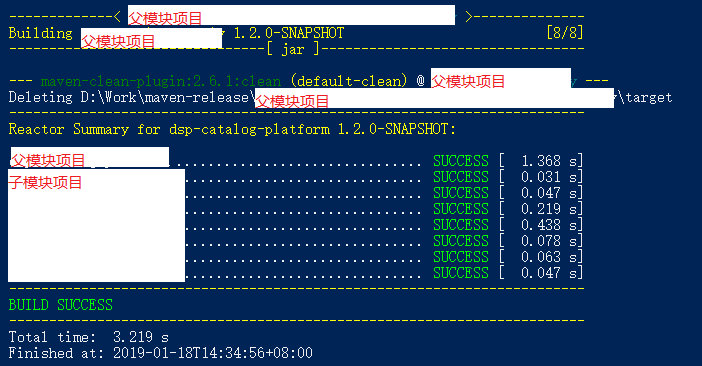
4. 清除target文件夹
同上,必须和SVN库代码保持一致。
所用命令:
mvn clean

转载于:https://www.cnblogs.com/huxiuqian/p/10288354.html
最后
以上就是兴奋蜗牛最近收集整理的关于使用release自动打包发布正式版详细教程1. 检出项目2. 开始打包3. 清除release configuration信息4. 清除target文件夹的全部内容,更多相关使用release自动打包发布正式版详细教程1.内容请搜索靠谱客的其他文章。


发表评论 取消回复