1. 安装python 2.7.X
grunt需要使用到nodejs,而nodejs依赖python,下载nodejs对应版本的python
验证安装成功:cmd-->python --version
2. 安装nodejs
预备使用nodejs的npm下载和管理grunt模块
验证安装成功:cmd-->npm --version
3. 安装grunt-cli
安装使用grunt模块的环境
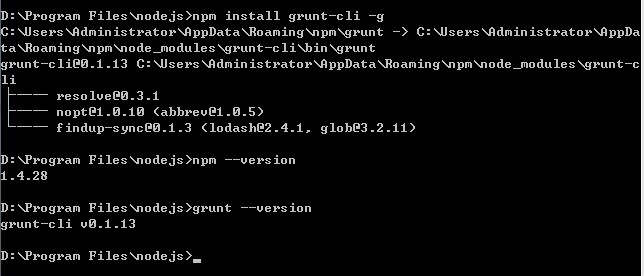
cmd-->npm install -g grunt-cli
验证安装成功:cmd-->grunt --version
(npm默认安装模块路径:C:UsersAdministratorAppDataRoamingnpm)
新建package.json、Gruntfile.js文件
示例:
======================================================
package.json:
{
"name":"abc",
"version":"0.1.0",
"author":"xwl",
"private":true,
"devDependencies":{
"grunt":"~0.4.0",
"grunt-contrib-cssmin":"*",
"grunt-contrib-sass":"*",
"grunt-contrib-uglify":"*",
"grunt-contrib-watch":"*",
"grunt-cssc":"*",
"grunt-htmlhint":"*",
"matchdep":"*"
}
}
======================================================
Gruntfile.js:
module.exports = function(grunt){
// Load grunt-*
require("matchdep").filterDev("grunt-*").forEach(grunt.loadNpmTasks);
grunt.initConfig({
pkg:grunt.file.readJSON('package.json'),
uglify: {
build: {
files: {
'build/style/hello.min.js': ['style/hello.js']
}
}
},
watch: {
js: {
files: ['style/hello.js'],
tasks: ['uglify']
}
}
});
// Load the plugin that provides the "uglify" task.
//grunt.loadNpmTasks('grunt-contrib-uglify');
// Default task(s).
grunt.registerTask('default',[]);
//grunt.registerTask('default',['uglify']);
//grunt.registerTask('buildjs',['uglify']);
};
======================================================
5. 在项目根目录下执行cmd
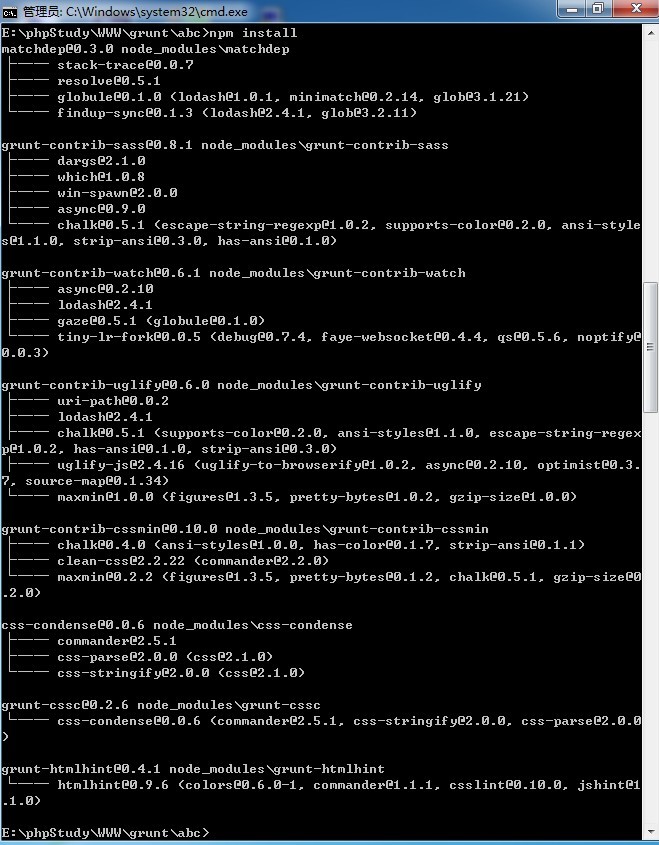
cmd-->npm install
若提示:npm ERR! Error:shasum check failed for ....,可能是网速问题,可以尝试重新执行
验证安装成功:项目根目录下,npm会自动新增文件夹node_modules,并且在里面下载好了package.json中配置的所有模块
6. 开始使用grunt
前提:package.json中书写没有问题且加载的模块下载成功;Gruntfile.js中任务书写没有问题;
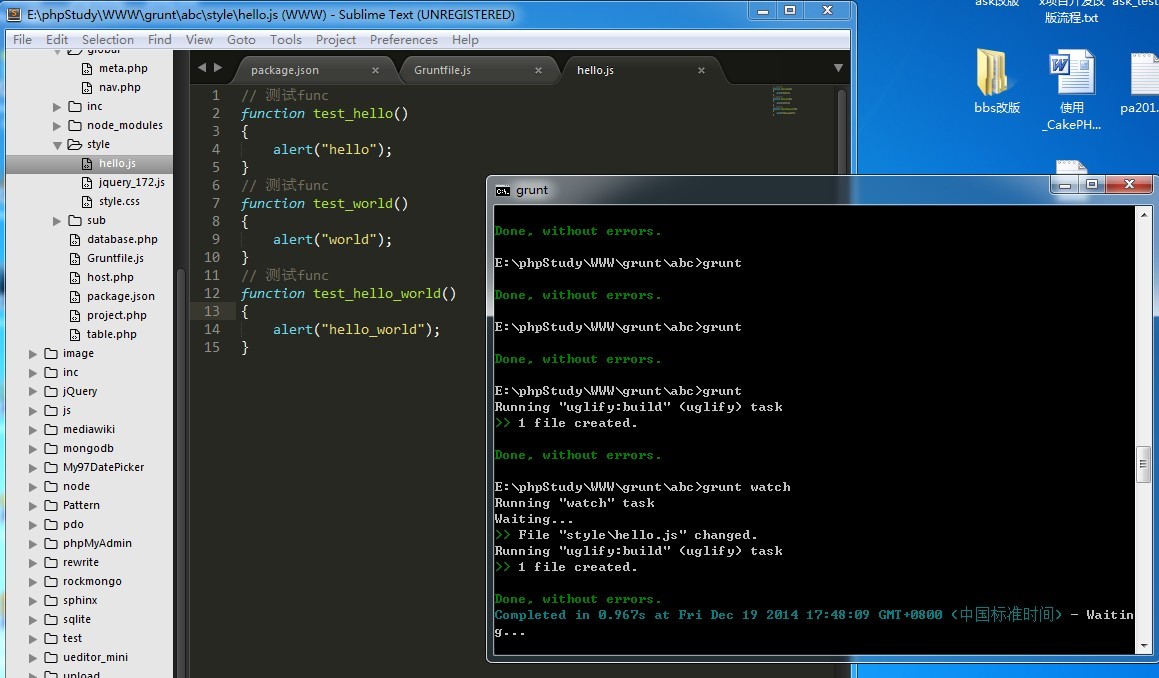
在项目根目录下运行:cmd-->grunt
或者本例中配置的watch任务(cmd-->grunt watch,watch监视一个文件的状态并自动执行grunt的模块)

最后
以上就是娇气裙子最近收集整理的关于grunt(1)——安装与配置的全部内容,更多相关grunt(1)——安装与配置内容请搜索靠谱客的其他文章。
本图文内容来源于网友提供,作为学习参考使用,或来自网络收集整理,版权属于原作者所有。


发表评论 取消回复