Jupyter及其插件安装
Jupyter安装
pip install jupyter
Jupyter使用
jupyter notebook
Jupyter插件管理
pip install jupyter_contrib_nbextensions
jupyter contrib nbextension install --user
pip install jupyter_nbextensions_configurator
jupyter nbextensions_configurator enable --user
第一个和第二个命令安装了用于管理安装插件的工具,第二个和第三个命令是安装激活用于配置扩展管理的工具
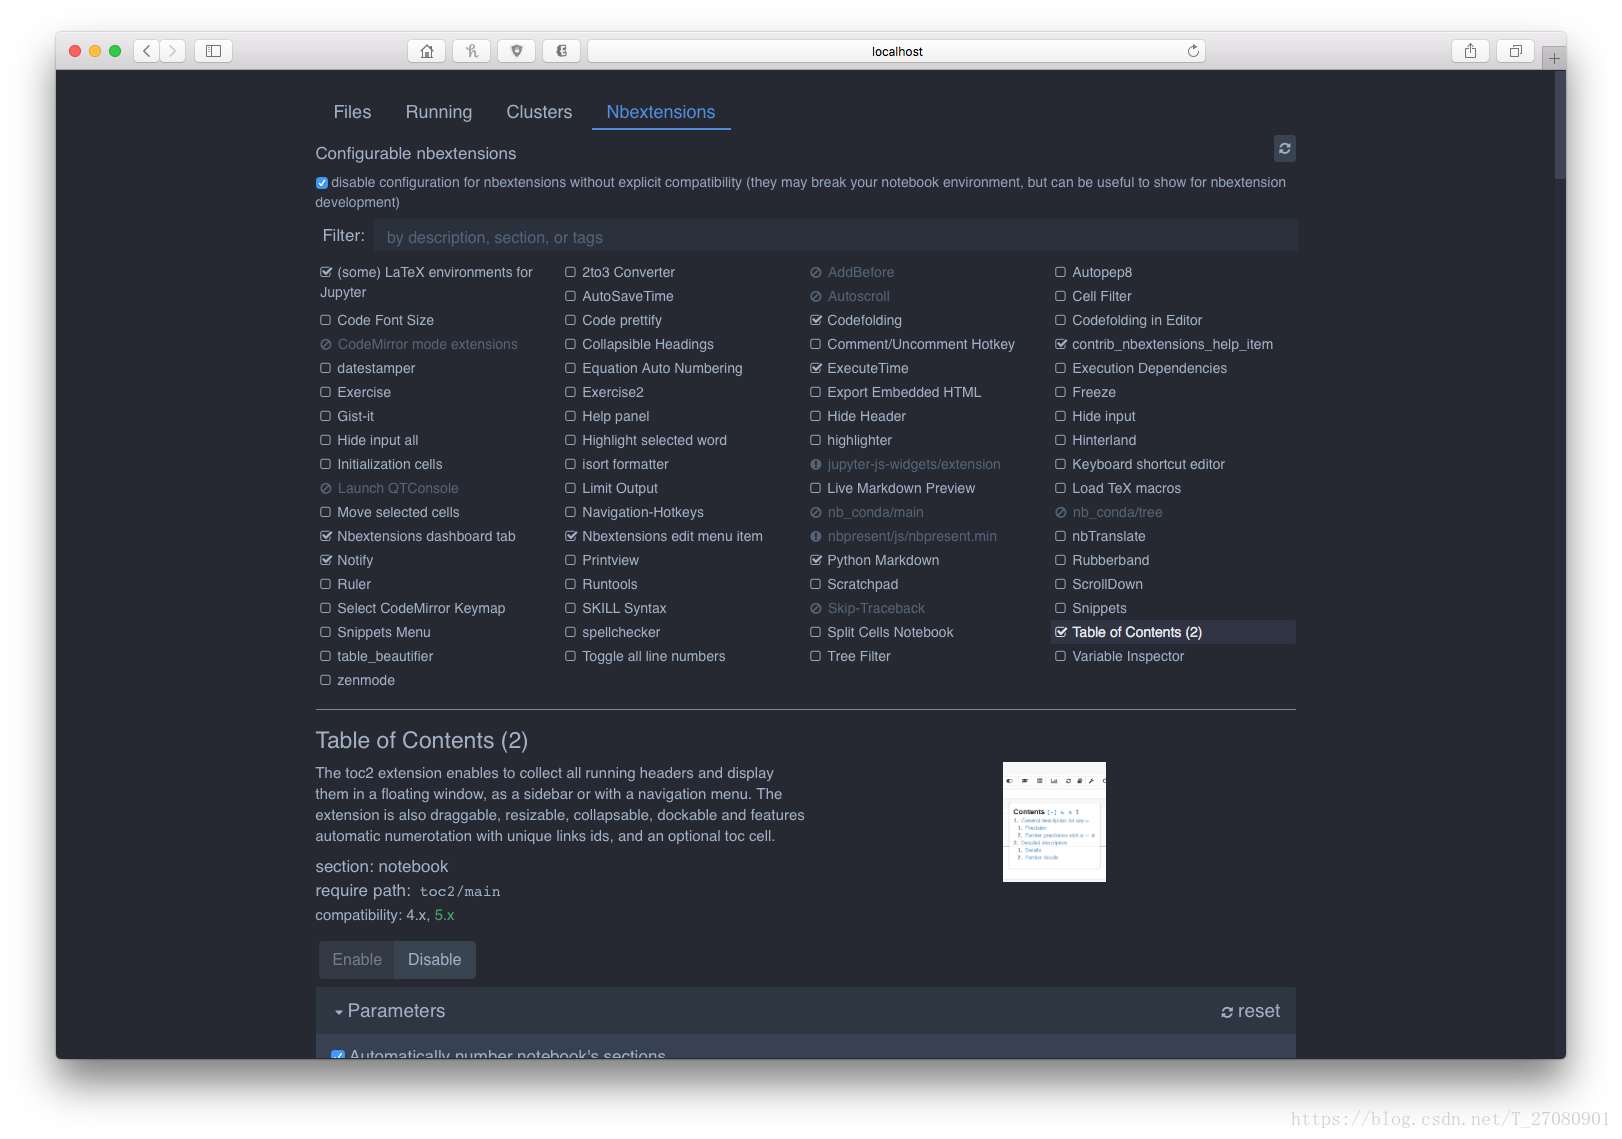
加载插件
如果没有使用jupyter_nbextensions_configurator,需要自己用命令行工具手动加载,如果使用了该插件,则可以在Jupyter中进行配置
Jupyter插件集合:Unofficial Jupyter Notebook Extensions
jupyter nbextension enable codefolding/main
Jupyter主题安装
pip install jupyterthemes
查看可用主题:jt -l
激活某个主题:jt -t oceans16
Jupyter下conda多环境管理
首先安装内核管理工具
pip install ipykernel创建虚拟环境的内核(使用命令创建以后就可以在Jupyter中看到新创建的内核了)
source activate osgeopython -m ipykernel install --user --name osgeo --display-name "Python (osgeo)"查看创建的虚拟环境内核
jupyter kernelspec list删除创建的虚拟环境内核
jupyter kernelspec uninstall osgeo
最后
以上就是缥缈咖啡豆最近收集整理的关于Jupyter插件安装及其虚拟多环境创建Jupyter及其插件安装Jupyter下conda多环境管理的全部内容,更多相关Jupyter插件安装及其虚拟多环境创建Jupyter及其插件安装Jupyter下conda多环境管理内容请搜索靠谱客的其他文章。

![WIN10环境下安装jupyter_contrib_nbextensions报错:(PermissionError:[ERRNO 13] Permission denied)解决办法1. PermissionError:[ERRNO 13]报错解决办法:2. 附:安装nbextensions步骤:](https://www.shuijiaxian.com/files_image/reation/bcimg22.png)


发表评论 取消回复