项目搭建
vue3的项目之前也搭建过一个 只是之前考虑简单入门就没有引入ts 这一次我们完整的使用
vue3+vite+ts
有一些环境及目录配置可以去看下面的文章
搭建一个简单的vue3项目
开始创建项目
- 在需要创建的项目位置打开dos窗口(shift+鼠标右键)选择在此处打开powershell窗口
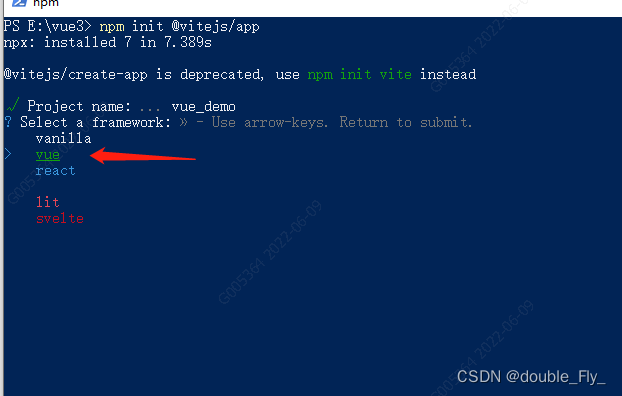
- 输入 npm init @vitejs/app 回车
npm init @vitejs/app
- Project name: 输入项目名称
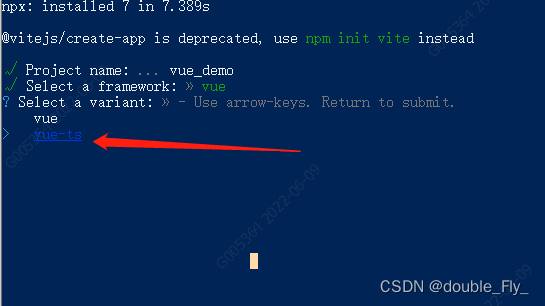
- Select a framework: 选择 vue
- Select a variant 选择vue-ts
- cd 项目名称
- npm install
- npm run dev
可以先对文件做一个规范 创建下面的文件夹存放对应的资源
├── src
│   ├── api            数据请求
│   ├── assets         静态资源
│   ├── components     组件
│   ├── pages          页面
│   ├── router         路由配置
│   ├── store          vuex数据
│   └── utils          工具函数
添加别名,配置@指向src
根更目录找到 vite.config.ts
import { defineConfig } from 'vite'
import vue from '@vitejs/plugin-vue'
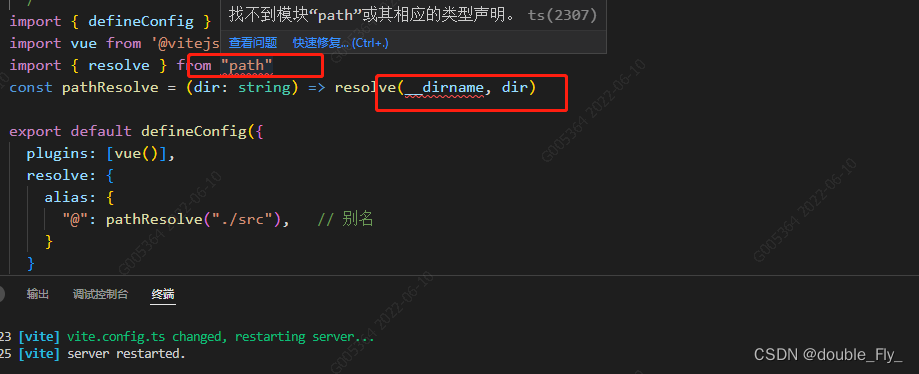
import { resolve } from "path"
const pathResolve = (dir: string) => resolve(__dirname, dir)
export default defineConfig({
server:{
port: 9981 // 端口号
},
plugins: [
vue(),
],
resolve: {
alias: {
"@": pathResolve("./src"), // 别名
}
}
})
踩坑
当时配置完之后这两行
import { resolve } from “path”
const pathResolve = (dir: string) => resolve(__dirname, dir)
有报错
解决
path标红 提示找不到模块 ‘path’
运行下面命令完美解决
npm install @types/node --save-dev
引入Element UI
参考Element管网安装
# 选择一个你喜欢的包管理器

# NPM
$ npm install element-plus --save

# Yarn
$ yarn add element-plus

# pnpm
$ pnpm install element-plus
完整引入
如果你对打包后的文件大小不是很在乎,那么使用完整导入会更方便。
// main.ts
import { createApp } from 'vue'
import ElementPlus from 'element-plus'
import 'element-plus/dist/index.css'
import App from './App.vue'

const app = createApp(App)

app.use(ElementPlus)
app.mount('#app')
Volar 支持
如果您使用 Volar,请在 tsconfig.json 中通过 compilerOptions.type 指定全局组件类型。
我们这边是使用volar 所以需要配置一下
// tsconfig.json
{
  "compilerOptions": {
    // ...
    "types": ["element-plus/global"]
  }
}
路由配置
- 安装vue-router
npm i vue-router@4
- 找到在src目录下的router文件夹 然后在文件夹下添加index.ts文件
import { createRouter, createWebHashHistory, RouteRecordRaw } from 'vue-router'

const routes: Array<RouteRecordRaw> = [
  {
    path: '/home',
    name: 'Home',
    component: () => import('@/pages/demo/home.vue')
  },
  { path: '/', redirect: { name: 'Home' } }
]

const router = createRouter({
  history: createWebHashHistory(),
  routes
})

export default router
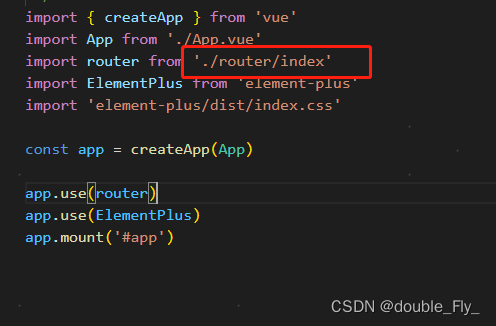
- 在main.ts中挂载
import { createApp } from 'vue'
import App from '@/App.vue'
import router from '@/router/index'

const app = createApp(App)

app.use(router)
app.mount('#app')
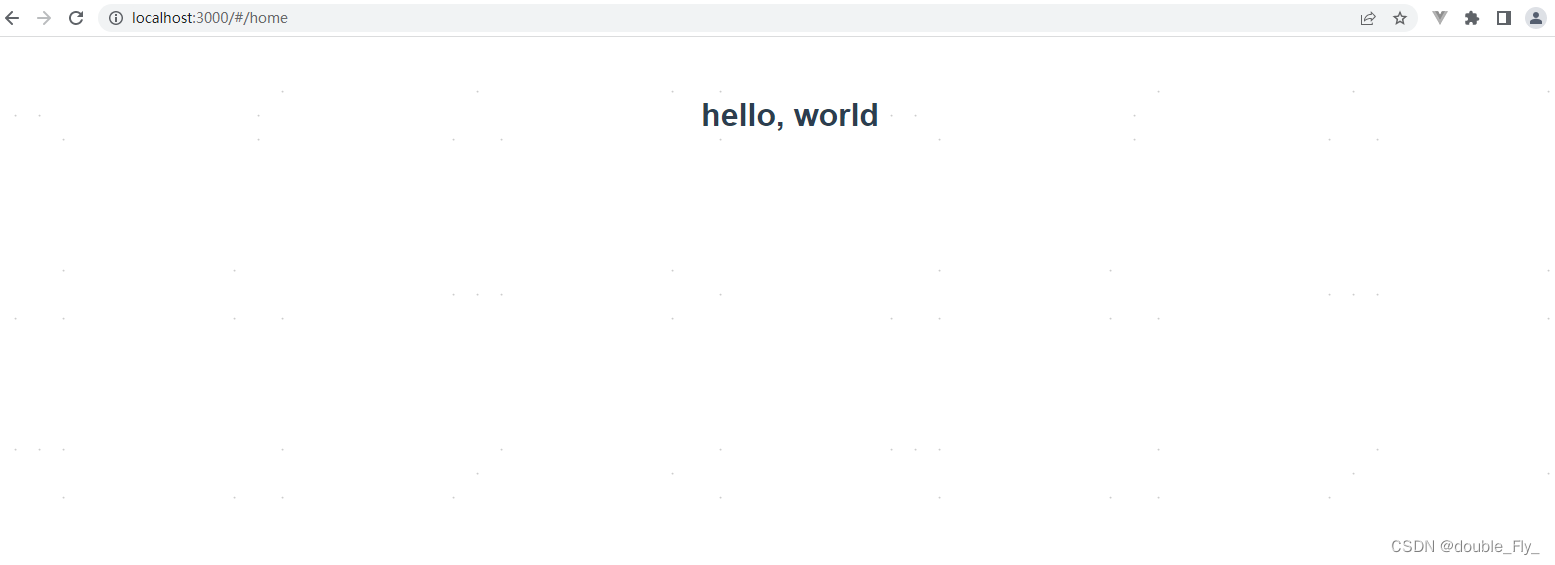
在pages文件夹下创建相应的测试文件home.vue
<template>
    <h1>hello, world</h1>
</template>
修改App.vue 文件
<script setup lang="ts">
// This starter template is using Vue 3 <script setup> SFCs
// Check out https://vuejs.org/api/sfc-script-setup.html#script-setup
</script>

<template>
  <router-view></router-view>
</template>

<style>
#app {
  font-family: Avenir, Helvetica, Arial, sans-serif;
  -webkit-font-smoothing: antialiased;
  -moz-osx-font-smoothing: grayscale;
  text-align: center;
  color: #2c3e50;
  margin-top: 60px;
}
</style>
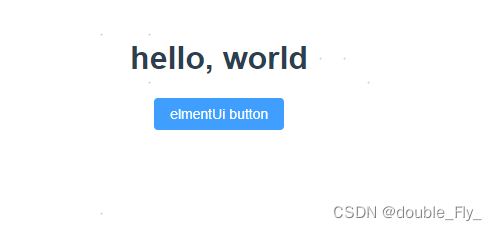
查看页面
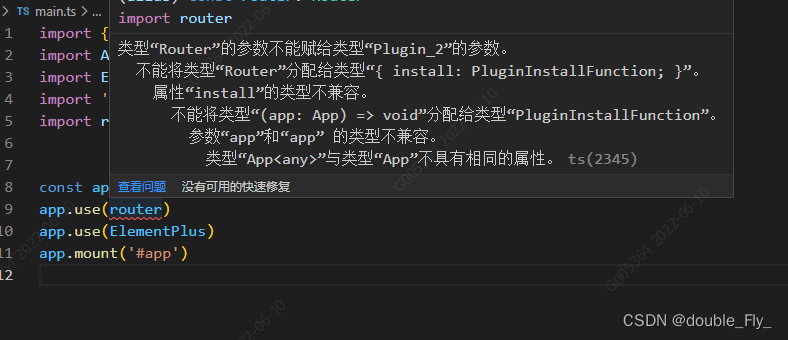
出现的问题
router.ts

修改之后不用别名@就不报错了
这时候可能会觉得是别名没起作用 但是之前报错的时候也是能打开到对应的路由页面
而且 route.ts 里面的路由配置也是用的@ 所以应该是不会有问题的
测试element UI 引入是否正确
在home页面简单的引入一个button
<template>
    <h1>hello, world</h1>
    <el-button type="primary">elmentUi button </el-button>
</template>
之前使用入了element 和 router 所遇到过的问题 这一次没遇到
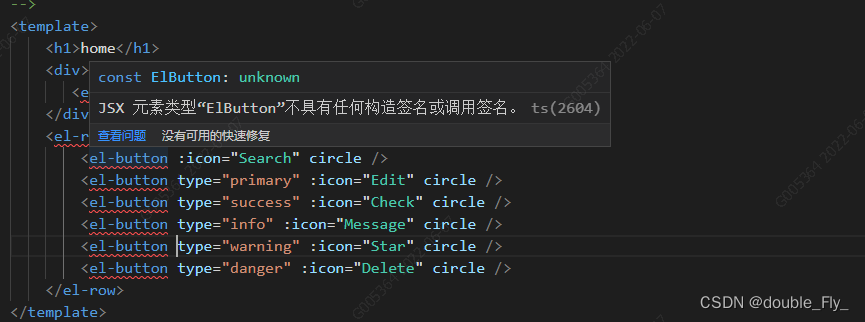
elment-plus 标签标红
tsconfig.ts
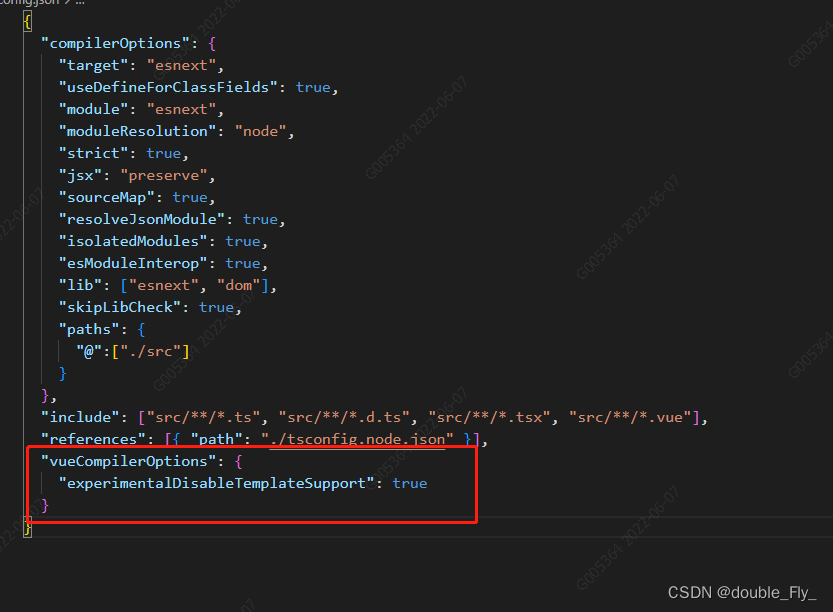
"vueCompilerOptions": {
  "experimentalDisableTemplateSupport": true
 }
这个问题我网上找了好多 都没有解决
报这个错的原因应该是router版本与vue3不兼容
资料上面只说了vue3 要与router4 以上版本 但是我这边都是对的
有知道的大佬望告知解决办法
最后
以上就是迷你招牌最近收集整理的关于vue3+vite+ts项目搭建及踩坑项目搭建可以先对文件做一个规范 创建下面的文件夹存放对应的资源引入Element UI路由配置的全部内容,更多相关vue3+vite+ts项目搭建及踩坑项目搭建可以先对文件做一个规范内容请搜索靠谱客的其他文章。


发表评论 取消回复