CentOS 6和CentOS 7,命令和版本都有区别,下方会有区别
1,处理安装源
//centos6
rpm -ivh http://nginx.org/packages/centos/6/noarch/RPMS/nginx-release-centos-6-0.el6.ngx.noarch.rpm

//centos7
rpm -Uvh http://nginx.org/packages/centos/7/noarch/RPMS/nginx-release-centos-7-0.el7.ngx.noarch.rpm
2,查看yum的nginx信息
yum info nginx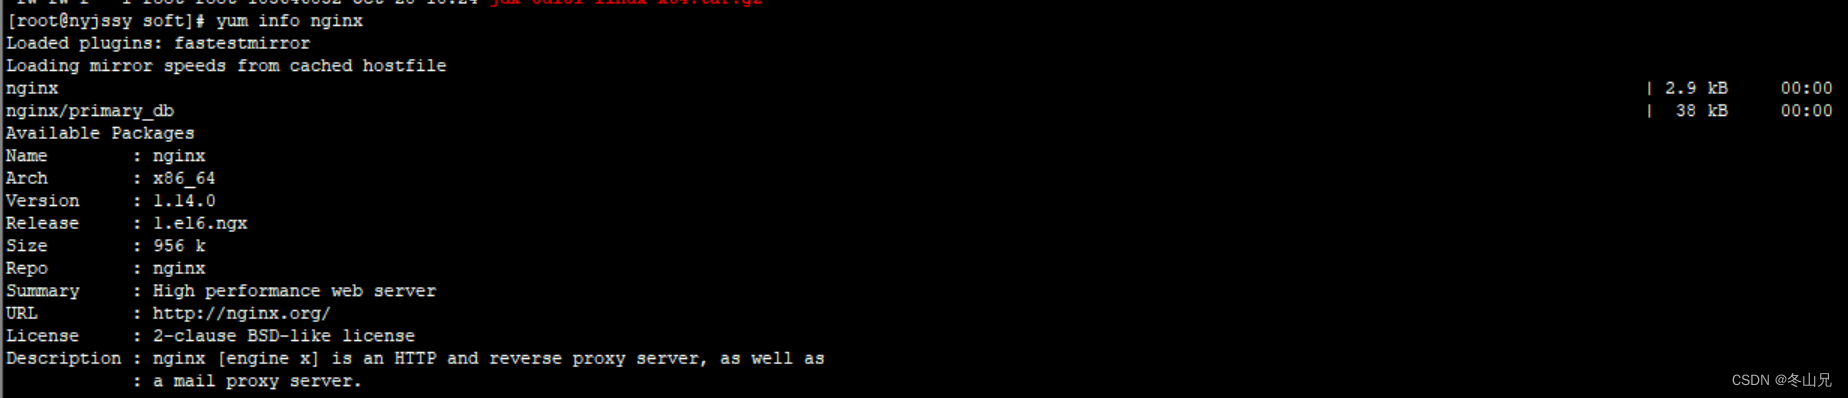
3,安装
[root@server ~]# yum install nginx--如果出现依赖库错误,可使用下方命令,针对性的添加
 yum install gcc-c++
 yum install pcre
 yum install pcre-devel
 yum install zlib
 yum install zlib-devel
 yum install openssl
 yum install openssl-devel
4,启动/重启
centos6启动:
[root@server ~]# service nginx start

//重启
//1,查找服务
ps -ef |grep nginx
//2,关闭进程--需要关闭两个
kill -9 进程号(数字)
centos7启动:
//    启动nginx
systemctl start nginx.service
//    结束nginx
systemctl stop nginx.service
//     重启nginx
systemctl restart nginx.service
重新加载配置文件:
nginx -s reload注意:centos6此命令大部分时候无法保证能够有效加载,centos7可以正常加载
6,验证。进入浏览器,输入http://192.168.0.161/测试,如果看到
Welcome to nginx!
If you see this page, the nginx web server is successfully installed and working. Further configuration is required.
For online documentation and support please refer to nginx.org.
Commercial support is available at nginx.com.
Thank you for using nginx.
恭喜你,你成功了!
如果不能连接到nginx,原因很多,但是可以先检查
1,nginx服务是否真的起来了;
ps -ef | grep nginx2,linux服务器防火墙是否打开
最后
以上就是帅气钻石最近收集整理的关于centos直接yum安装nginx的全部内容,更多相关centos直接yum安装nginx内容请搜索靠谱客的其他文章。
本图文内容来源于网友提供,作为学习参考使用,或来自网络收集整理,版权属于原作者所有。


发表评论 取消回复