1. 读取图片
import matplotlib.pyplot as plt
import tensorflow as tf
import numpy as np

image_raw_data = tf.gfile.FastGFile('./datasets/cat.png','rb').read()

with tf.Session() as sess:
    image_data = tf.image.decode_png(image_raw_data)
    # 输出解码之后的三维矩阵。
    print(image_data.eval())
    image_data.set_shape([1797, 2673, 3])
    print(image_data.get_shape() )
输出结果:
[[[ 0 0 0 255]
[ 0 0 0 255]
[ 0 0 0 255]
...
[ 0 0 0 255]
[ 0 0 0 255]
[ 0 0 0 255]]
[[ 0 0 0 255]
[ 31 31 26 255]
[ 39 39 34 255]
...
[ 20 30 3 255]
[ 21 30 5 255]
[ 21 30 8 255]]
[[ 0 0 0 255]
[131 130 111 255]
[164 162 139 255]
...
[ 90 126 18 255]
[ 93 130 19 255]
[ 93 129 34 255]]
...
[[ 0 0 0 255]
[162 160 143 255]
[203 196 177 255]
...
[181 145 170 255]
[137 98 133 255]
[116 76 111 255]]
[[ 0 0 0 255]
[164 160 143 255]
[204 197 178 255]
...
[ 95 62 70 255]
[ 91 67 69 255]
[119 100 94 255]]
[[ 0 0 0 255]
[131 127 114 255]
[163 159 143 255]
...
[ 89 67 45 255]
[ 86 66 45 255]
[ 86 66 43 255]]]
(1797, 2673, 3) #shape
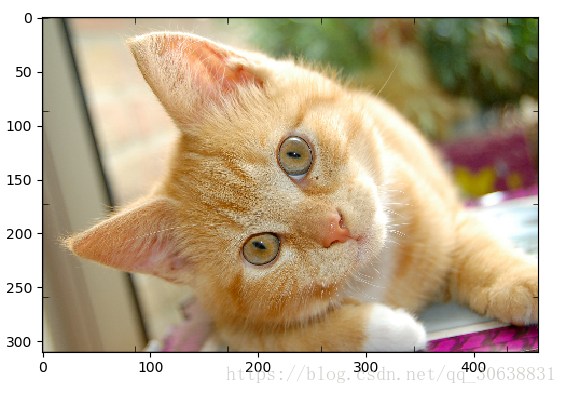
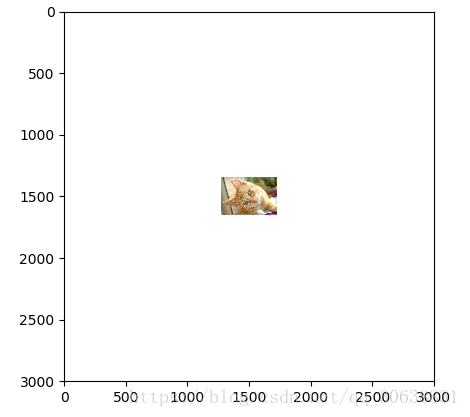
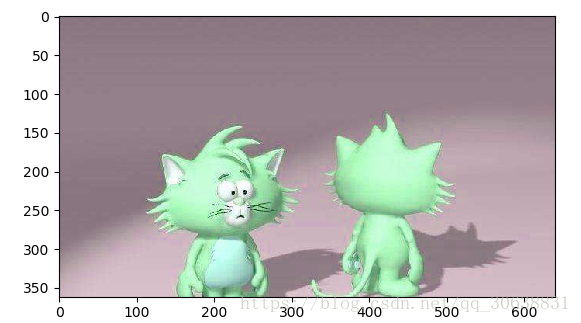
2. 打印图片
with tf.Session() as sess:
    plt.imshow(image_data.eval())
    plt.show()
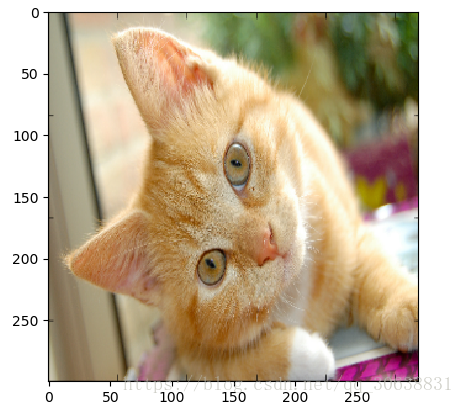
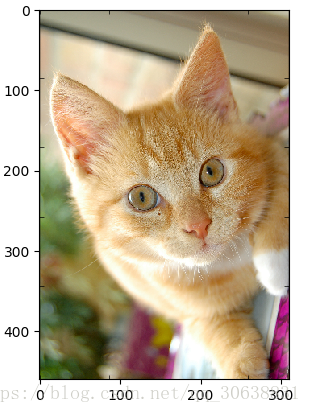
3. 重新调整图片大小
import matplotlib.pyplot as plt
import tensorflow as tf
import numpy as np

image_raw_data = tf.gfile.FastGFile('./datasets/cat.png','rb').read()

with tf.Session() as sess:
    image_data = tf.image.decode_png(image_raw_data)
    '''
    resize_images第三个参数
        0  双线性插值法
        1  最近邻居法
        2  双三次插值法
        3 面积插值法

    '''
    resized = tf.image.resize_images(image_data, [300, 300], method=0)

    # TensorFlow的函数处理图片后存储的数据是float32格式的,需要转换成uint8才能正确打印图片。
    print("Digital type: ", resized.dtype)
    cat = np.asarray(resized.eval(), dtype='uint8')
    # tf.image.convert_image_dtype(rgb_image, tf.float32)
    plt.imshow(cat)
    plt.show()
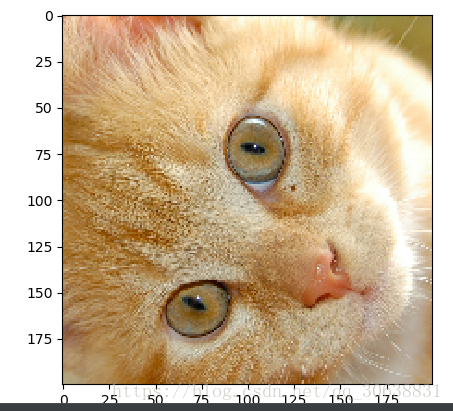
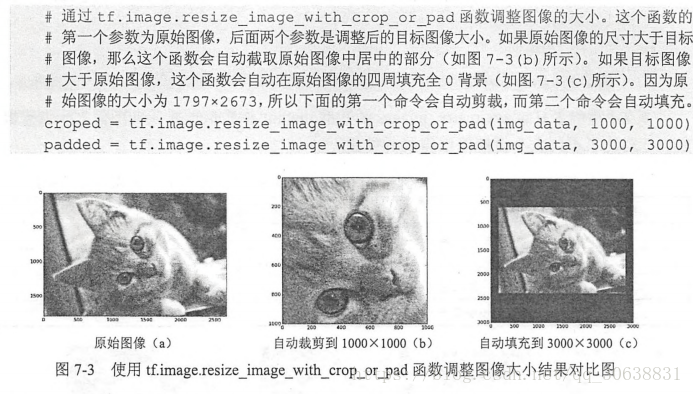
4. 裁剪和填充图片
import matplotlib.pyplot as plt
import tensorflow as tf
import numpy as np

image_raw_data = tf.gfile.FastGFile('./datasets/cat.png','rb').read()

with tf.Session() as sess:
    image_data = tf.image.decode_png(image_raw_data)

    croped = tf.image.resize_image_with_crop_or_pad(image_data, 200, 200)
    padded = tf.image.resize_image_with_crop_or_pad(image_data, 3000, 3000)
    plt.imshow(croped.eval())
    plt.show()
    plt.imshow(padded.eval())
    plt.show()
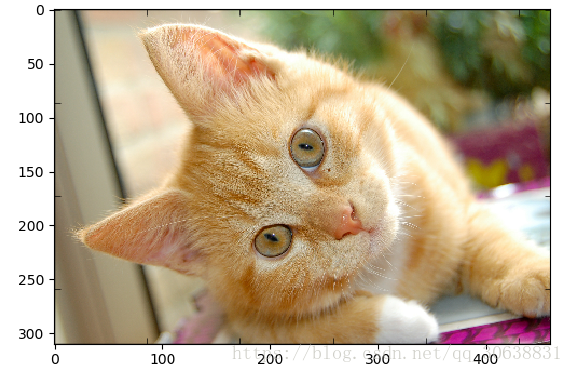
6. 翻转图片
import matplotlib.pyplot as plt
import tensorflow as tf
import numpy as np

image_raw_data = tf.gfile.FastGFile('./datasets/cat.png','rb').read()

with tf.Session() as sess:
    image_data = tf.image.decode_png(image_raw_data)

    # 上下翻转
    # flipped1 = tf.image.flip_up_down(img_data)
    # 左右翻转
    # flipped2 = tf.image.flip_left_right(img_data)

    # 对角线翻转
    transposed = tf.image.transpose_image(image_data)
    plt.imshow(transposed.eval())
    plt.show()

    # 以一定概率上下翻转图片。
    # flipped = tf.image.random_flip_up_down(img_data)
    # 以一定概率左右翻转图片。
    # flipped = tf.image.random_flip_left_right(img_data)
7. 图片色彩调整
import matplotlib.pyplot as plt
import tensorflow as tf
import numpy as np

image_raw_data = tf.gfile.FastGFile('./datasets/cat.png','rb').read()

with tf.Session() as sess:
    img_data = tf.image.decode_png(image_raw_data)

    # 将图片的亮度-0.5。
    # adjusted = tf.image.adjust_brightness(img_data, -0.5)

    # 将图片的亮度-0.5
    # adjusted = tf.image.adjust_brightness(img_data, 0.5)

    # 在[-max_delta, max_delta)的范围随机调整图片的亮度。
    adjusted = tf.image.random_brightness(img_data, max_delta=0.5)

    # 将图片的对比度-5
    # adjusted = tf.image.adjust_contrast(img_data, -5)

    # 将图片的对比度+5
    # adjusted = tf.image.adjust_contrast(img_data, 5)

    # 在[lower, upper]的范围随机调整图的对比度。
    # adjusted = tf.image.random_contrast(img_data, lower, upper)

    plt.imshow(adjusted.eval())
    plt.show()
8. 添加色相和饱和度
import matplotlib.pyplot as plt
import tensorflow as tf
import numpy as np

image_raw_data = tf.gfile.FastGFile('./datasets/timg.jpg','rb').read()

with tf.Session() as sess:

    img_data = tf.image.decode_jpeg(image_raw_data)

    print(img_data.get_shape())
    #img_data.set_shape([1797, 2673, 3])

    #adjusted = tf.image.adjust_hue(img_data, 0.1)
    adjusted = tf.image.adjust_hue(img_data, 0.3)
    #djusted = tf.image.adjust_hue(img_data, 0.6)
    # adjusted = tf.image.adjust_hue(img_data, 0.9)

    # 在[-max_delta, max_delta]的范围随机调整图片的色相。max_delta的取值在[0, 0.5]之间。
    # adjusted = tf.image.random_hue(image, max_delta)

    # 将图片的饱和度-5。
    # adjusted = tf.image.adjust_saturation(img_data, -5)
    # 将图片的饱和度+5。
    # adjusted = tf.image.adjust_saturation(img_data, 5)
    # 在[lower, upper]的范围随机调整图的饱和度。
    # adjusted = tf.image.random_saturation(img_data, 1, 2)

    # 将代表一张图片的三维矩阵中的数字均值变为0,方差变为1。
    #adjusted = tf.image.per_image_whitening(img_data)

    plt.imshow(adjusted.eval())
    plt.show()
9. 添加标注框并裁减。
最后
以上就是坚强魔镜最近收集整理的关于TensorFlow图像处理函数的全部内容,更多相关TensorFlow图像处理函数内容请搜索靠谱客的其他文章。


发表评论 取消回复