我是靠谱客的博主 忧虑黑猫,这篇文章主要介绍移植EC20F 4G模块驱动基于Jetson-xavierJetson-xavier上移植EC20F 4G模块驱动(linux驱动),现在分享给大家,希望可以做个参考。
移植EC20F 4G模块驱动基于Jetson-xavier
Jetson-xavier上移植EC20F 4G模块驱动(linux驱动)
由于xavier模块上没有4G和wifi功能,如果要使用4G或wifi功能就要外接无线模块来实现了。这里分享一下如何让xavier通过4G模块实现拨号上网。
硬件及平台
开发环境、平台、4G模块:
- Jetson-AGX xavier 这是NVIDIA性能最强悍的一款ARM;
- 系统版本:JetPack4.3 - 对应的内核版本为R32.3.1;
- 4G模块:EC20;
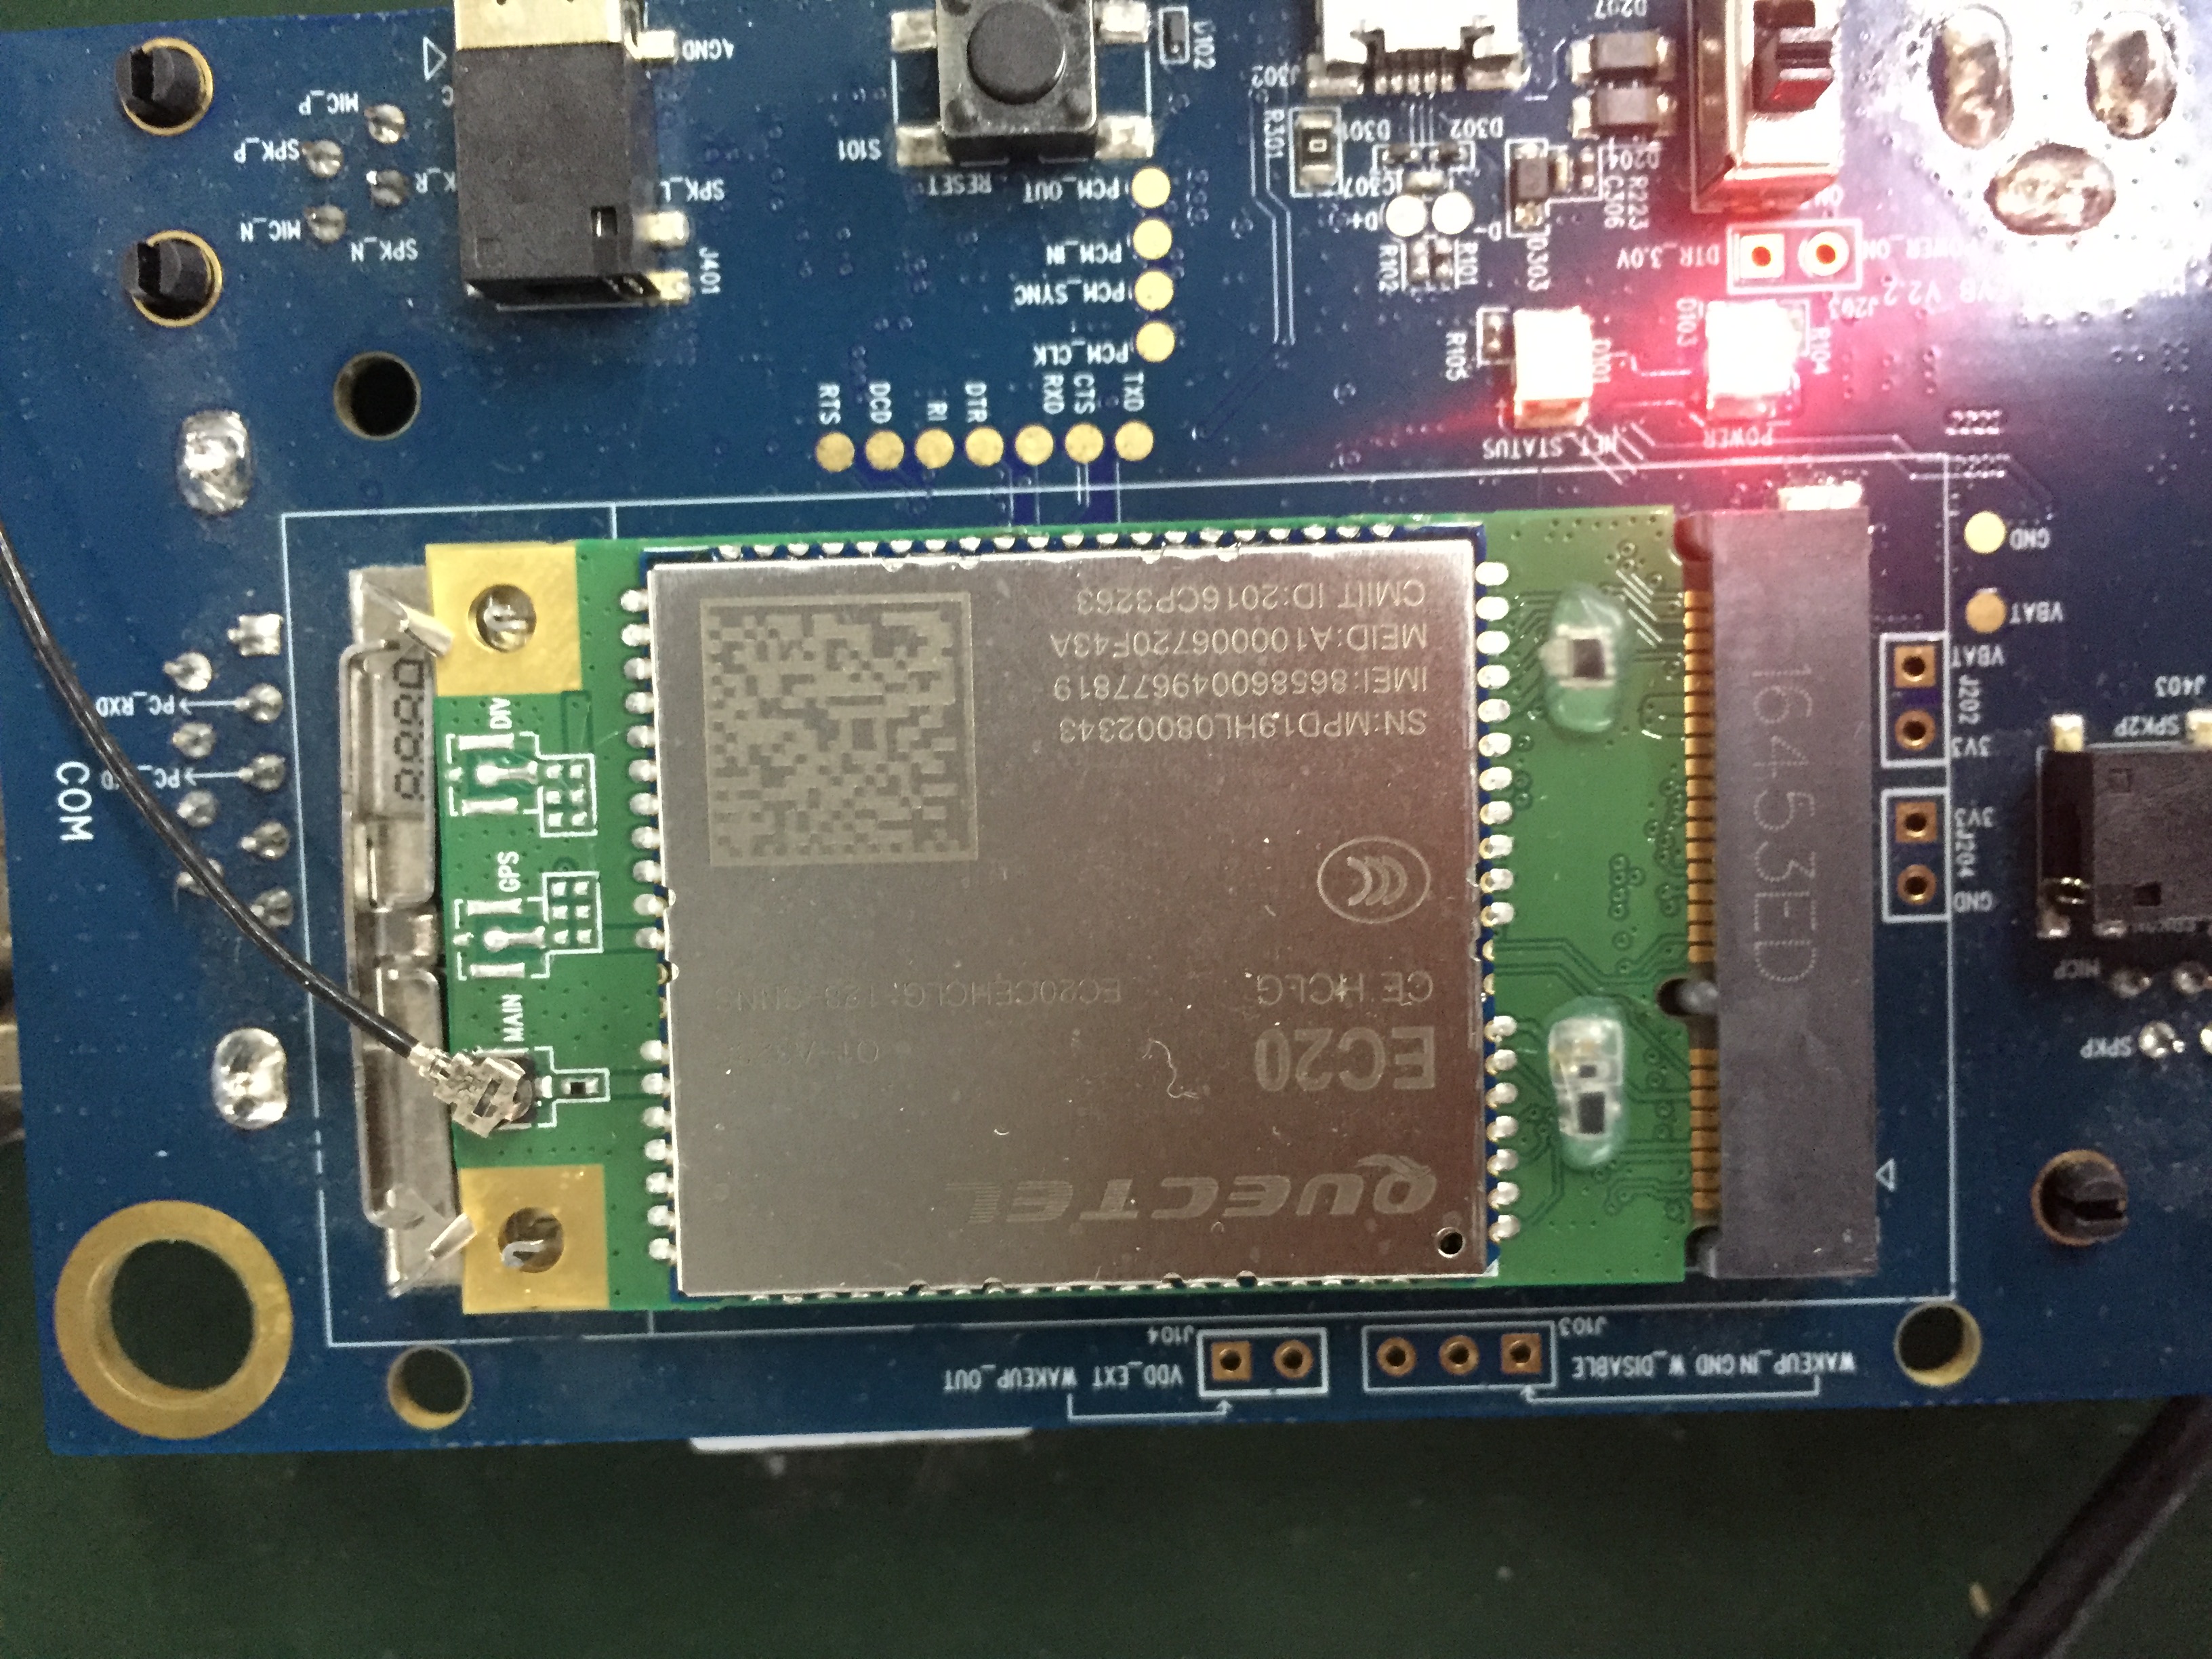
相关参考文档
- 《Quectel_LTE&5G_Linux_USB_Driver_User_Guide_V2.0.pdf》
- 《Quectel_WCDMA<E_Linux_USB_Driver_User_Guide_V1.9_Preliminary_20190325.pdf》
驱动适配
- 修改内核源码文件 kernel-4.9/drivers/usb/serial/option.c
在 option_ids[] 中添加 VID 和 PID
USB_DEVICE(0x2c7c, 0x0125)
static const struct usb_device_id option_ids[] = {
  {USB_DEVICE(0x2c7c, 0x0125)},/*quectel EC20: add VID and PID*/
	{ USB_DEVICE(OPTION_VENDOR_ID, OPTION_PRODUCT_COLT) },
	{ USB_DEVICE(OPTION_VENDOR_ID, OPTION_PRODUCT_RICOLA) },
- 在 option_probe()中添加 如下代码段:
  /*quectel modules's interface 4 can be used as USB network device*/
  if(serial->dev->descriptor.idVendor == cpu_to_le16(0x2c7c)){
    //some interfaces can be used as USB Network device (ecm, rndis, mbim)
    if(serial->interface->cur_altsetting->desc.bInterfaceClass != 0xff){
      return -ENODEV;
    }
    //interface 4 can be used as usb network device(qmi)
    else if(serial->interface->cur_altsetting->desc.bInterfaceNumber >= 4)
      return -ENODEV;
  }
  /*quectel EC20: Enable USB Auto suspend*/
  if(serial->dev->descriptor.idVendor == cpu_to_le16(0x2c7c)){
    device_init_wakeup(&serial->dev->dev, 1);//enable usb remote wakeup
    pm_runtime_set_autosuspend_delay(&serial->dev->dev, 3000);//auto suspend
    usb_enable_autosuspend(serial->dev);
  }
- 在option_1port_device中添加 如下:
.reset_resume = usb_wwan_resume, /*quectel EC20: add reset resume*/
- 修改文件kernel-4.9/drivers/usb/serial/usb_wwan.c 在 usb_wwan_setup_urb中添加如下代码段:
    /*quectel EC20: add the zero packet mechanism*/
    if(dir == USB_DIR_OUT){
    	struct usb_device_descriptor *desc = &serial->dev->descriptor;
    	if(desc->idVendor == cpu_to_le16(0x2c7c))
    		urb->transfer_flags |= URB_ZERO_PACKET;
    }
- 复制GobiNet代码到 /net/usb目录下,并修改该目录下的makefile文件,添加如下:
obj-m += GobiNet.o
GobiNet-objs := GobiUSBNet.o QMIDevice.o QMI.o
- 修改文件: arch/arm64/configs/tegra_defconfig 文件
CONFIG_USB_SERIAL=y
CONFIG_USB_SERIAL_OPTION=m
CONFIG_USB_SERIAL_QUALCOMM=m
CONFIG_USB_SERIAL_WWAN=m

CONFIG_PPP=y
CONFIG_PPP_BSDCOMP=y
CONFIG_PPP_DEFLATE=y
CONFIG_PPP_FILTER=y
CONFIG_PPP_MPPE=y
CONFIG_PPPOLAC=y
CONFIG_PPPOPNS=y
CONFIG_PPP_ASYNC=y
CONFIG_PPP_SYNC_TTY=y

CONFIG_USB_USBNET=y
CONFIG_USB_NET_QMI_WWAN=m
补充说明
GobiNet (版本为1.6)文件如下:.c .h文件
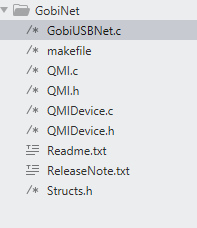
到这里需要的修改的代码就完成了,接下来编译内核
编译内核
- cd /kernel-4.3/kernel/kernel-4.9
- TEGRA_KERNEL_OUT=~/kernelout43
- export CROSS_COMPILE=~/tools/gcc-linaro-7.3.1-2018.05-x86_64_aarch64-linux-gnu/bin/aarch64-linux-gnu-
- make ARCH=arm64 O=$TEGRA_KERNEL_OUT tegra_defconfig
- make ARCH=arm64 O=$TEGRA_KERNEL_OUT -j4
将 .ko文件复制到指定文件夹下
sudo cp option.ko /lib/modules/4.9.140-tegra/kernel/drivers/usb/serial
sudo cp usb_wwan.ko /lib/modules/4.9.140-tegra/kernel/drivers/usb/serial
sudo cp qcserial.ko /lib/modules/4.9.140-tegra/kernel/drivers/usb/serial
sudo cp GobiNet.ko /lib/modules/4.9.140-tegra/kernel/drivers/net/usb
加载 .ko驱动模块
sudo depmod -a
加载后重启系统
sudo reboot
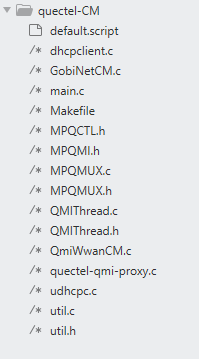
将quectel-CM拷贝到xavier上,编译生成可执行文件
在 /etc目录下新建 udhcpc文件夹
sudo mkdir -p /etc/udhcpc
并将 quectel-CM目录下的 default.script脚本 拷贝到 /etc/udhcpc目录下
sudo cp default.script /etc/udhcpc
sudo chmod 777 /etc/udhcpc/default.script

加载usbmon驱动模块
sudo modprobe usbmon
验证及测试
检查USB驱动情况
dmesg
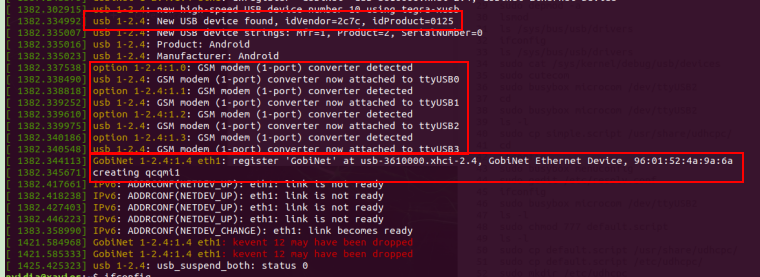
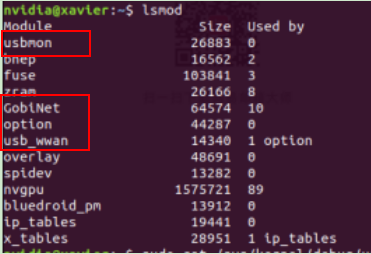
查看 .ko 驱动模块加载情况
lsmod

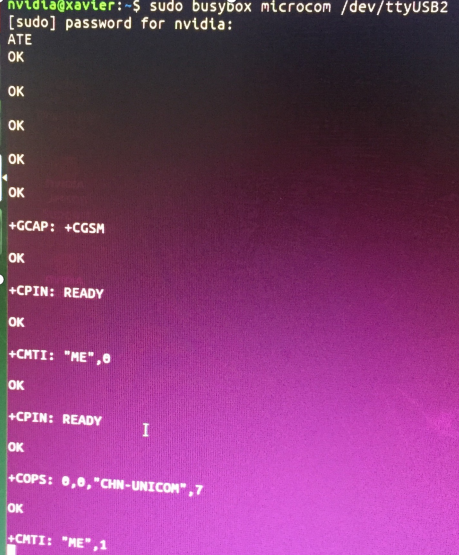
使用串口工具连接ttyUSB2: 检测到了联通卡
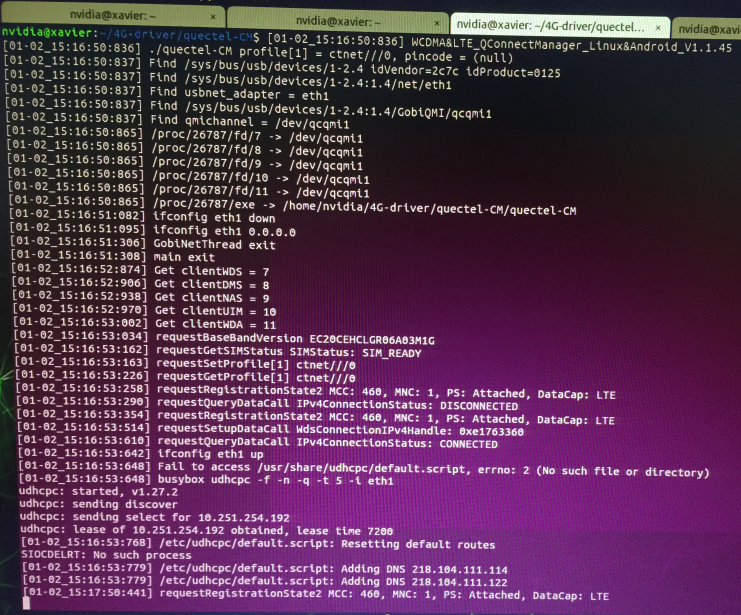
使用GobiNet拨号上网 sudo ./quectel-CM -s ctnet &
自动为eth1分配IP 和 DNS
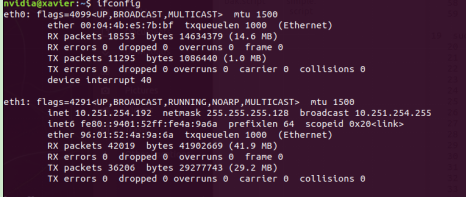
查看eth1网卡状态,已分配了ip dns
查看是否可上网 ping www.baidu.com

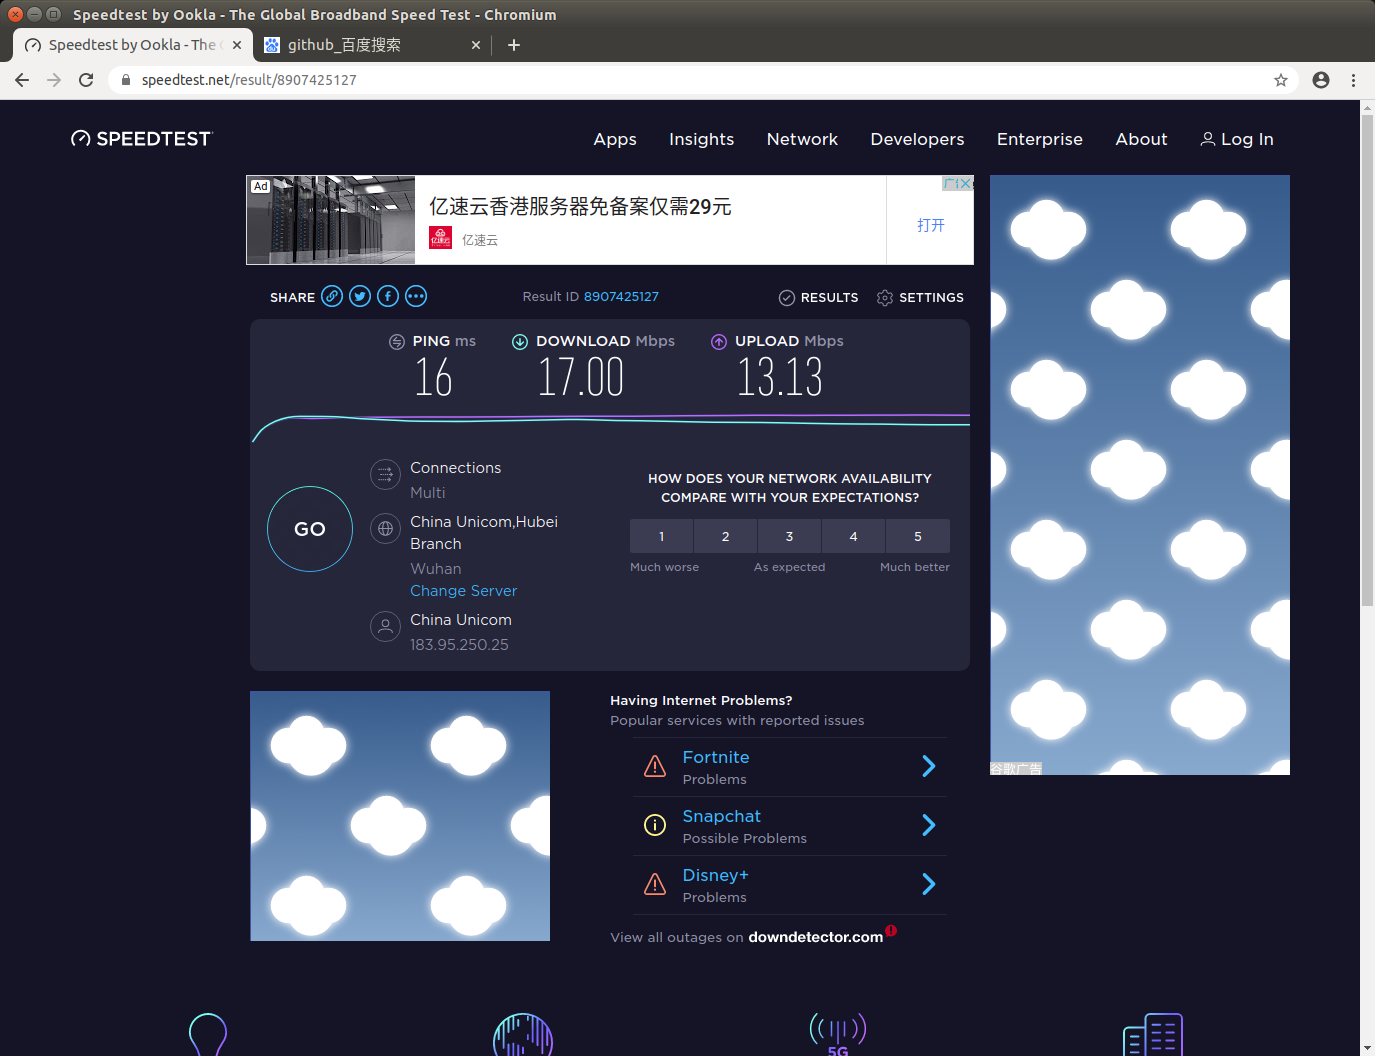
测试4G网络吞吐量 www.speedtest.net
总结说明
以上是4G模块linux驱动适配及测试过程,如有不清楚的地方可留言探讨交流,多多支持原创,感谢阅读和关注。
最后
以上就是忧虑黑猫最近收集整理的关于移植EC20F 4G模块驱动基于Jetson-xavierJetson-xavier上移植EC20F 4G模块驱动(linux驱动)的全部内容,更多相关移植EC20F内容请搜索靠谱客的其他文章。
本图文内容来源于网友提供,作为学习参考使用,或来自网络收集整理,版权属于原作者所有。


发表评论 取消回复