nexus的安装
下载地址 http://sonatype.com/repomanager3/download下载完成后进行解压,执行下列步骤,安装并启动nexus
1. 安装
nexus /install Nexus_Repo_Manager

2. 启动
nexus /start Nexus_Repo_Manager

默认启动后再localhost:8081端口部署

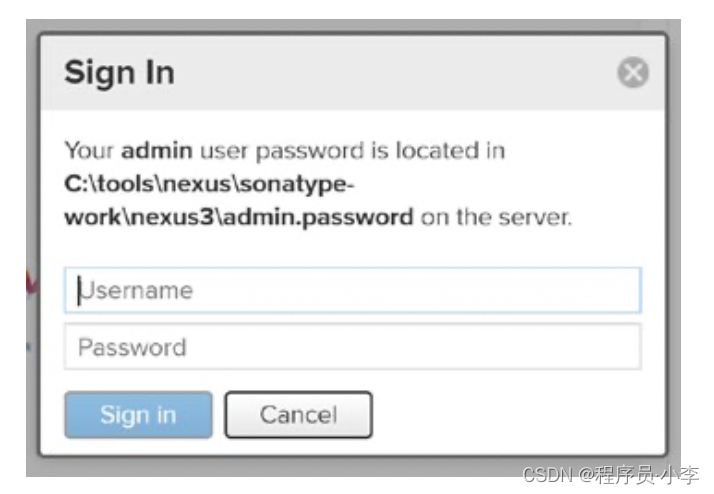
3. 登录
用户名为admin,密码根据提示找到

登陆成功后进行密码修改。
4. 在项目中配置distributionManager
<project xmlns="http://maven.apache.org/POM/4.0.0" xmlns:xsi=”http://www.w3.org/2001/XMLSchema-instance” xsi:schemaLocation="http://maven.apache.org/POM/4.0.0 http://maven.apache.org/maven-v4_0_0.xsd">
<dependencies>
<!-- Content removed for brevity -->
</dependencies>

<distributionManagement>
     <repository>
          <id>nexusReleases</id>
          <name>Releases</name>
          <url>http://localhost:8081/repository/maven-releases </url>
     </repository>

     <snapshotRepository>
          <id>nexusSnapshots</id>
          <name>Snapshots</name>
          <url>http://localhost:8081/repository/maven-snapshots</url>
     </snapshotRepository>
</distributionManagement>

<build>
<!-- Content removed for brevity -->
</build>
</project>
这里配置了一个默认的release版本的仓库,一个是开发版本的仓库,id是唯一的标识,url是仓库的地址。
5. 在setting.xml中配置登录信息
<?xml version="1.0" encoding="UTF-8" ?>
<settings xmlns="http://maven.apache.org/SETTINGS/1.0.0" xmlns:xsi="http://www.w3.org/2001/XMLSchema-instance" xsi:schemaLocation="http://maven.apache.org/SETTINGS/1.0.0 http://maven.apache.org/xsd/settings-1.0.0.xsd">
<servers>
   <server>
      <id>nexusReleases</id>
      <username>admin</username>
      <password>admin123</password>
   </server>
   <server>
      <id>nexusSnapshots</id>
      <username>admin</username>
      <password>admin123</password>
   </server>
</servers>
</settings>
在servers配置中,配置相关的登录信息,注意id是和项目中的一致。
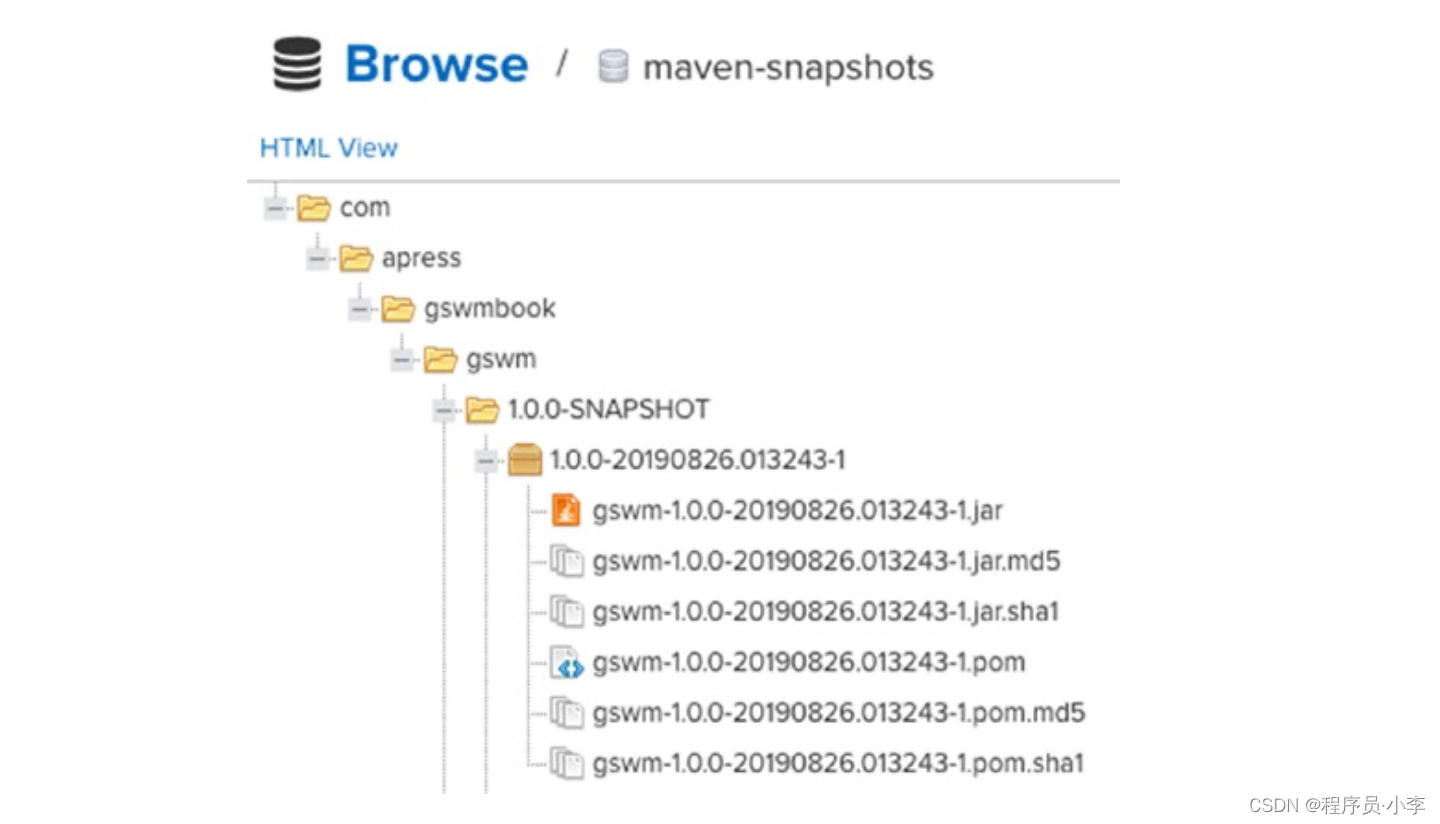
6. 在项目中发布,即可发布jar包
mvn deploy

最后
以上就是笨笨哈密瓜最近收集整理的关于maven与nexus的全部内容,更多相关maven与nexus内容请搜索靠谱客的其他文章。
本图文内容来源于网友提供,作为学习参考使用,或来自网络收集整理,版权属于原作者所有。


发表评论 取消回复