转载请标明出处:http://blog.csdn.net/zhaoyanjun6/article/details/126061255
本文出自【赵彦军的博客】
文章目录
- 前言
- downloadOnly 下载图片
- preload
- 预加载 带回调
- 变换
- 圆角 RoundedCornersTransformation
- 圆形 CropCircleTransformation
- 图片变灰 GrayscaleTransformation
- 区域裁切 CropTransformation
- 正方形 CropSquareTransformation
- 高斯模糊 BlurTransformation
- 形状变化 MaskTransformation
- 加载本地图片
系列文章:
Android Glide 4.9 常见方法总结
前言
前言:发现公司的一个项目,glide 用的还是 3.8 版本。总结一下,常见的方法,加速开发,拒绝加班。
downloadOnly 下载图片
 File file = Glide.with(context.getApplicationContext())
                  .load(url)
                  .downloadOnly(Target.SIZE_ORIGINAL, Target.SIZE_ORIGINAL)
                  .get();
Log.d("image dir ", " " + file.getAbsolutePath());

下载的目录是 cache 目录:
/data/user/0/com.zyj.exoplayerdemo/cache/image_manager_disk_cache/76128a6a1edbff2a9a4ff0d58387a0876fea338ed82f339e67dcb07b194c3f68.0
注意事项
downloadOnly 要放在子线程中执行,如果在主线程会报错。如下:

preload
 Glide.with(this)
            .load(url)
            .diskCacheStrategy(DiskCacheStrategy.RESULT)
            .preload(200, 200)
经过 preload 下载的图片,保存在 cache 目录 ,如下:
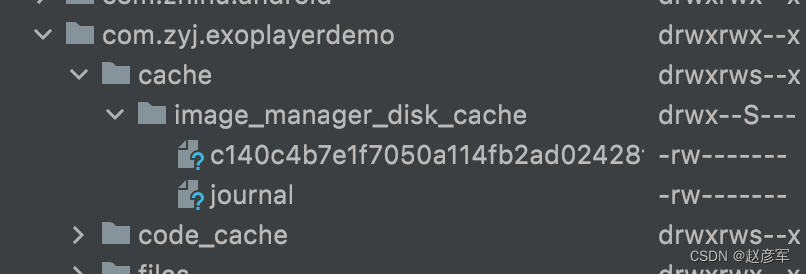
使用 preload 的图片
     Glide.with(this)
                .load(url)
                .asBitmap()
                .into(object : SimpleTarget<Bitmap>(200,200){
                    override fun onResourceReady(
                        resource: Bitmap?,
                        glideAnimation: GlideAnimation<in Bitmap>?
                    ) {
                        image.setImageBitmap(resource)
                    }

                })
需要注意的是,preload 要指定 .diskCacheStrategy(DiskCacheStrategy.RESULT) , 并且要指定大小
在使用的时候,SimpleTarget 也要指定大小,否则即使下载好了图片,也不能使用。
也可以不知道,宽高。
预加载的 磁盘策略 和 使用的策略 一定要一致 , 如下:
//预加载
   Glide.with(this)
         .load(url)
         .diskCacheStrategy(DiskCacheStrategy.ALL)
        .preload()

 //使用
  Glide.with(this)
        .load(url)
        .diskCacheStrategy(DiskCacheStrategy.ALL)
        .into(image2)
预加载 带回调
  private fun download(url: String) {
        Glide.with(this)
            .load(url)
            .asBitmap()
            .toBytes()
            .into(object : SimpleTarget<ByteArray>() {
                override fun onResourceReady(data: ByteArray?, p1: GlideAnimation<in ByteArray>) {
                }

                override fun onLoadFailed(e: Exception?, errorDrawable: Drawable?) {
                    super.onLoadFailed(e, errorDrawable)
                }
            })
    }
下载完成,onResourceReady 会回调。glide 会把资源存在自己的默认目录,如下:

当然我们也可以自己保存字节数组到自定义目录。
这种方式,保存的是原图,比较浪费资源。
如果我们知道 imageView 的宽高,就可以针对性的保存资源,看看 SimpleTarget 的构造函数。
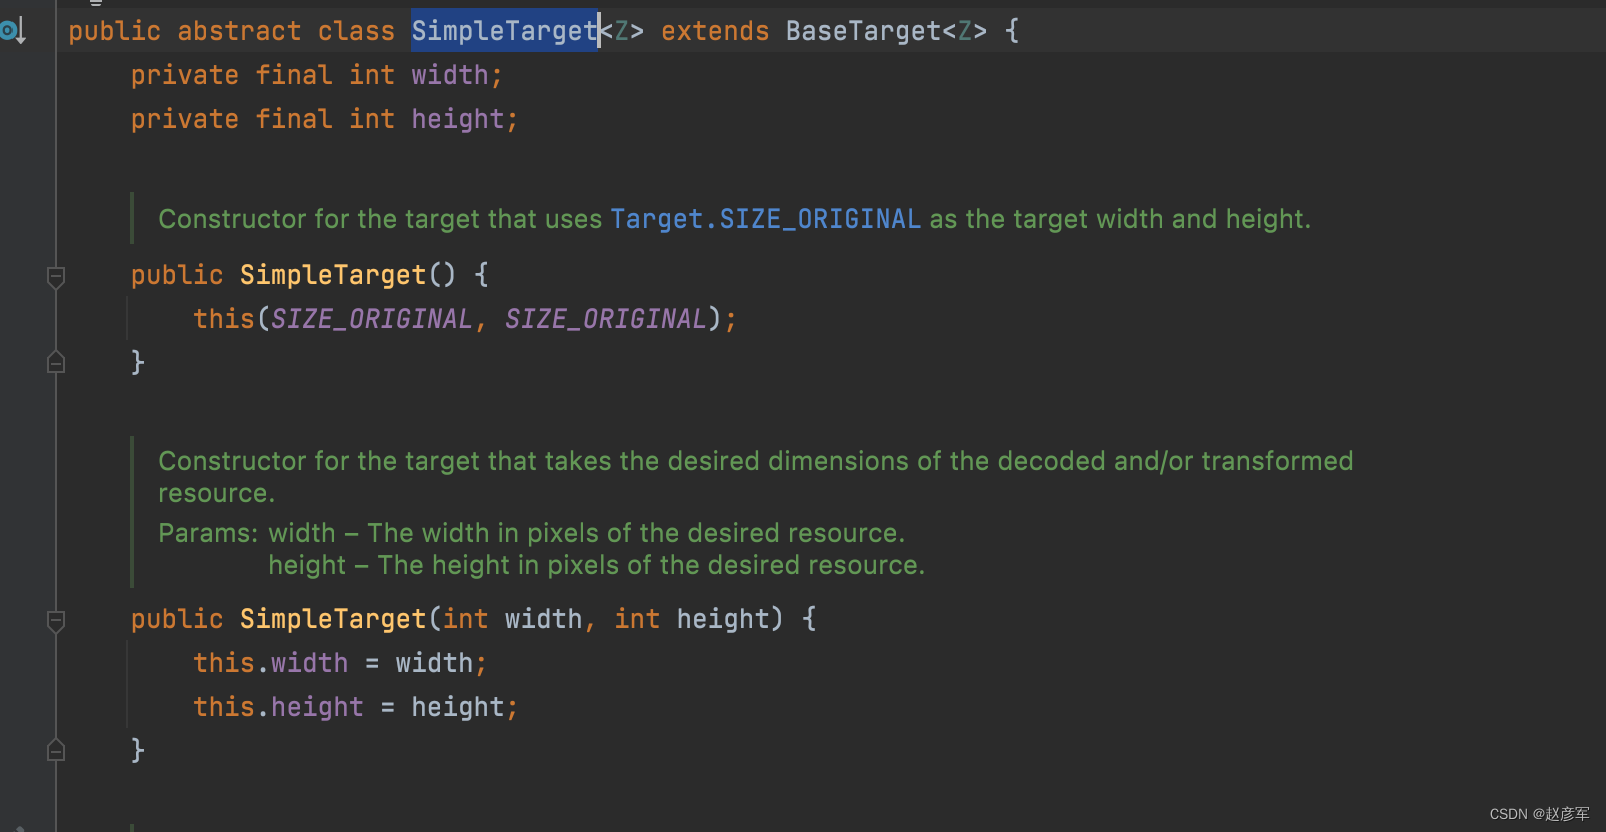
下面我们指定宽高看看
    private fun download(url: String) {
        Glide.with(this)
            .load(url)
            .asBitmap()
            .toBytes()
            .into(object : SimpleTarget<ByteArray>(100,100) {
                override fun onResourceReady(data: ByteArray?, p1: GlideAnimation<in ByteArray>) {
                }

                override fun onLoadFailed(e: Exception?, errorDrawable: Drawable?) {
                    super.onLoadFailed(e, errorDrawable)
                }
            })
    }
通过指定宽高,缓存在磁盘中的文件比原图小的,节省了磁盘资源。
在上面的示例中,SimpleTarget 返回是 ByteArray ,当然我们也可以返回 Bitmap
    private fun download(url: String) {
        Glide.with(this)
            .load(url)
            .asBitmap()
            .into(object : SimpleTarget<Bitmap>() {
                override fun onLoadFailed(e: Exception?, errorDrawable: Drawable?) {
                    super.onLoadFailed(e, errorDrawable)
                }

                override fun onResourceReady(
                    resource: Bitmap?,
                    glideAnimation: GlideAnimation<in Bitmap>?
                ) {

                }
            })
    }
变换
圆角 RoundedCornersTransformation
implementation 'jp.wasabeef:glide-transformations:2.0.2'
Glide.with(this)
     .load(url)
     .bitmapTransform(RoundedCornersTransformation(Glide.get(this).bitmapPool, 50, 0))
     .into(image)

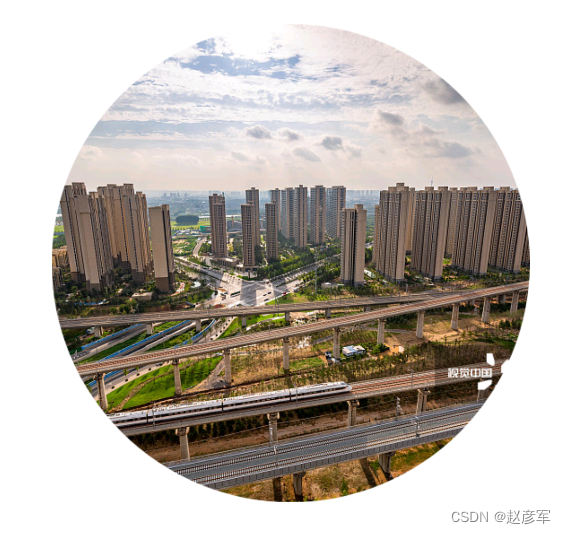
圆形 CropCircleTransformation
Glide.with(this)
      .load(url)
      .bitmapTransform(CropCircleTransformation(Glide.get(this).bitmapPool))
      .into(image)
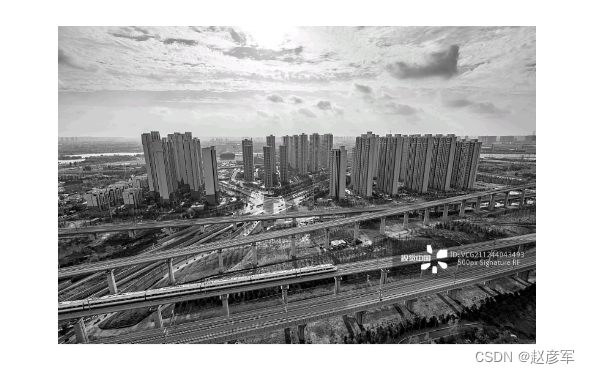
图片变灰 GrayscaleTransformation
这种情况,适合哀悼日使用。
Glide.with(this)
     .load(url)
     .bitmapTransform(GrayscaleTransformation(Glide.get(this).bitmapPool))
     .into(image)
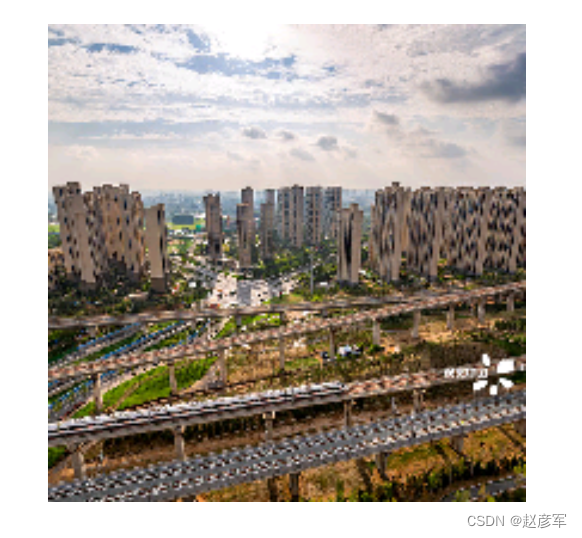
区域裁切 CropTransformation
在原图的中间区域,裁切宽高为 200x200 的区域显示在 image 中。
- TOP 从顶部裁切
- CENTER 从中间裁切
- BOTTOM 从底部裁切
Glide.with(this)
     .load(url)
     .bitmapTransform(
                    CropTransformation(
                        Glide.get(this).bitmapPool,
                        200,
                        200,
                        CropTransformation.CropType.CENTER
                    )
                )
     .into(image)
正方形 CropSquareTransformation
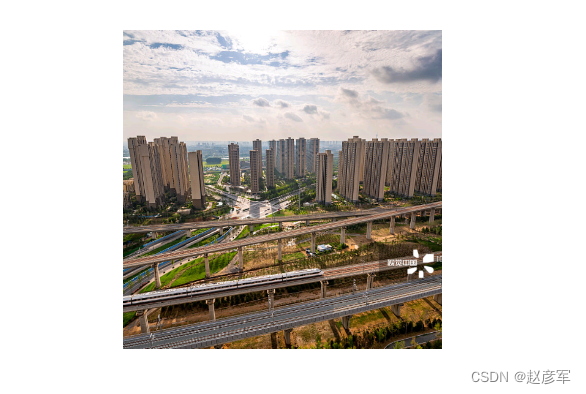
强制把长方形的 imageView 显示为一个正方形
 Glide.with(this)
      .load(url)
      .bitmapTransform(CropSquareTransformation(Glide.get(this).bitmapPool) )
      .into(image)
高斯模糊 BlurTransformation
Glide.with(this)
     .load(url)
     .bitmapTransform(BlurTransformation(this))
     .into(image)

形状变化 MaskTransformation
首先准备一个星星图片,star.png

   Glide.with(this)
        .load(url)
        .bitmapTransform( MaskTransformation(this, R.drawable.star) )
        .into(image)

加载本地图片
String path = "";
File file = new File(path);

Glide.with(v.getContext()).load(file).into(imageView);
Glide.with(v.getContext()).load("file://" + file.getAbsolutePath()).into(imageView);
Glide.with(v.getContext()).load(Uri.fromFile(file)).into(imageView);
最后
以上就是哭泣手机最近收集整理的关于Android Glide 3.8 常见方法总结 【圆角、下载、回调】前言downloadOnly 下载图片preload预加载 带回调变换加载本地图片的全部内容,更多相关Android内容请搜索靠谱客的其他文章。


发表评论 取消回复