用原始方法即直接获取编辑器里的内容,图片太多太大时,加载速度很慢。
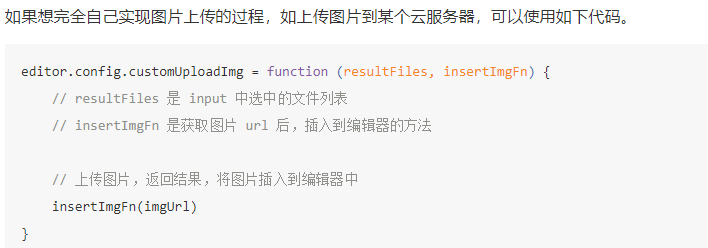
文档链接:[自己实现上传图片](https://www.wangeditor.com/doc/pages/07-%E4%B8%8A%E4%BC%A0%E5%9B%BE%E7%89%87/11-%E8%87%AA%E5%B7%B1%E5%AE%9E%E7%8E%B0%E4%B8%8A%E4%BC%A0%E5%8A%9F%E8%83%BD.html
// 初始化编辑区域
setEditor(){
	const editor = new wangEditor(document.getElementById('contentDiv'))
	// 配置内容详查文档
	editor.config.height = 376 // 设置高度
	editor.config.uploadImgShowBase64 = true // 图片默认设置base64
	editor.config.showLinkImg = false // 隐藏插入网络图片的功能,只保留上传本地图片
	// wangEditor里内置的自己上传图片方法
	editor.config.customUploadImg = function (files, insert) {
		const imgData = new FormData()
		for(let i=0; i<files.length; i++){
			imgData.append('img[]',files[i])
		}
		const p = new Promise((res)=>{
			res(_this.uploadNewsPicMtd(imgData,1))
		})
		p.then(res => {
			res.forEach(x=>{
				insert(x.url)
				//富文本编辑器里的内容
               //<p>
               //   <img src="http://test.api.jsdrobot.com/storage/news/60c1b9880ac4e.jpg" style="max-width:100%;" contenteditable="false"/>
               //	<img src="http://test.api.jsdrobot.com/storage/news/60c1b9880ada5.jpg" style="max-width:100%;" contenteditable="false"/>
               //</p>
			})
		})
	}
	editor.create()
	editor.txt.html(this.releaseData.content) // 创建编辑器之后,使用editor.txt.html(...)重新设置编辑器内容
	editor.config.onchange = function (newHtml) {
		this.releaseData.content = newHtml //配置 onchange 函数之后,用户操作(鼠标点击、键盘打字等)导致的内容变化之后,会自动触发 onchange 函数执行。
	}
}
// 上传图片接口
async uploadNewsPicMtd(img) {
     let res = await this.uploadNewsPic(img,flag)
     let imgUrl = []
     for(let i=0; i<res.data.length;i++){
         imgUrl.push({url:res.data[i].url})
     }
     return imgUrl
}
最后
以上就是满意咖啡豆最近收集整理的关于wangEditor自己实现上传多张图片的全部内容,更多相关wangEditor自己实现上传多张图片内容请搜索靠谱客的其他文章。
本图文内容来源于网友提供,作为学习参考使用,或来自网络收集整理,版权属于原作者所有。


发表评论 取消回复