Centos 7.6 系统下载
http://mirrors.cqu.edu.cn/CentOS/7.6.1810/isos/x86_64/CentOS-7-x86_64-DVD-1810.isoCentos 6.10系统下载
http://mirror.bit.edu.cn/centos/6.10/isos/x86_64/CentOS-6.10-x86_64-bin-DVD1to2.torrentESX i 6.0
magnet:?xt=urn:btih:27a80872def83b47de011d31ec55b81c6463e5d2&dn=VMware-VMvisor-Installer-201706001-5572656.x86_64.isoUbuntu Server 18.04下载(不要下载带Live版的,测试是不能使用的)
ubuntu所有版本下载地址 http://old-releases.ubuntu.com/releases/
http://old-releases.ubuntu.com/releases/bionic/ubuntu-18.04-server-amd64.isocommon
yum install epel-release -y安装系统部署所需所有服务
yum install -y httpd dhcp dhcpd tftp tftp-server wget git vim net-tools python-ctypes cobbler cobbler-web pykickstart fence-agents xinetd rsync debmirror设置主机名
hostnamectl set-hostname PXE关闭selinx永久关闭,需要重启服务器
sed -i 's/SELINUX=enforcing/SELINUX=disabled/' /etc/selinux/config关闭防火墙
systemctl stop firewalld && systemctl disable firewalld开启服务,设置开机自启动方便以后使用,关闭防火墙及增强安全功能
systemctl start httpd && systemctl enable httpd.service && systemctl start cobbler && systemctl enable cobblerd && systemctl start rsyncd && systemctl enable rsyncd && systemctl start xinetd && systemctl enable xinetd && systemctl start dhcpd && systemctl enable dhcpd执行cobbler check,检查需要优化的点,需要注意的是,优化完成后要重启服务使你的优化生效
cobbler check
修改cobbler配置
vim /etc/cobbler/settings#272
next_server: 192.168.3.253
#386
server: 192.168.3.253
#242
manage_dhcp: 1"更改tftp服务
vim /etc/xinetd.d/tftpservice tftp
{
disable = no
socket_type = dgram
protocol = udp
wait = yes
user = root
server = /usr/sbin/in.tftpd
server_args = -B 1380 -v -s /var/lib/tftpboot
per_source = 11
cps = 100 2
flags = IPv4
}更改debmirror
vim /etc/debmirror.conf28 #@dists="sid";
30 #@arches="i386";修改cobbler默认密码
openssl passwd -1 -salt '1234.com' '1234.com'vim /etc/cobbler/settings#101
default_password_crypted: "$1$1234$TDu4Sv3wugqq7W31j7OW1/"配置cobbler控制的dhcp模板
vim /etc/cobbler/dhcp.templatesubnet 192.168.3.0 netmask 255.255.255.0 {
option routers 192.168.3.11;
option domain-name-servers 8.8.8.8;
option subnet-mask 255.255.255.0;
range dynamic-bootp 192.168.3.221 192.168.3.231;
default-lease-time 21600;
max-lease-time 43200;
next-server $next_server;
下载引导操作系统文件
cobbler get-loaders
重启服务
systemctl restart cobblerd.service
systemctl restart httpd
生成DHCP配置文件
cobbler sync
再次执行cobbler check检查
cobbler check
安装web插件
rpm -qa | grep "python2-django"
rpm -e --nodeps python2-django-1.11.21-2.el7.noarch
yum install python2-pip -y
pip install --upgrade pip
pip install Django==1.8.17
设置一个cobbler-web登录用户及密码,设置用户名为cobbler
htdigest -c /etc/cobbler/users.digest Cobbler cobbler
重启服务
systemctl restart cobblerd.service
systemctl restart httpd
导入iso镜像文件到cobbler中
方法1
mount -t iso9660 -o loop CentOS-7.6-x86_64-DVD-1810.iso /mnt/
方法2
mount /dev/cdrom /mnt
卸载挂载
umount /dev/cdrom /mnt
import直接导入
cobbler import --name=CentOS-7.6-x86_64 --path=/mnt
cobbler import --name=CentOS-6.10-x86_64 --path=/mnt
cobbler import --name=esxi-6.0-x86_64 --path=/mnt
cobbler import --name=ubuntu-18-x86_64 --path=/mnt/
删除
cobbler profile remove --name=CentOS-7.6-x86_64
cobbler profile remove --name=CentOS-6.10-x86_64
cobbler profile remove --name=esxi-6.0-x86_64
cobbler profile remove --name=ubuntu-18-x86_64
查看
cobbler profile list
查看profile设置
cobbler profile report --name=CentOS-7.6-x86_64
cobbler profile report --name=CentOS-6.10-x86_64
cobbler profile report --name=esxi-6.0-x86_64
cobbler profile report --name=ubuntu-18-x86_64
同步一次
cobbler sync
重装系统
yum install koan -y
查看cobbler上的发行版本列表
koan --server=192.168.3.128 --list=profiles
重装centos-7.3-x86_64
koan --server=192.168.3.128 --profile=centos-7.3-x86_64 --replace-self
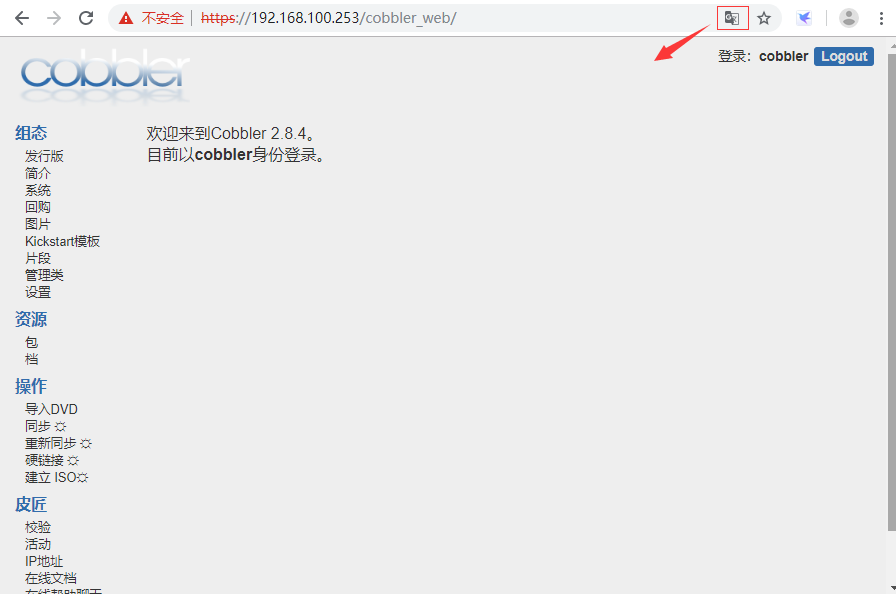
测试web页面登陆cobbler/1234.com
https://192.168.3.253/cobbler_web
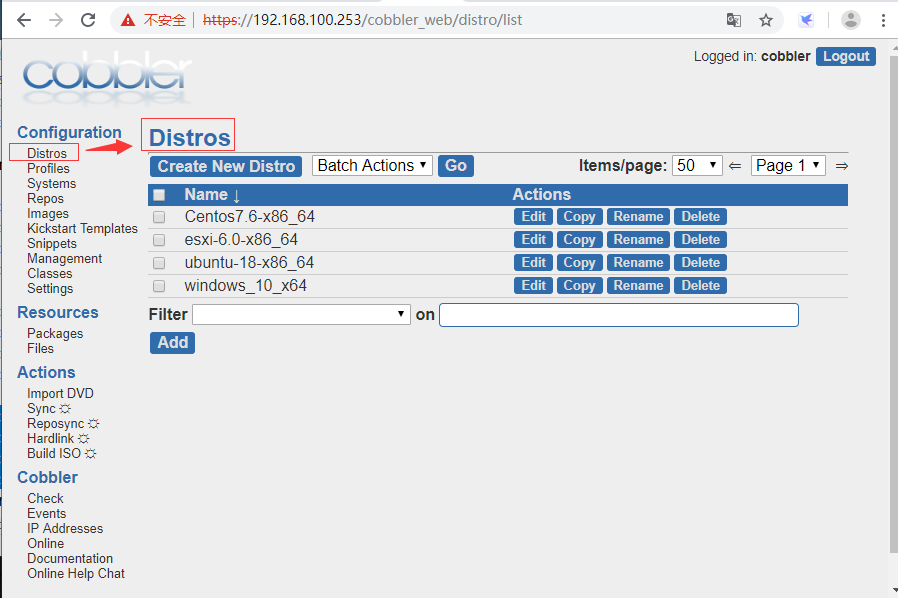
确认Distros是否有创建的镜像

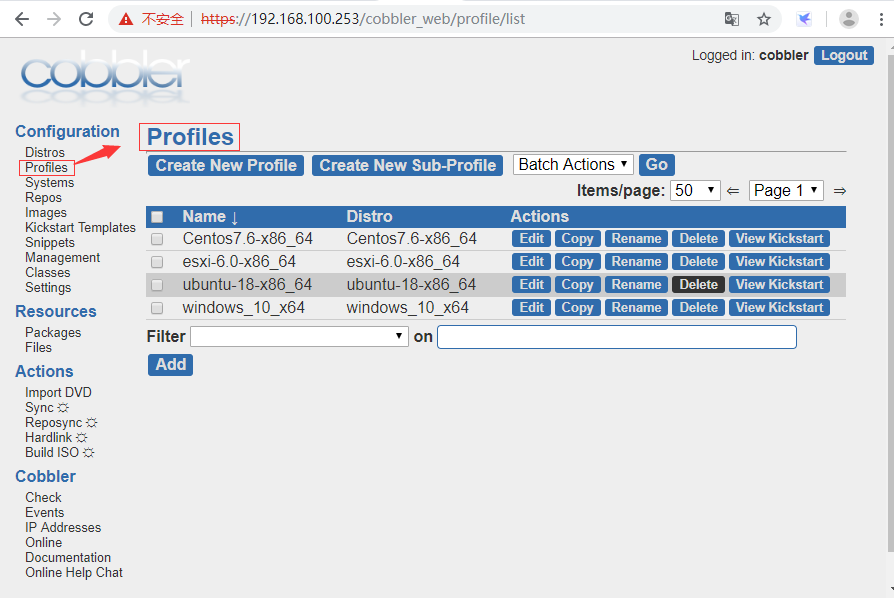
确认Profiles是否有创建的镜像

功能可以自行研究

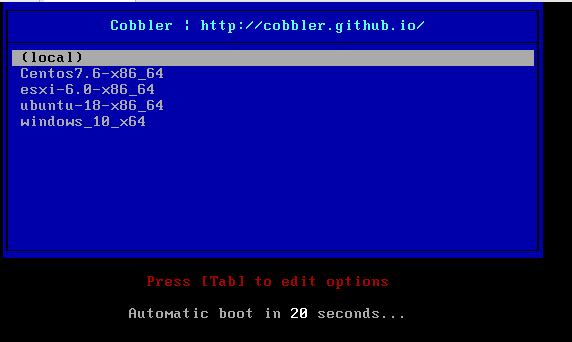
测试PXE启动

Windows 实现自动安装
https://blog.csdn.net/hanzheng260561728/article/details/98378395
最后
以上就是优秀水壶最近收集整理的关于Centos 7.6 Install PXE_cobbler的全部内容,更多相关Centos内容请搜索靠谱客的其他文章。


发表评论 取消回复