引言
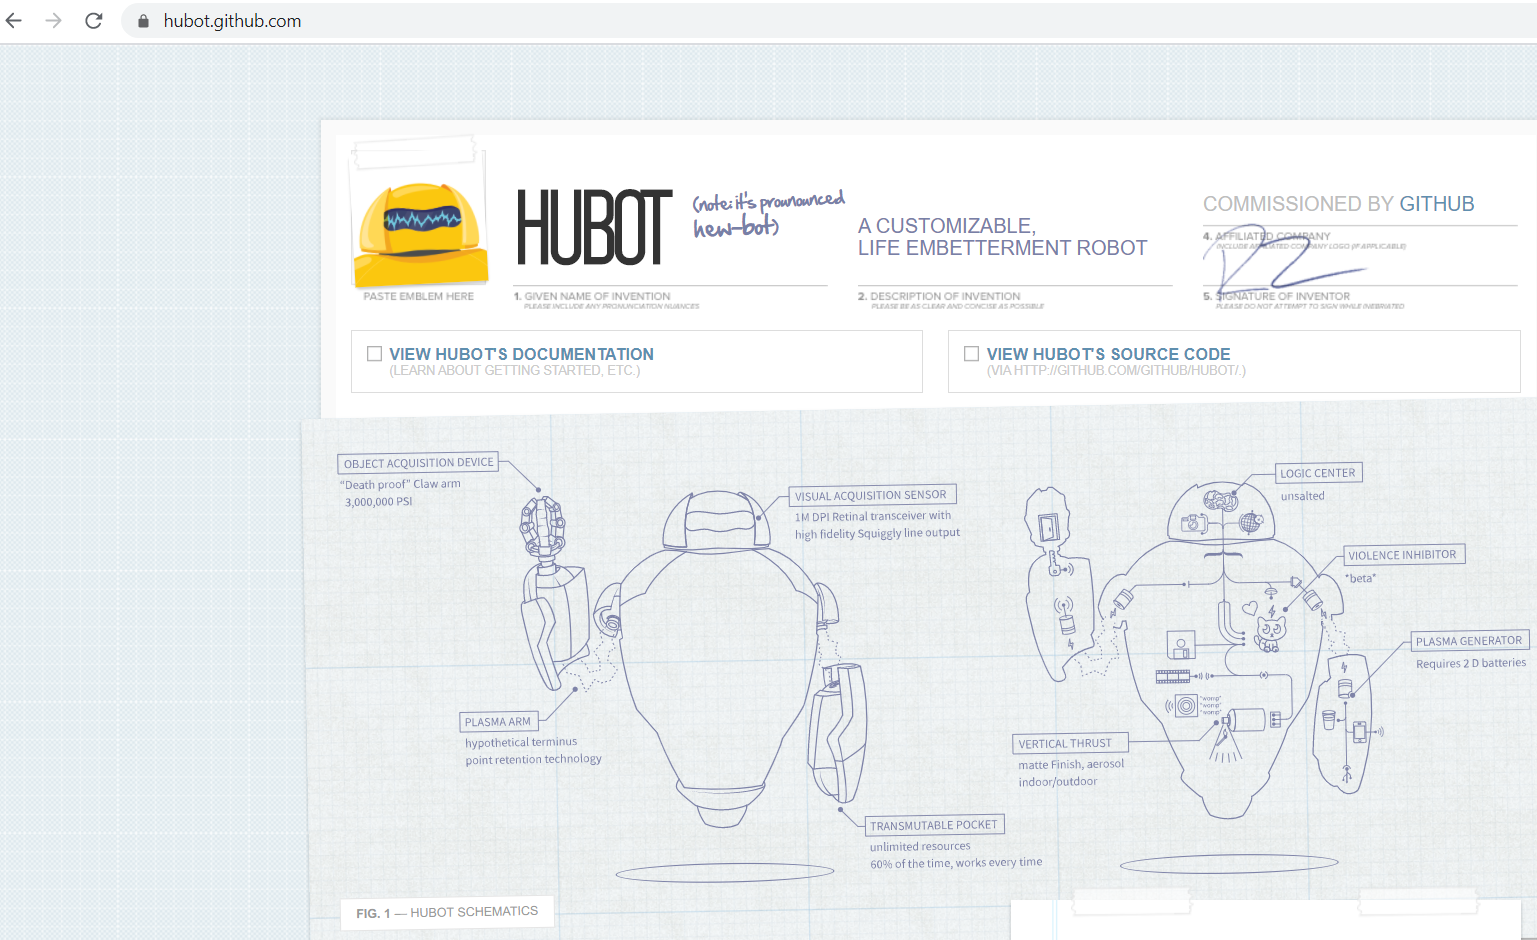
近几年,DevOps 在各个企业用的风生水起,也衍生出了很多的其他的实践和理念,比如AIOps,DevSecOps, TestOps, BizOps 当然还有本文的主角 ChatOps大哥了。 说起ChatOps, 顾名思义就是通过聊天软件聊聊天就能把运维给做了,哎呀,天下还能有这样的好工作了,啧啧!以前做手工运维,可苦了运维大哥们,重复的脚本手工执行N次,同一个问题被不同的开发问了N次,就拿重启电脑这件简单的事情来说吧,也要远程登陆到目标的机器,输入重启命令,等待重启,然后在远程登陆进去看是否重启生效了,键盘敲的都酸了,而且无聊!这个时候,ChatOps大哥就想,看能不能有个机器人,而且是个知心暖心的机器人,我给他输入一个命令,他就自动帮我做了,而且我这个还可以建立一个聊天侃大山的群组,把机器人拖进去,独乐乐不如众乐乐,大家运维的事情,找机器人啊!这不,还真有这么个开源免费的机器人小弟,那就是Hubot,其官方网站就在github安了家。下面就是其官方文档里第一张图,初一看以为就是一个机器人的设计图,其实就是就是一张机器人的设计图,不过,是一个可以在电脑上安装的一个软件,而且是基于NodeJS大家族中的coffee语言哦。
为什么用Hubot
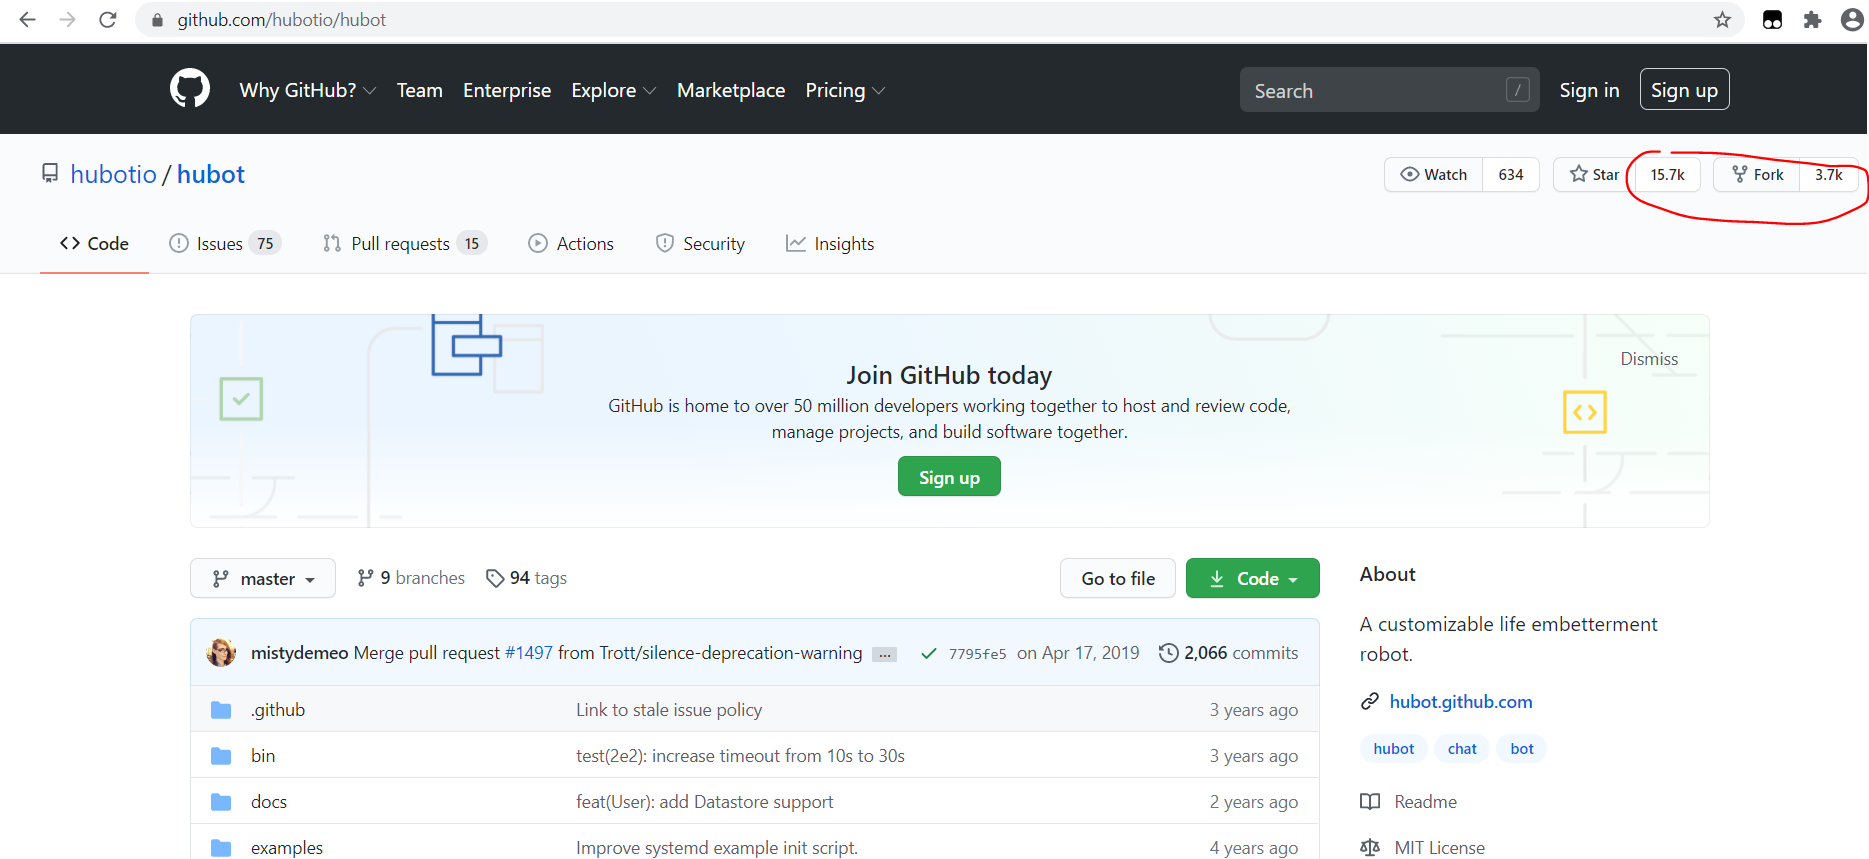
Hubot是一款开源的软件,其在Github的点赞已经达到惊人的15.7k,被Fork出来的次数更是达到了3700次。可谓是很受大家的欢迎。
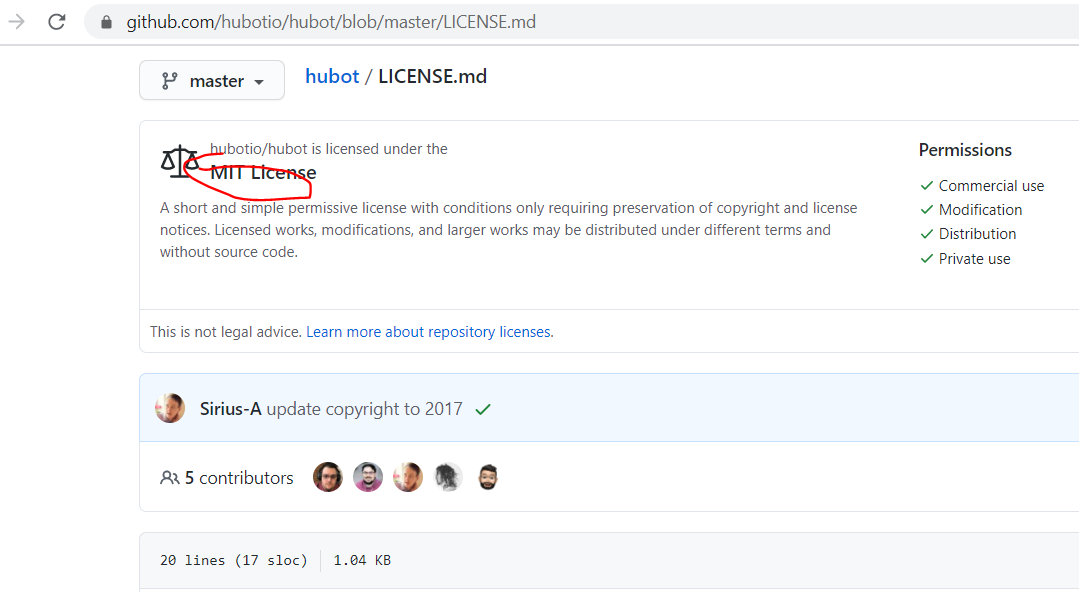
此外,其License也是MIT的授权,和Apache的license大家可以放心使用与商业生产环境~
相对于下面的其他两款:
HubBot: 支持Javascript/CoffeeScript, MIT版权
Lita: Lita.io Ruby语言开发
Err Bot: Python语言开发,gplv3 版权

Hubot在成熟度,受欢迎程度和授权方面还是占有很大的优势。当然,如果你是Python的忠实粉丝,Err Bot也是一款很好的选择;如果你有Ruby On Rails 的优秀经验,Lita也是一个不错的选择,但是现在Ruby语言犹如明日黄花,已经很没落了,也很难找到合适的开发者了,想想还是不要选Lita了。
安装
安装的步骤也很简单。
步骤1. 确保安装了Node和npm
步骤2:安装 yo,generator-hubot 这样会帮我们生成hubot的项目代码,
npm install -g yo generator-hubot
这时才明白,其实hubot小弟就是一个NodeJs的项目的啊。而且源代码也公开了哦。
下面是我在本地Window10 电脑上执行的结果,大家不用担心不需要翻墙,速度还是不错的。
不过建议大家用最新的Node的版本,至少应该是v8以上的版本吧。笔者本机安装的就是v14.13.0
关于如何安装Node,网站的文章很多,大家可以自行搜索~
C:Usersrodney>npm install -g yo generator-hubot
npm WARN deprecated request@2.88.2: request has been deprecated, see https://github.com/request/request/issues/3142
npm WARN deprecated CSSselect@0.4.1: the module is now available as 'css-select'
npm WARN deprecated CSSwhat@0.4.7: the module is now available as 'css-what'
npm WARN deprecated simple-bufferstream@0.0.4: no longer maintained
npm WARN deprecated har-validator@5.1.5: this library is no longer supported
npm WARN deprecated minimatch@2.0.10: Please update to minimatch 3.0.2 or higher to avoid a RegExp DoS issue
npm WARN deprecated minimatch@0.3.0: Please update to minimatch 3.0.2 or higher to avoid a RegExp DoS issue
npm WARN deprecated cross-spawn-async@2.2.5: cross-spawn no longer requires a build toolchain, use it instead
npm WARN deprecated urix@0.1.0: Please see https://github.com/lydell/urix#deprecated
npm WARN deprecated resolve-url@0.2.1: https://github.com/lydell/resolve-url#deprecated
C:UsersrodneyAppDataRoamingnpmyo -> C:UsersrodneyAppDataRoamingnpmnode_modulesyolibcli.js
C:UsersrodneyAppDataRoamingnpmyo-complete -> C:UsersrodneyAppDataRoamingnpmnode_modulesyolibcompletionindex.js
> core-js@3.6.5 postinstall C:UsersrodneyAppDataRoamingnpmnode_modulesyonode_modulescore-js
> node -e "try{require('./postinstall')}catch(e){}"
Thank you for using core-js ( https://github.com/zloirock/core-js ) for polyfilling JavaScript standard library!
The project needs your help! Please consider supporting of core-js on Open Collective or Patreon:
> https://opencollective.com/core-js
> https://www.patreon.com/zloirock
Also, the author of core-js ( https://github.com/zloirock ) is looking for a good job -)
> ejs@2.7.4 postinstall C:UsersrodneyAppDataRoamingnpmnode_modulesyonode_modulesejs
> node ./postinstall.js
Thank you for installing EJS: built with the Jake JavaScript build tool (https://jakejs.com/)
> yo@3.1.1 postinstall C:UsersrodneyAppDataRoamingnpmnode_modulesyo
> yodoctor
Yeoman Doctor
Running sanity checks on your system
√ No .bowerrc file in home directory
√ Global configuration file is valid
√ NODE_PATH matches the npm root
√ No .yo-rc.json file in home directory
√ Node.js version
√ npm version
√ yo version
Everything looks all right!
npm WARN notsup Unsupported engine for got@5.7.1: wanted: {"node":">=0.10.0 <7"} (current: {"node":"14.13.0","npm":"6.14.8"})
npm WARN notsup Not compatible with your version of node/npm: got@5.7.1
+ generator-hubot@0.4.0
+ yo@3.1.1
added 479 packages from 300 contributors, removed 21 packages, updated 98 packages and moved 4 packages in 1234.974s
步骤3: 新建一个文件夹,并在这个文件夹下新建一个项目
% mkdir myhubot
% cd myhubot
% yo hubot
注意执行上面的时候,会让大家填写一些机器人HuBot的信息,大家按照自己的填写就行。
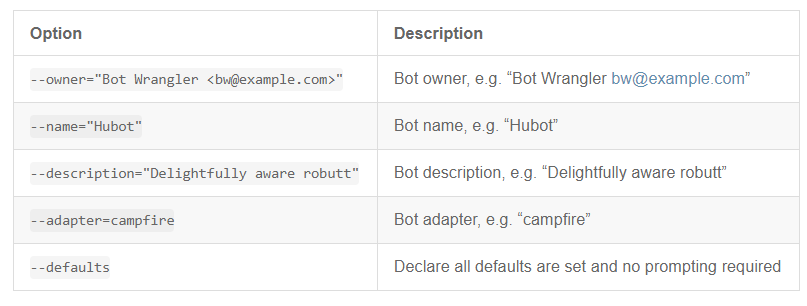
需要注意的是,在输入的选项中 name的名字很重要,一定要记住,在后面使用hubot已经输入hubot的命令的时候,会用上,笔者给自己的hubot起了小名 henryhubot
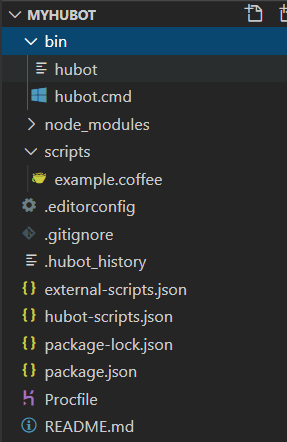
填写好信息后,就会生成一个NodeJs的项目,其大概的项目的结构如下:
在执行 yo hubot 命令的时候,其控制台的输出类似与下面的输出。
C:Usersrodneymyhubot>yo hubot
                     _____________________________
                    /
   //              |      Extracting input for    |
      _____    |   self-replication process   |
 //  /_____                                /
 ======= |[^_/_]|   /----------------------------
  |   | _|___@@__|__
  +===+/  ///     _
   | |_ /// HUBOT/\
   |___///      /  \
               /   +---+
          ____/    |   |
           | //|    +===+
            //      |xx|

? Owner 35490942@qq.com
? Bot name henryhubot
? Description Winner
? Bot adapter campfire
   create binhubot
   create binhubot.cmd
   create Procfile
   create README.md
   create external-scripts.json
   create hubot-scripts.json
   create .gitignore
   create package.json
   create scriptsexample.coffee
   create .editorconfig
                     _____________________________
 _____              /
                  |   Self-replication process   |
 |    |    _____    |          complete...         |
 |__\|   /_____        Good luck with that.    /
   |//+  |[^_/_]|   /----------------------------
  |   | _|___@@__|__
  +===+/  ///     _
   | |_ /// HUBOT/\
   |___///      /  \
               /   +---+
          ____/    |   |
           | //|    +===+
            //      |xx|

npm notice created a lockfile as package-lock.json. You should commit this file.
+ hubot-redis-brain@1.0.0
+ hubot-maps@0.0.3
+ hubot-rules@1.0.0
+ hubot-diagnostics@1.0.0
+ hubot-shipit@0.2.1
+ hubot-pugme@0.1.1
+ hubot-heroku-keepalive@1.0.3
+ hubot-scripts@2.17.2
+ hubot@3.3.2
+ hubot-google-images@0.2.7
+ hubot-help@1.0.1
+ hubot-google-translate@0.2.1
added 94 packages from 53 contributors and audited 94 packages in 84.787s

1 package is looking for funding
  run `npm fund` for details

found 0 vulnerabilities
从上面的日志可以看出,其默认生成的项目会,会默认安装node下面的依赖。
{
  "name": "henryhubot",
  "version": "0.0.0",
  "private": true,
  "author": "35490942@qq.com",
  "description": "Winner",
  "dependencies": {
    "hubot": "^3.3.2",
    "hubot-diagnostics": "^1.0.0",
    "hubot-google-images": "^0.2.7",
    "hubot-google-translate": "^0.2.1",
    "hubot-help": "^1.0.1",
    "hubot-heroku-keepalive": "^1.0.3",
    "hubot-maps": "0.0.3",
    "hubot-pugme": "^0.1.1",
    "hubot-redis-brain": "^1.0.0",
    "hubot-rules": "^1.0.0",
    "hubot-scripts": "^2.17.2",
    "hubot-shipit": "^0.2.1"
  },
  "engines": {
    "node": "0.10.x"
  }
}
如果需要集成Slack聊天软件的话,就需要通过下面的命令安装其适配器
npm install --save hubot-slack
到此,安装就告一段落了。下面来看如何让其跑起来。
运行
如果要其hubot启动起来,就需要在项目路径下(笔者的路径是C:Usersrodneymyhubot)输入下面的命令 .binhubot.cmd
C:Usersrodneymyhubot>.binhubot.cmd
audited 200 packages in 5.092s

14 packages are looking for funding
  run `npm fund` for details
found 0 vulnerabilities
henryhubot> [Tue Oct 06 2020 01:31:38 GMT+0800 (中国标准时间)] WARNING Loading scripts from hubot-scripts.json is deprecated and will be removed in 3.0 (https://github.com/github/hubot-scripts/issues/1113) in favor of packages for each script.
Your hubot-scripts.json is empty, so you just need to remove it.
[Tue Oct 06 2020 01:31:38 GMT+0800 (中国标准时间)] INFO hubot-redis-brain: Using default redis on localhost:6379
[Tue Oct 06 2020 01:31:38 GMT+0800 (中国标准时间)] ERROR hubot-heroku-keepalive included, but missing HUBOT_HEROKU_KEEPALIVE_URL. `heroku config:set HUBOT_HEROKU_KEEPALIVE_URL=$(heroku apps:info -s | grep web.url | cut -d= -f2)`
注意一定要在项目的根目录下,输入上面的命令,不能在bin目录下直接输入hubot.cmd
原因也很简单,咱们看看hubot.cmd 脚本里面干了些什么事情。
@echo off

call npm install
SETLOCAL
SET PATH=node_modules.bin;node_moduleshubotnode_modules.bin;%PATH%
node_modules.binhubot.cmd --name "henryhubot" %*
其需要吧node_moduleshubotnode_modules.bin 目录加入到path中去,而且是一个相对目录,所以必须在项目的根目录下执行上面的命令才行。
如果需要和Slack 进行交互,启动的时候则需要加一个 -a 的参数。因为笔者没有提供Slack的Token,其会报一个“ERROR No token provided to Hubot” 错误,只要我们把Slack的Token配置到项目的代码配置文件里面,就可以连接上Slack了。
C:Usersrodneymyhubot>.binhubot.cmd -a slack
audited 200 packages in 2.607s

14 packages are looking for funding
  run `npm fund` for details
found 0 vulnerabilities
[Tue Oct 06 2020 01:35:53 GMT+0800 (中国标准时间)] INFO hubot-slack adapter v4.8.0
warn: SlackDataStore is deprecated and will be removed in the next major version. See project documentation for a migration guide.
warn: SlackDataStore is deprecated and will be removed in the next major version. See project documentation for a migration guide.
[Tue Oct 06 2020 01:35:53 GMT+0800 (中国标准时间)] ERROR No token provided to Hubot
咱们先从.binhubot.cmd -a slack 切换到 普通的模式 .binhubot.cmd
然后输入henryhubot help 命令,其提供了下面的默认命令给我们用。

比如,我们测试一下 henryhubot pug bomb N 命令,其输出如下。
henryhubot> henryhubot pug bomb 5
henryhubot> https://user-images.githubusercontent.com/260/81488901-49615f80-923d-11ea-9d4b-1ab01525ecea.jpg?00125790
https://user-images.githubusercontent.com/260/81488901-49615f80-923d-11ea-9d4b-1ab01525ecea.jpg?0040a4cf
https://user-images.githubusercontent.com/260/81488901-49615f80-923d-11ea-9d4b-1ab01525ecea.jpg?001c578e
https://user-images.githubusercontent.com/260/81488901-49615f80-923d-11ea-9d4b-1ab01525ecea.jpg?00fcedec
https://user-images.githubusercontent.com/260/81488901-49615f80-923d-11ea-9d4b-1ab01525ecea.jpg?00f06e76
https://user-images.githubusercontent.com/260/81488901-49615f80-923d-11ea-9d4b-1ab01525ecea.jpg?00bbc149
如果通过Slack的插件和Hubot相连接,我们就只需要在Slack里面输入上面的命令,其Hubot就会自动把其输出结果返回到Slack里面。
定制Hubot的执行命令
其实在使用Hubot的时候,如果默认的命令不能满足我们的要求的时候,该怎么办呢?大家第一想到就是定制代码。 那如何做呢? Hubot已经为我们想好了。只要在当前目录的scripts 目录下面添加一个
js或者coffee的文件即可,在文件里面我们遵循其特定语法接口即可,下面以一段官方帮助文档提供的代码为例子,在scripts 的文件夹下,新建一个helloworld.coffee的文件。
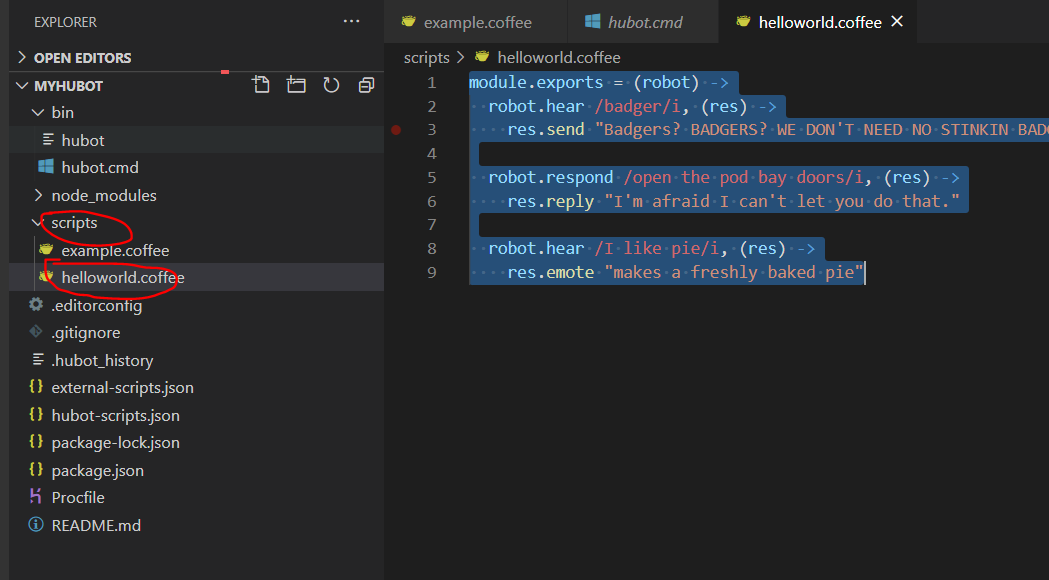
helloworld.coffee的内容如下:
module.exports = (robot) ->
  robot.hear /hello/i, (res) ->
    res.send "hello world~~~~~~~~~~~~~~~~"

  robot.respond /open the pod bay doors/i, (res) ->
    res.reply "I'm afraid I can't let you do that."

  robot.hear /I like pie/i, (res) ->
    res.emote "makes a freshly baked pie"
然后重启启动Hubot。输入hello命令

其就自动返回了"hello world~~~~~~~~~~~~~~~~" 还挺好玩的!
与Chat工具集成
目前市面上,有很多企业内部聊天工具,在和Hubot集成这一块做的比较好的
聊天软件主要有下面这些:

上面的这些聊天软件都会提供相应的Hubot 的适配器,比如Slack的适配器为
Hubot-slack,
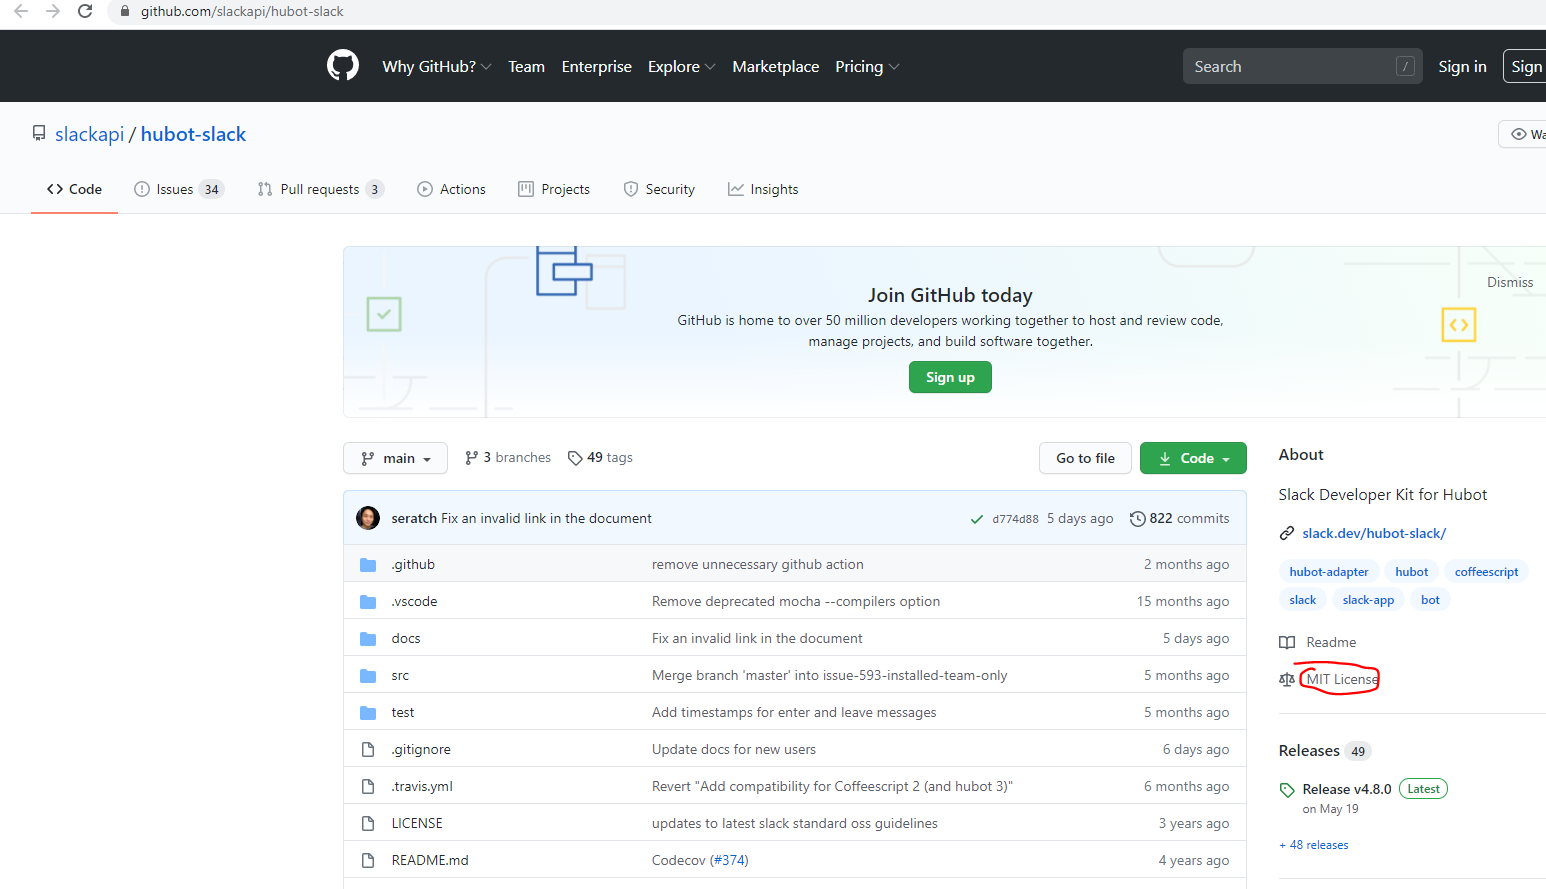
其用法可以参考其Hubot Slack的官方文档:https://slack.dev/hubot-slack/
先在Slack的管理配置页面获取调用Slack API的Token, 然后 执行下面的命令,当然执行之前需要用npm 先安装hubot-slack的NodeJS的依赖
HUBOT_SLACK_TOKEN=xoxb-YOUR-TOKEN-HERE ./bin/hubot --adapter slack
总结
这篇文章主要和大家分享了Hubot在ChatOps的地位,已经如何安装启动Hubot,最后和大家简单分享了一下如何定制开发一个Hubot能识别和支持的命令~
最后
以上就是优秀口红最近收集整理的关于ChatOps的利器:Hubot的全部内容,更多相关ChatOps内容请搜索靠谱客的其他文章。


发表评论 取消回复