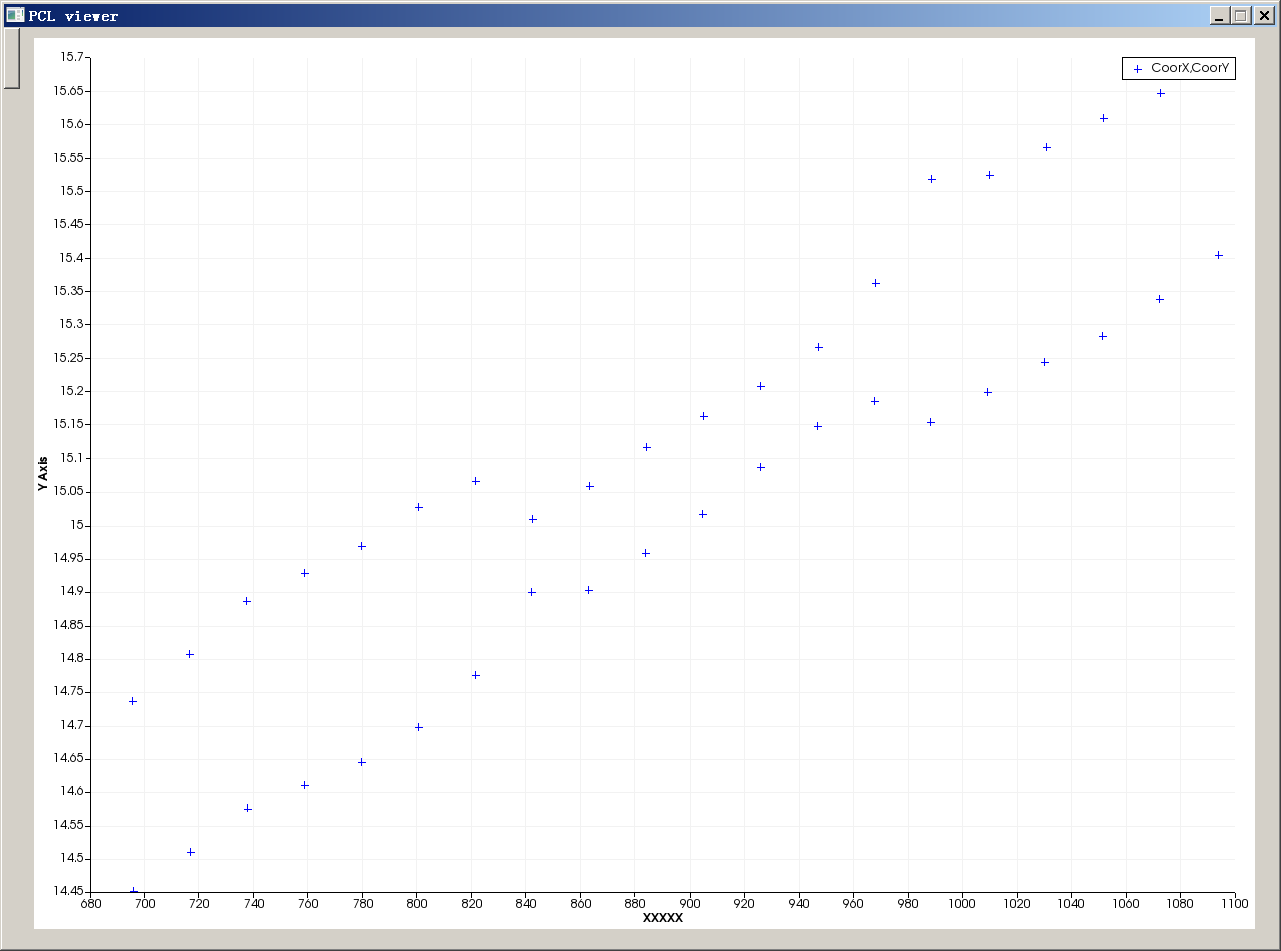
修改了坐标轴名称, 加入到了qtvtkwidget中.
void  PCLViewer::showPointCloud995(pcl::PointCloud<PointT>::Ptr pointCloud)
{

    vtkIdType size = pointCloud->points.size();
    if(size == 0){
      //  warningWindow(STR_3D_IMAGE_ERROR_TITLE);
        return;
    }

    // Set up a 2D scene, add an XY chart to it
    //vtkSmartPointer<vtkContextView> view = vtkSmartPointer<vtkContextView>::New();
    vtkSmartPointer<vtkContextView> m_2Dview = vtkSmartPointer<vtkContextView>::New();
    m_2Dview->SetRenderWindow(ui->qvtkWidget->GetRenderWindow());

    m_2Dview->GetRenderer()->SetBackground(1.0, 1.0, 1.0);
    m_2Dview->GetRenderWindow()->SetSize(300, 200);
    vtkSmartPointer<vtkChartXY> chart = vtkSmartPointer<vtkChartXY>::New();
    m_2Dview->GetScene()->AddItem(chart);
    chart->SetShowLegend(true);


     vtkAxis* va = chart->GetAxis(1);
     va->SetTitle("XXXXX");
    vtkAxis* va1 = chart->GetAxis(1);
     vtkStdString  vs = va1->GetTitle();


     // Create a table with some points in it...
     vtkSmartPointer<vtkTable> table = vtkSmartPointer<vtkTable>::New();

     vtkSmartPointer<vtkFloatArray> arrX = vtkSmartPointer<vtkFloatArray>::New();
     arrX->SetName("X Y Axis"); //
     table->AddColumn(arrX);

     vtkSmartPointer<vtkFloatArray> arrC = vtkSmartPointer<vtkFloatArray>::New();
     arrC->SetName("CoorX,CoorY");
     table->AddColumn(arrC);


    // Test charting with a few more points...

    table->SetNumberOfRows(size);
    for (size_t i = 0; i < size; i++)
    {
        double ptx = pointCloud->points[i].x;
        double pty = pointCloud->points[i].y;
        //double ptz = pointCloud->points[i].z;

        table->SetValue(i, 0, vtkVariant ( ptx ));
        table->SetValue(i, 1, vtkVariant (pty ));
       // table->SetValue(i, 2, vtkVariant (ptz ));
    }


// Add multiple scatter plots, setting the colors etc
     vtkPlot *points = chart->AddPlot(vtkChart::POINTS);
   #if VTK_MAJOR_VERSION <= 5
     points->SetInput(table, 0, 1);
   #else
     points->SetInputData(table, 0, 1);
   #endif

     points->SetColor(0, 0, 255, 255);
     points->SetWidth(1.0);
     vtkPlotPoints::SafeDownCast(points)->SetMarkerStyle(vtkPlotPoints::PLUS);//CIRCLE  ,CROSS


     // finally render the scene
     m_2Dview->GetRenderWindow()->SetMultiSamples(0);


}
最后
以上就是开心八宝粥最近收集整理的关于【vtkchartxy】的全部内容,更多相关【vtkchartxy】内容请搜索靠谱客的其他文章。
本图文内容来源于网友提供,作为学习参考使用,或来自网络收集整理,版权属于原作者所有。


发表评论 取消回复