yum安装Jenkins
 到指定目录下
cd /etc/yum.repos.d/
# 下载依赖
[root@VM-0-6-centos yum.repos.d]# wget http://pkg.jenkins.io/redhat/jenkins.repo --no-check-certificate
# 导入秘钥
[root@VM-0-6-centos yum.repos.d]# rpm --import https://pkg.jenkins.io/redhat-stable/jenkins.io.key
# 进行安装
[root@VM-0-6-centos yum.repos.d]# yum install jenkins -y
问题:如果执行wget http://pkg.jenkins.io/redhat/jenkins.repo --no-check-certificate报错 那么执行
[root@VM-0-6-centos yum.repos.d]# cd /var/lib/rpm
看是否有一下文件目录

有就执行
[root@VM-0-6-centos rpm]# rm -rf __db*
[root@VM-0-6-centos rpm]# rpm --rebuilddb
重新执行安装
修改配置文件
# 创建Jenkins工作目录
[root@VM-0-6-centos yum.repos.d]#  mkdir /usr/local/jenkins_home
# 修改配置文件
[root@VM-0-6-centos yum.repos.d]#  vim /etc/sysconfig/jenkins
其中,修改几个关键的配置参数:
- 工作目录位置,这里我修改为/usr/local/jenkins_home
JENKINS_HOME="/usr/local/jenkins_home"
- jenkins用户,默认为jenkins,需修改为root,否则后期会出现权限问题
JENKINS_USER="root"
- 默认端口号为8080,为防端口冲突,修改为8081
JENKINS_PORT="8081"
添加环境变量
添加环境变量的作用是,后期配置执行脚本比较方便,这里建议添加
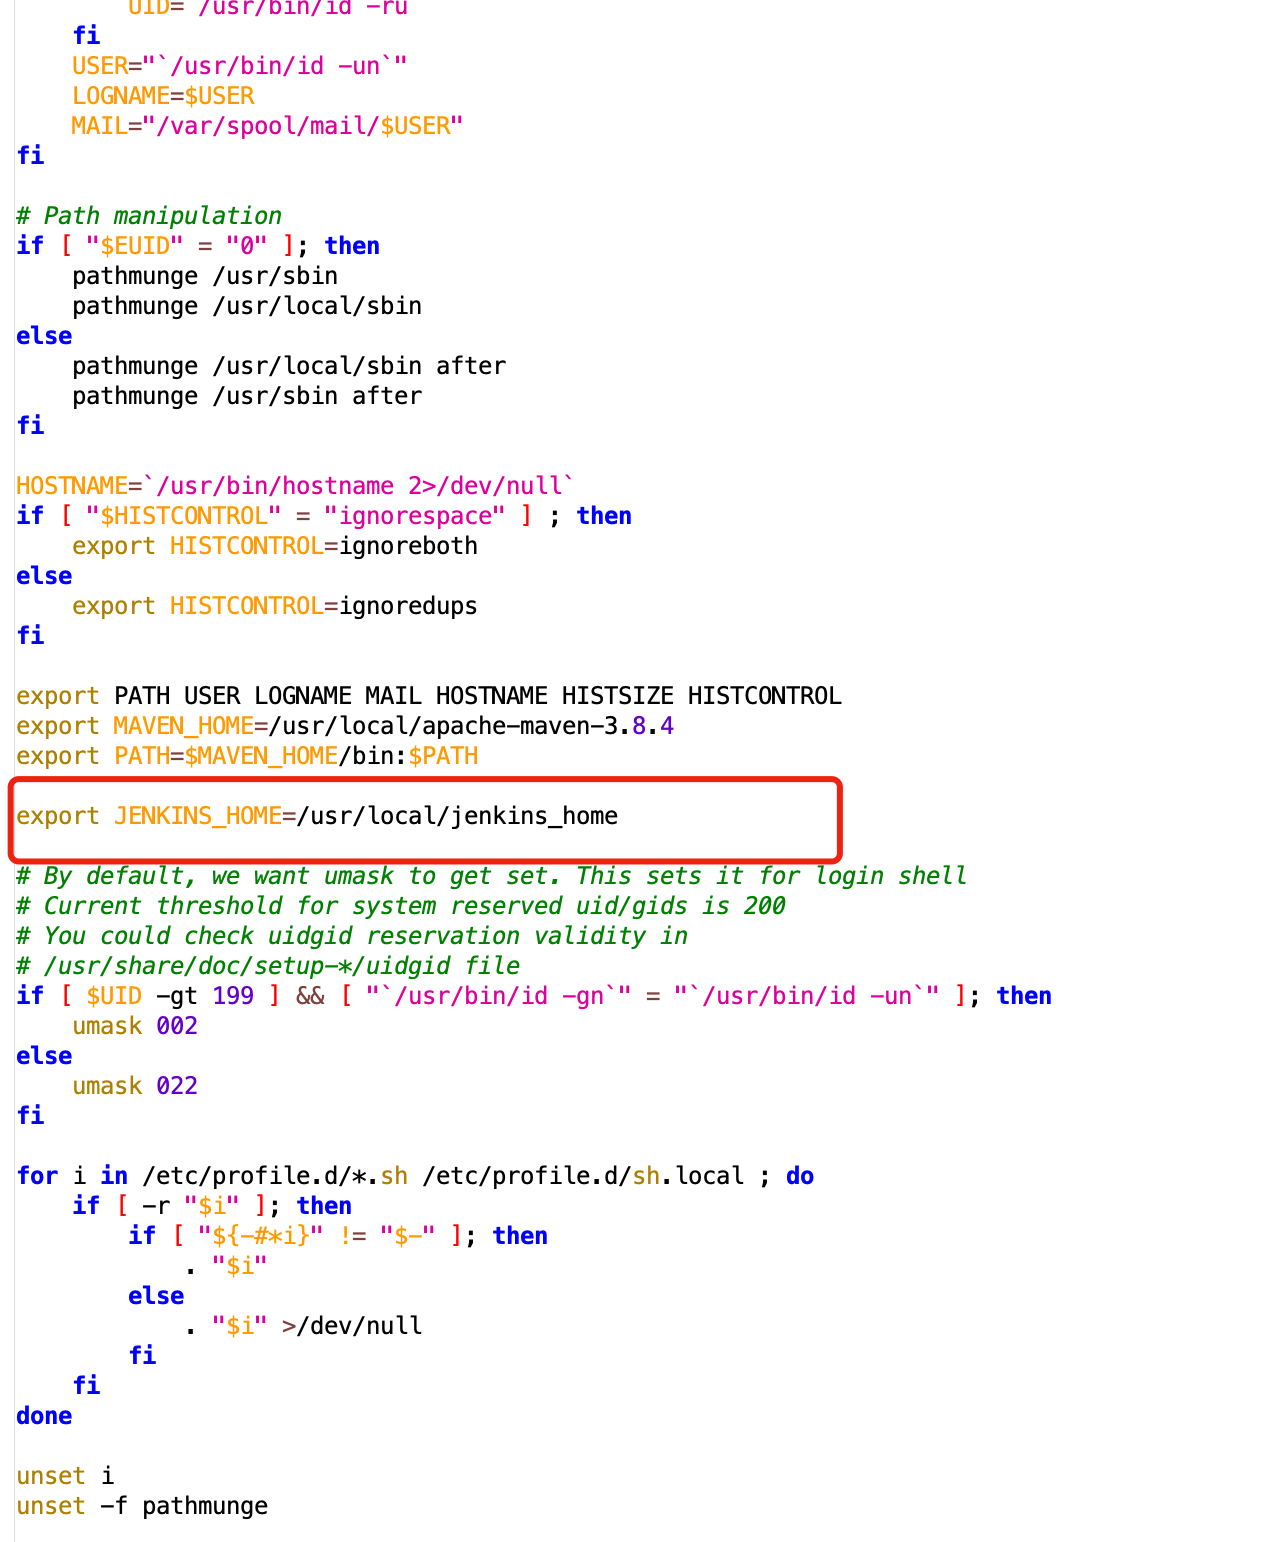
[root@VM-0-6-centos yum.repos.d]# vim /etc/profile
Jenkins环境变量配置,位置与Jenkins工作目录相同

export JENKINS_HOME=/usr/local/jenkins_home
刷新配置
# 修改后刷新配置文件
[root@VM-0-6-centos yum.repos.d]#  source /etc/profile
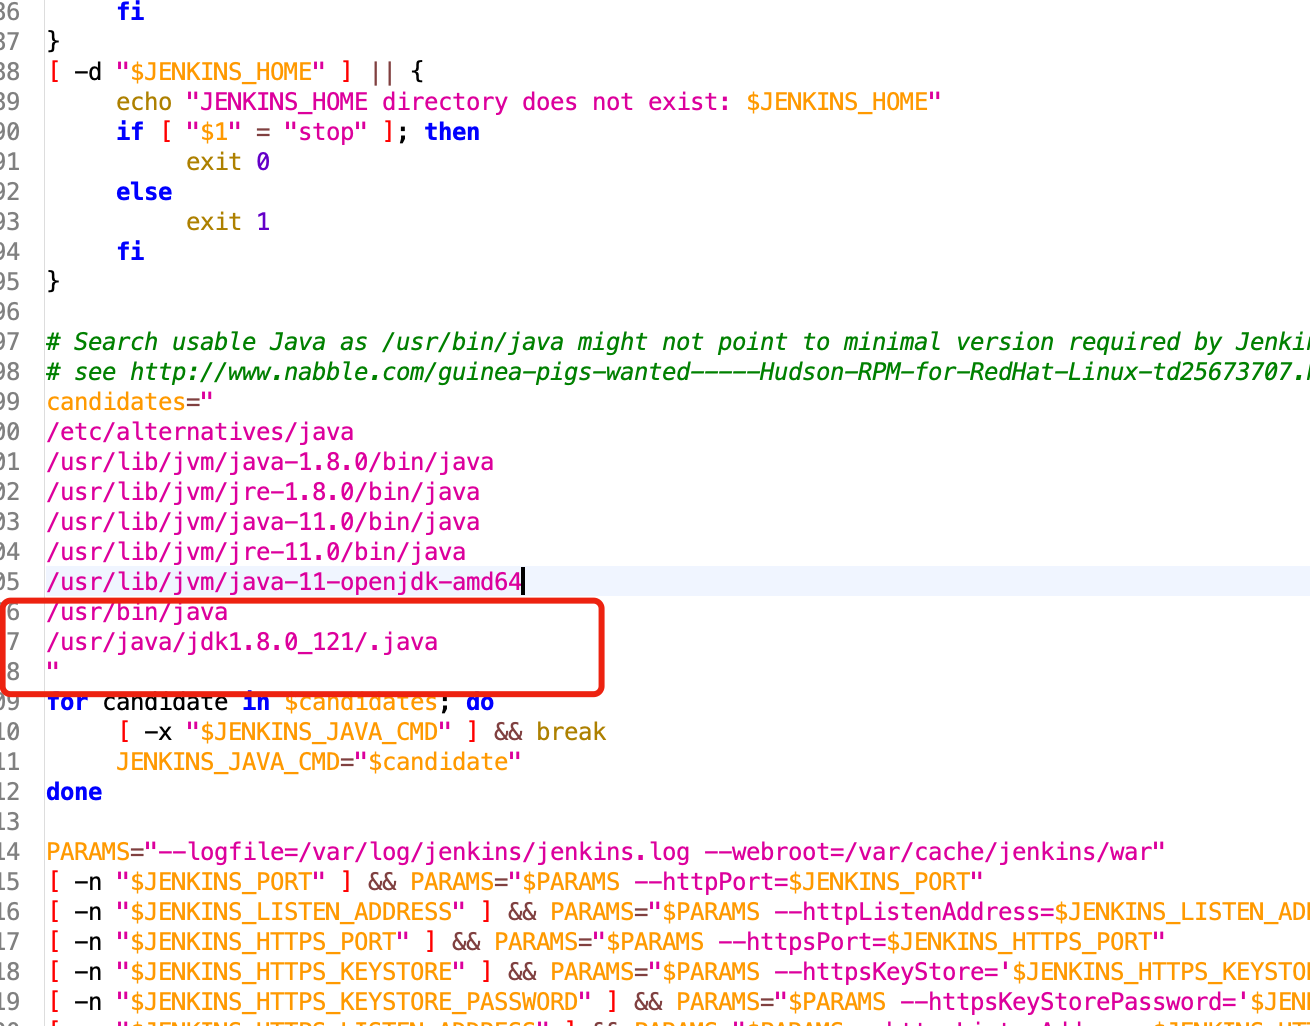
进入/etc/rc.d/init.d/jenkins文件,把java的环境变量添加进去
[root@VM-0-6-centos yum.repos.d]# vim /etc/rc.d/init.d/jenkins

重新加载配置文件,使之生效
[root@VM-0-6-centos yum.repos.d]# systemctl daemon-reload
Jenkins启动
[root@VM-0-6-centos yum.repos.d]# systemctl start jenkins
添加8081端口安全组,打开浏览器,输入地址:端口,第一次启动,需要等一会儿。

初次登录使用秘钥
[root@Jenkins ~]# cat /usr/local/jenkins_home/secrets/initialAdminPassword
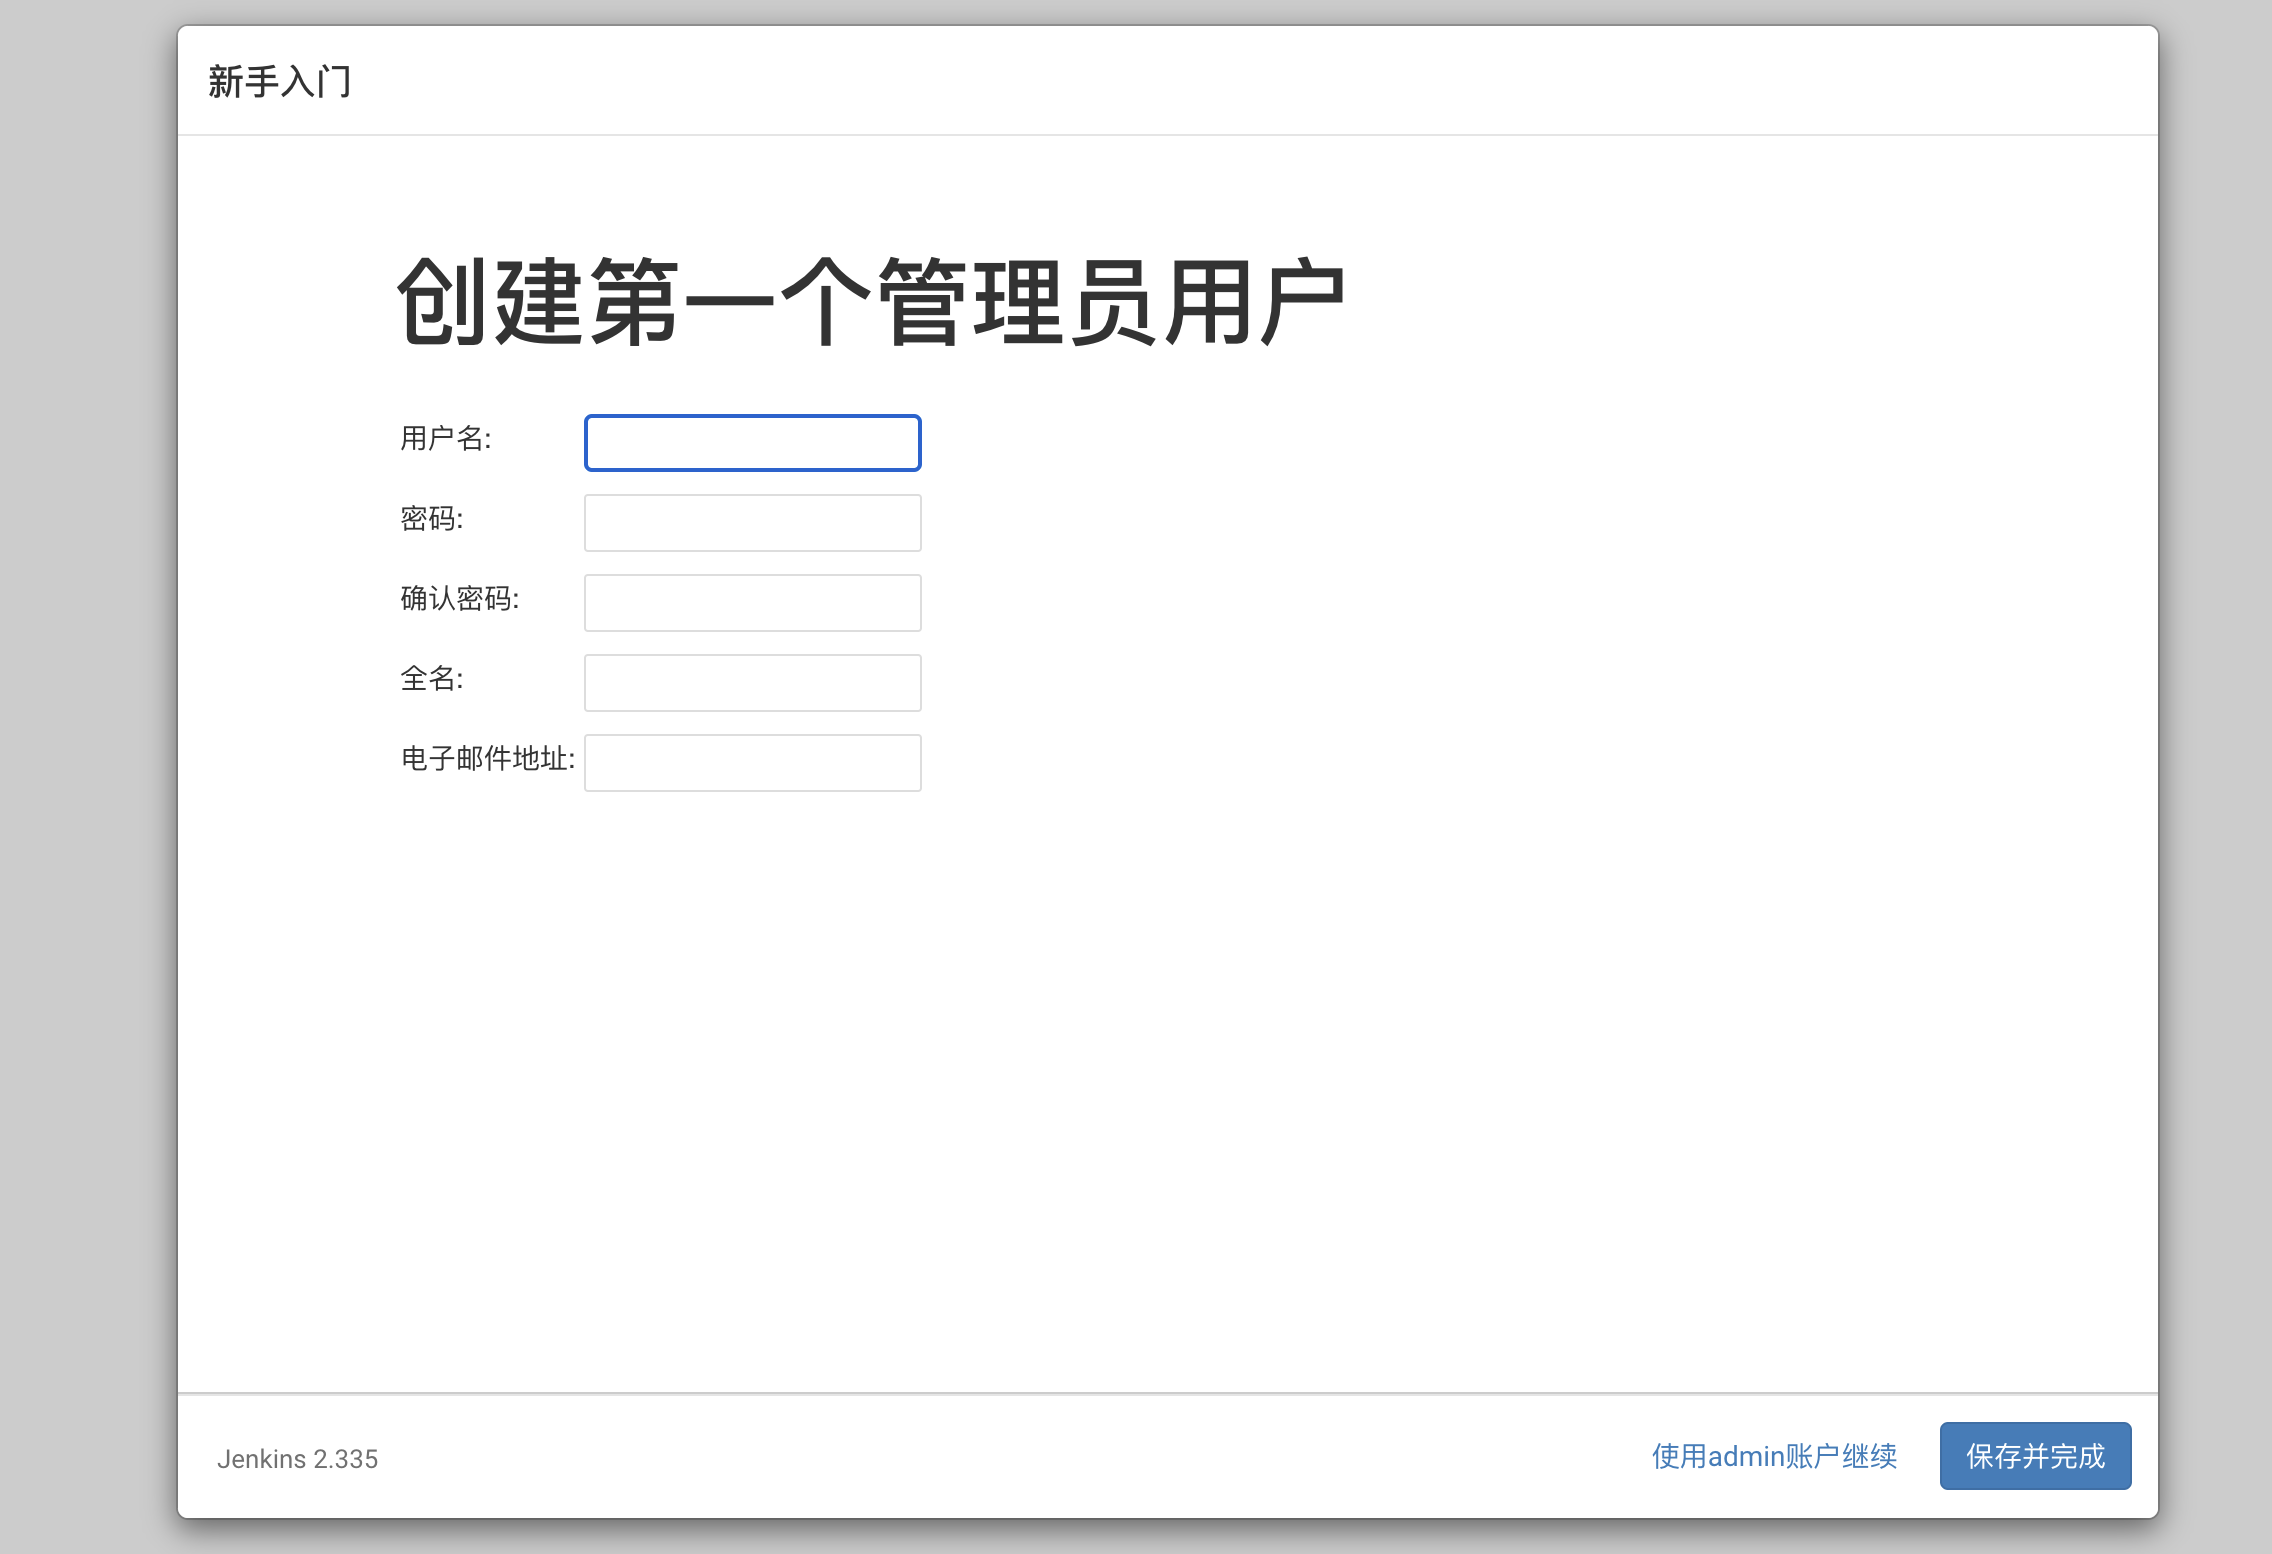
创建用户

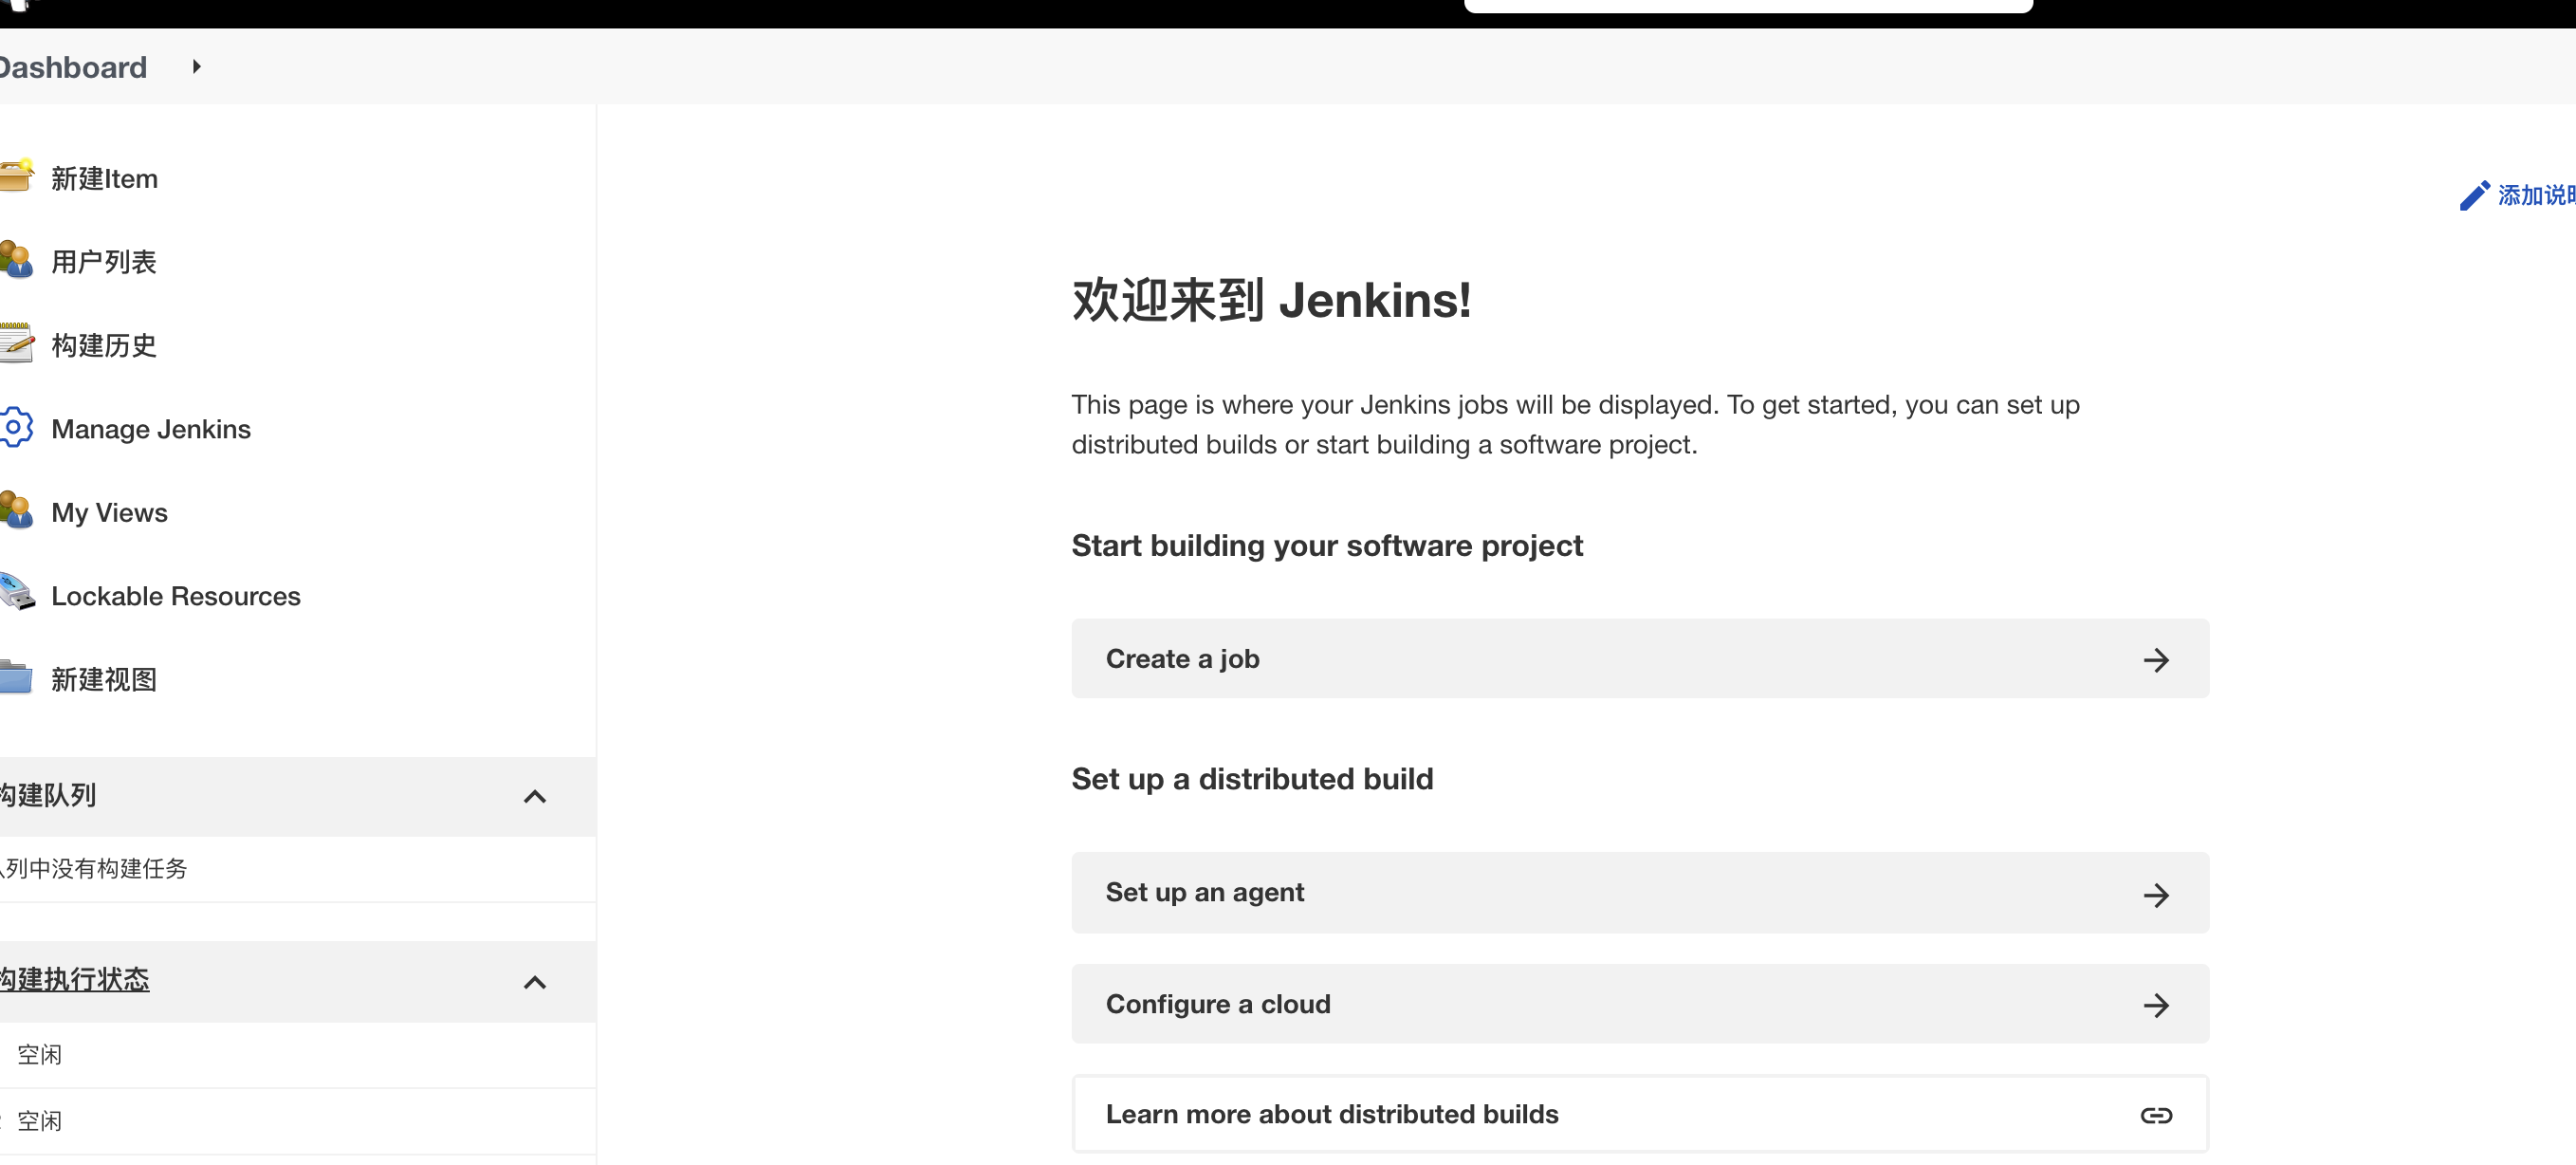
开始创建项目

最后
以上就是悦耳未来最近收集整理的关于yum安装Jenkins的全部内容,更多相关yum安装Jenkins内容请搜索靠谱客的其他文章。
本图文内容来源于网友提供,作为学习参考使用,或来自网络收集整理,版权属于原作者所有。


发表评论 取消回复