1 安装
下载链接:清华镜像

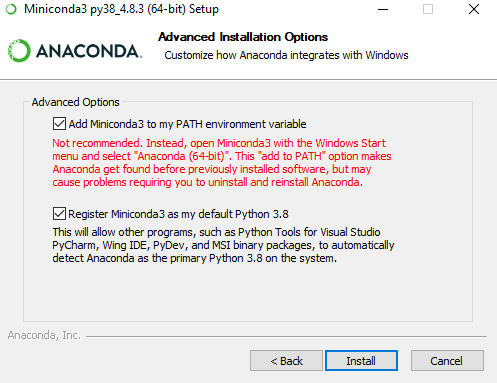
安装遇到这个,直接勾选上,加入系统环境变量
2 PowerShell 初始化
执行完命令后重启powershell即可
conda init powershell3 更换为国内下载源
使用清华的conda源对conda的下载源进行修改,提升下载速度。
打开经过上一步初始化完成的PowerShell,输入
conda config --set show_channel_urls yes
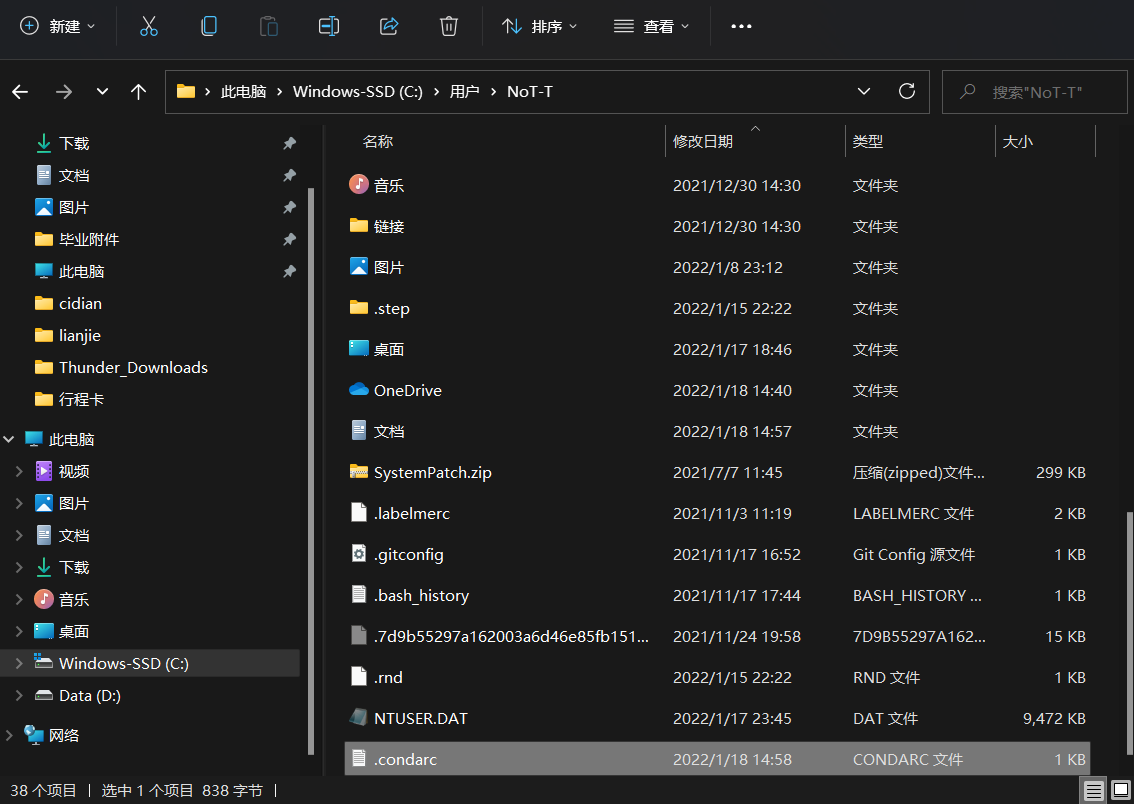
会在C盘的用户目录下生成一个.condarc文件
使用文本编辑软件打开这个文件,将其中的内容替换为
channels:
  - defaults
show_channel_urls: true
channel_alias: https://mirrors.tuna.tsinghua.edu.cn/anaconda
default_channels:
  - https://mirrors.tuna.tsinghua.edu.cn/anaconda/pkgs/main
  - https://mirrors.tuna.tsinghua.edu.cn/anaconda/pkgs/free
  - https://mirrors.tuna.tsinghua.edu.cn/anaconda/pkgs/r
  - https://mirrors.tuna.tsinghua.edu.cn/anaconda/pkgs/pro
  - https://mirrors.tuna.tsinghua.edu.cn/anaconda/pkgs/msys2
custom_channels:
  conda-forge: https://mirrors.tuna.tsinghua.edu.cn/anaconda/cloud
  msys2: https://mirrors.tuna.tsinghua.edu.cn/anaconda/cloud
  bioconda: https://mirrors.tuna.tsinghua.edu.cn/anaconda/cloud
  menpo: https://mirrors.tuna.tsinghua.edu.cn/anaconda/cloud
  pytorch: https://mirrors.tuna.tsinghua.edu.cn/anaconda/cloud
  simpleitk: https://mirrors.tuna.tsinghua.edu.cn/anaconda/cloud
然后保存。
在PowerShell中输入
conda clean -i
清除索引缓存,就可以使用了。
最后
以上就是发嗲未来最近收集整理的关于Win11安装Miniconda 配置 powershell的全部内容,更多相关Win11安装Miniconda内容请搜索靠谱客的其他文章。
本图文内容来源于网友提供,作为学习参考使用,或来自网络收集整理,版权属于原作者所有。


发表评论 取消回复