原由
UI妹子那个IOS的手机,说要我做这个效果,一乍看,以为是设置透明度,做出来说需要的是毛玻璃效果,百度才知道。。。
资料
自从iOS系统引入了Blur效果,也就是所谓的毛玻璃、模糊化效果,磨砂效果,各大系统就开始竞相模仿
效果如图

效果我们知道了,如何在Android中实现呢,说白了就是对图片进行模糊化处理,这个对于我来说有点复杂,参阅:Android高级模糊技术
第三方–500px-android-blur
GitHub地址
1.导gradle
Define via Gradle:
repositories {
maven { url 'https://github.com/500px/500px-android-blur/raw/master/releases/' }
}
dependencies {
compile 'com.fivehundredpx:blurringview:1.0.0'
}
在我的项目中gradle报错了(我的AS使用的)

网上说是由于资源重复了,我的解决是修改了 minSdkVersion 和targetSdkVersion版本
项目中的
minSdkVersion 14
targetSdkVersion 21
改成如下的就解决了
minSdkVersion 15
targetSdkVersion 23
2.使用
xml:
<?xml version="1.0" encoding="utf-8"?>
<RelativeLayout xmlns:android="http://schemas.android.com/apk/res/android"
xmlns:app="http://schemas.android.com/apk/res-auto"
xmlns:tools="http://schemas.android.com/tools"
android:layout_width="match_parent"
android:layout_height="match_parent"
tools:context="com.zy.zengdemo.maoboli.MaoActivity">
<ScrollView

android:id="@+id/scroll_view"
android:layout_width="match_parent"
android:layout_height="match_parent">
<LinearLayout

android:id="@+id/layout"
android:layout_width="match_parent"
android:layout_height="wrap_content"
android:orientation="vertical">
<TextView

android:layout_width="match_parent"
android:layout_height="200dp" />
<ImageView

android:layout_width="wrap_content"
android:layout_height="wrap_content"
android:src="@mipmap/image_maoboli" />
<TextView

android:layout_width="match_parent"
android:layout_height="300dp" />
</LinearLayout>
</ScrollView>
<!-- Here, we customize the blurring view with values different from the defaults. -->
<com.fivehundredpx.android.blur.BlurringView

android:id="@+id/blurring_view"
android:layout_width="300dp"
android:layout_height="300dp"
android:layout_centerHorizontal="true"
android:layout_centerVertical="true"
app:blurRadius="20"
app:downsampleFactor="6"
app:overlayColor="#99FFFFFF" />
</RelativeLayout>
activity
public class MaoActivity extends AppCompatActivity {
BlurringView blurringView;
@Override
protected void onCreate(Bundle savedInstanceState) {
super.onCreate(savedInstanceState);
setContentView(R.layout.activity_mao);
initView();
}
private void initView() {
View view = findViewById(R.id.layout);
//BlurringView控件
blurringView = (BlurringView) findViewById(R.id.blurring_view);
//需要模糊的view
blurringView.setBlurredView(view);
}
到这个地方运行有报错,错误如下:
android.view.InflateException: Binary XML file line #39: Error inflating class com.fivehundredpx.android.blur.BlurringView
Caused by: android.view.InflateException: Binary XML file line #39: Error inflating class com.fivehundredpx.android.blur.BlurringView
Caused by: java.lang.reflect.InvocationTargetException
Caused by: java.lang.NoClassDefFoundError: android.support.v8.renderscript.RenderScript
连续引起的看最后,用到了android.support.v8.renderscript.RenderScript没有导入这个包

这里用23一下的(不包括23),不然又会报错,23在包里加了东西(可能资源冲突了)
运行继续报错和上面类似,但最后一句不同
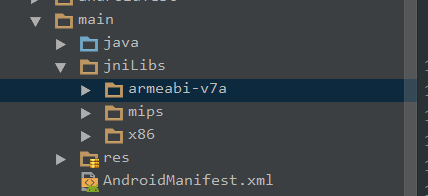
Caused by: android.support.v8.renderscript.RSRuntimeException: Error loading RS jni library: java.lang.UnsatisfiedLinkError: unknown failure这是由于没有so文件,jar包的地方有so文件


到这里就成功了
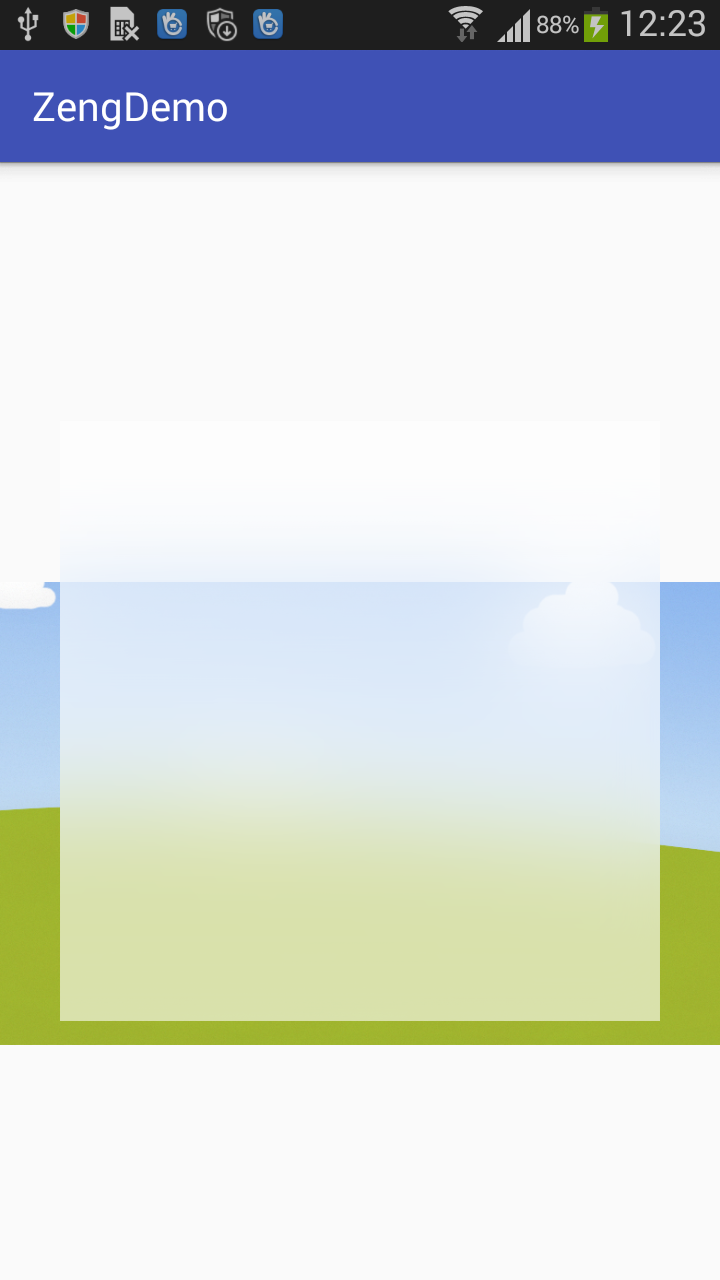
效果图:
后话
效果出来也不是特别明显,可能是参数设置的原因。而且最后项目中也没有使用,UI妹子说不好看。。。。。。
最后
以上就是留胡子含羞草最近收集整理的关于Android毛玻璃效果实现的全部内容,更多相关Android毛玻璃效果实现内容请搜索靠谱客的其他文章。
本图文内容来源于网友提供,作为学习参考使用,或来自网络收集整理,版权属于原作者所有。


发表评论 取消回复