目录
前言
1 常用LayoutManager
1.1 LinearLayoutManager
1.2 GridLayoutManager
1.3 StaggeredGridLayoutManager
1.4 FlexboxLayoutManager
2 自定义LayoutManager
2.1 创建自定义LayoutManager类
2.2 绘制RecyclerView子View
2.3 添加滑动功能
2.4 实现横向循环滑动的LayoutManager
2.5 缺陷
2.6 完善
2.6.1 绘制数量限制
2.6.2 回收子View
2.6.3 最终效果
3. 总结
前言
文章属于学习总结 ,如有错漏之处,敬请指正。
同系列文章
Android控件RecyclerView(一)——大家都知道的RecyclerView
Android控件RecyclerView(三)——ItemDecoration的使用与自定义
1 常用LayoutManager
LayoutManager是RecyclerView中子Item的布局管理器,可控制Item的位置,回收,显示,大小,滚动等等。下面简单介绍几个LayoutManager。
虽然前文写有Adapter以及模拟数据的设置,但还是把Item布局和Adapter贴出来。
Item布局
<?xml version="1.0" encoding="utf-8"?>
<android.support.constraint.ConstraintLayout xmlns:android="http://schemas.android.com/apk/res/android"
    xmlns:app="http://schemas.android.com/apk/res-auto"
    xmlns:tools="http://schemas.android.com/tools"
    android:layout_width="match_parent"
    android:layout_height="wrap_content">

    <ImageView
        android:id="@+id/imageView"
        android:layout_width="0dp"
        android:layout_height="0dp"
        android:scaleType="fitXY"
        app:layout_constraintDimensionRatio="3:2"
        app:layout_constraintEnd_toEndOf="parent"
        app:layout_constraintStart_toStartOf="parent"
        app:layout_constraintTop_toTopOf="parent" />

    <TextView
        android:id="@+id/textView"
        android:layout_width="match_parent"
        android:layout_height="wrap_content"
        android:layout_marginTop="8dp"
        android:layout_marginBottom="8dp"
        android:gravity="center"
        android:textSize="15sp"
        app:layout_constraintBottom_toBottomOf="parent"
        app:layout_constraintEnd_toEndOf="parent"
        app:layout_constraintStart_toStartOf="parent"
        app:layout_constraintTop_toBottomOf="@+id/imageView"
        tools:text="android" />
</android.support.constraint.ConstraintLayout>
Adapter
import android.support.v7.widget.RecyclerView
import android.view.LayoutInflater
import android.view.View
import android.view.ViewGroup
import cn.xhuww.recyclerview.R
import kotlinx.android.synthetic.main.recycle_item_image_text_vertical.view.*

class ImageTextAdapter : RecyclerView.Adapter<ImageTextAdapter.ViewHolder>() {
    var items: List<String> = ArrayList()
        set(value) {
            field = value
            notifyDataSetChanged()
        }

    override fun onCreateViewHolder(parent: ViewGroup, viewType: Int): ViewHolder {
        val view = LayoutInflater.from(parent.context)
                .inflate(R.layout.recycle_item_image_text_vertical, parent, false)
        return ViewHolder(view)
    }

    override fun getItemCount(): Int = items.size

    override fun onBindViewHolder(holder: ViewHolder, position: Int) {
        holder.bindView(items[position])
    }

    inner class ViewHolder(itemView: View) : RecyclerView.ViewHolder(itemView) {
        fun bindView(content: String) {
            itemView.imageView.setImageResource(R.mipmap.image)
            itemView.textView.text = content
        }
    }
}
1.1 LinearLayoutManager
LinearLayoutManager为RecyclerView提供了与ListView类似的功能,单列展示,它有三个构造方法,
LinearLayoutManager(Context context)
LinearLayoutManager(Context context, int orientation, boolean reverseLayout)
LinearLayoutManager(Context context, AttributeSet attrs, int defStyleAttr, int defStyleRes)
第一个构造方法:默认创建一个 vertical(竖向) 的 LinearLayoutManager
第二个构造方法:可选LinearLayoutManager方向,以及是否反转布局位置
第三个构造方法:用于在XML中设置 layoutManager属性
例子如下:
<android.support.v7.widget.RecyclerView
    android:id="@+id/recyclerView"
    android:layout_width="match_parent"
    android:layout_height="match_parent"
    app:layoutManager="android.support.v7.widget.LinearLayoutManager" />
下列构造方法对于的效果图分别对应 图 1、2、3
LinearLayoutManager(this)
LinearLayoutManager(this, LinearLayoutManager.VERTICAL, true)
LinearLayoutManager(this, LinearLayoutManager.HORIZONTAL, false)

图一与图二区别为,数据显示位置反转,图三与图一二的区别为,列表展示与滑动方向不同。
1.2 GridLayoutManager
GridLayoutManager为RecyclerView提供了与GridView类似的功能,网格展示,它有与LinearLayoutManager类似,也有三个构造方法。
GridLayoutManager(Context context, int spanCount)
GridLayoutManager(Context context, int spanCount, int orientation, boolean reverseLayout)
GridLayoutManager(Context context, AttributeSet attrs, int defStyleAttr, int defStyleRes)
第一个构造方法:默认创建一个 vertical(竖向) 的 GridLayoutManager,spanCount为网格列数
第二个构造方法:可选GridLayoutManager方向,以及是否反转布局位置
第三个构造方法:用于在XML中设置 layoutManager属性
下列构造方法对于的效果图分别对应 图 1、2、3
GridLayoutManager(this, 3)
GridLayoutManager(this, 3, GridLayoutManager.VERTICAL, true)
GridLayoutManager(this, 2, GridLayoutManager.HORIZONTAL, false) 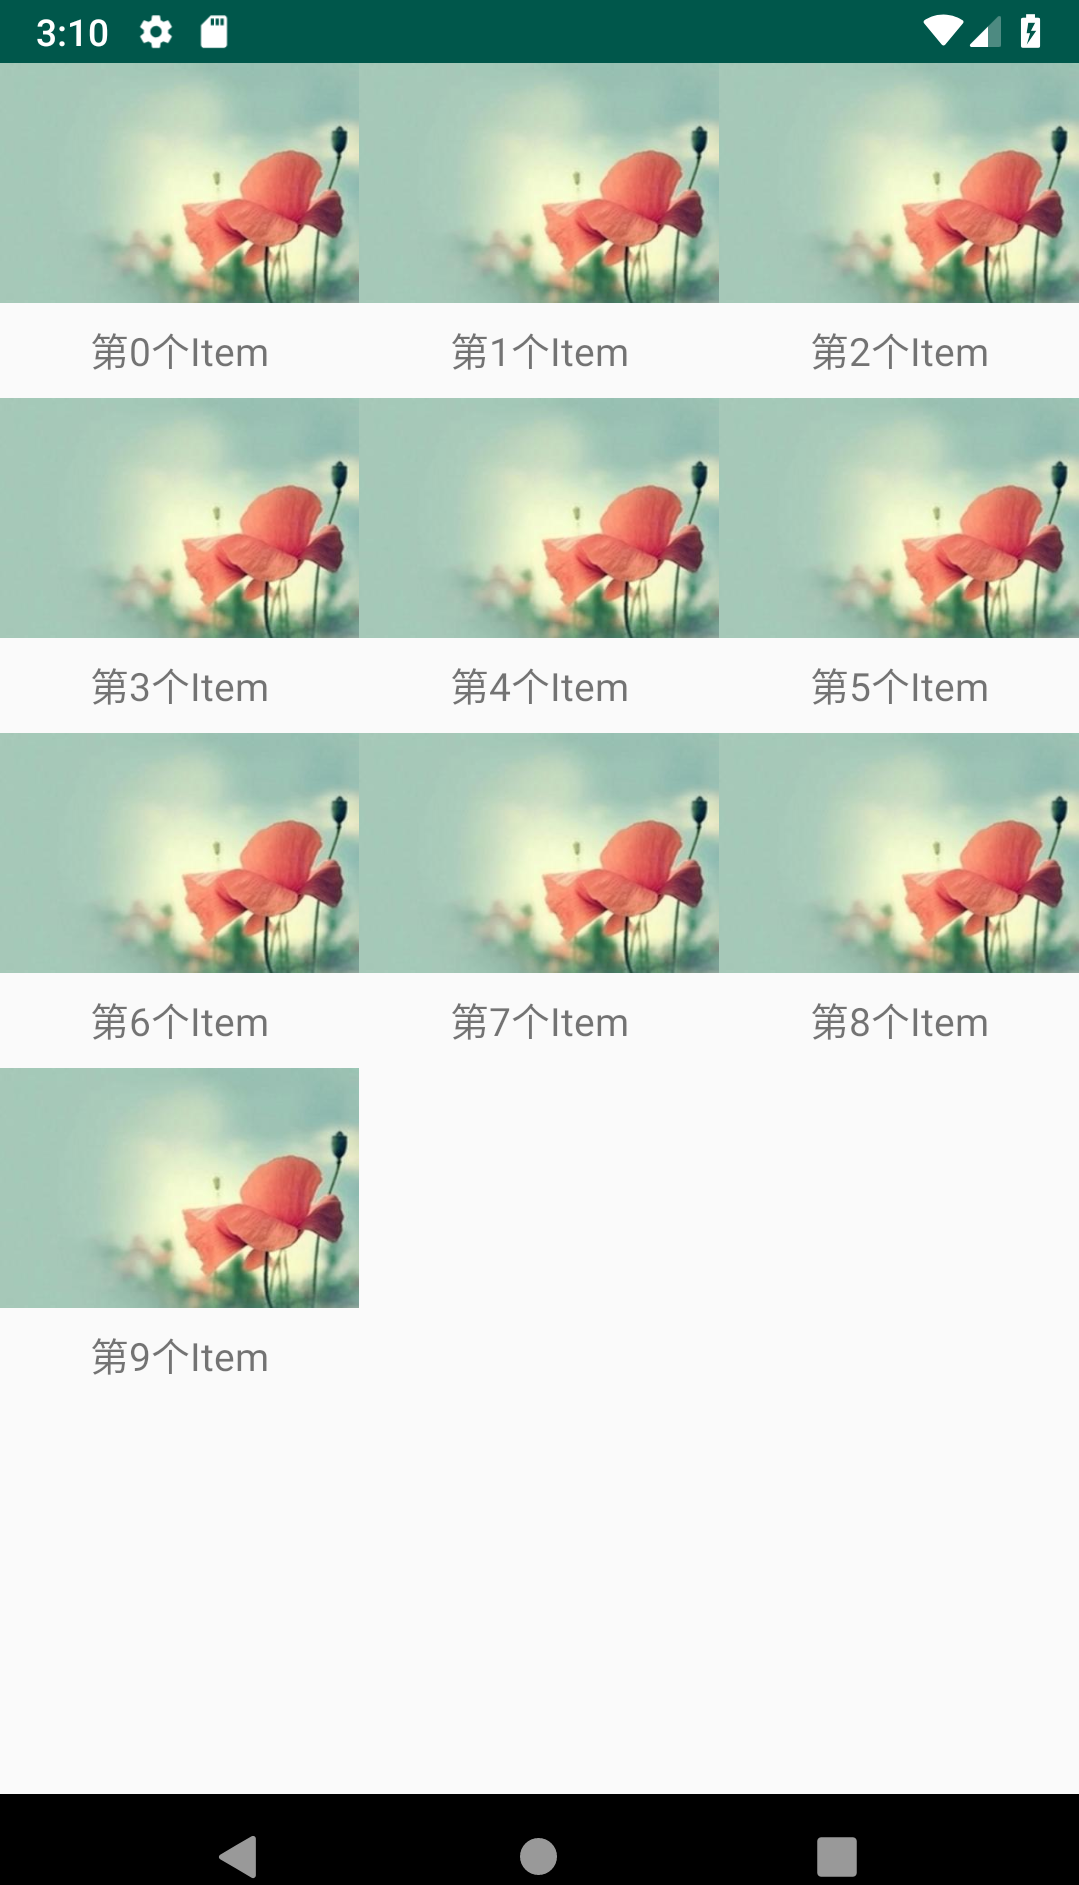
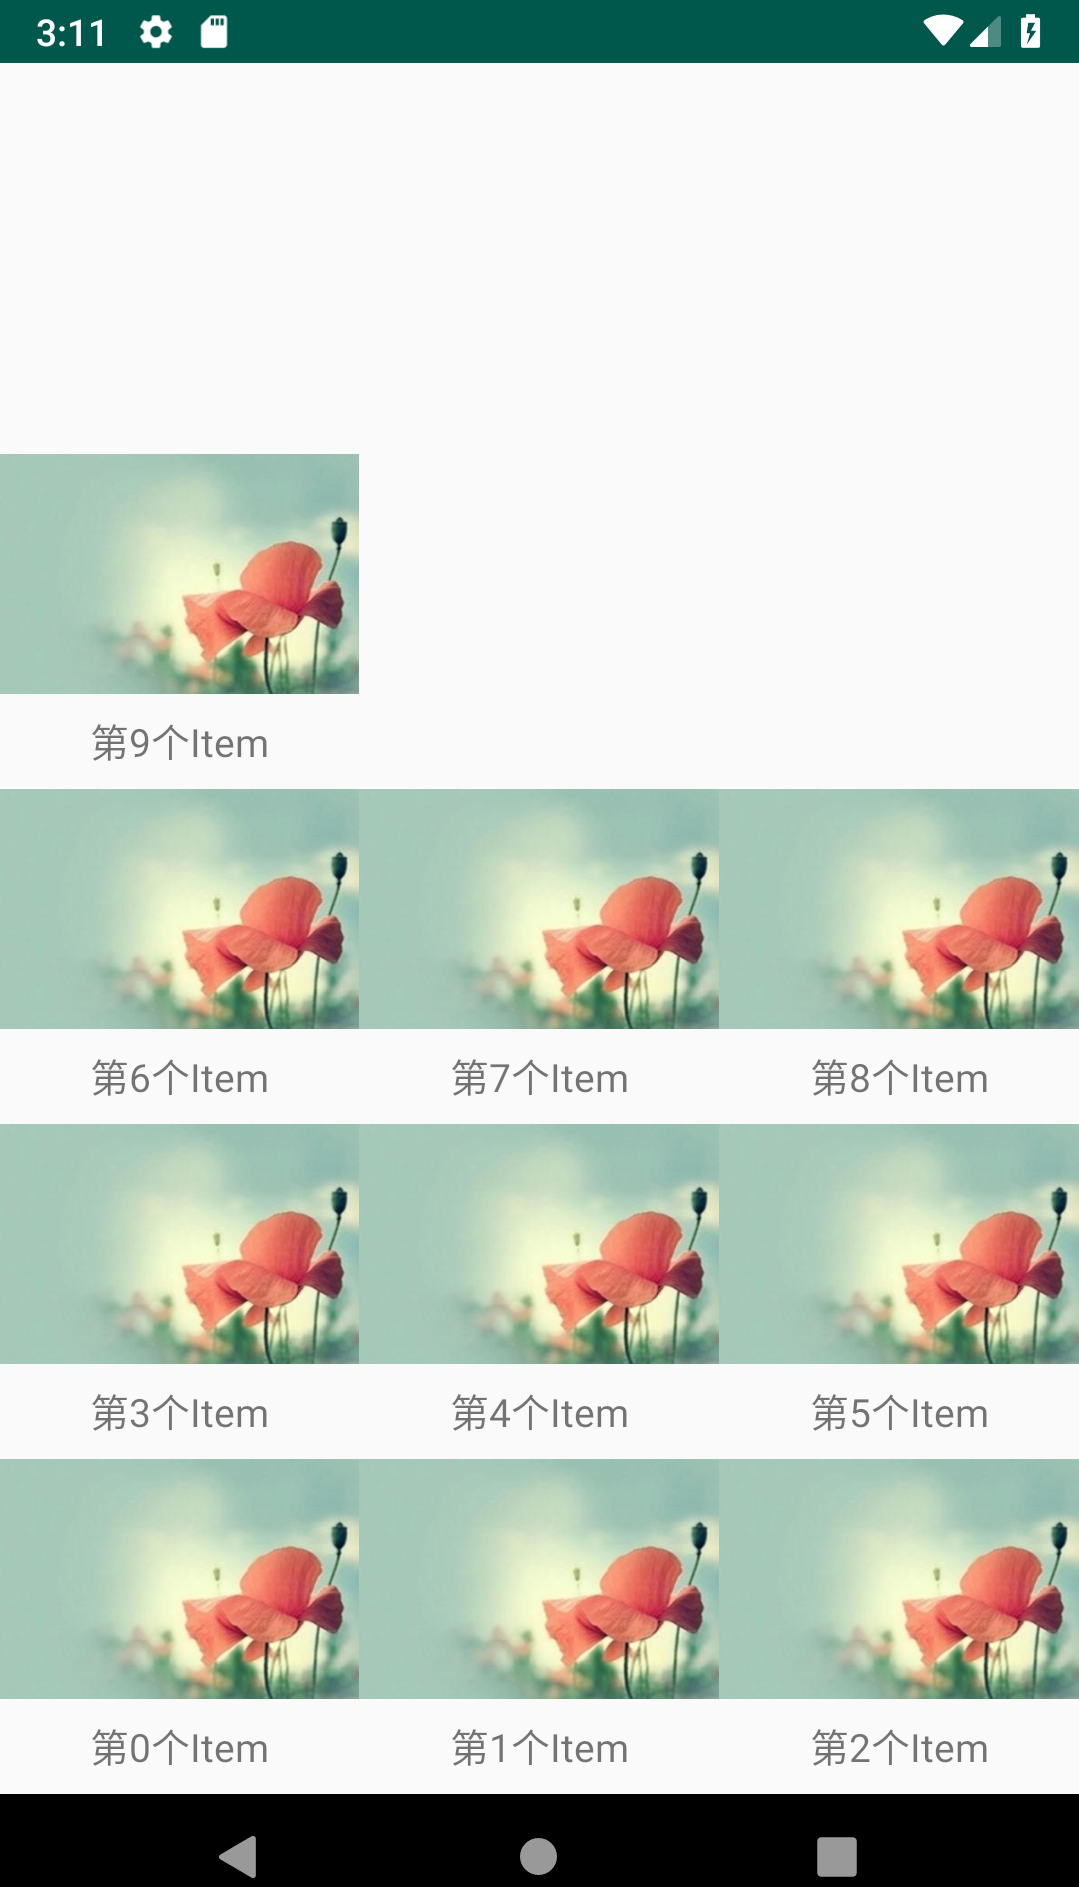

第三个因为手机屏幕显示3个显示不完整,就改为了显示两个,横向滑动。
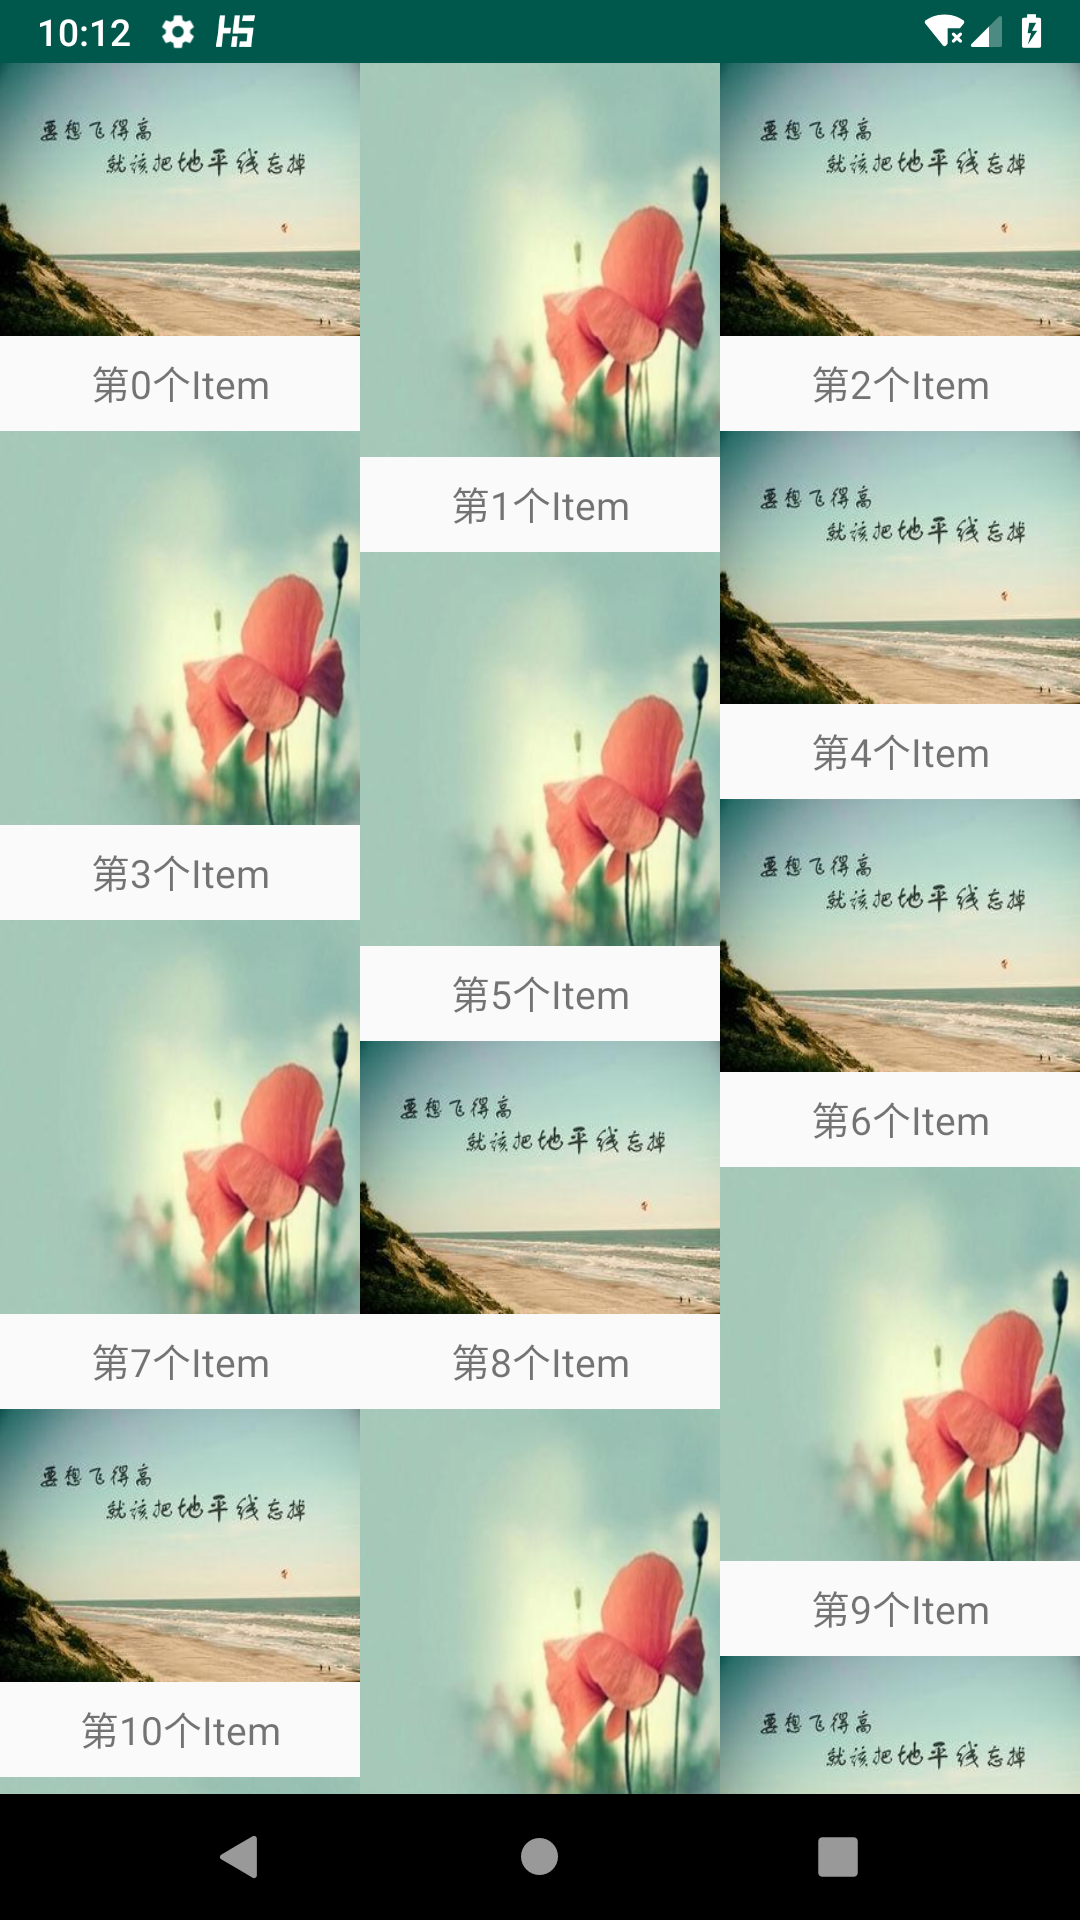
1.3 StaggeredGridLayoutManager
StaggeredGridLayoutManager交错的网格布局,如果子View宽高一致,那效果就和GridLayoutManager一样,如果子View宽高不一致,就可以实现瀑布流效果。
该类有两个构造方法,第二个是针对xml设置layoutManager属性的。
StaggeredGridLayoutManager(int spanCount, int orientation)
StaggeredGridLayoutManager(Context context, AttributeSet attrs, int defStyleAttr, int defStyleRes)
修改一下Item布局的图片宽高,去掉纵横比
    <ImageView
        android:id="@+id/imageView"
        android:layout_width="wrap_content"
        android:layout_height="wrap_content"
        android:scaleType="fitXY"
        app:layout_constraintEnd_toEndOf="parent"
        app:layout_constraintStart_toStartOf="parent"
        app:layout_constraintTop_toTopOf="parent" />
然后Adapter中改变一下显示图片
    inner class ViewHolder(itemView: View) : RecyclerView.ViewHolder(itemView) {
        fun bindView(content: String, position: Int) {
            if (position % 2 == 0) {
                itemView.imageView.setImageResource(R.mipmap.image_positive)
            } else {
                itemView.imageView.setImageResource(R.mipmap.image)
            }
            itemView.textView.text = content
        }
    }
设置竖向的StaggeredGridLayoutManager
    val imageTextAdapter = ImageTextAdapter().apply {
        //创建含20个字符串的集合 其中 R.string.item_position == 第%1$d个Item
        items = (0..20).map { resources.getString(R.string.item_position, it) }
    }

    val staggeredGridLayoutManager =
        StaggeredGridLayoutManager(3, StaggeredGridLayoutManager.VERTICAL)

    recyclerView.apply {
        layoutManager = staggeredGridLayoutManager
        adapter = imageTextAdapter
    }
查看效果
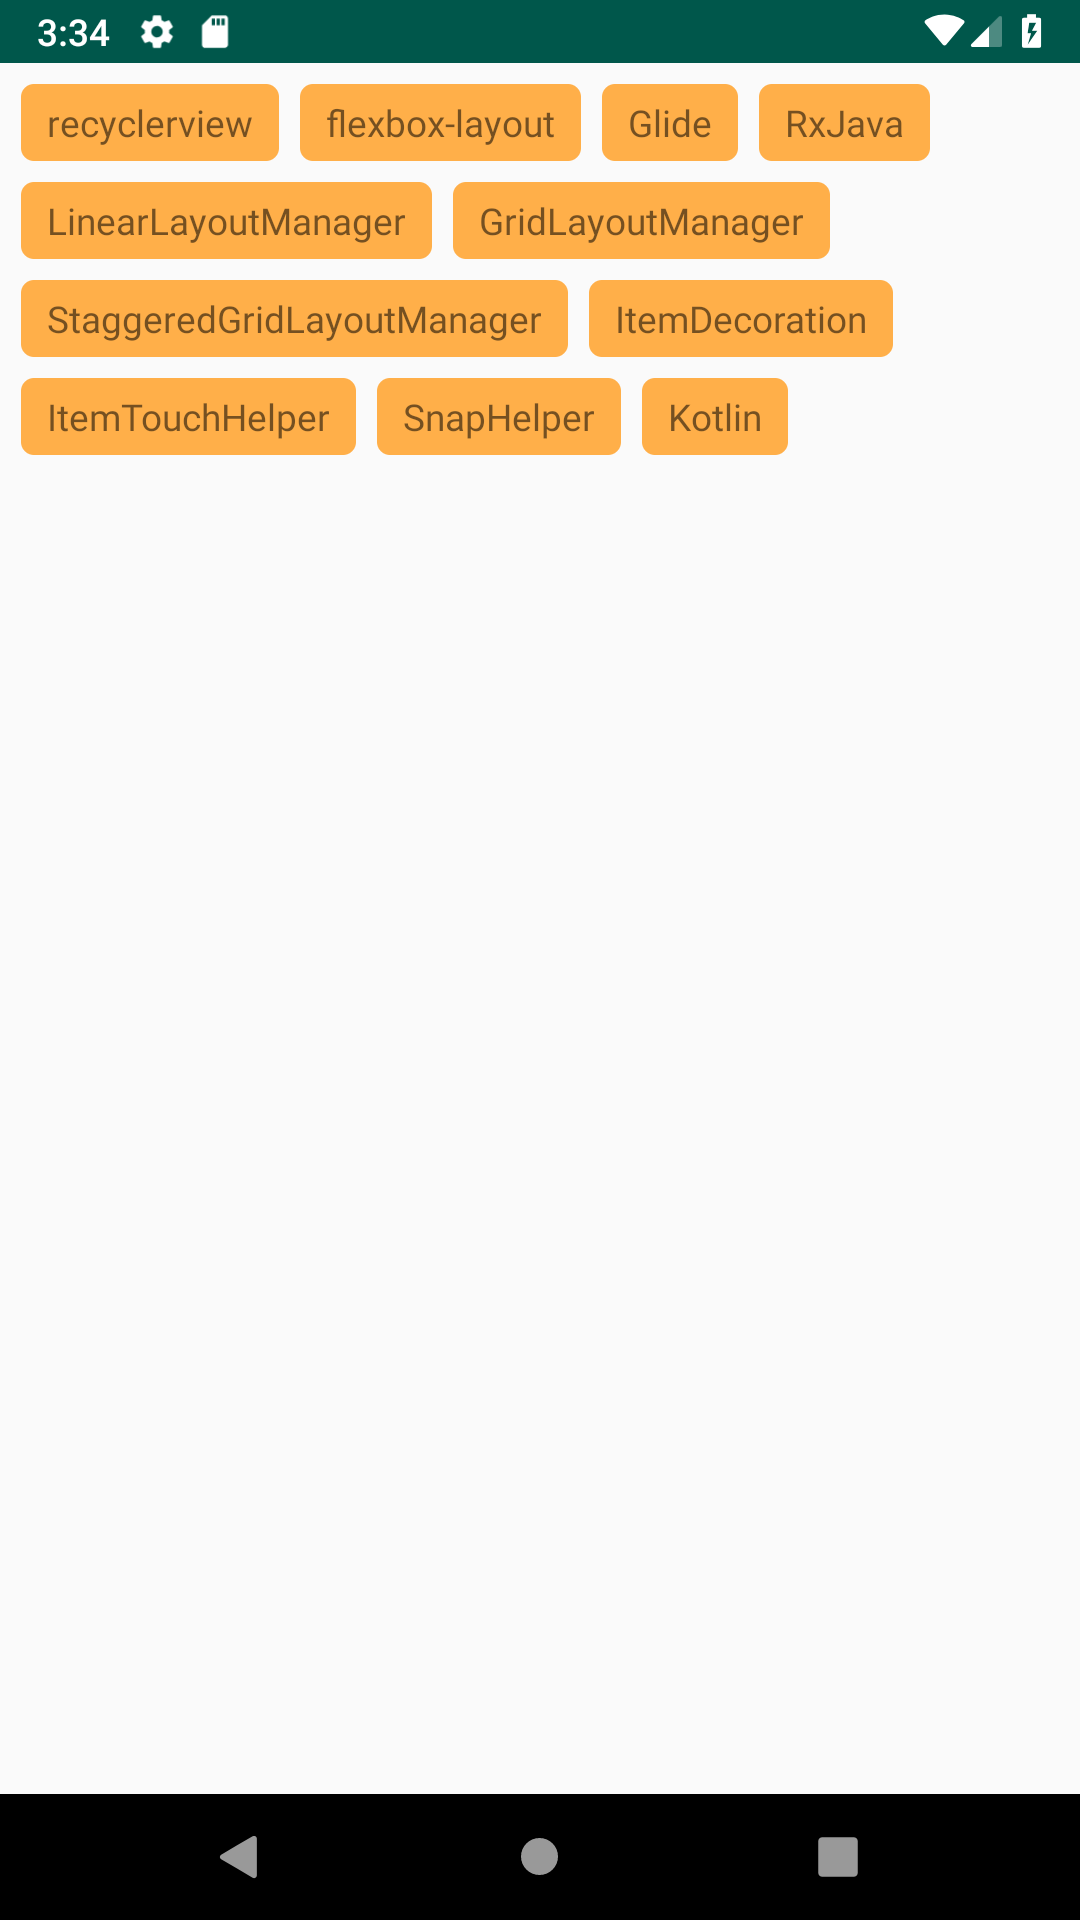
1.4 FlexboxLayoutManager
FlexboxLayoutManager 来自于Google出品的流式布局 flexbox-layout 支持RecyclerView,毕竟是Google出品,而且很常用,就把他也列举了出来。
地址:https://github.com/google/flexbox-layout
依赖:
implementation 'com.google.android:flexbox:1.0.0'针对于FlexboxLayoutManager 这个类,使用方式与LinearLayoutManager类似,至于FlexBox的其他属性可查看官方文档
recyclerView.layoutManager = FlexboxLayoutManager(this)通过RecyclerView,然后设置 FlexboxLayoutManager之后的效果图
2 自定义LayoutManager
为什么要自定义LayoutManager呢?因为通过自定义LayoutManager可以实现很多炫酷的功能,也能让我们更清晰的了解RecyclerView。
当然现在我还实现不了比较炫酷的功能,下面简单的实现一个可无限循环横向滑动的LayoutManager,为通过RecyclerViewl来实现无限滑动的Banner做准备。
2.1 创建自定义LayoutManager类
创建HorizontalLayoutManager 继承于LayoutManager,必须重写方法generateDefaultLayoutParams(),默认返回RecyclerView.LayoutParams。
class HorizontalLayoutManager : RecyclerView.LayoutManager() {
    override fun generateDefaultLayoutParams(): RecyclerView.LayoutParams {
        return RecyclerView.LayoutParams(
            ViewGroup.LayoutParams.WRAP_CONTENT, ViewGroup.LayoutParams.WRAP_CONTENT
        )
    }
}
然后替换RecyclerView的LayoutManager
recyclerView.layoutManager = HorizontalLayoutManager()运行后,会界面一片空白,因为RecyclerView的子View是在其LayoutManager中绘制的,我们并未写对应的代码。
2.2 绘制RecyclerView子View
绘制方法命名肯定离不开onLayout这个单词,在LayoutManager中可以重写onLayoutChildren方法绘制子View。
    override fun onLayoutChildren(recycler: RecyclerView.Recycler, state: RecyclerView.State) {
        //分离并且回收当前附加的所有View
        detachAndScrapAttachedViews(recycler)

        if (itemCount == 0) {
            return
        }
        //横向绘制子View,则需要知道 X轴的偏移量
        var offsetX = 0

        //绘制并添加view
        for (i in 0 until itemCount) {
            val view = recycler.getViewForPosition(i)
            addView(view)

            measureChildWithMargins(view, 0, 0)
            val viewWidth = getDecoratedMeasuredWidth(view)
            val viewHeight = getDecoratedMeasuredHeight(view)
            layoutDecorated(view, offsetX, 0, offsetX + viewWidth, viewHeight)
            offsetX += viewWidth
        }
    }
因为是横向列表,所以先把Item布局文件修改i一下,宽度改为固定值160dp,然后使用HorizontalLayoutManager看效果
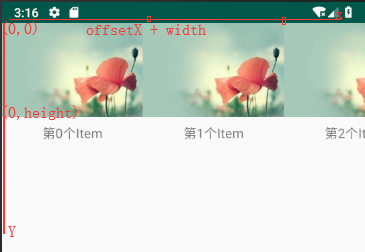
图中的批注解释了绘制原理,通过循环以及累加x轴偏移量,横向绘制完所有子View。
layoutDecorated(view, offsetX, 0, offsetX + viewWidth, viewHeight)
offsetX += viewWidth
此时子View已绘制完成,但还无法滑动,所以需要添加滑动代码。
2.3 添加滑动功能
因为要实现的是横向滑动功能,所以只重写横向滑动的对应方法,与之对应的还有竖向的方法
    //是否可横向滑动
    override fun canScrollHorizontally(): Boolean {
        return true
    }

    override fun scrollHorizontallyBy(
        dx: Int, recycler: RecyclerView.Recycler, state: RecyclerView.State
    ): Int {
        //日志显示,左滑dx值为正数,右滑dx值为负数
        Log.i("TAG", "----------dx:$dx")
        /**
         * 横向移动所有子View
         * 为什么要 * -1 ? 屏幕xy轴原点在左上角,左移则需要View的坐标 x - offset  右移则需要 x + offset
         * 所以需要 dx * -1
         */
        offsetChildrenHorizontal(dx * -1)
        return dx
    }
此时的效果

横向滑动实现了,显示完所有子View后在滑动就是空白了,正常情况下还需要判断是否滑到头、尾了,但我需要实现的是无限循环横向滑动,所以只需往右滑滑倒第0个时然后往左边绘制并添加最后一个子View,往左滑滑到最后一个时,在右边在添加第0个子View。实现无限循环滑动。
2.4 实现横向循环滑动的LayoutManager
既然在滑动时还需要绘制,那么就需要单独写一个绘制方法 fill()。
   //为什么大多文章都定义方法名为fill? 我想是因为Android提供的3个LayoutManager都用的此方法名吧
    private fun fill(dx: Int, recycler: RecyclerView.Recycler) {
        //左滑
        if (dx > 0) {
            //得到当前已添加(可见)的最后一个子View
            val lastVisibleView = getChildAt(childCount - 1) ?: return
            //得到View对应的位置
            val layoutPosition = getPosition(lastVisibleView)
            /**
             * 例如要显示20个View,当前可见的最后一个View就是第20个,那么下一个要显示的就是第一个
             * 如果当前显示的View不是第20个,那么就显示下一个,如当前显示的是第15个View,那么下一个显示第16个
             * 注意区分 childCount 与 itemCount
             */
            val nextView: View = if (layoutPosition == itemCount - 1) {
                recycler.getViewForPosition(0)
            } else {
                recycler.getViewForPosition(layoutPosition + 1)
            }

            addView(nextView)
            measureChildWithMargins(nextView, 0, 0)
            val viewWidth = getDecoratedMeasuredWidth(nextView)
            val viewHeight = getDecoratedMeasuredHeight(nextView)
            val offsetX = lastVisibleView.right
            layoutDecorated(nextView, offsetX, 0, offsetX + viewWidth, viewHeight)
        } else { //右滑
            val firstVisibleView = getChildAt(0) ?: return
            val layoutPosition = getPosition(firstVisibleView)
            /**
             * 如果当前第一个可见View为第0个,则左侧显示第20个View 如果不是,下一个就显示前一个
             */
            val nextView = if (layoutPosition == 0) {
                recycler.getViewForPosition(itemCount - 1)
            } else {
                recycler.getViewForPosition(layoutPosition - 1)
            }

            addView(nextView, 0)
            measureChildWithMargins(nextView, 0, 0)
            val viewWidth = getDecoratedMeasuredWidth(nextView)
            val viewHeight = getDecoratedMeasuredHeight(nextView)
            val offsetX = firstVisibleView.left
            layoutDecorated(nextView, offsetX - viewWidth, 0, offsetX, viewHeight)
        }
    }
然后在scrollHorizontallyBy中调用即可,实现滑动中继续绘制,查看此时的效果,实现了横向无限循环滑动的效果
2.5 缺陷
我们都知道使用RecyclerView,并不需要在额外做布局复用缓存处理,因为RecyclerView已经帮我们做好了,那是不是使用自定义的LayoutManager也具有复用与回收功能呢?
Adapter中添加Log,查看创建的View数量,然后分别使用LinearLayoutManager和刚自定义的 HorizontalLayoutManager
    private var createViewCount = 0

    override fun onCreateViewHolder(parent: ViewGroup, viewType: Int): ViewHolder {
        ...
        Log.i("TAG", "-------------createViewCount:${++createViewCount}")
        ...
    }
分别查看日志:
LinearLayoutManager
HorizontalLayoutManager

可以发现 LinearLayoutManager 初次只创建了3个View,而且不管怎样滑动最多也就7个View,而HorizontalLayoutManager 初始化就创建了20个View,而且后面滑动时,创建了的View数量多出了许多。
2.6 完善
2.6.1 绘制数量限制
在前面的基础上,绘制子View时,超出RecyclerView范围则不绘制子View,
    override fun onLayoutChildren(recycler: RecyclerView.Recycler, state: RecyclerView.State) {

        ...
        var offsetX = 0

        //绘制并添加view
        for (i in 0 until itemCount) {

            ...

            offsetX += viewWidth

            if (offsetX > width){
                break
            }
        }
    }
在滑动时,如果当前两侧的最后一个View滑动后还是未完全展示出来,就不绘制下一个View。
还有个问题就:绘制完下一个View后,RecyclerView偏移 dx,当dx大于子View的宽度时,就会出现子View数量未绘制完,RecyclerView显白色的问题,前面没这个问题的原因是没加绘制条件,滑动时在不断绘制子View,修改后的代码如下。
 private fun fill(dx: Int, recycler: RecyclerView.Recycler) {
        //左滑
        if (dx > 0) {

            while (true) {
                //得到当前已添加(可见)的最后一个子View
                val lastVisibleView = getChildAt(childCount - 1) ?: break

                //如果滑动过后,View还是未完全显示出来就 不进行绘制下一个View
                if (lastVisibleView.right - dx > width)
                    break

               ...
            }
        } else { //右滑
            while (true) {
                val firstVisibleView = getChildAt(0) ?: break

                if (firstVisibleView.left - dx < 0) break

                ...
            }
        }
    }
2.6.2 回收子View
当子View超出RecyclerView的范围时,就移除并回收子View
    private fun recycleViews(dx: Int, recycler: RecyclerView.Recycler) {
        for (i in 0 until itemCount) {
            val childView = getChildAt(i) ?: return
            //左滑
            if (dx > 0) {
                //移除并回收 原点 左侧的子View
                if (childView.right - dx < 0) {
                    removeAndRecycleViewAt(i, recycler)
                }
            } else { //右滑
                //移除并回收 右侧即RecyclerView宽度之以外的子View
                if (childView.left - dx > width) {
                    removeAndRecycleViewAt(i, recycler)
                }
            }
        }
    }
因为滑动时在不断添加绘制View,所以对应的也应移除回收View
在 scrollHorizontallyBy 中调用
    override fun scrollHorizontallyBy(
        dx: Int, recycler: RecyclerView.Recycler, state: RecyclerView.State
    ): Int {
        recycleViews(dx, recycler)
        fill(dx, recycler)
        offsetChildrenHorizontal(dx * -1)
        return dx
    }
2.6.3 最终效果
完善代码后,查看效果,基本达到了要求。

完整代码
import android.graphics.PointF
import android.support.v7.widget.RecyclerView
import android.view.View
import android.view.ViewGroup

class HorizontalLayoutManager : RecyclerView.LayoutManager(),
    RecyclerView.SmoothScroller.ScrollVectorProvider {

    override fun computeScrollVectorForPosition(targetPosition: Int): PointF? {
        if (childCount == 0) {
            return null
        }
        val firstChildPos = getPosition(getChildAt(0)!!)
        val direction = if (targetPosition < firstChildPos) -1 else 1
        return PointF(direction.toFloat(), 0f)
    }

    override fun generateDefaultLayoutParams(): RecyclerView.LayoutParams {
        return RecyclerView.LayoutParams(
            ViewGroup.LayoutParams.WRAP_CONTENT, ViewGroup.LayoutParams.WRAP_CONTENT
        )
    }

    override fun onLayoutChildren(recycler: RecyclerView.Recycler, state: RecyclerView.State) {
        //分离并且回收当前附加的所有View
        detachAndScrapAttachedViews(recycler)

        if (itemCount == 0) {
            return
        }
        //横向绘制子View,则需要知道 X轴的偏移量
        var offsetX = 0

        //绘制并添加view
        for (i in 0 until itemCount) {
            val view = recycler.getViewForPosition(i)
            addView(view)

            measureChildWithMargins(view, 0, 0)
            val viewWidth = getDecoratedMeasuredWidth(view)
            val viewHeight = getDecoratedMeasuredHeight(view)
            layoutDecorated(view, offsetX, 0, offsetX + viewWidth, viewHeight)
            offsetX += viewWidth

            if (offsetX > width) {
                break
            }
        }
    }

    //是否可横向滑动
    override fun canScrollHorizontally(): Boolean {
        return true
    }

    override fun scrollHorizontallyBy(
        dx: Int, recycler: RecyclerView.Recycler, state: RecyclerView.State
    ): Int {
        recycleViews(dx, recycler)
        fill(dx, recycler)
        offsetChildrenHorizontal(dx * -1)
        return dx
    }

    private fun fill(dx: Int, recycler: RecyclerView.Recycler) {
        //左滑
        if (dx > 0) {

            while (true) {
                //得到当前已添加(可见)的最后一个子View
                val lastVisibleView = getChildAt(childCount - 1) ?: break

                //如果滑动过后,View还是未完全显示出来就 不进行绘制下一个View
                if (lastVisibleView.right - dx > width)
                    break

                //得到View对应的位置
                val layoutPosition = getPosition(lastVisibleView)
                /**
                 * 例如要显示20个View,当前可见的最后一个View就是第20个,那么下一个要显示的就是第一个
                 * 如果当前显示的View不是第20个,那么就显示下一个,如当前显示的是第15个View,那么下一个显示第16个
                 * 注意区分 childCount 与 itemCount
                 */
                val nextView: View = if (layoutPosition == itemCount - 1) {
                    recycler.getViewForPosition(0)
                } else {
                    recycler.getViewForPosition(layoutPosition + 1)
                }

                addView(nextView)
                measureChildWithMargins(nextView, 0, 0)
                val viewWidth = getDecoratedMeasuredWidth(nextView)
                val viewHeight = getDecoratedMeasuredHeight(nextView)
                val offsetX = lastVisibleView.right
                layoutDecorated(nextView, offsetX, 0, offsetX + viewWidth, viewHeight)
            }
        } else { //右滑
            while (true) {
                val firstVisibleView = getChildAt(0) ?: break

                if (firstVisibleView.left - dx < 0) break

                val layoutPosition = getPosition(firstVisibleView)
                /**
                 * 如果当前第一个可见View为第0个,则左侧显示第20个View 如果不是,下一个就显示前一个
                 */
                val nextView = if (layoutPosition == 0) {
                    recycler.getViewForPosition(itemCount - 1)
                } else {
                    recycler.getViewForPosition(layoutPosition - 1)
                }

                addView(nextView, 0)
                measureChildWithMargins(nextView, 0, 0)
                val viewWidth = getDecoratedMeasuredWidth(nextView)
                val viewHeight = getDecoratedMeasuredHeight(nextView)
                val offsetX = firstVisibleView.left
                layoutDecorated(nextView, offsetX - viewWidth, 0, offsetX, viewHeight)
            }
        }
    }

    private fun recycleViews(dx: Int, recycler: RecyclerView.Recycler) {
        for (i in 0 until itemCount) {
            val childView = getChildAt(i) ?: return
            //左滑
            if (dx > 0) {
                //移除并回收 原点 左侧的子View
                if (childView.right - dx < 0) {
                    removeAndRecycleViewAt(i, recycler)
                }
            } else { //右滑
                //移除并回收 右侧即RecyclerView宽度之以外的子View
                if (childView.left - dx > width) {
                    removeAndRecycleViewAt(i, recycler)
                }
            }
        }
    }
}
3. 总结
- RecyclerView自己具有绘制、回收、缓存复用子View的方法,但需要在LayoutManager调用
- 回收View是根据RecyclerView的宽或高来判断的,所以想要具有缓存复用功能,RecyclerView一定要有确定的宽或高。
- getChildCount() 是得到RecyclerView中显示的Item个数
- getItemCount() 是得到Adapter中设置的需要显示的item个数
- getChildAt(int position) 是从当前屏幕显示的View中的到对应位置的View
- getPosition(View view) 得到View对应Adapter中的索引位置
- recycler.getViewForPosition(position) 是复用View的关键
最后
以上就是傻傻灰狼最近收集整理的关于Android控件RecyclerView(二)——LayoutManager及其自定义前言1 常用LayoutManager2 自定义LayoutManager3. 总结的全部内容,更多相关Android控件RecyclerView(二)——LayoutManager及其自定义前言1内容请搜索靠谱客的其他文章。

![从自定义TagLayout看自定义布局的一般步骤[手动加精]从自定义TagLayout看自定义布局的一般步骤[手动加精]预览概述自定义TagLayout详细实现自定义ViewGroup的一般步骤](https://www.shuijiaxian.com/files_image/reation/bcimg12.png)


发表评论 取消回复