本文版本选择swagger最新版3
依赖
        <dependency>
            <groupId>io.springfox</groupId>
            <artifactId>springfox-boot-starter</artifactId>
            <version>3.0.0</version>
        </dependency>
添加注解
只需启动类
+ @EnableOpenApi
@SpringBootApplication
public class DemoApplication {

    public static void main(String[] args) {
        SpringApplication.run(DemoApplication.class, args);
    }
}
测试
地址 ip + port + /swagger-ui/index.html
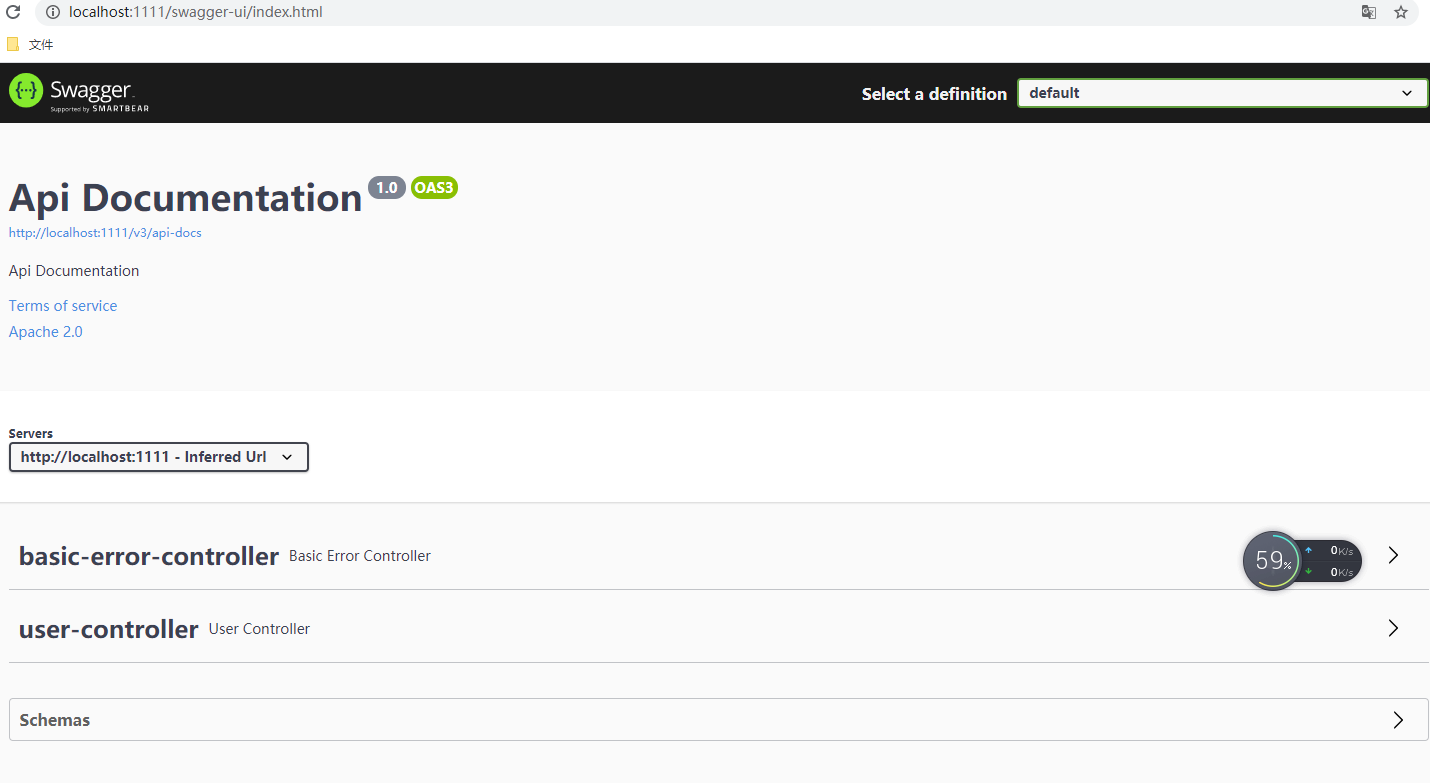
添加自定义配置项
config/Swagger3Config.java
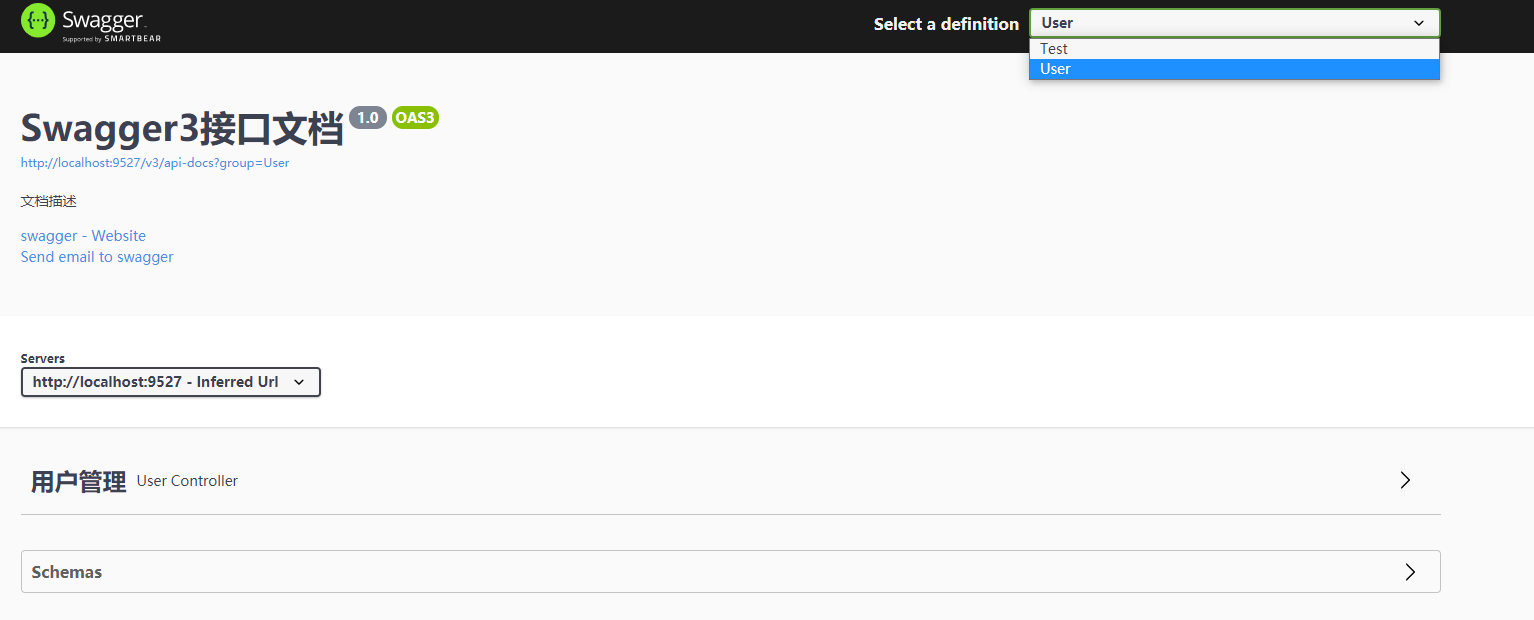
自定义配置
环境变量控制是否启用swagger
分组
package com.example.demo.config;

import org.springframework.context.annotation.Bean;
import org.springframework.context.annotation.Configuration;
import org.springframework.core.env.Environment;
import org.springframework.core.env.Profiles;
import org.springframework.web.bind.annotation.RestController;
import springfox.documentation.builders.ApiInfoBuilder;
import springfox.documentation.builders.PathSelectors;
import springfox.documentation.builders.RequestHandlerSelectors;
import springfox.documentation.service.ApiInfo;
import springfox.documentation.service.Contact;
import springfox.documentation.spi.DocumentationType;
import springfox.documentation.spring.web.plugins.Docket;

@Configuration
public class Swagger3Config {

    @Bean     // 添加一个组(多个组就复制多个,具体配置可以如下)
    public Docket docketTest() {
        return new Docket(DocumentationType.OAS_30).groupName("Test");
    }


    @Bean
    public Docket docker(Environment environment) {

       Profiles profile =  Profiles.of("dev","test");

       boolean flag =  environment.acceptsProfiles(profile);

        return new Docket(DocumentationType.OAS_30)
                .enable(flag) // 利用环境遍历,开发环境swaggerj禁用
                .groupName("User")
                .apiInfo(apiInfo())
                .select()
                .apis(RequestHandlerSelectors.withClassAnnotation(RestController.class)) // 扫描注解
//                .apis(RequestHandlerSelectors.basePackage("com.example.demo")) // 扫描某包
                .paths(PathSelectors.any())
                .build();
    }

    private ApiInfo apiInfo() {
        return new ApiInfoBuilder()
                .title("Swagger3接口文档")
                .description("文档描述")
                .contact(new Contact("swagger", "#", "test@qq.com"))
                .version("1.0")
                .build();
    }
}
环境变量
application.xml
spring:
  profiles:
    active: dev
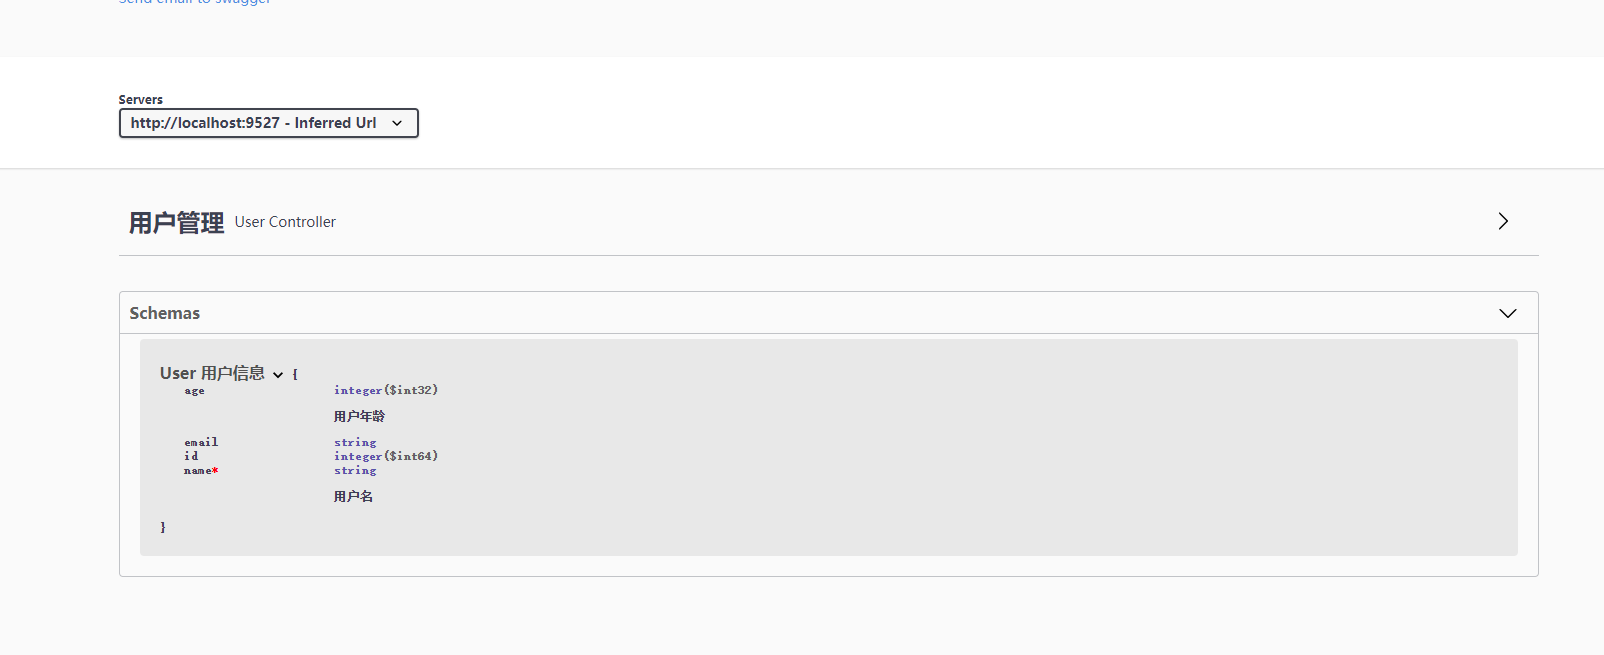
添加注解
- entity实体类
package com.example.demo.user.entity;

import com.baomidou.mybatisplus.annotation.IdType;
import com.baomidou.mybatisplus.annotation.TableField;
import com.baomidou.mybatisplus.annotation.TableId;
import io.swagger.annotations.ApiModel;
import io.swagger.annotations.ApiModelProperty;
import lombok.AllArgsConstructor;
import lombok.Data;
import lombok.NoArgsConstructor;
import lombok.experimental.Accessors;

@Data
@AllArgsConstructor
@NoArgsConstructor
@Accessors(chain = true)
@ApiModel("User 用户信息")
public class User{
    @TableId(type = IdType.AUTO)
    private Long id;

    @ApiModelProperty(value = "用户名",required = true)
    private String name;
    @ApiModelProperty(value = "用户年龄")
    private Integer age;
    private  String email;
}
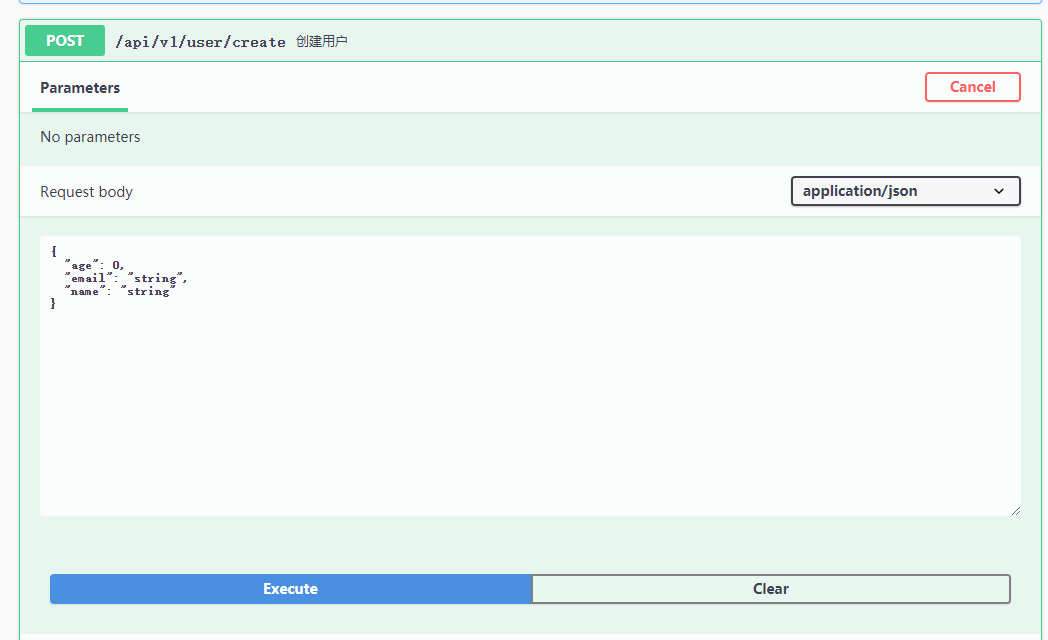
controller 注解#
增
    @PostMapping(value = "/create")
    @ApiOperation(value = "创建用户")
    public User createUser(@RequestBody User user){
        return user;
    }
此时User实体类,不想要的属性 hidden
public class User{
    @TableId(type = IdType.AUTO)
    @ApiModelProperty(value = "主键",hidden = true)
    private Long id;
...
复杂的话自定义类
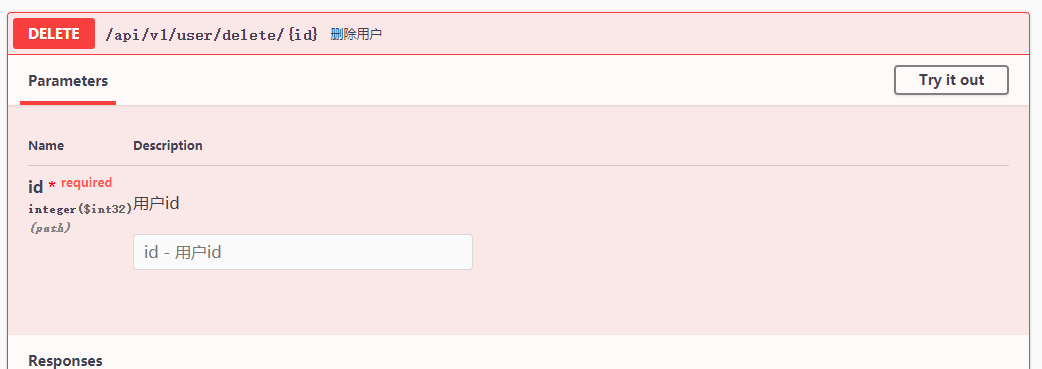
删
    @DeleteMapping(value = "delete/{id}")
    @ApiOperation(value = "删除用户")
    @ApiImplicitParam(name="id", value = "用户id")
    public Integer deleteUser(@PathVariable Integer id){
        return id;
    }
改
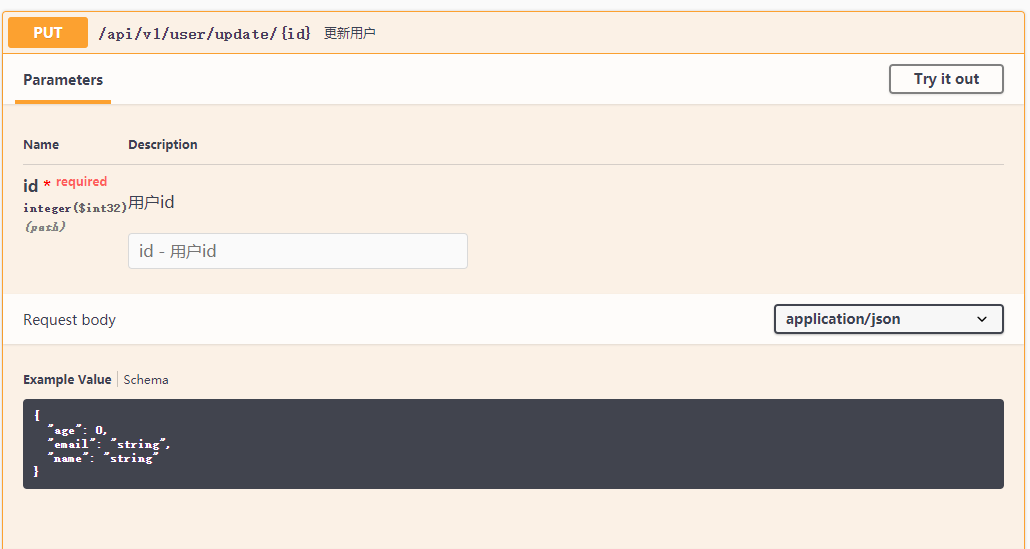
    @PutMapping(value = "update/{id}")
    @ApiOperation(value = "更新用户")
    @ApiImplicitParam(name="id", value = "用户id")
    public Integer updateUser(@PathVariable Integer id, @RequestBody User user){
        return id;
    }
查
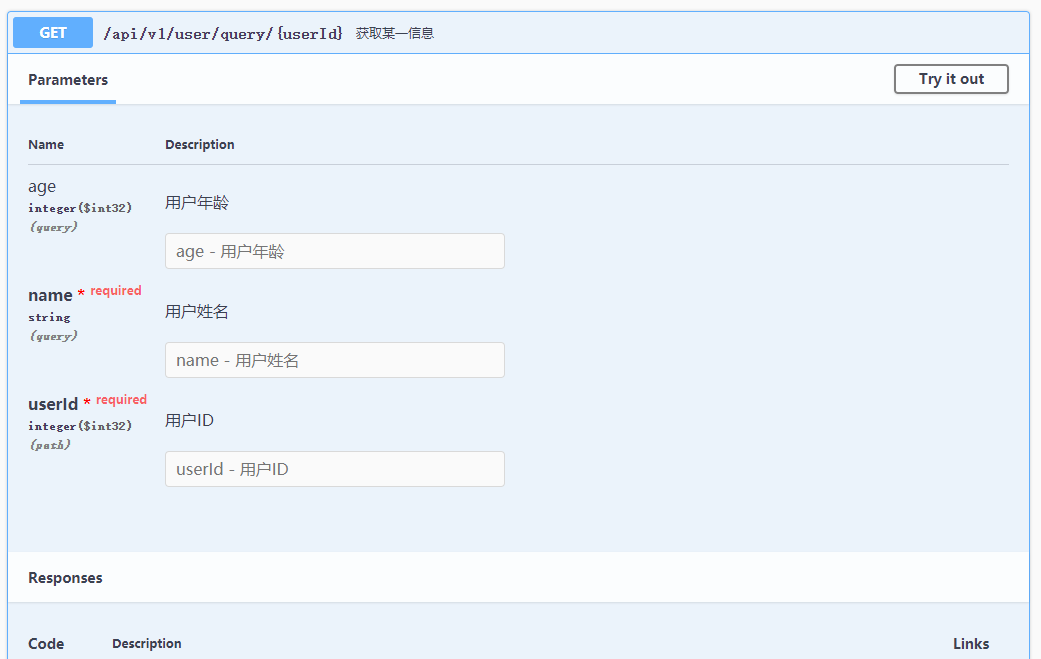
    @GetMapping("query/{userId}") // /api/v1/user/query/1?age=18&name=Jack  path query
    @ApiOperation("获取某一信息")
    @ApiImplicitParams({
       @ApiImplicitParam(name="age", value = "用户年龄"),
       @ApiImplicitParam(name="name", value = "用户姓名"),
       @ApiImplicitParam(name="userId", value = "用户ID"),
    })
    public Map<String, Object> getUserDetail(@PathVariable Integer userId, @RequestParam(required = false) Integer age, @RequestParam String name ){
        Map<String, Object> body = new HashMap<>();
        body.put("userId", userId);
        body.put("age", age);
        body.put("name", name);
        return body;
    }
最后
以上就是寂寞白开水最近收集整理的关于SpringBoot2集成swagger3的全部内容,更多相关SpringBoot2集成swagger3内容请搜索靠谱客的其他文章。
本图文内容来源于网友提供,作为学习参考使用,或来自网络收集整理,版权属于原作者所有。


发表评论 取消回复