Mac环境安装Kafka
Kafka依赖于zookeeper,以下方式安装Kafka后自带zk
brew install kafka
# Kafka启动方式
To restart kafka after an upgrade:
  brew services restart kafka
Or, if you don't want/need a background service you can just run:
  /usr/local/opt/kafka/bin/kafka-server-start /usr/local/etc/kafka//usr/local/etc/kafka/server.properties

# Kafka安装目录
==> Summary
????  /usr/local/Cellar/kafka/3.2.0: 200 files, 99.4MB

# 配置文件路径
/usr/local/etc/kafka/
kafka取消自动创建topic,编辑/usr/local/etc/kafka/server.properties,auto.create.topics.enable=false
启动zookeeper与kafka
启动zkbrew services start zookeeper默认端口2181,启动kafkabrew services start kafka,默认端口9092。如需要修改默认端口号可以在/usr/local/etc/kafka/中zookeeper.properties和server.properties中对应修改即可。
创建Topic
说明:在较新版本(2.2 及更高版本)的 Kafka 不再需要 ZooKeeper 连接字符串,即- -zookeeper localhost:2181。使用 Kafka Broker的 --bootstrap-server localhost:9092来替代- -zookeeper localhost:2181。
cd /usr/local/Cellar/kafka/3.2.0/bin
# 创建topic
./kafka-topics --bootstrap-server localhost:9092 --create --topic domancy --partitions 2 --replication-factor 1
./kafka-topics --bootstrap-server localhost:9092 --create --topic order --partitions 2 --replication-factor 1

# 查看topic
./kafka-topics --bootstrap-server localhost:9092 --describe --topic domancy

# 删除topic
./kafka-topics --bootstrap-server localhost:9092 --delete --topic domancy
测试Kakfa
生产者
➜  /usr/local/Cellar/kafka/3.2.0/bin/kafka-console-producer --broker-list localhost:9092 --topic domancy
>白日依山尽
>黄河入海流
>欲穷千里目
>更上一层楼
>
消费者
➜  bin kafka-console-consumer --bootstrap-server localhost:9092 --topic domancy --from-beginning
白日依山尽
黄河入海流
欲穷千里目
更上一层楼
Springboot项目
pom文件
<dependencies>
  <!-- 高版本的SpringBoot需要应用spring-boot-starter-web包,
  不然会出现AbstractDiscoveryClientOptionalArgs不存在异常-->
  <dependency>
    <groupId>org.springframework.boot</groupId>
    <artifactId>spring-boot-starter-web</artifactId>
    <version>2.0.8.RELEASE</version>
  </dependency>

  <dependency>
    <groupId>org.projectlombok</groupId>
    <artifactId>lombok</artifactId>
  </dependency>

  <!-- https://mvnrepository.com/artifact/cn.hutool/hutool-all -->
  <dependency>
    <groupId>cn.hutool</groupId>
    <artifactId>hutool-all</artifactId>
    <version>5.7.22</version>
  </dependency>

  <dependency>
    <groupId>com.alibaba</groupId>
    <artifactId>fastjson</artifactId>
    <version>1.2.76</version>
  </dependency>

  <!-- kafka -->
  <dependency>
    <groupId>org.springframework.kafka</groupId>
    <artifactId>spring-kafka</artifactId>
  </dependency>
</dependencies>
resources
server:
  port: 8083

spring:
  kafka:
    consumer:
      bootstrap-servers: localhost:9092
      group-id: test-consumer
      key-deserializer: org.apache.kafka.common.serialization.StringDeserializer
      value-deserializer: org.apache.kafka.common.serialization.StringDeserializer

  application:
    name: stream-bus
消息生产
单条消息发送:http://localhost:8083/send/manual/shirts
自动批量发送消息:http://localhost:8083/send/auto
@RestController
@RequestMapping(value = "send")
public class SenderController {
    @Resource
    private KafkaTemplate<String, Object> kafkaTemplate;

    @GetMapping(value = "/manual/{msg}")
    public void send(@PathVariable("msg") String msg) {
        kafkaTemplate.send("domancy", msg);
    }


    /**
     * 多个消费者同时消费一条消息
     */
    @GetMapping("/auto")
    public void autoSendBatchMsg() {
        for (int i = 0; i <10; i++) {
            try {
                Thread.sleep(3);
            } catch (InterruptedException e) {
                e.printStackTrace();
            }
            Long orderId = new SnowflakeGenerator().next();
            //key值取hash值对分区数量取模

            final Order order = new Order();
            order.setOrderId(orderId.toString());
            order.setCreateTime(new Date());
            order.setPhone('1' + RandomUtil.randomNumbers(10));

            //final Integer partition = Math.abs(orderId.hashCode()) % 2;
            boolean randomBoolean = RandomUtil.randomBoolean();
            int partition = randomBoolean ? 1 : 0;
            System.out.println("kafka 发送消息" + orderId + "分区=====" + partition);

            kafkaTemplate.send("order", partition, orderId.toString(), JSON.toJSONString(order));
        }
    }
}
消息消费
- 指定topicPartitions消费消息
- 指定group消费
@Service
public class ConsumerService {
    @KafkaListener(id = "c_1", topicPartitions = {@TopicPartition(topic = "domancy", partitionOffsets = @PartitionOffset(partition = "0", initialOffset = "0"))})
    public void partition0(String msgData) {
        System.out.println("ConsumerService c_1 receive : " + msgData + ", partition: 0" );
    }

    @KafkaListener(id = "c2", topicPartitions = {@TopicPartition(topic = "domancy", partitionOffsets = @PartitionOffset(partition = "1", initialOffset = "0"))})
    public void partition1(String msgData) {
        System.out.println("ConsumerService c_2 receive : " + msgData + ", partition: 1" );
    }

    @KafkaListener(groupId="test-consumer", topics = {"order"})
    public void consumer1(ConsumerRecord<Integer, String> record) {
        System.out.println("分组:consumer-id-1 " + " 主题:" + record.topic() + "-" + record.partition() + "-" + record.value());
    }

    @KafkaListener(groupId="test-consumer", topics = {"order"})
    public void consumer2(ConsumerRecord<Integer, String> record) {
        System.out.println("分组:consumer-id-2 " + " 主题:" + record.topic() + "-" + record.partition() + "-" + record.value());
    }

}
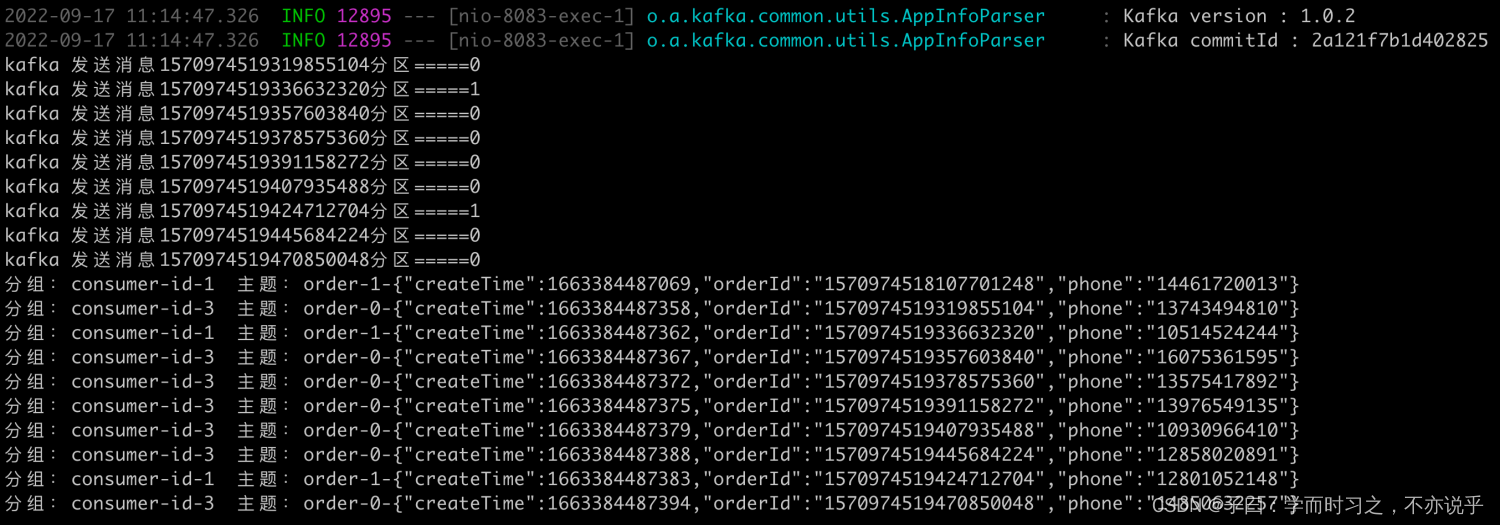
运行效果

最后
以上就是背后蜗牛最近收集整理的关于Springboot 消息生产与消费基于KafkaMac环境安装KafkaSpringboot项目的全部内容,更多相关Springboot内容请搜索靠谱客的其他文章。
本图文内容来源于网友提供,作为学习参考使用,或来自网络收集整理,版权属于原作者所有。


发表评论 取消回复