1.使用wx.chooseImage(),从本地相册选择图片或使用相机拍照,我们可以使用此方法,代码如下
<view>
<view class='' bindtap='clickImg'>
<image src='{{imgUrl}}'class='viewImg'></image>
</view>


</view>
给view绑定事件clickImg
 clickImg:function(){
    var me=this;
    wx.chooseImage({
      count:1,
      sizeType: ['original', 'compressed'],
      sourceType:['album','camera'],
      success: function(res) {
        me.setData({ imgUrl:res.tempFilePaths})

      },
    })
  },
记得要把this实例化哦,或者使用ES6的箭头函数
  clickImg:function(){
    wx.chooseImage({
      count:1,
      sizeType: ['original', 'compressed'],
      sourceType:['album','camera'],
      success:((res)=>{
        this.setData({ imgUrl: res.tempFilePaths })

      })
    })
  },
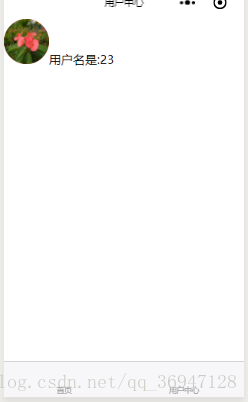 这样就上传成功用户头像了,当然在实际开发中肯定要使用接口上传图片的。
wx.chooseImage({
  success: function(res) {
    var tempFilePaths = res.tempFilePaths
    wx.uploadFile({
      url: 'https://example.weixin.qq.com/upload', //仅为示例,非真实的接口地址
      filePath: tempFilePaths[0],
      name: 'file',
      formData:{
        'user': 'test'
      },
      success: function(res){
        var data = res.data
        //do something
      }
    })
  }
})
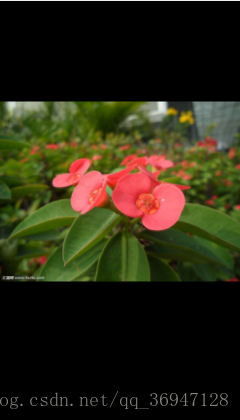
2 wx.previewImage() 预览图片。
OBJECT参数说明:
| 参数 | 类型 | 必填 | 说明 |
|---|---|---|---|
| current | String | 否 | 当前显示图片的链接,不填则默认为 urls 的第一张 |
| urls | StringArray | 是 | 需要预览的图片链接列表 |
| success | Function | 否 | 接口调用成功的回调函数 |
| fail | Function | 否 | 接口调用失败的回调函数 |
| complete | Function | 否 | 接口调用结束的回调函数(调用成功、失败都会执行) |
在wxml中写一个按钮
<button bindtap='clickImg'>预览图片</button>在js中写事件
clickImg:function(){
    wx.previewImage({
      current: '', // 当前显示图片的http链接
      urls: ['http://p1.qqyou.com/touxiang/uploadpic/2012-5/23/2012052306065794968.jpg'] // 需要预览的图片http链接列表
    })
  },
这样就完成了。
使用wx.chooseImage()和vx.previewImage 上传并预览头像
wxml代码
<view>
<view class='' >
<button bindtap='fileImg'>上传图片</button>
<image src="{{imgUrl}}" bindtap='clickImg' class='viewImg'></image>
<button bindtap='clickImg'>预览图片</button>
</view>


</view>
JS代码
  fileImg:function(){
    var me = this;
    wx.chooseImage({
      count:1,
      success: function (res) {
        me.setData({ imgUrl: res.tempFilePaths})
        wx.uploadFile({
          url: 'https://example.weixin.qq.com/upload', //仅为示例,非真实的接口地址
          filePath: me.data.imgUrl,
          name: 'file',
          formData: {
            'user': 'test'
          },
          success: function (res) {
            var data = res.data
            //do something
          }
        })
      }
    })
},
  clickImg:function(){
    wx.previewImage({
      current:this.data.imgUrl, // 当前显示图片的http链接
      urls: this.data.imgUrl // 需要预览的图片http链接列表
    })


  },
效果
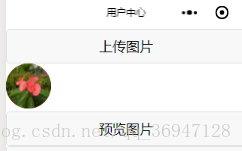
点击头像
这样就可以上传头像了
最后
以上就是勤劳小蚂蚁最近收集整理的关于微信小程序第七章 图片替换的全部内容,更多相关微信小程序第七章内容请搜索靠谱客的其他文章。
本图文内容来源于网友提供,作为学习参考使用,或来自网络收集整理,版权属于原作者所有。


发表评论 取消回复