这个项目是通过使用Raspberry Pi来控制外围设备并与Telegram的移动终端用户进行通信.
在telegram中搜索BotFather,创建一个新的机器人账户,并且记住user name和access token.
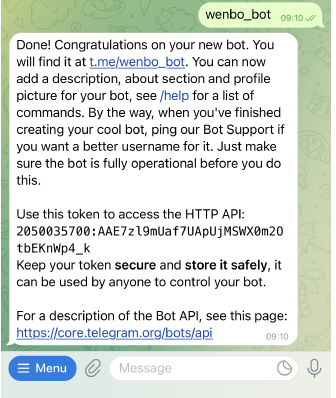
有了这个access token,我们就可以通过Raspberry Pi来控制这个机器人账户. 将Raspberry Pi按照下图的连接方式连接,一旦Telepot被导入Raspberry,我们就可以在python程序中使用这个包来与我们的Telegram Bot通信。
# install the package
sudo apt-get update
sudo apt-get upgrade
sudo apt-get install python-pip
sudo pip3 install telepot
1. 监听消息
使用最先创造账户时的acess token来进行监听,所有发往这个机器人账户的消息都将会显示在command window里.
import time
import telepot
from telepot.loop import MessageLoop
from pprint import pprint
# bot = telepot.Bot('your TOKEN ')
bot = telepot.Bot('2050035700:AAE7zl9mUaf7UApUjMSWX0m2OtbEKnWp4k')
def handle(msg):
    pprint(msg)
MessageLoop(bot, handle).run_as_thread()
print('Listening ...')
while 1:
    time.sleep(1)
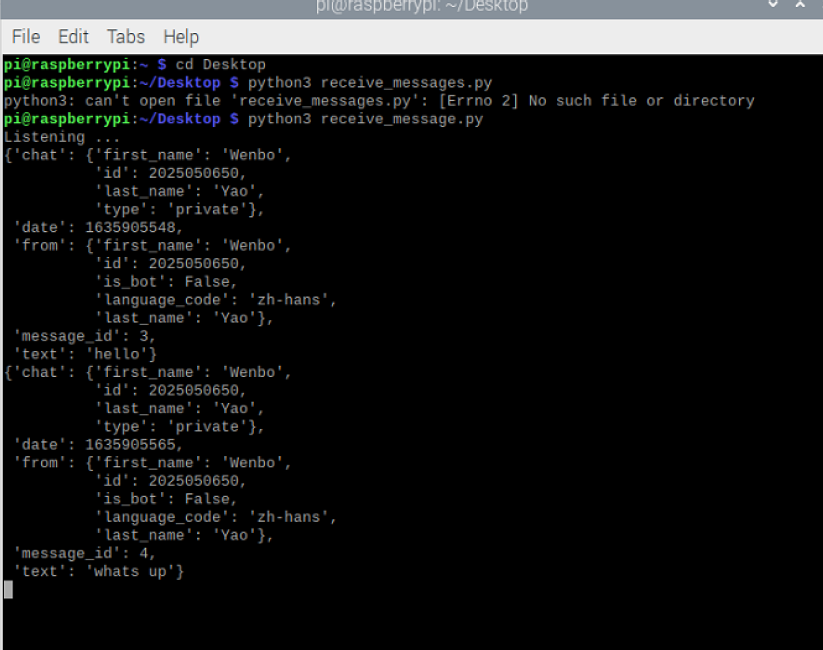
在监听到的信息里包含了发送账户的chat id,message以及user name.
2. 发送消息
一旦我们获得了用户的聊天ID,我们就可以编辑信息并将其发送给特定的用户。下面演示向特定用户发送消息的程序,你可以编辑chat id以及bot.sendMessage函数的两个参数中的文字。
import telepot

bot =telepot.Bot('2050035700:AAE7zl9mUaf7UApUjMSWX0m2OtbEKnWp4k')
bot.sendMessage(202505050650, 'How are you')
sendMessage中的第一个parameter是收信息方的chat id,第二个则为你将要发送的信息.
3. 回应信息
下一步是编写一个程序来回应用户的消息.
import sys
import time
import telepot
from telepot.loop import MessageLoop
bot = telepot.Bot('2050035700:AAE7zl9mUaf7UApUjMSWX0m2OtbEKnWp4k')

def handle(msg):
    chat_id = msg['chat']['id']
    text = msg['text']
    bot.sendMessage(chat_id, text)
MessageLoop(bot, handle).run_as_thread()
print('Listening ...')
while 1:
    time.sleep(1)
这样,对于每个用户发送到机器人账户的消息,系统将会自动回应他们.

最后
以上就是大力楼房最近收集整理的关于使用Raspberry Pi进行发送和接收数据1. 监听消息 2. 发送消息3. 回应信息的全部内容,更多相关使用Raspberry内容请搜索靠谱客的其他文章。
本图文内容来源于网友提供,作为学习参考使用,或来自网络收集整理,版权属于原作者所有。


发表评论 取消回复