jupyter安装与使用教程: 本文重点在于学会在anaconda环境下如何使用jupyter,包括安装、注册内核、添加自动补全插件;jupyter 自由切换环境。
目录索引
- 一、anaconda下安装jupyter
- 二、jupyter的一些操作
- 三、jupyter使用自动补全插件
- 四、总结
一、anaconda下安装jupyter
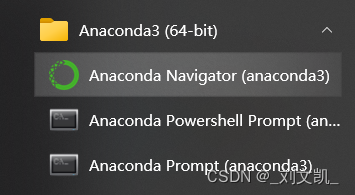
1、如图打卡Anaconda Prompt(anaconda3)

如果在cmd里可以:
conda activate base
2、查看已有环境(如果注册了系统变量,可以直接在cmd里使用)
conda env list
3、在环境中安装ipykernel
conda install notebook
conda install ipykernel
4、把anaconda的环境注入jupyter
python -m ipykernel install --user --name env环境名称 --display-name 自己想要在jupyter中显示名字
如:
python -m ipykernel install --user --name py37 --display-name py37_1
出现:Installed kernelspec jupyterName in XXX 即为注册成功
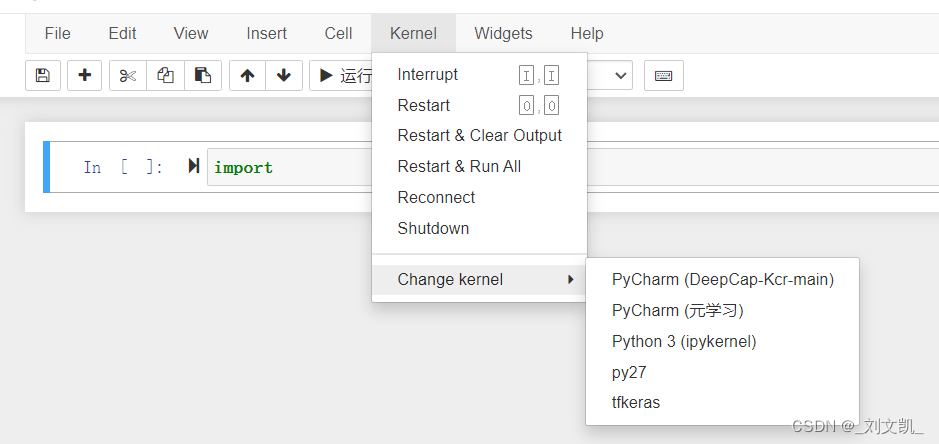
5、 选择不同内核

二、jupyter的一些操作
1、查看jupyter中已有的环境
jupyter kernelspec list
2、删除jupyter中的环境
jupyter kernelspec remove jupyter中的名字
jupyter kernelspec remove py37_1
三、jupyter使用自动补全插件
先关闭jupyter notebook
1、下载拓展包
conda install jupyter_contrib_nbextensions
2、 配置 nbextension
jupyter contrib nbextension install --user --skip-running-check
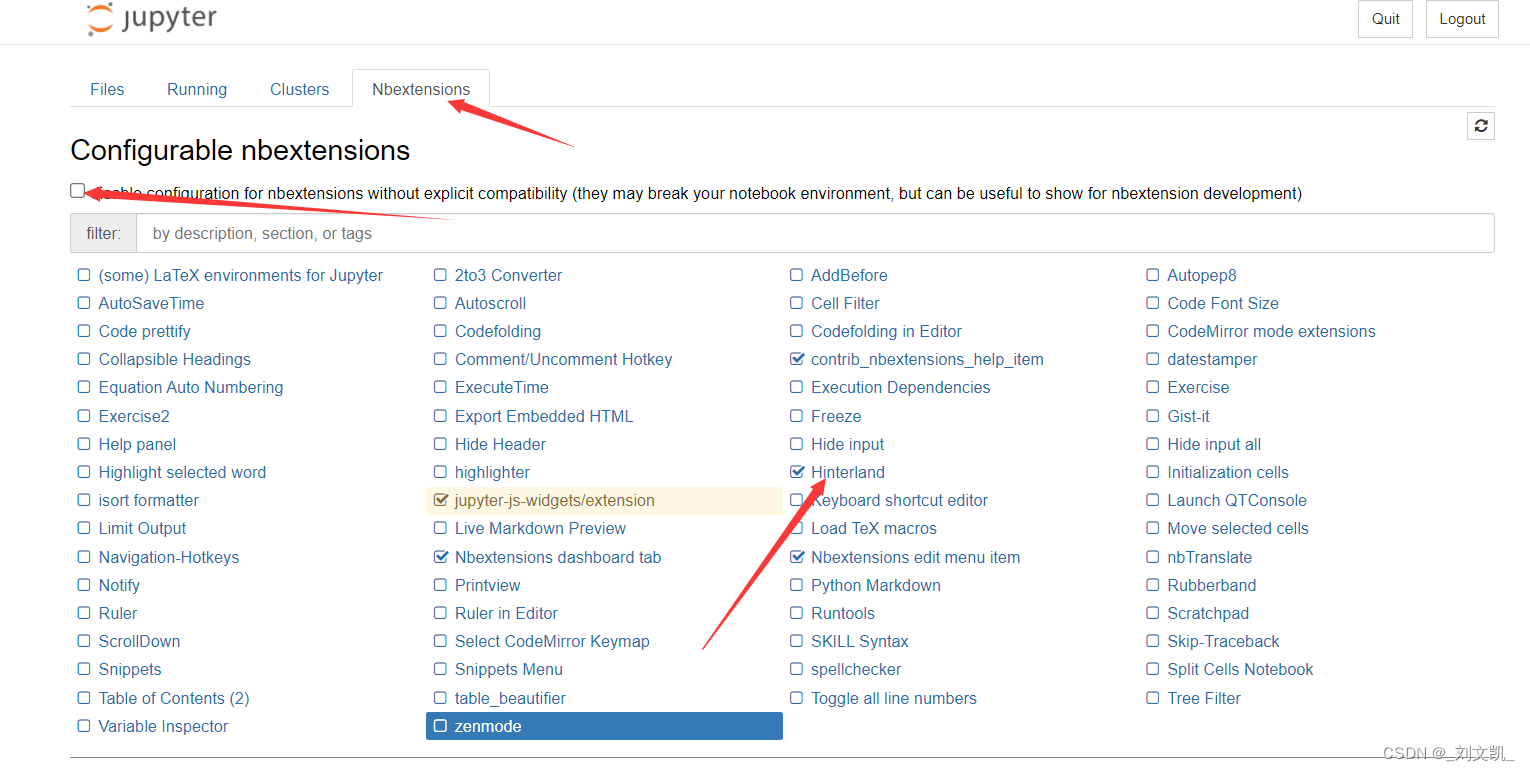
3、在Jupyter Notebook里开启功能

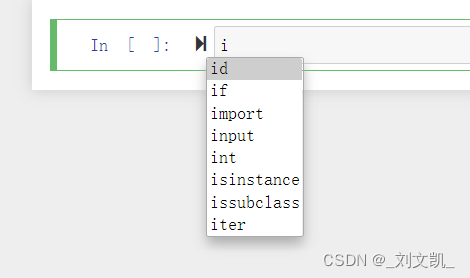
4、打开一个.ipynb进行测试

四、总结
有不懂的可以在评论区留言
大家共同探讨
最后
以上就是专注芒果最近收集整理的关于anaconda使用jupyter 多个内核共用 添加自动补全插件一、anaconda下安装jupyter二、jupyter的一些操作三、jupyter使用自动补全插件四、总结的全部内容,更多相关anaconda使用jupyter内容请搜索靠谱客的其他文章。


发表评论 取消回复