前言
通过nginx访问到主机的方式有两种,通过端口区分和通过域名区分。
通过端口区分主机
主机1
    server {
        listen       80;
        server_name  localhost;

        location / {
            root   html80;
            index  index.html index.htm;
        }

        error_page   500 502 503 504  /50x.html;
        location = /50x.html {
            root   html;
        }
} server {
listen 81;
server_name localhost;
location / {
root html81;
index index.html index.htm;
}
error_page 500 502 503 504 /50x.html;
location = /50x.html {
root html;
}
}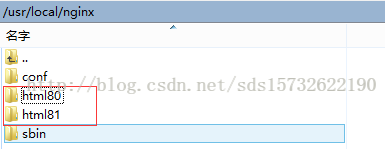 这两个文件夹就在nginx根目录下。
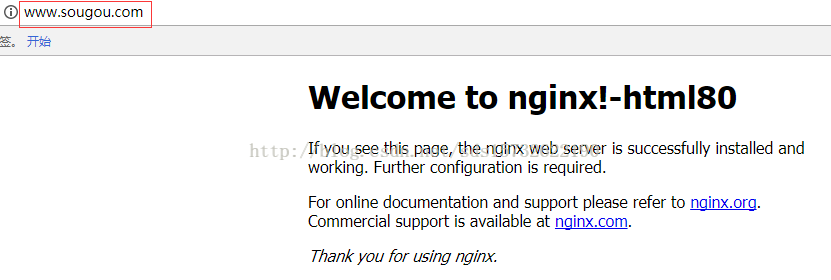
通过域名区分主机
主机1
    server {
        listen       80;
        server_name  http://www.sougou.com;

        location / {
            root   html80;
            index  index.html index.htm;
        }

        error_page   500 502 503 504  /50x.html;
        location = /50x.html {
            root   html;
        }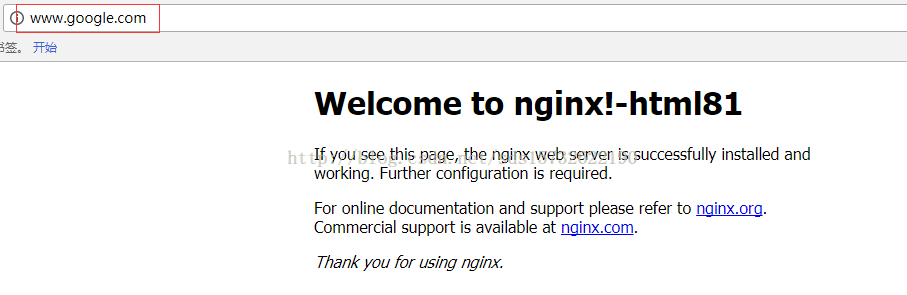
} server {
listen 80;
server_name http://www.google.com;
location / {
root html81;
index index.html index.htm;
}
error_page 500 502 503 504 /50x.html;
location = /50x.html {
root html;
}
}
总结
这两种方式各有优缺点,在配置nginx反向代理以及tomcat集群负载均衡的时候,主要用到的nginx通过域名区分主机。
最后
以上就是欣喜保温杯最近收集整理的关于【Nginx】nginx通过端口/域名区分主机配置文件前言通过端口区分主机通过域名区分主机总结的全部内容,更多相关【Nginx】nginx通过端口/域名区分主机配置文件前言通过端口区分主机通过域名区分主机总结内容请搜索靠谱客的其他文章。
本图文内容来源于网友提供,作为学习参考使用,或来自网络收集整理,版权属于原作者所有。


发表评论 取消回复