Ubuntu 16.04LTS 下omnetpp的安装过程
- 1. 概述
- 2. 相关下载链接
- 3. omnetpp 5.5.1 安装过程
- 3.1 必备软件包安装
- 3.2 omnetpp的下载和安装
- 3. inet 及 nesting 的导入过程
- 3.1 inet 的下载
- 3.2 nesting的下载
- 3.3 inet和nesting的导入过程
1. 概述
本人主要需要用到omnetpp对时间敏感网络(Time-Sensitive network, TSN)进行仿真,需要用到inet框架和nesting模型,由于之前在win10上仿真频繁报错,准备采用linux进行实验。
还是采用linux进行开发BUG比较少,不会有一些蜜汁问题。用windows开发迟早走火入魔
nesting模型:
- NeSTiNg is a simulation model for Time-Sensitive Networking (TSN).
- It uses the INET Framework and enhances it by TSN-capable components.
- The model was initially developed by a group of students during a curricular project and is continously extended at the Distributed Systems group of IPVS, University of Stuttgart.
nesting论文链接:链接: NeSTiNg-A Network Simulator for Time-sensitive Networking.
2. 相关下载链接
omnetpp 5.5.1 linux版:链接: omnetpp 5.5.1.
inet 4.1.2版本:链接: inet 4.1.2.
nesting模型:链接:nesting.
3. omnetpp 5.5.1 安装过程
安装过程按照官方的文档进行:链接: OMNeT++Installation Guide.
3.1 必备软件包安装
支持版本:Ubuntu 16.04 LTS or 18.04 LTS 在 Intel 64-bit 平台上
1.更新可用软件包
$ sudo apt-get update;
2.安装必备软件包
这一句长度比较长
$ sudo apt-get install build-essential gcc g++ bison flex perl python python3 qt5-default libqt5opengl5-dev tcl-dev tk-dev libxml2-dev zlib1g-dev default-jre doxygen graphviz libwebkitgtk-3.0-0
为了使用Qtenv的3D功能,安装OpenSceneGraph 和 sgEarth
$ sudo add-apt-repository ppa:ubuntugis/ppa
$ sudo apt-get update
$ sudo apt-get install openscenegraph-plugin-osgearth libosgearth-dev
为了使用并行仿真,安装 MPI
$ sudo apt-get install openmpi-bin libopenmpi-dev
安装 PCAP
$ sudo apt-get install libpcap-dev
3.图形安装
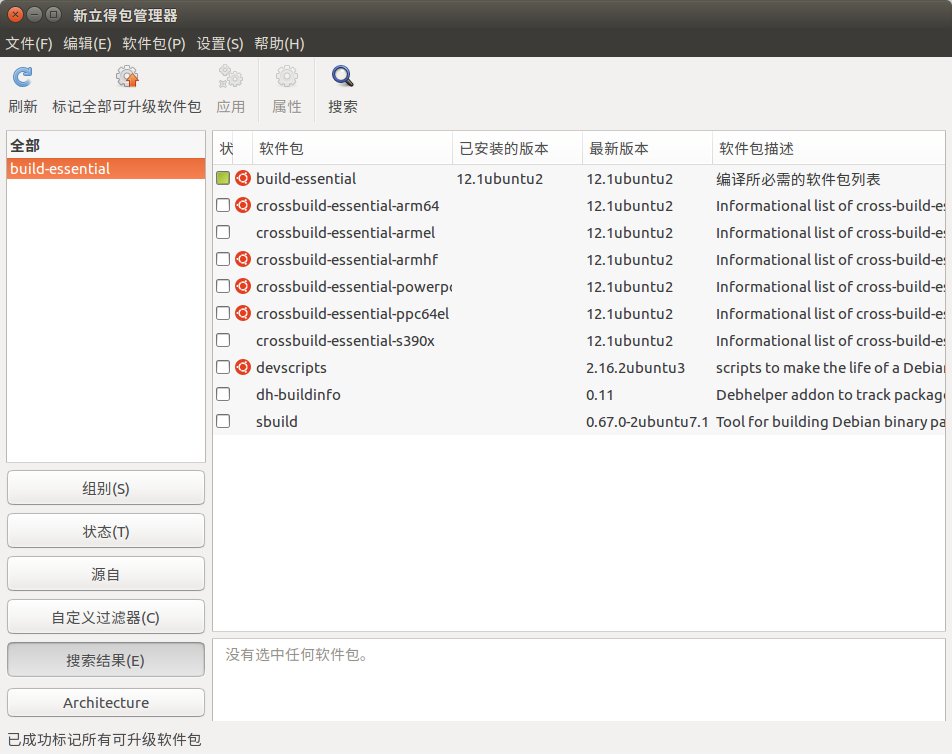
在命令行进入Synaptic
$ sudo synaptic
依次搜索下列软件并且点击“标记全部可升级软件包”
| 要求 | 软件内容 |
|---|---|
| 必须 | build-essential, gcc, g++, bison, flex, perl, qt5-default, tcl-dev, tk-dev,libxml2-dev, zlib1g-dev, default-jre, doxygen, graphviz, libwebkitgtk-3.0-0 |
| 建议 | libopenscenegraph-dev, openscenegraph-plugin-osgearth, li-bosgearth-dev, openmpi-bin, libopenmpi-dev |
3.2 omnetpp的下载和安装
首先进行omnetpp 5.5.1版本的下载
omnetpp 5.5.1 linux版:链接: omnetpp 5.5.1.
安装步骤如下:
1.设置环境变量
$ gedit ~/.bashrc
打开文件后在最后一行添加
//注意自己文件存放的路径
$ export PATH=你的omnet安装目录/bin:$PATH
保存并关闭
2.安装配置omnetpp
进入omnetpp目录,命令行输入
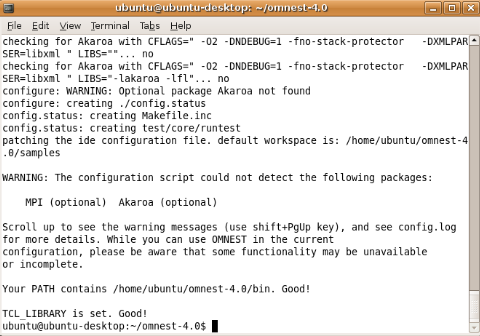
$ ./configure
成功后会出现类似图片中的效果
 之后,命令行输入
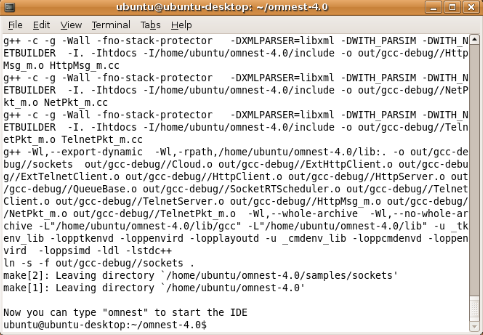
$ make
成功后会出现类似图片中的效果
3.进入omnetpp IDE环境
$ omnetpp
3. inet 及 nesting 的导入过程
3.1 inet 的下载
inet 4.1.2版本:链接: inet 4.1.2.
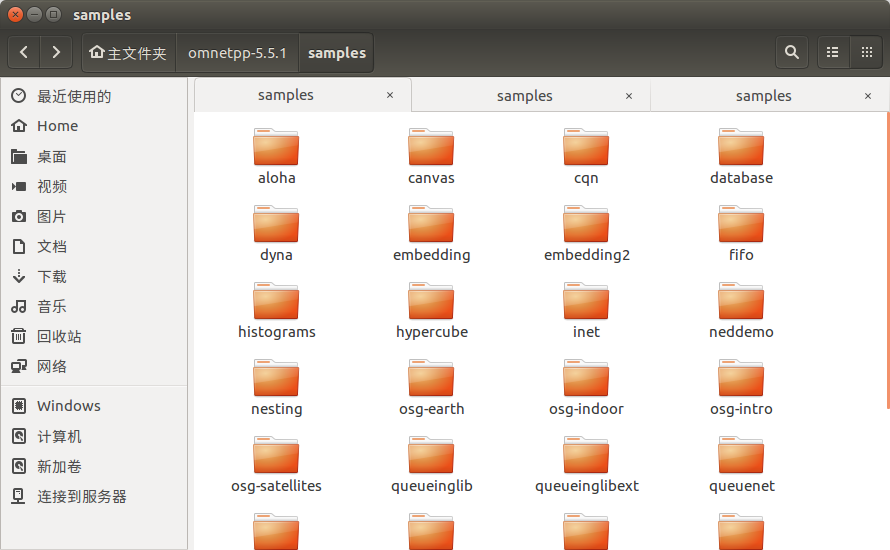
下载好4.1.2版本后,解压缩,将文件名称更改为inet,放入/omnetpp-5.5.1/samples文件夹中
3.2 nesting的下载
nesting模型:链接:nesting.
下载好后,解压缩,放入/omnetpp-5.5.1/samples文件夹中
3.3 inet和nesting的导入过程
- 在omnetpp的状态栏选择 File -> Import…
- 选择General -> Existing Projects into Workspace 并点击 Next >.
- 选择 目录(一般是sample文件夹)
- 选择inet和nesting,点击Finish(由于我已经导入了,所以是灰色的)
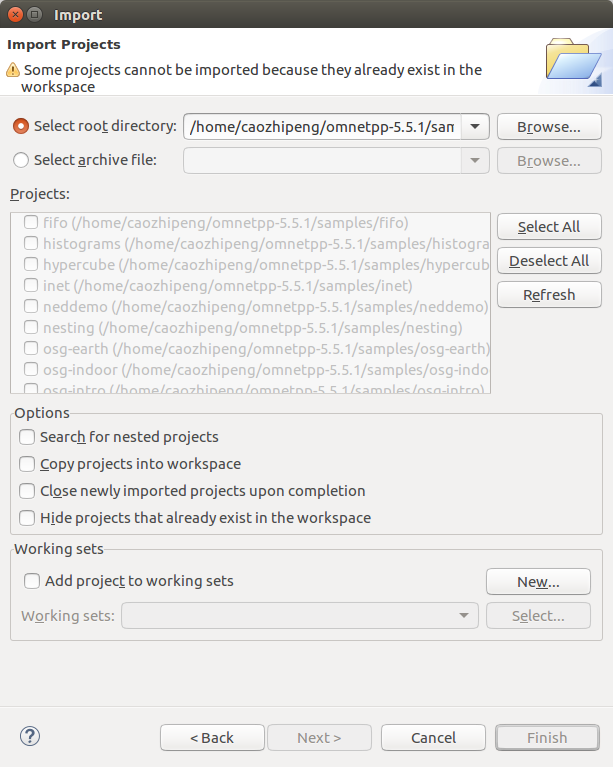
而后进入omnetpp,在inet和nesting文件夹上点击右键,Open_project,而后右键,Build_project
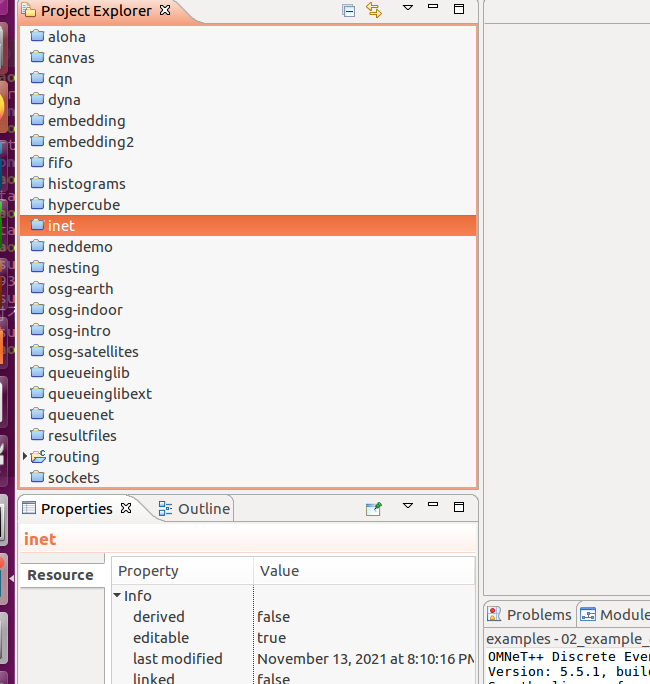
等待编译完成,若没有报错就可以进行仿真实验了
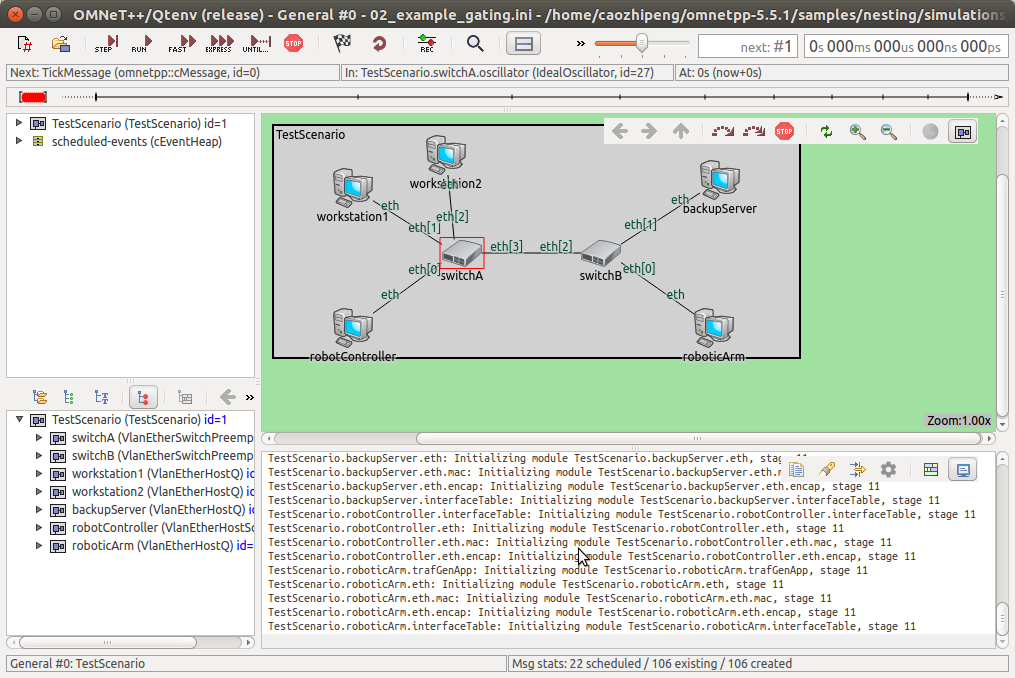
最后
以上就是感动人生最近收集整理的关于Ubuntu 16.04LTS 下omnetpp的安装与nesting模型导入过程1. 概述2. 相关下载链接3. omnetpp 5.5.1 安装过程3. inet 及 nesting 的导入过程的全部内容,更多相关Ubuntu内容请搜索靠谱客的其他文章。


发表评论 取消回复