前言
上一篇文章介绍了我们需要准备什么东西。具体的组装我就不在多介绍了,这是我组装好的样子。
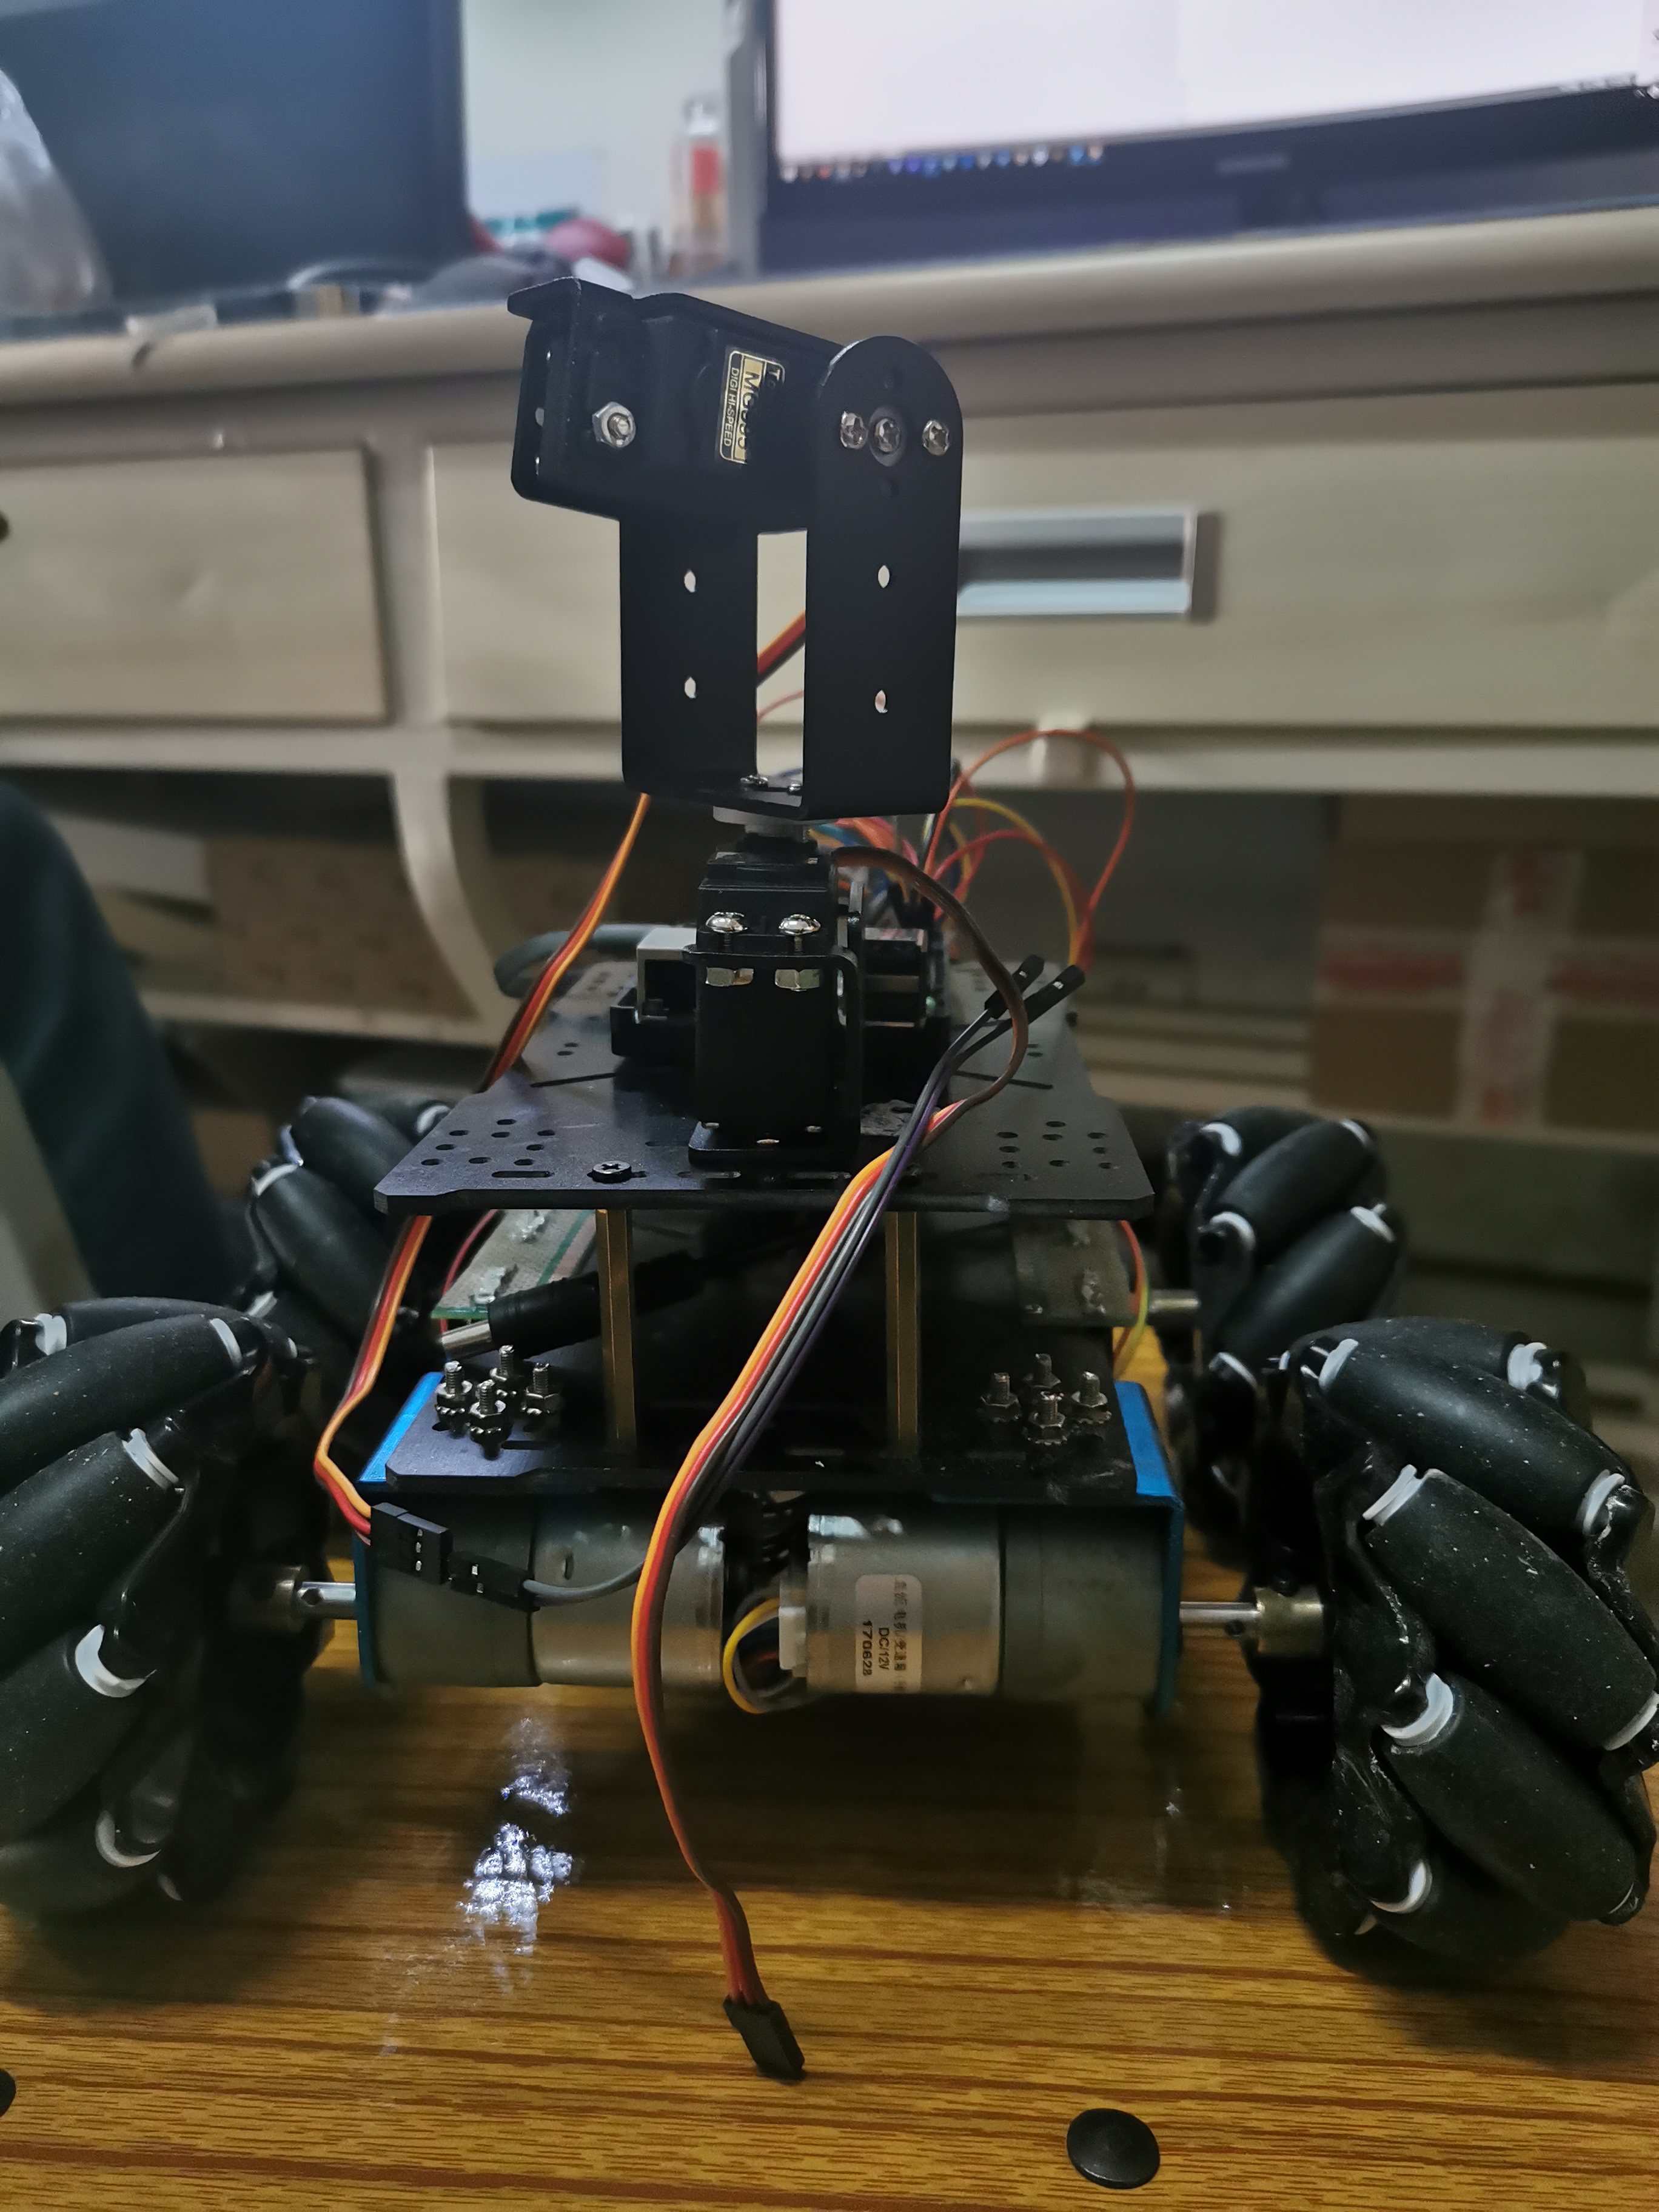 原件购买的话可以先在闲鱼逛一逛,一些学长毕业以后会把自己用完的东西挂在那里。
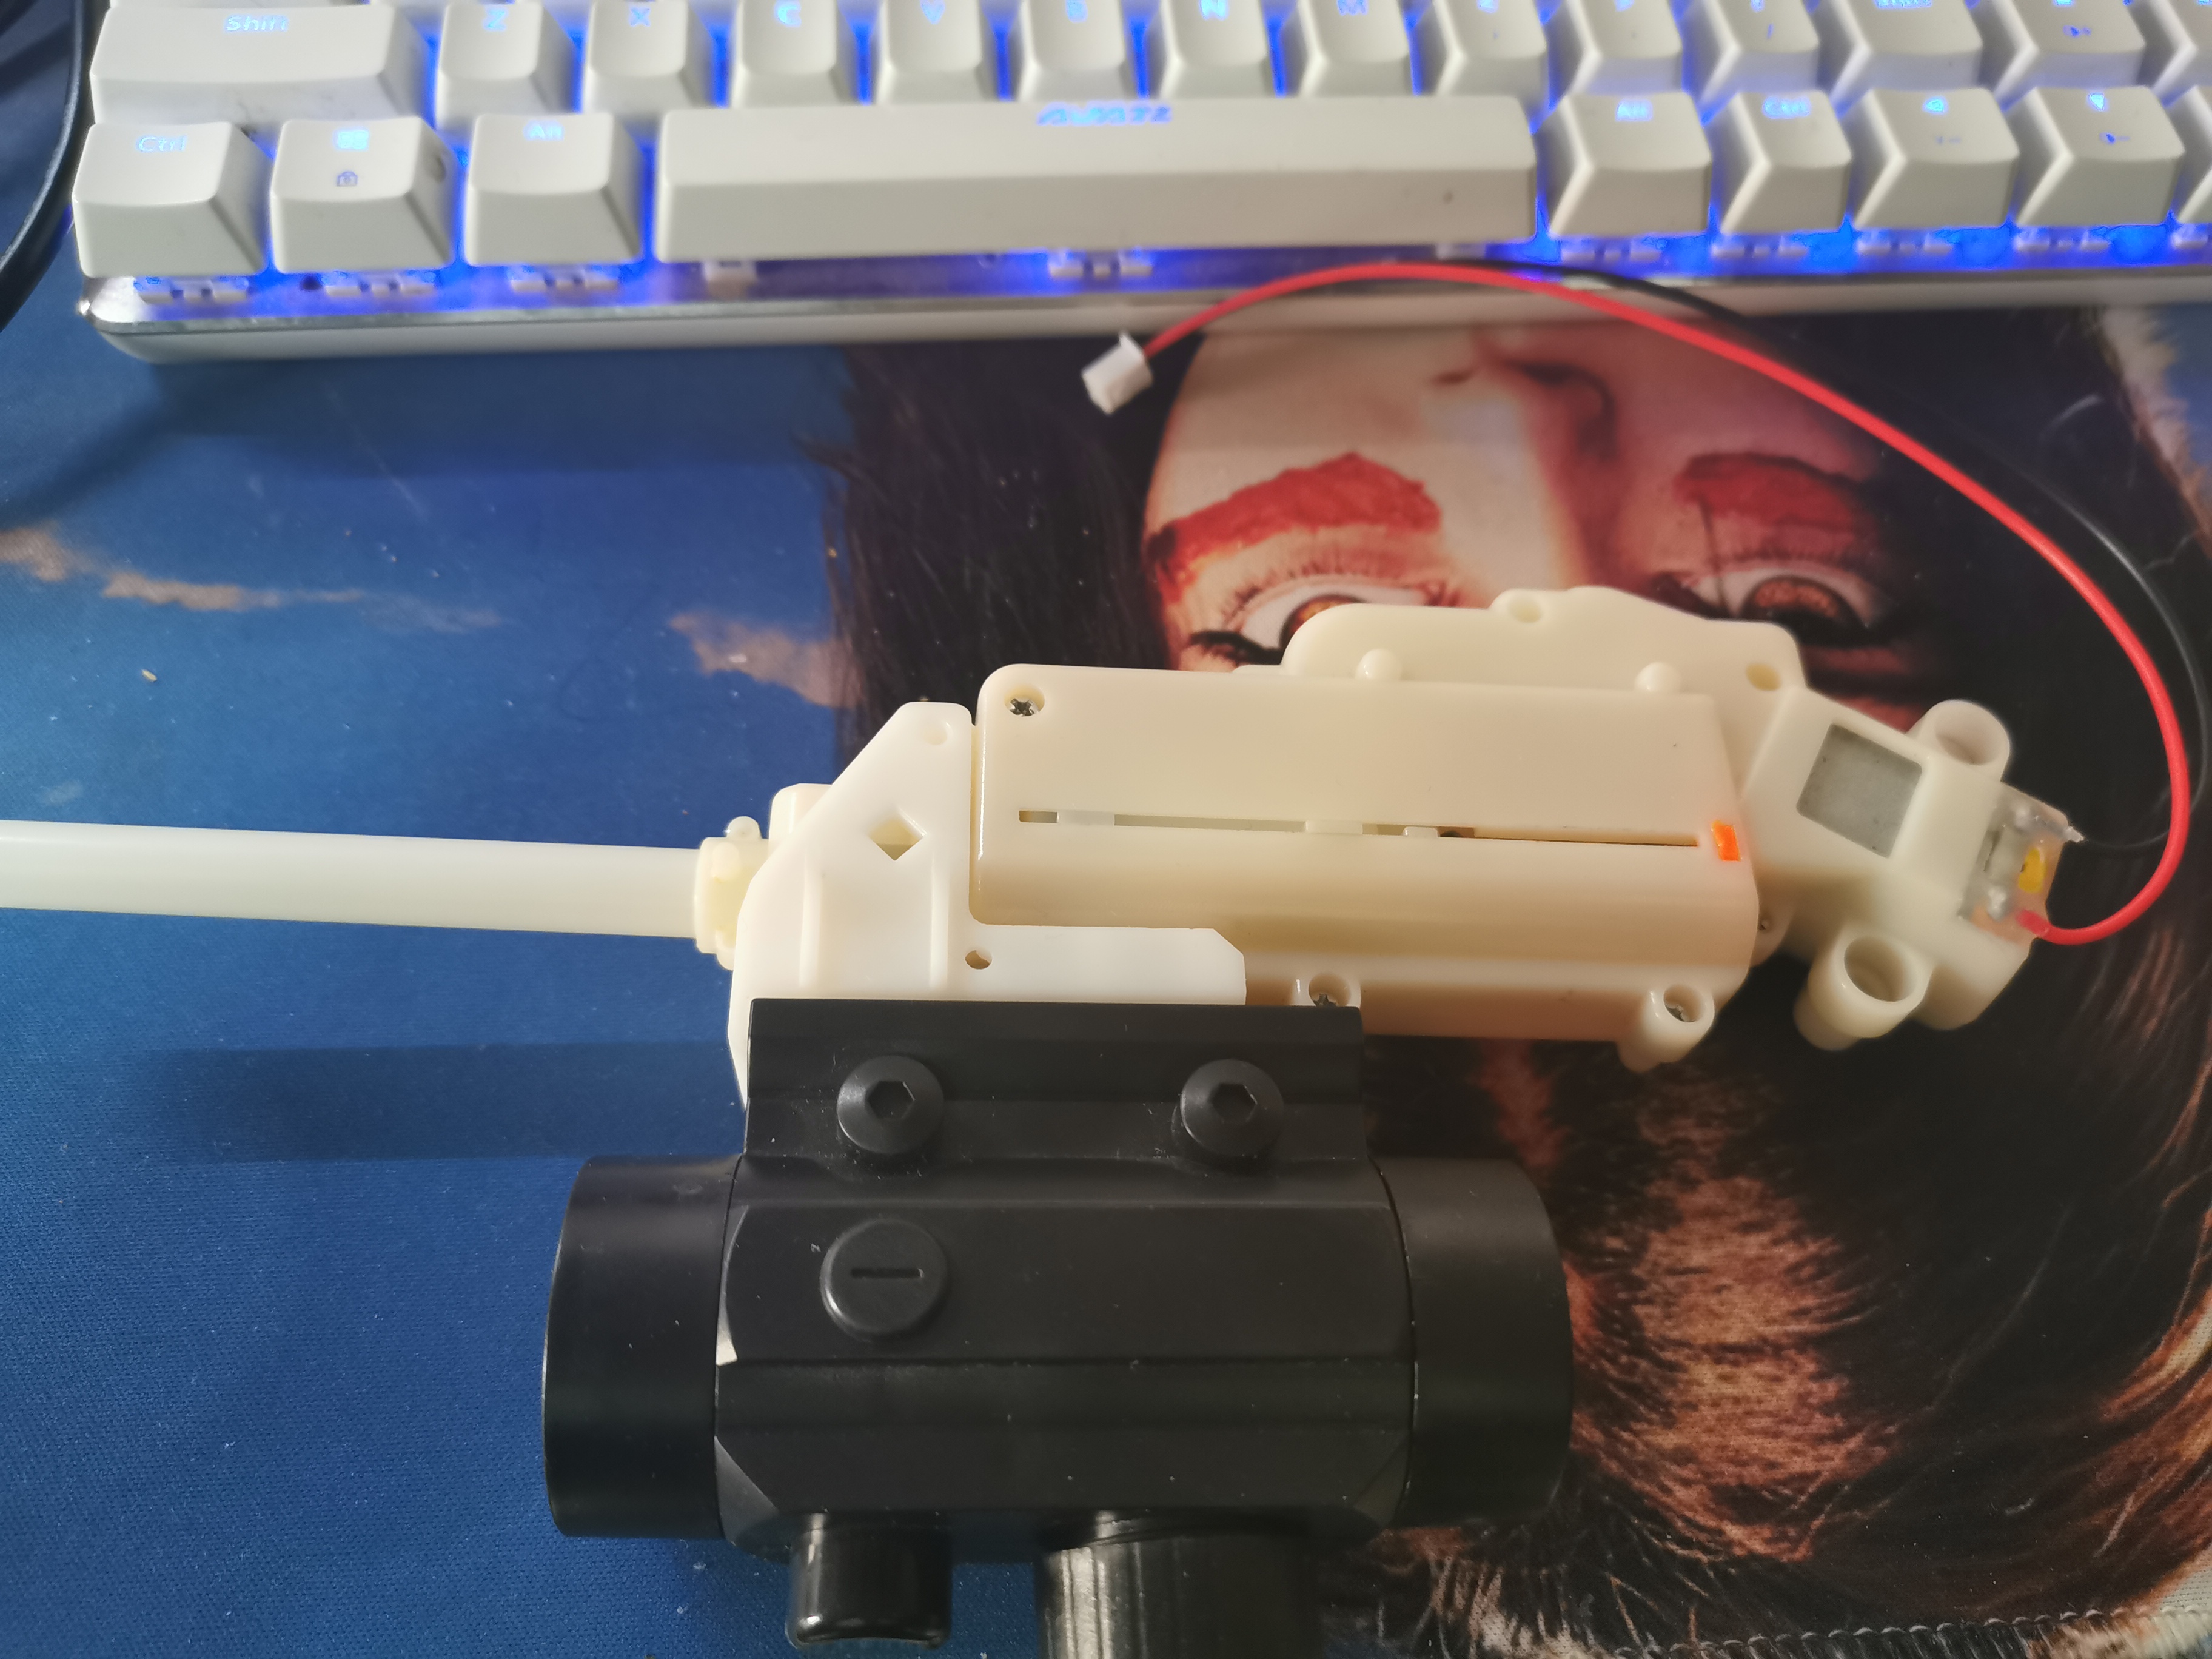
这是水弹枪的样子,淘宝有卖的,很多部件是3D打印的,如果你有打印机的话,可以找找模型自己打印。只要通电就可以连续发射水弹,通电时电流很大,所以我们需要用一个继电器来控制这个水弹枪。当然这都是后话了,我们首要任务是先让小车跑起来,然后再去添加这些花里胡哨的功能。
代码
为了更简单,我用了Flask框架做服务端。为了让代码更易懂。用面向对象的概念,把轮子类实现。
import RPi.GPIO as GPIO
SPEED = 50   #用来控制速度,pwm占空比
FREQUENCY = 6000 #pwm频率
CW = 1
CCW = 0
class Wheel:
    def __init__(self, speed_pin, direction_pin,isStop_pin):
        self.pin_speed = speed_pin
        self.pin_direction = direction_pin
        self.pin_isStop = isStop_pin
        self.isStop = True
        self.speed = SPEED
        self.direction = CW
        GPIO.setup(self.pin_speed,GPIO.OUT)
        GPIO.setup(self.pin_direction, GPIO.OUT)
        GPIO.setup(self.pin_isStop, GPIO.OUT)
        GPIO.output(self.pin_isStop, False)
        self.pwm = GPIO.PWM(self.pin_speed,FREQUENCY)
        self.pwm.start(SPEED)

    def stop(self):
        GPIO.output(self.pin_isStop,False)
        self.isStop = True

    def cw(self):
        GPIO.output(self.pin_isStop, True)
        GPIO.output(self.pin_direction,True)
        self.direction = CW
        self.isStop = False

    def ccw(self):
        GPIO.output(self.pin_isStop,True)
        GPIO.output(self.pin_direction,False)
        self.direction = CCW
        self.isStop = False
进而,我们一个小车有四个轮子,可以实现小车类
from wheel import  Wheel
import RPi.GPIO as GPIO
import wheel
#0:speed 1:direction 2:stop
class Car:
    def __init__(self,FrL_,FrR_,BeL_,BeR_):
        GPIO.setmode(GPIO.BOARD)
        self.wheelFrL = Wheel(FrL_[0],FrL_[1],FrL_[2])
        self.wheelFrR = Wheel(FrR_[0],FrR_[1],FrR_[2])
        self.wheelBeL = Wheel(BeL_[0],BeL_[1],BeL_[2])
        self.wheelBeR = Wheel(BeR_[0],BeR_[1],BeR_[2])

    def moveFront(self): #小车向前移动
        self.wheelFrL.ccw() #左前轮逆时针
        self.wheelBeR.cw()	#右后轮顺时针
        self.wheelBeL.ccw() #左后轮逆时针
        self.wheelFrR.cw()  #右前轮顺时针

    def moveBehind(self):
        self.wheelFrL.cw()
        self.wheelBeR.ccw()
        self.wheelBeL.cw()
        self.wheelFrR.ccw()
#
完整代码以后会打包贴出来,这里注意麦克纳姆轮的安装方式,我采用的是米字安装,每个电机互相配合,小车整体就会做出相应的动作。
最后要实现服务端,顺便把要显示摄像头实时画面的部分完成:
from flask import Flask
from flask import Flask, render_template, Response
import cv2
from car import Car
FrL=[7,11,13] # red blue yellow 每个轮子的三条信号线要接的引脚号
FrR=[15,29,31]
BeL=[33,35,37]
BeR=[12,16,18]
class VideoCamera(object):
    def __init__(self):
        self.cap = cv2.VideoCapture(0)

    def __del__(self):
        self.cap.release()

    def get_frame(self):
        success, image = self.cap.read()
        ret, jpeg = cv2.imencode('.jpg', image)
        return jpeg.tobytes()

app = Flask(__name__)

@app.route('/')
def hello_world():
    return render_template('index.html')

def gen(camera):
    while True:
        frame = camera.get_frame()
        yield (b'--framern'
               b'Content-Type: image/jpegrnrn' + frame + b'rnrn')

@app.route('/video_feed')
def video_feed():
    return Response(gen(VideoCamera()), mimetype='multipart/x-mixed-replace; boundary=frame')

@app.route('/front')
def front():
    car.moveFront()
    print('front') #just for debug
    return 'ok'
@app.route('/behind')
def behind():
    car.moveBehind()
    print('behind')
    return 'ok'
@app.route('/left')
#完整代码不贴了
# @app.route('/cameraLeft') #摄像头云台移动 还未完善
# @app.route('/cameraRight')
# @app.route('/cameraUp')
# @app.route('/cameraDown')

if __name__ == '__main__':
    car = Car(FrL,FrR,BeL,BeR) #实例化一个小车
    app.run()
结语
这样,在网页上可以控制小车的移动了,而且能够看到摄像头的实时画面。
自己动手做一个机甲大师 S1
最后
以上就是平常宝贝最近收集整理的关于(二)树莓派小车控制系统和实时视频传输的实现的全部内容,更多相关(二)树莓派小车控制系统和实时视频传输内容请搜索靠谱客的其他文章。
本图文内容来源于网友提供,作为学习参考使用,或来自网络收集整理,版权属于原作者所有。


![[Robomaster]算法组(视觉组)学习路线[Robomaster]算法组(视觉组)学习路线](https://www.shuijiaxian.com/files_image/reation/bcimg16.png)


发表评论 取消回复