本文实例为大家分享了Vue实现简单的留言板的具体代码,供大家参考,具体内容如下
<!DOCTYPE html>
<html>
 <head>
 <meta charset="utf-8">
 <title></title>
 <link rel="stylesheet" type="text/css" href="css/bootstrap.css" />
 <style type="text/css">
 body {
 /* margin: 0; */
 padding-left: 10px;
 }
 #app{
 width: 400px;
 height: auto;
 }
 .form-group {
 margin-top: 10px;
 }

 .form-group textarea {
 resize: none;
 height: 144px;
 width: 391px;
 border-radius: 5px;
 padding-left: 16px;
 line-height: 16px;
 padding-top: 10px;
 font-size: 16px;
 }
 .content{
 height: 244px;
 width: 391px;
 border-radius: 5px;
 padding-left: 16px;
 line-height: 10px;
 padding-top: 10px;
 font-size: 16px;
 border:1px solid #ccc;
 position: relative;
 padding-right: 10px;
 margin-bottom: 10px;
 /* 纯字母或者数字导致不能换行 */
 word-break:break-all;
 word-wrap:break-word;
 }
 .p_img{
 height: 60px;
 width: 65px;
 background-color: #ccc;
 }
 .p_img>img{
 display: block;
 height: 100%;
 width: 100%;
 }
 .p_cont{
 position: absolute;
 top: 10px;
 left: 85px;
 line-height: 24px;
 padding-right: 10px;
 width: 300px;
 height: auto;
 background-color: #ccc;
 }
 .people{
 position: absolute;
 left: 13px;
 top: 85px;
 }
 .timeDate{
 position: absolute;
 right: 10px;
 bottom: 10px;
 }
 </style>
 </head>
 <body>
 <div id="app">
 <form action="#" method="">
 <div class="form-group">
 <label for="usename">用户名:</label>
 <input type="text" name="username" id="username" v-model="username" placeholder="请输入名字">
 </div>
 <div class="form-group">
 <p><label for="cont">评论内容:</label></p>
 <textarea v-model="cont" placeholder="请输入内容"></textarea>
 </div>
 <div class="form-group" style="text-align: center;">
 <input type="button" value="添加" @click="add">
 <input type="reset" value="删除" @click="remove()">
 </div>
 </form>
 <div v-show="this.arr.length == 0">暂无留言</div>
 <div class="content" v-for="item in arr">
 <div class="p_img">
 <img :src="imgUrl"></img>
 </div>
 <div class="people">
 {{item.username}}
 </div>
 <div class="p_cont">
 <span>{{item.cont}}</span>
 </div>
 <div class="timeDate">
 {{item.timer | dataFormat}}
 </div>
 </div>

 </div>
 <script src="js/vue.js" type="text/javascript" charset="utf-8"></script>
 <script>
 // 定义全局过滤器进行时间格式化
 Vue.filter('dataFormat', function(dataStr, pattern) {
 // 根据给定的时间字符串,得到特定的时间
 console.log(dataStr)
 var dt = new Date(dataStr)
 var y = dt.getFullYear()
 var m = dt.getMonth()
 var d = dt.getDate()
 // return `${y} - ${m} -${d}`
 if (pattern && pattern.toLowerCase() === 'yyyy-mm-dd') {
 return `${y} - ${m+1} -${d}`
 } else {
 var hh = dt.getHours()
 var mm = dt.getMinutes()
 var ss = dt.getSeconds()
 return `${y}年${m+1}月${d}日 ${hh}:${mm}:${ss}`
 }
 })

 var app = new Vue({
 el: '#app',
 data: {
 username: '',
 cont:'',
 arr: [],
 imgUrl:"./images/people.jpg",
 // imgUrl:"http://wx2.sinaimg.cn/bmiddle/006WWRhNgy1gbn1bc3itdj31410u0q7y.jpg",
 // index:0
 ctime:new Date()
 },
 methods: {
 add(){
 this.arr.unshift({
 username:this.username,
 cont:this.cont,
 timer:this.ctime
 });
 this.username = '';
 this.cont = "";
 this.timer = ""
 },

 remove(index){
 this.arr.splice(index, 1);
 }
 }
 });
 </script>
 </body>
</html>
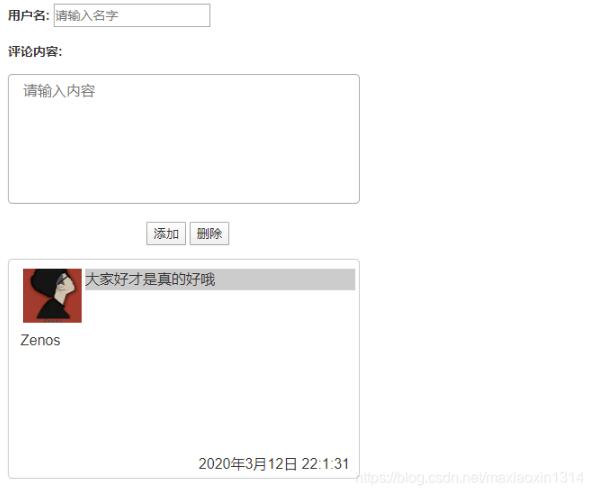
效果图:
关于vue.js组件的教程,请大家点击专题vue.js组件学习教程进行学习。
更多vue学习教程请阅读专题《vue实战教程》
以上就是本文的全部内容,希望对大家的学习有所帮助,也希望大家多多支持靠谱客。
最后
以上就是奋斗咖啡最近收集整理的关于Vue实现简单的留言板的全部内容,更多相关Vue实现简单内容请搜索靠谱客的其他文章。
本图文内容来源于网友提供,作为学习参考使用,或来自网络收集整理,版权属于原作者所有。


发表评论 取消回复