强烈推荐一个大神的人工智能的教程:http://www.captainai.net/zhanghan
【前言】
最近在对接一个第三方系统,需要接收第三方系统的回调,而且格式为XML形式,之前自己一般接收的参数是Json形式,于是乎做个实验验证一下使用SpringMvc接收xml参数请求;
【实战】
一、Pom中引入相应的Jar包
<dependency>
      <groupId>com.fasterxml.jackson.dataformat</groupId>
      <artifactId>jackson-dataformat-xml</artifactId>
      <version>2.9.7</version>
</dependency>
二、重要代码展示
package com.zhanghan.zhboot.controller.request;
import com.fasterxml.jackson.dataformat.xml.annotation.JacksonXmlProperty;
import com.fasterxml.jackson.dataformat.xml.annotation.JacksonXmlRootElement;
import lombok.Data;
@JacksonXmlRootElement(localName = "school")
@Data
public class XmlRequest {
@JacksonXmlProperty(localName = "id")
private Integer id;
@JacksonXmlProperty(localName = "name")
private String name;
@JacksonXmlProperty(localName = "shortname")
private String shortName;
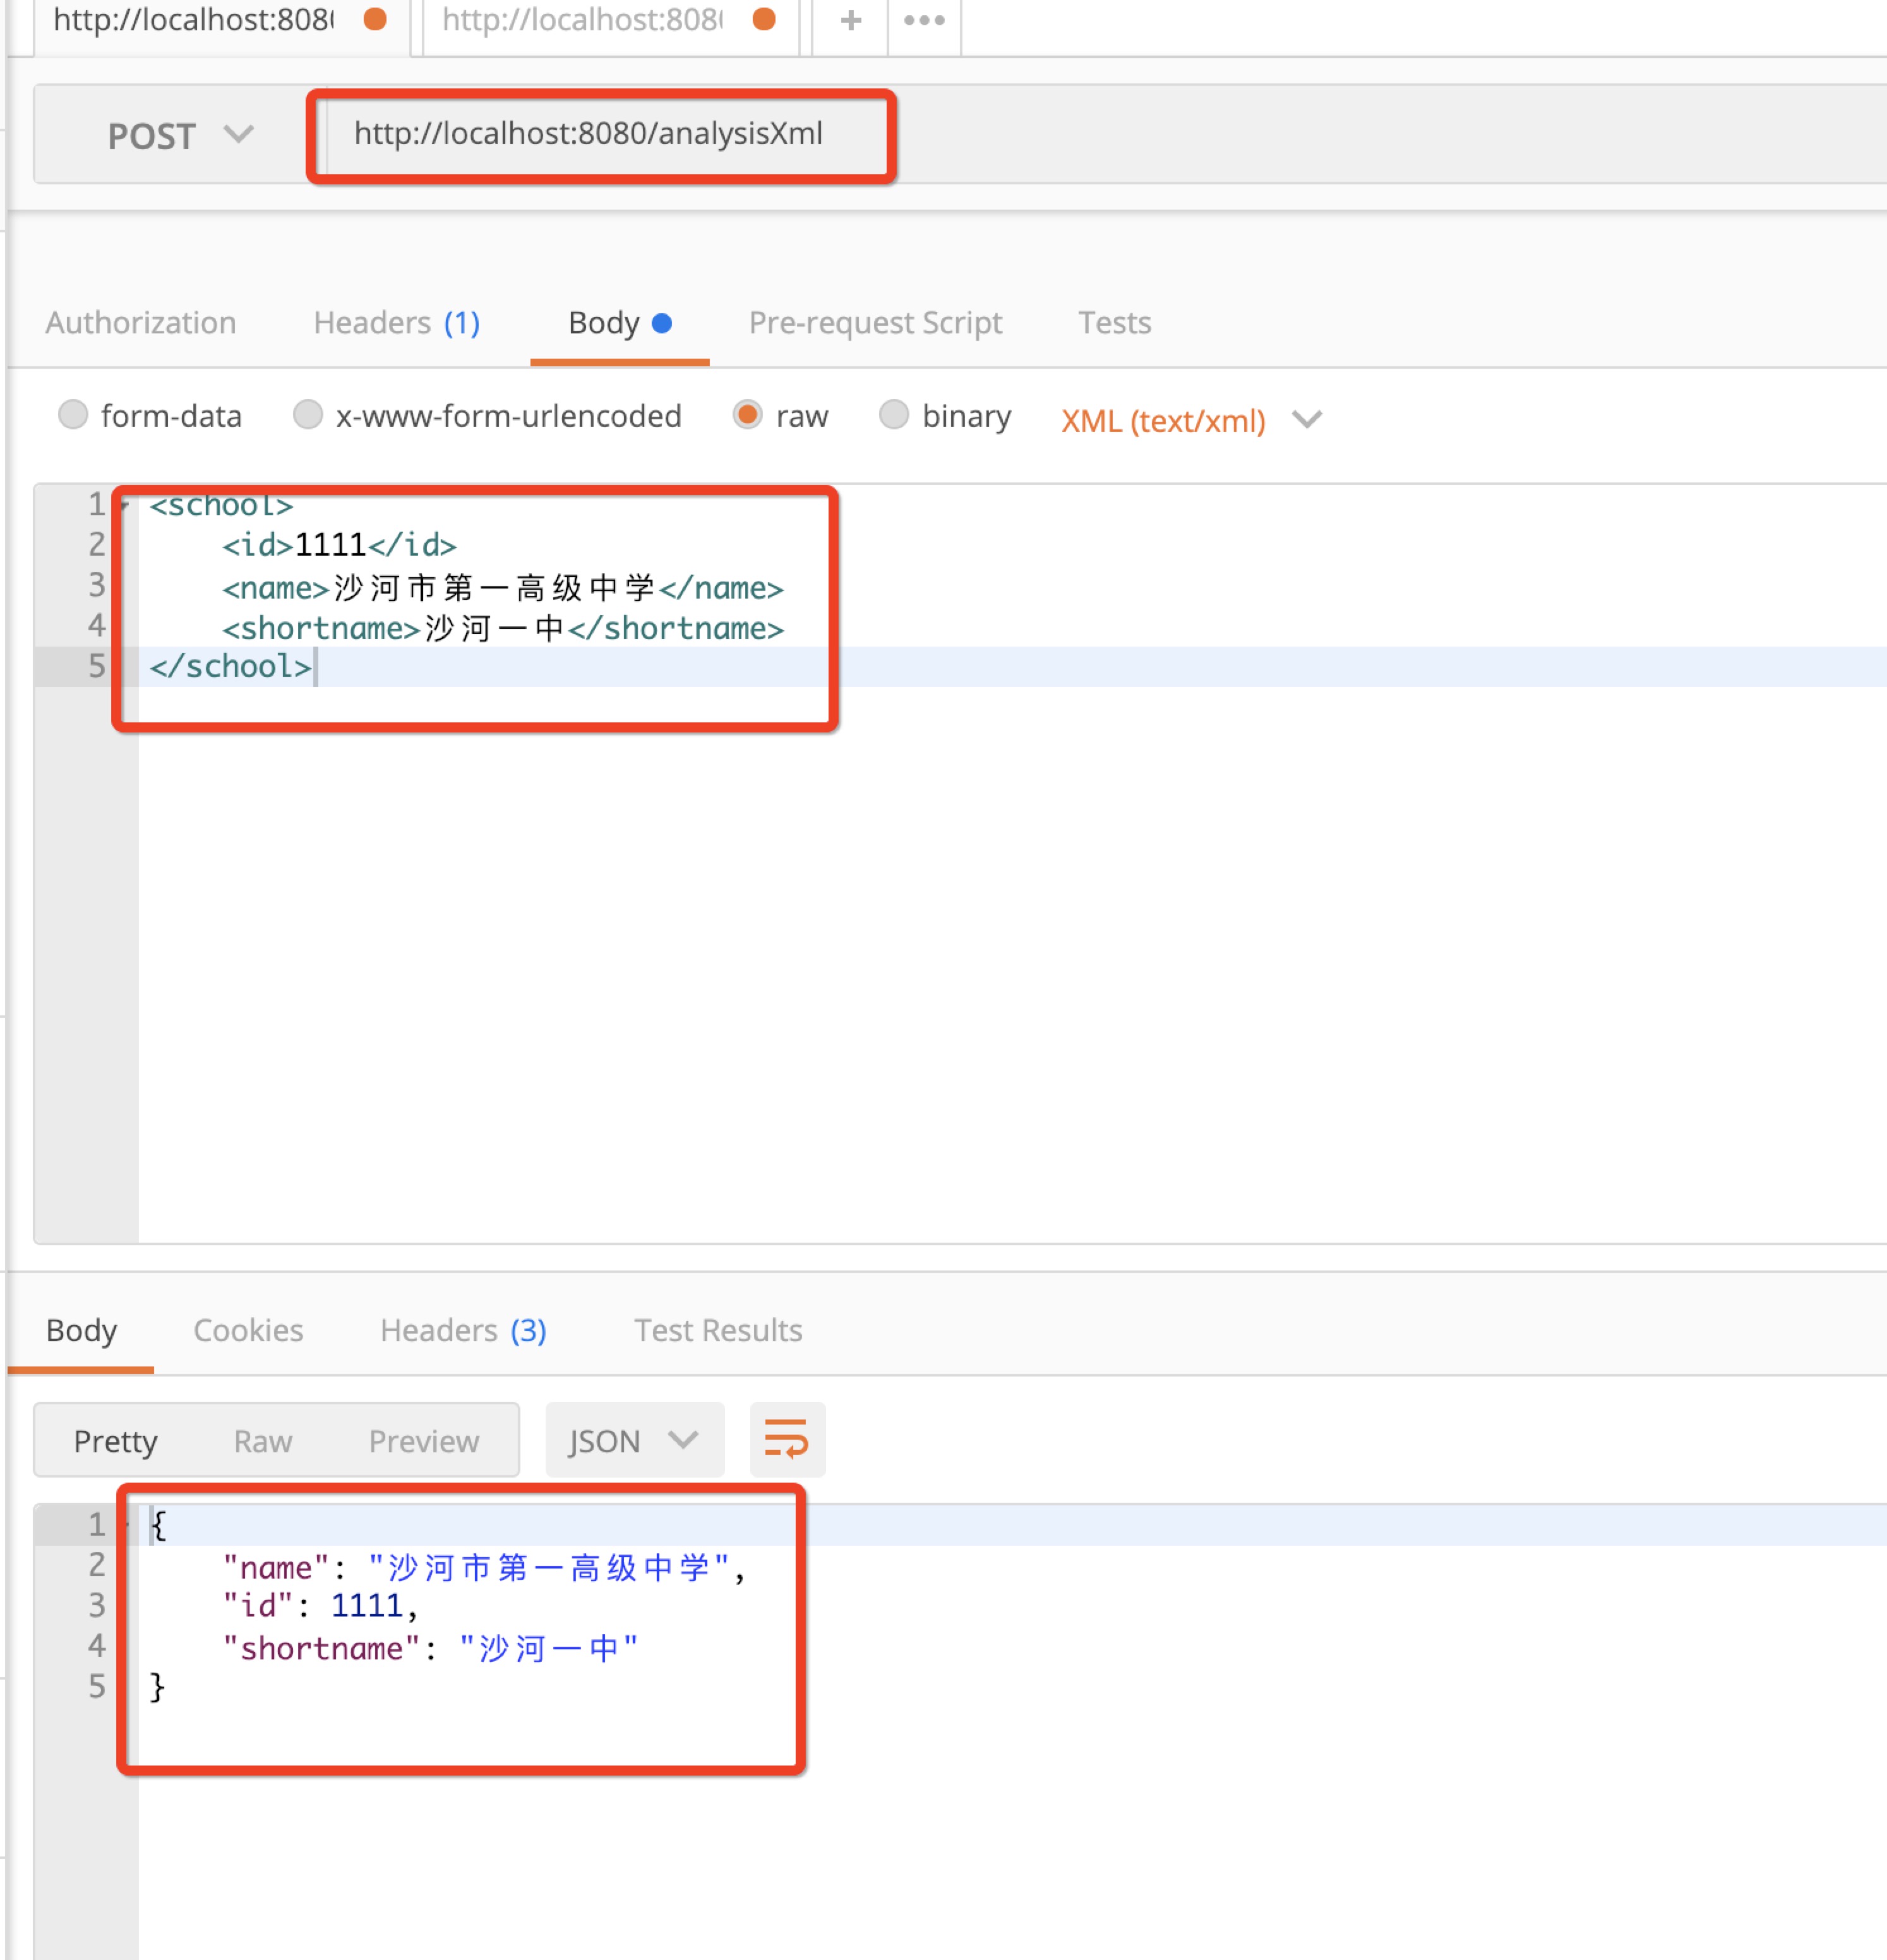
}三、效果图
四、项目地址及代码版本(注:项目中使用了Lombok,项目接入Lombok,参考:使用Lombok简化你的代码)
1、地址:https://github.com/dangnianchuntian/springboot
2、代码版本:1.0.0-Release
【小结】
不断的去实践;
分享交流与大家一起进步。
最后
以上就是诚心小懒虫最近收集整理的关于SpringBoot实战(二):SpringMvc接收xml请求的全部内容,更多相关SpringBoot实战(二)内容请搜索靠谱客的其他文章。
本图文内容来源于网友提供,作为学习参考使用,或来自网络收集整理,版权属于原作者所有。


发表评论 取消回复