1 理论部分
符号说明
| 符号 | 含义 |
|---|---|
| λ lambda λ | 经度 |
| ϕ phi ϕ | 纬度 |
| ϕ 1 phi_1 ϕ1 | 标准纬线 |
| ϕ 0 phi_0 ϕ0 | 中心经线 |
| λ 0 lambda_0 λ0 | 中心纬线 |
| x x x | 平面横坐标 |
| y y y | 平面纵坐标 |
| R R R | 球体半径 |
1.1 Forward 投影
从球的表面投影到平面。
x = R ( λ − λ 0 ) c o s ϕ 1 y = R ( ϕ − ϕ 0 ) begin{aligned} x&=R(lambda-lambda_0)cosphi_1 \ y&=R(phi-phi_0) end{aligned} xy=R(λ−λ0)cosϕ1=R(ϕ−ϕ0)
1.2 Reverse 投影
从平面投影到球表面。
λ
=
x
R
c
o
s
ϕ
1
+
λ
0
ϕ
=
y
R
+
ϕ
0
begin{aligned} lambda&=frac{x}{Rcosphi_1}+lambda_0 \ phi&=frac{y}{R}+phi_0 end{aligned}
λϕ=Rcosϕ1x+λ0=Ry+ϕ0
1.3 标准纬线
标准纬线是圆柱与球体相切或相割的纬线。
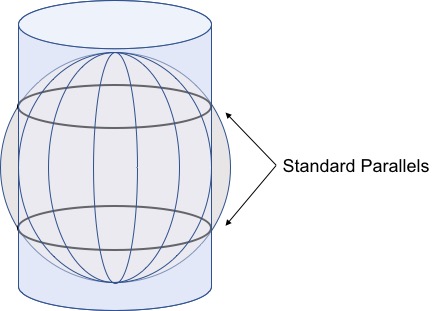
对于全景图片(视频)来说,标准纬线为赤道。此时 c o s ϕ 1 = 1 cosphi_1=1 cosϕ1=1。
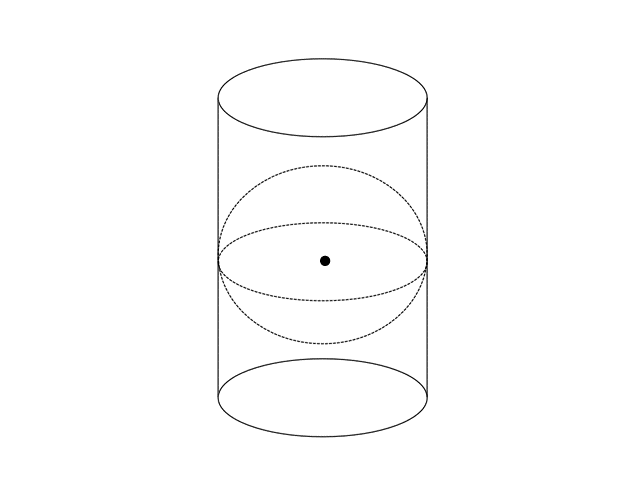
1.4 极坐标转直角坐标
1.4.1 表示图

1.4.2 Python 代码
import numpy as np
import matplotlib.pyplot as plt
import mpl_toolkits.mplot3d as p3d
import math
from PIL import Image

fig = plt.figure()
ax = p3d.Axes3D(fig, auto_add_to_figure=False)
fig.add_axes(ax)

z = []
x = []
y = []
c = []
img = Image.open('000.png')
img_array = np.array(img, dtype=np.float) / 255.0
N, M, C = img_array.shape

r = (N / math.pi + M / (2 * math.pi)) / 2
for j in range(N):
    for i in range(M):
        theta = j / N * math.pi
        phi = (i - (M - 1) / 2) / M * 2 * math.pi
        x.append(r * math.sin(theta) * math.cos(phi))
        y.append(r * math.sin(theta) * math.sin(phi))
        z.append(r * math.cos(theta))
        c.append((img_array[j, i, 0], img_array[j, i, 1], img_array[j, i, 2]))

ax.scatter(x, y, z, c=c)
plt.show()
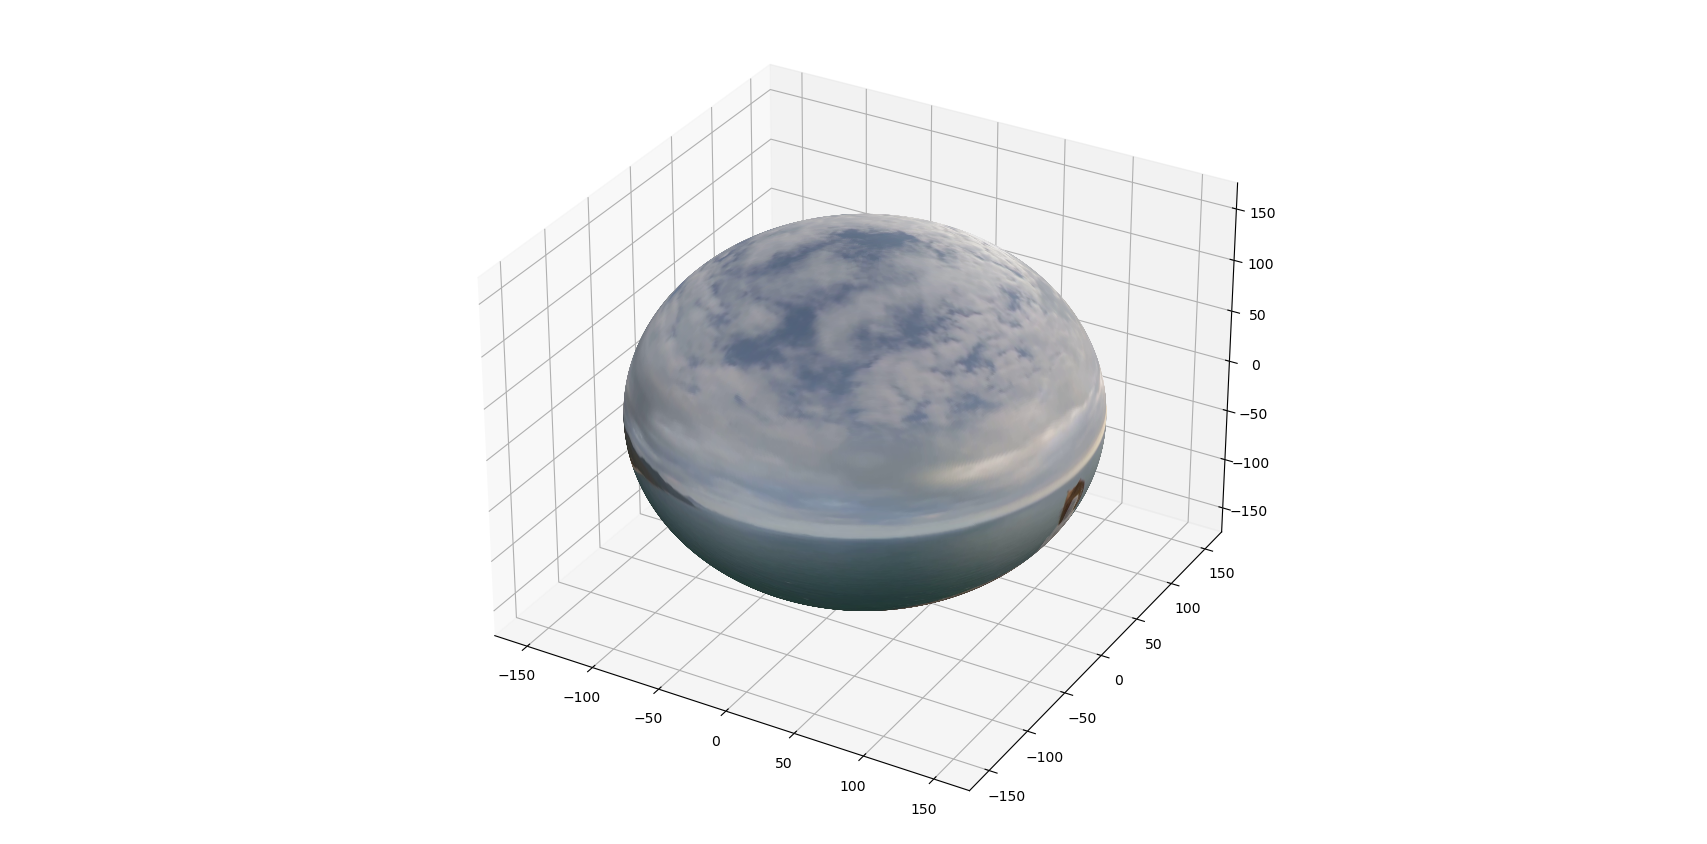
2 效果展示
2.1 原图

2.2 效果图
为展示方便,绘制在了球体外表面。

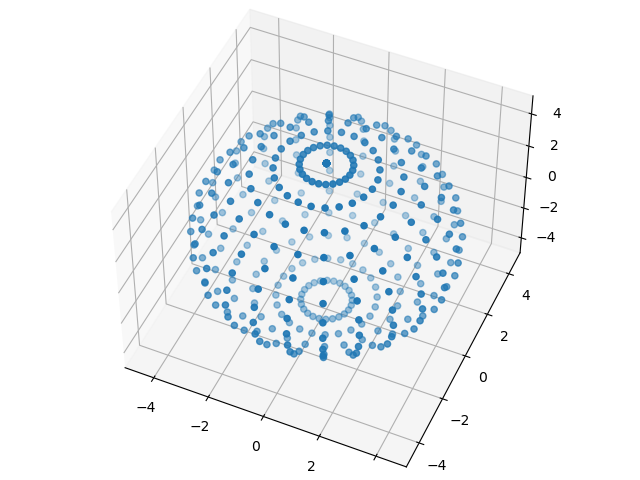
2.3 稀疏图
外表面。

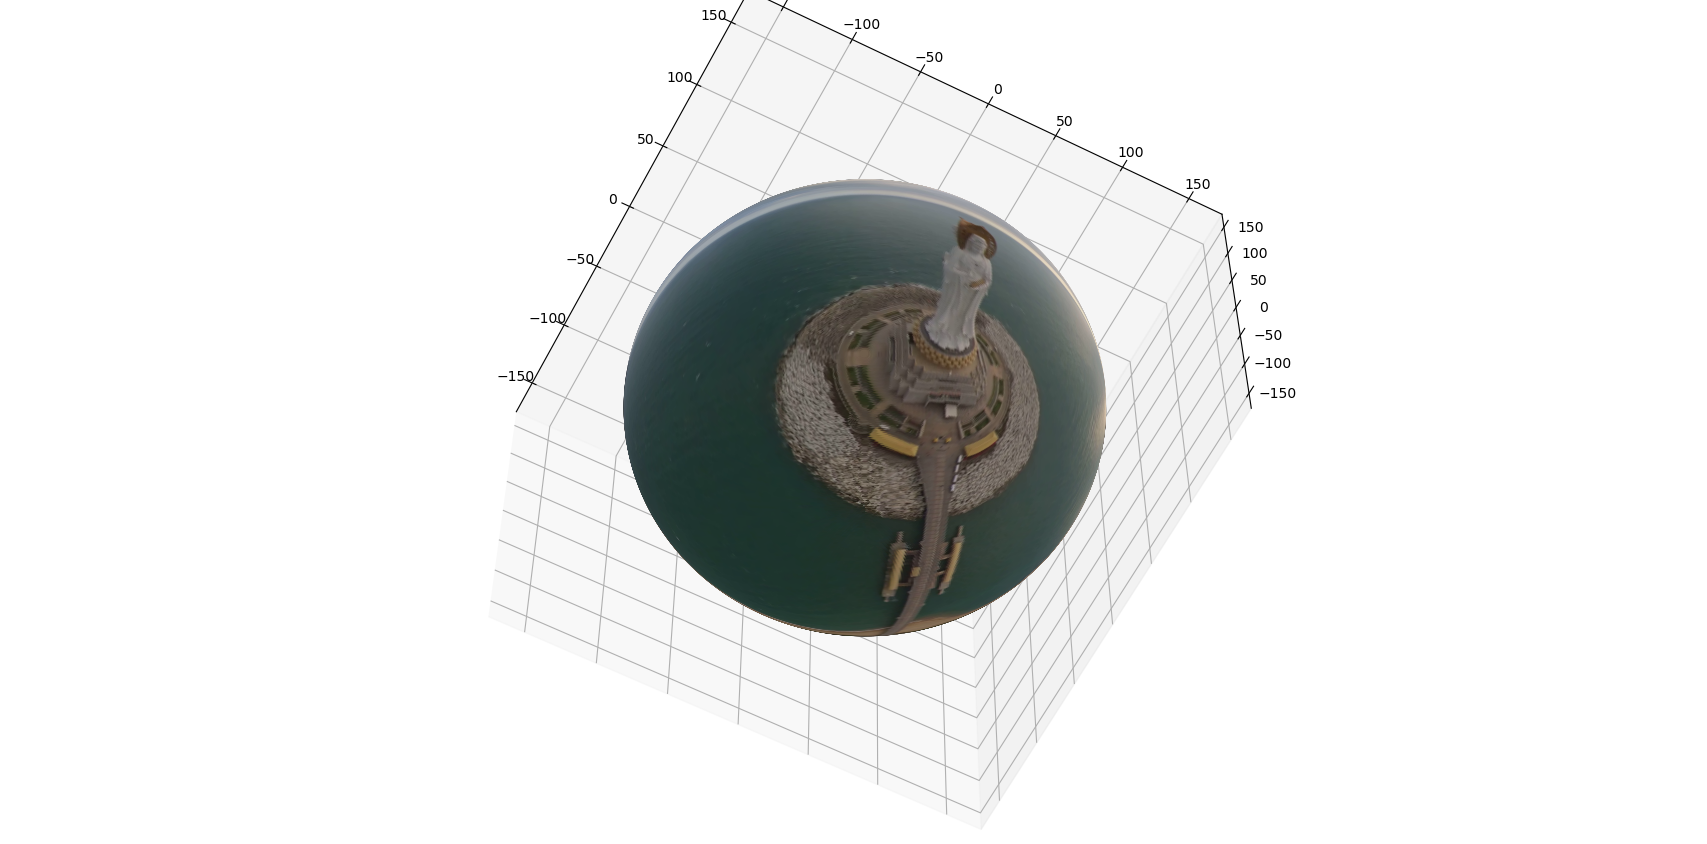
2.3 稀疏图
最后
以上就是心灵美哑铃最近收集整理的关于等距圆柱投影的全部内容,更多相关等距圆柱投影内容请搜索靠谱客的其他文章。


![[OpenGL]从零开始写一个Android平台下的全景视频播放器——5.1 使用OpenGL把全景视频贴到球上](https://www.shuijiaxian.com/files_image/reation/bcimg3.png)

发表评论 取消回复