转载请注明出处,谢谢。
1、安装环境
基于ubuntu20.04 内核5.4.0安装
dpdk 20.08
2、安装dpdk所需库
需要安装两个库文件
sudo apt-get install numactl
sudo apt-get install libnuma-dev
3、安装meson+ninja
首先安装ninja依赖re2c
apt-get install re2c
下载ninja
git clone https://github.com/ninja-build/ninja.git
进入ninja 文件夹,执行ninja安装脚本(需要python和g++)
./configure.py --bootstrap
cp ./ninja /usr/bin
apt-get install meson
4、使用meson 编译dpdk
进入dpdk20-08/
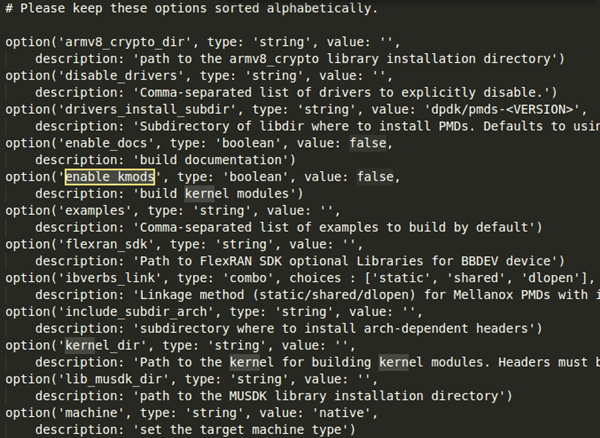
修改meson_option.txt 选择要编译的内核模块,例如kmods:将value的值改为true
4.1、驱动补充
20.11版本以后dpdk移除了igb驱动,需要自行下载编译
git clone http://dpdk.org/git/dpdk-kmods
cd dpdk-kmods/linux/igb_uio
make
modprobe uio_pci_generic
insmod igb_uio.ko
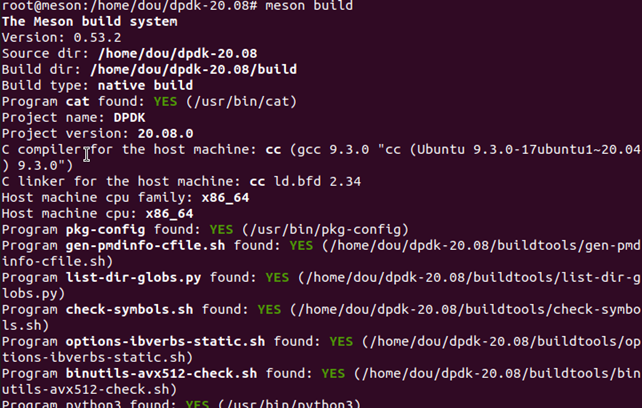
执行meson build (这一部分用来检查并构建文件依赖,需要apt-get install make)
继续
进入 build/
执行ninja 进行编译(大约2000+的文件)
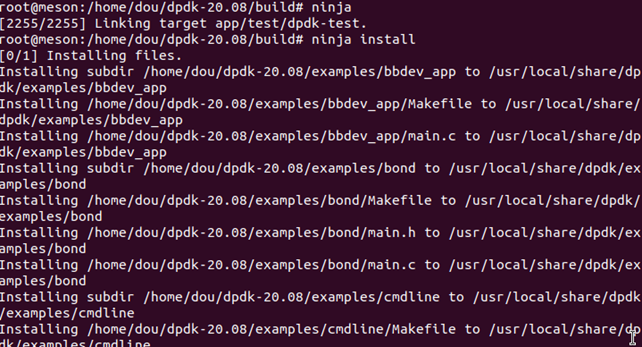
执行ninja install
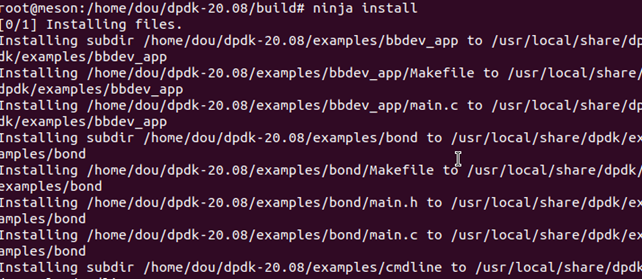
这里将生成的库,驱动程序和头文件安装到系统上-通常在/ usr / local/中。
同时在bin/加入了dpdk py脚本。可以直接执行dpdk的一些py脚本等,比如网卡绑定。
生成的依赖路径:
headers -> /usr/local/include
libraries -> /usr/local/lib64
drivers -> /usr/local/lib64/dpdk/drivers
libdpdk.pc -> /usr/local/lib64/pkgconfig
5、编译app代码
编译方法一:
build/目录中
meson configure –Dexamples=all或者meson configure –Dexamples=helloworld,l2fwd
然后执行ninja

编译完的app在build/examples下

直接执行app即可
编译方法二:
安装后,要使用DPDK,可以从pkg-config获取必需的CFLAG和LDFLAG变量:
在app中编写meeson.build例如:
project('dpdk-app', 'c')
dpdk = dependency('libdpdk')
sources = files('main.c')
executable('dpdk-app', sources, dependencies: dpdk)
引入环境变量 export RTE_SDK=/home/dou/dpdk-20.08
然后引入pkgconfig依赖 export PKG_CONFIG_PATH=/usr/local/lib64/pkgconfig
引入librte*动态库依赖 export LD_LIBRARY_PATH=/usr/local/lib64
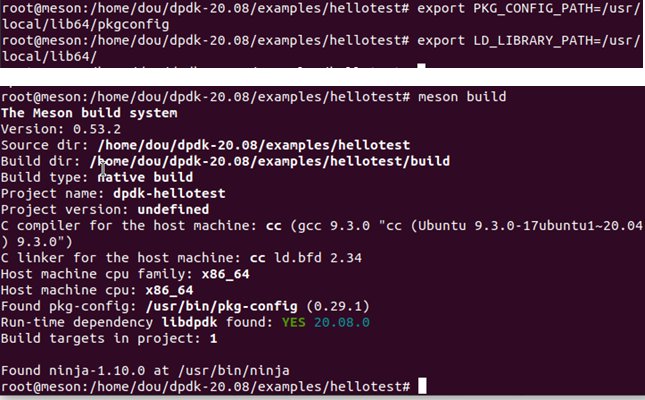
执行meson build

进入build/
执行ninja进行编译
最后执行app
6、网卡端口和大页配置
模块配置同以前一样,模块位置:dpdk-20.08/build/kernel/linux
端口仍然使用usertool的devbind.py进行绑定即可
大页配置按照以前的方法配置即可
7、其他配置案例
(需要什么模块,在build/目录下指定编译或者修改meson_option.txt):
Examples of adjusting the defaults when doing initial meson configuration. Project-specific options are passed used -Doption=value:
meson --werror werrorbuild # build with warnings as errors
meson --buildtype=debug debugbuild # build for debugging
meson -Dexamples=l3fwd,l2fwd fwdbuild # build some examples as
# part of the normal DPDK build
meson -Dmax_lcores=8 smallbuild # scale build for smaller systems
meson -Denable_docs=true fullbuild # build and install docs
meson -Dmachine=default # use builder-independent baseline -march
meson -Ddisable_drivers=event/*,net/tap # disable tap driver and all
# eventdev PMDs for a smaller build
meson -Denable_trace_fp=true tracebuild # build with fast path traces
# enabled
Examples of setting some of the same options using meson configure:
meson configure -Dwerror=true
meson configure -Dbuildtype=debug进入debug模式,所有文件需要重新编译
meson configure -Dexamples=l3fwd,l2fwd
meson configure -Dmax_lcores=8
meson configure -Denable_trace_fp=true
最后重新执行ninja 进行编译
note:对于已经编译过或未修改的文件不再重复编译。
最后
以上就是清爽金毛最近收集整理的关于meson ninja调试dpdk的全部内容,更多相关meson内容请搜索靠谱客的其他文章。


发表评论 取消回复