1. 获取Registry镜像
$ sudo docker pull registry
2. 启动Registry
$ sudo docker run -d -p 8100:5000 -v /opt/registry:/var/lib/registry --restart=always --name registry registry:latest
[wxt@localhost ~]$ sudo docker run -d -p 8100:8100 -v /opt/registry:/var/lib/registry --restart=always --name registry registry:latest
/usr/bin/docker-current: Error response from daemon: Conflict. The container name “/registry” is already in use by container 7d56c5eae33db32c1236c15c34160d404123e07154fea02881cd592a17b37a51. You have to remove (or rename) that container to be able to reuse that name…
See ‘/usr/bin/docker-current run --help’.
此时看到是错误的,不能启动容器,此时我们查看已停止的容器,并将停止的容器删除。
[wxt@localhost ~]$ sudo docker ps -a
CONTAINER ID IMAGE COMMAND CREATED STATUS PORTS NAMES
7d56c5eae33d registry:latest “/entrypoint.sh /e…” About an hour ago Exited (2) 2 minutes ago registry
d605c070f7aa jdk-8u201:1.0 “/bin/bash” 19 hours ago Exited (137) 17 minutes ago fervent_kilby
查看是否启动成功
[wxt@localhost ~]$ sudo docker ps
CONTAINER ID        IMAGE               COMMAND                  CREATED             STATUS              PORTS                    NAMES
7d56c5eae33d        registry:latest     "/entrypoint.sh /e..."   15 seconds ago      Up 14 seconds       0.0.0.0:8100->5000/tcp   registry
通过命令查看到现在Registry私库没有镜像文件
[wxt@localhost ~]$ curl  http://10.168.xx.xx:8100/v2/_catalog
{"repositories":[]}
下面我们就将镜像上传到我们的私库。
#在本地host上面,给jdk-8u201添加新的tag
[wxt@localhost ~]$ sudo docker tag f1ee62462c0d 10.168.14.40:8100/jdk_8u201
[wxt@localhost ~]$ sudo docker images
REPOSITORY                    TAG                 IMAGE ID            CREATED             SIZE
10.168.xx.xx:8100/jdk_8u201   latest              f1ee62462c0d        23 hours ago        598 MB
jdk-8u201                     1.0                 f1ee62462c0d        23 hours ago        598 MB
docker.io/registry            latest              d0eed8dad114        3 weeks ago         25.8 MB
docker.io/centos              7                   1e1148e4cc2c        2 months ago        202 MB
3. 将镜像上传到私库中
#docker push <registry_ip>:<registry_port>/<image_name>:<image_tag>
sudo docker push 10.168.xx.xx:8100/jdk_8u201
若出现如下错误:
[wxt@localhost ~]$ sudo docker push 10.168.xx.xx:8100/jdk_8u201
The push refers to a repository [10.168.xx.xx:8100/jdk_8u201]
Get https://10.168.xx.xx:8100/v1/_ping: http: server gave HTTP response to HTTPS client
修改文件/usr/lib/systemd/system/docker.service,在ExecStart=/usr/bin/dockerd后面添加–insecure-registry 10.168.xx.xx:8100,然后重启docker服务
此时我们在查看Registry私库就可以看到我们上传的镜像文件。
[wxt@localhost ~]$ curl  http://10.168.xx.xx:8100/v2/_catalog
{"repositories":["jdk_8u201"]}
4. 从私库拉取镜像
# docker pull <registry_ip>:<registry_port>/<image_name>:<image_tag>
sudo docker pull 10.168.xx.xx:8100/jdk_8u201
5.停止及删除Registry容器
$ sudo docker container stop registry && docker container rm -v registry
Harbor私库搭建
Harbor和Registry都是Docker的镜像仓库,但是Harbor作为更多企业的选择,是因为相比较于Regisrty来说,它具有很多的优势。
Docker的镜像的管理,出于各种考虑,很多企业会搭建自己的私有仓库。而为企业提供私有仓库的搭建,从商业的到开源的Harbor都不是第一个。Docker的V2也能方便的提供类似功能,但是原生态的V2给人感觉更接近于原始态,当然这个只是其将用户引导到收费的dockerhub上的工具,自然可以理解。而Vmware给出的开源的企业级Registry的解决方案,让人觉得使用起来更加方便。并且这似乎是vmware中国团队提供的功能,无形之中又有了更多的亲切感,看到越来越多的中国团队出现在开源的前沿,实在是很开心的一件事情
在实际生产运维的中,往往需要把镜像发布到几十或上百台集群节点上。这时,单个Registry已经无法满足大量节点的下载需求,因此要配置多个Registry实例做负载均衡。手工维护多个Registry实例上的镜像,将是十分繁琐的事情。Harbor可以支持一主多从的镜像发布模式,可以解决大规模镜像发布的难题。
| 优势 | 详细说明 |
|---|---|
| 提供分层传输机制,优化网络传输 | Docker镜像是是分层的,而如果每次传输都使用全量文件(所以用FTP的方式并不适合),显然不经济。必须提供识别分层传输的机制,以层的UUID为标识,确定传输的对象 |
| 提供WEB界面,优化用户体验 | 只用镜像的名字来进行上传下载显然很不方便,需要有一个用户界面可以支持登陆、搜索功能,包括区分公有、私有镜像 |
| 镜像复制 | 在实例之间复制镜像 |
| 审计 | 所有访问Registry服务的操作均被记录,便于日后审计。 |
| 安全性 | 对于不同的职位人员,分配不同的权限,具有更好的安全性 |
1.下载Harbor安装包
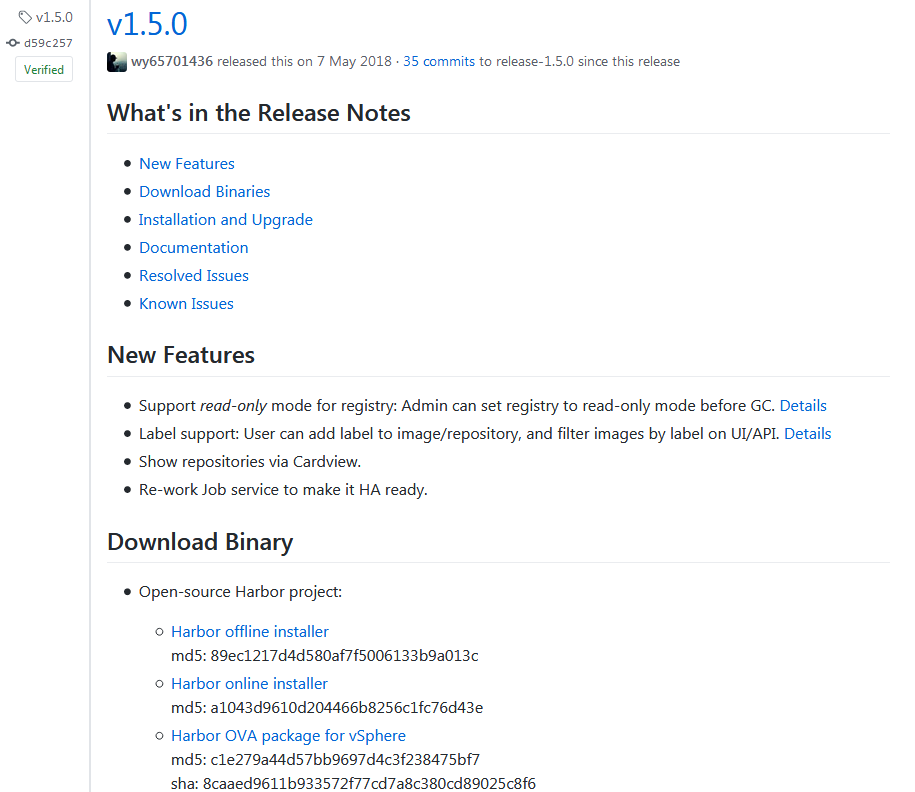
harbor 最新版1.7.1在安装后无法登陆到harbor ui,而1.6.0版本安装后删除镜像后重新上传镜像提示已存在,并且harbor ui显示的镜像大小为0,经过验证harbor 1.5.0版本较为稳定。
安装有两种方式,一种是offline ,一种是online,即离线和在线安装。
$ tar -zxvf harbor-online-installer-v1.5.0.tgz
$ cd harbor
$ vi harbor.cfg
将hostname配置为服务器对应IP
hostname = 10.168.xx.xx
$ sudo ./prepare

Generated and saved secret to file: /data/secretkey
Generated configuration file: ./common/config/nginx/nginx.conf
Generated configuration file: ./common/config/adminserver/env
Generated configuration file: ./common/config/core/env
Generated configuration file: ./common/config/registry/config.yml
Generated configuration file: ./common/config/db/env
Generated configuration file: ./common/config/jobservice/env
Generated configuration file: ./common/config/jobservice/config.yml
Generated configuration file: ./common/config/log/logrotate.conf
Generated configuration file: ./common/config/registryctl/env
Generated configuration file: ./common/config/core/app.conf
Generated certificate, key file: ./common/config/core/private_key.pem, cert file: ./common/config/registry/root.crt
The configuration files are ready, please use docker-compose to start the service.
执行安装
[wxt@localhost harbor]$ sudo ./install.sh

[Step 0]: checking installation environment ...

Note: docker version: 1.13.1
✖ Need to install docker-compose(1.7.1+) by yourself first and run this script again.
需要换成另外一种安装方法docker-compose up -d
此提示需要我们安装docker-compose
$ sudo curl -L "https://github.com/docker/compose/releases/download/1.23.2/docker-compose-$(uname -s)-$(uname -m)" -o /usr/local/bin/docker-compose
$ sudo chmod +x /usr/local/bin/docker-compose
$ docker-compose --version
docker-compose version 1.23.2, build 1110ad01
安装完成docker-compose后我们执行docker-compose up -d此时提示:
ERROR: Couldn't connect to Docker daemon at http+docker://localhost - is it running?
If it's at a non-standard location, specify the URL with the DOCKER_HOST environment variable.
原因在于当前用户没有docker的使用权限,需要使用sudo,我们修改docker权限。
$ sudo chmod 666 /var/run/docker.sock
现在就可以在非root用户下运行docker了,此时我们可以看到正在下载harbor相关文件
[wxt@localhost harbor]$ docker-compose up -d
Creating network "harbor_harbor" with the default driver
Pulling log (goharbor/harbor-log:v1.5.0)...
Trying to pull repository docker.io/goharbor/harbor-log ...
sha256:27f9e24f28393a6052b71c93b1571f2269e1d3c489f4081996a099ac88ff56ff: Pulling from docker.io/goharbor/harbor-log
51be32cd3c9d: Downloading [==================================>                ] 34.06 MB/49.28 MB
fd9cdcfcef45: Download complete
4167b797c339: Download complete
b22d11b0e478: Download complete
d5aad3df7cee: Download complete
bd43de1bbd44: Download complete
7494eff3da48: Download complete
修改harbor默认端口80为8101
$ vi docker-compose.yml

proxy:
    image: goharbor/nginx-photon:v1.5.0
    container_name: nginx
    restart: always
    volumes:
      - ./common/config/nginx:/etc/nginx:z
    networks:
      - harbor
    ports:
      - 8101:80
      - 443:443
      - 4443:4443
    depends_on:
      - postgresql
      - registry
      - ui
      - log
 $ vi common/templates/registry/config.yml
 auth:
  token:
    issuer: harbor-token-issuer
    realm: $public_url:8101/service/token
    rootcertbundle: /etc/registry/root.crt
    service: harbor-registry
启动harbor
 $ docker-compose start
 $ docker-compose stop
或者
$ docker-compose up -d
$ docker-compose down -v
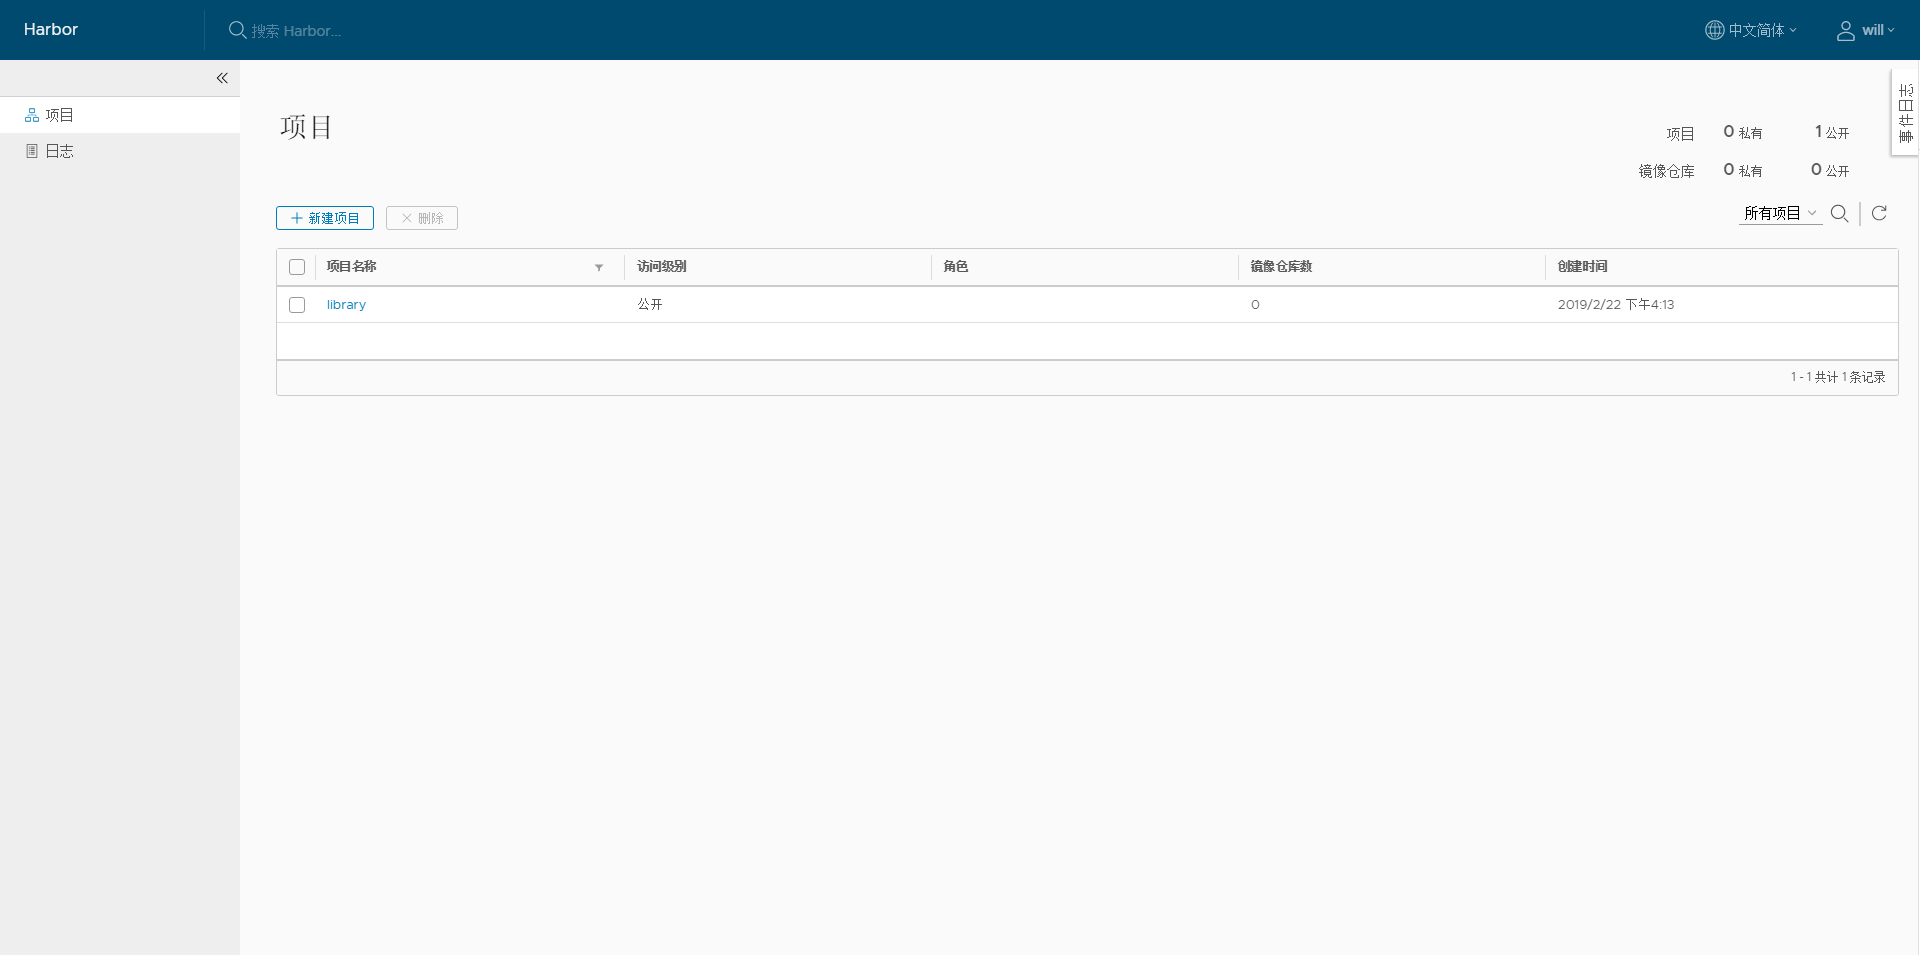
浏览器访问就可以进入我们的harbor页面
 >默认用户名是admin,密码是Harbor12345
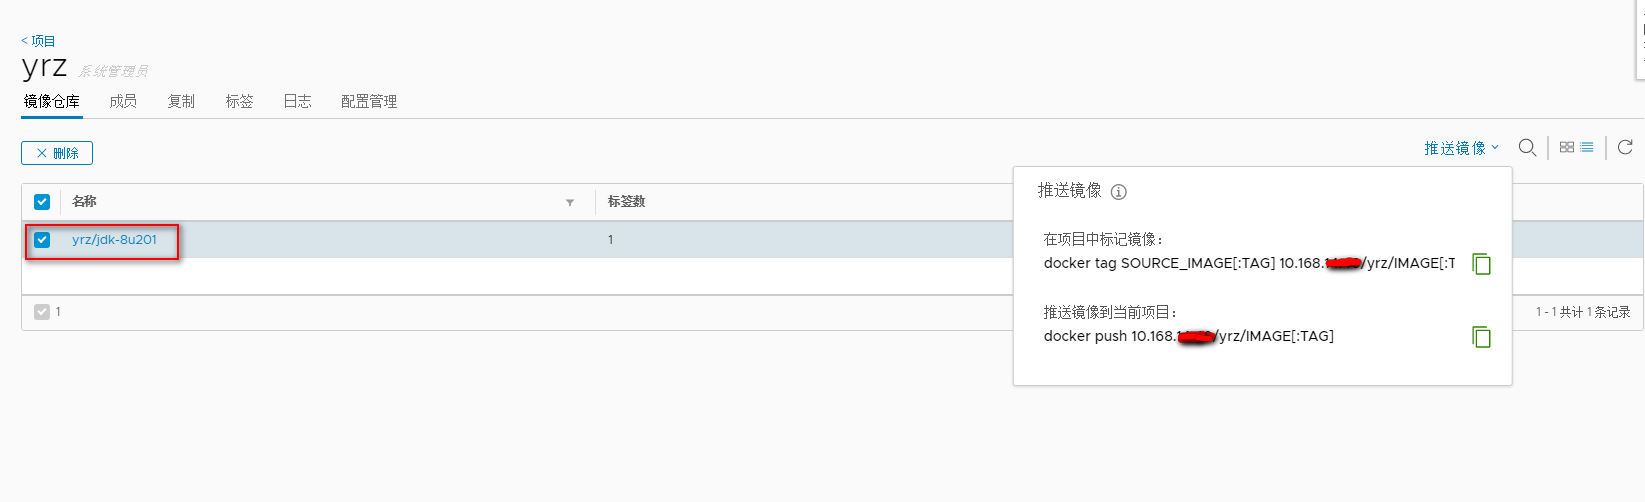
3.向Harbor上传镜像
在项目中标记镜像:
#docker tag SOURCE_IMAGE[:TAG] 10.168.xx.xx/yrz/IMAGE[:TAG]
$ sudo docker tag jdk-8u201:1.0 10.168.xx.xx/yrz/jdk-8u201:1.0
推送镜像到当前项目:
# docker push 10.168.xx.xx/yrz/IMAGE[:TAG]
$ sudo docker push 10.168.xx.xx:8101/yrz/jdk-8u201:1.0
此时出现如下异常:
The push refers to a repository [10.168.xx.xx:8101/yrz/jdk-8u201]
35b842b71126: Preparing
071d8bd76517: Preparing
denied: requested access to the resource is denied
解决方案:
登录harbor即可
$ docker login 10.168.xx.xx:8101
Username: admin
Password:
Login Succeeded
若出现如下错误:
Get https://10.168.xx.xx:8101/v1/_ping: http: server gave HTTP response to HTTPS client
解决方案:
1.在”/etc/docker/“目录下,创建”daemon.json“文件。在文件中写入:
{ "insecure-registries":["10.168.xx.xx:8101"] }
2.修改文件/usr/lib/systemd/system/docker.service,在ExecStart=/usr/bin/dockerd后面添加–insecure-registry 10.168.xx.xx:8100
ExecStart=/usr/bin/dockerd-current
          --add-runtime docker-runc=/usr/libexec/docker/docker-runc-current
          --default-runtime=docker-runc
          --exec-opt native.cgroupdriver=systemd
          --userland-proxy-path=/usr/libexec/docker/docker-proxy-current
          --init-path=/usr/libexec/docker/docker-init-current
          --seccomp-profile=/etc/docker/seccomp.json
          --insecure-registry 10.168.xx.xx:8101
重启docker,问题解决。
重新推送镜像
$ sudo docker push 10.168.xx.xx:8101/yrz/jdk-8u201:1.0
登录harbor就可以看到我们上传的镜像文件
 从harbor拉取镜像
$ sudo docker login 10.168.14.40:8101

$ sudo docker pull 10.168.14.40:8101/yrz/jdk-8u201:1.0
删除harbor镜像
1.删除harbor镜像时需先在Harbor UI图形界面中删除不需要的镜像。
2.停止Harbor服务,执行垃圾回收命令
$ sudo docker-compose stop

#通过带有–dry-run选项,可以查看到将要删除的镜像文件
$ docker run -it --name gc --rm --volumes-from registry docker.io/vmware/registry-photon:v2.6.2-v1.5.0 garbage-collect --dry-run /etc/registry/config.yml

#不带–dry-run选项,直接执行删除
$ docker run -it --name gc --rm --volumes-from registry docker.io/vmware/registry-photon:v2.6.2-v1.5.0 garbage-collect  /etc/registry/config.yml

$ sudo docker-compose start
docker.io/vmware/registry-photon:v2.6.2-v1.5.0为当前harbor版本镜像。
通过运行sudo docker images可以查看当前镜像
[wxt@localhost ~]$ sudo docker images
REPOSITORY                            TAG                 IMAGE ID            CREATED             SIZE
10.168.xx.xx:8101/yrz/centos          7                   1e1148e4cc2c        2 months ago        202 MB
docker.io/centos                      7                   1e1148e4cc2c        2 months ago        202 MB
docker.io/goharbor/registry-photon    v2.6.2-v1.6.0       1ec7d8d4f0fd        5 months ago        201 MB
docker.io/vmware/redis-photon         v1.5.0              7c03076402d9        9 months ago        207 MB
docker.io/vmware/registry-photon      v2.6.2-v1.5.0       3059f44f4b9a        9 months ago        198 MB
docker.io/vmware/nginx-photon         v1.5.0              e100456182fc        9 months ago        135 MB
docker.io/vmware/harbor-log           v1.5.0              62bb6b8350d9        9 months ago        200 MB
docker.io/vmware/harbor-jobservice    v1.5.0              aca9fd2e867f        9 months ago        194 MB
docker.io/vmware/harbor-ui            v1.5.0              1055166068d0        9 months ago        212 MB
docker.io/vmware/harbor-adminserver   v1.5.0              019bc4544829        9 months ago        183 MB
docker.io/vmware/harbor-db            v1.5.0              82354dcf564f        9 months ago        526 MB
上一篇:【Docker】3.创建自己的Jdk镜像
下一篇:【Docker】5.Docker构建微服务镜像及持续集成
最后
以上就是懵懂外套最近收集整理的关于【Docker】4.Docker私库Registry及Harbor搭建的全部内容,更多相关【Docker】4内容请搜索靠谱客的其他文章。


发表评论 取消回复