Linux 搭建私服Gitlab
文章目录
- Linux 搭建私服Gitlab
- Gitlab官网
- 一. 获取yum源
- 二. 配置repo文件
- 三. 安装
- 四. 配置访问地址
- 五. 启动
- 六.访问
- 七. 常用命令
Gitlab官网
一. 获取yum源
-
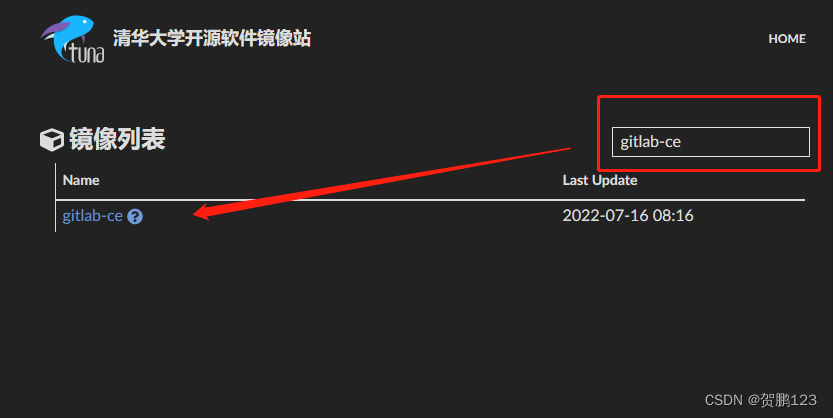
访问清华大学镜像站
????清华大学镜像
-
搜索gitlab-ce
-
找寻适合的版本
点击yum目录
![[外链图片转存失败,源站可能有防盗链机制,建议将图片保存下来直接上传(img-SD8zPXrE-1657948037642)(Linux 搭建私服Gitlab.assets/image-20220716124025687.png)]](https://www.shuijiaxian.com/files_image/2023110901/d9975df88ed748928d2b90990430e6ca.png)
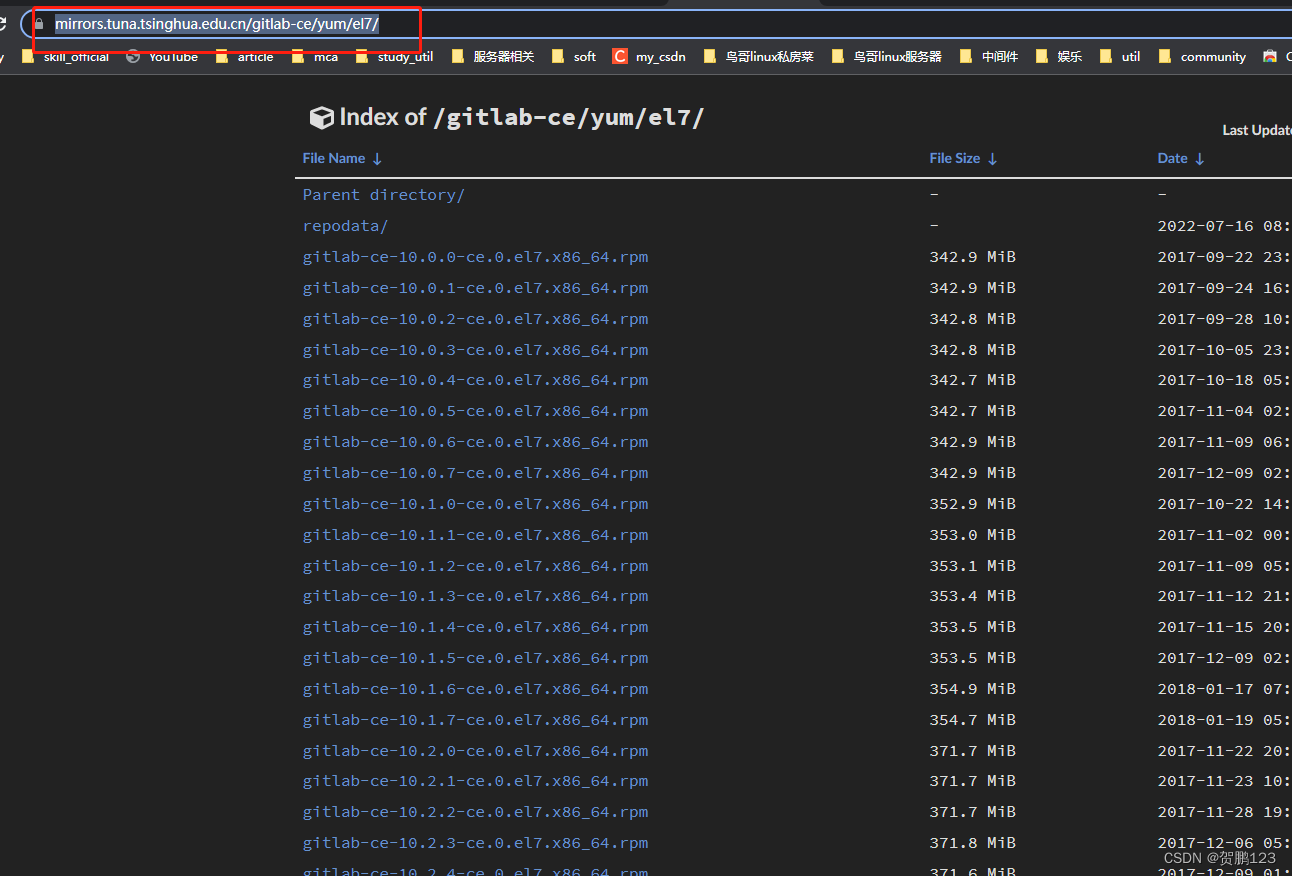
点击el7
![[外链图片转存失败,源站可能有防盗链机制,建议将图片保存下来直接上传(img-Cg6I6Nqn-1657948037643)(Linux 搭建私服Gitlab.assets/image-20220716124207957.png)]](https://www.shuijiaxian.com/files_image/2023110901/6967ec084176498d8b597793fcb1af28.png)
选择适合自己的版本下载
ps:也可直接把该网址写成yum源(本人采用这种)
二. 配置repo文件
[root@localhost ~]# cd /etc/yum.repos.d/
[root@localhost ~]# vim gitlab.repo
[gitlab]
# 名称
name=gitlab-ce
# 源地址
baseurl=https://mirrors.tuna.tsinghua.edu.cn/gitlab-ce/yum/el7
# 开启
enabled=1
# 内部软件安装gbgcheck关闭即可
gpgcheck=0
三. 安装
由于gitlab将近1个G,下载时间会很长
[root@localhost ~]# yum -y install gitlab-ce
四. 配置访问地址
ip:服务器ip
port:访问端口
[root@localhost ~]# vim /etc/gitlab/gitlab.rb
# extenal_url 'http://ip:port'
五. 启动
- 重新加载配置
- 重启gitlab
[root@localhost ~]# gitlab-ctl reconfigure
[root@localhost ~]# gitlab-ctl restart
六.访问
- ⭐️获取账号密码
登录账号默认为:root
密码通过文件查询获取
[root@localhost ~]# cat /etc/gitlab/initial_root_password
.......

Password: 32ADmL2uChmwsBYIBFfPSwA2uyALCbmok3RSofidUUo=
-
⭐️访问
访问地址 -> http://ip:port
![[外链图片转存失败,源站可能有防盗链机制,建议将图片保存下来直接上传(img-z3qwAz9s-1657948037644)(Linux 搭建私服Gitlab.assets/image-20220716125838345.png)]](https://www.shuijiaxian.com/files_image/2023110901/2ecd0e71070c4f0b900c28d3b7ef32b4.png)
七. 常用命令
停止运行
# gitlab-ctl stop

启动
# gitlab-ctl start

重启
# gitlab-ctl restart

重新加载配置
# gitlab-ctl reconfigure

查看状态
# gitlab-ctl status
最后
以上就是清秀小蝴蝶最近收集整理的关于Linux 快速搭建私服GitlabLinux 搭建私服Gitlab的全部内容,更多相关Linux内容请搜索靠谱客的其他文章。
本图文内容来源于网友提供,作为学习参考使用,或来自网络收集整理,版权属于原作者所有。


发表评论 取消回复