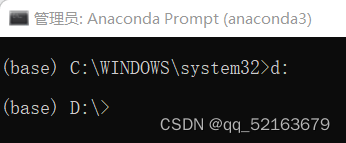
安装好anaconda后,用管理员权限打开anaconda prompt
我的anaconda是安装在d盘,所以打开后要转到d盘
d:
转清华源,分别输入以下3行代码
conda config --add channels https://mirrors.tuna.tsinghua.edu.cn/anaconda/pkgs/free/
conda config --add channels https://mirrors.tuna.tsinghua.edu.cn/anaconda/pkgs/main/
conda config --set show_channel_urls yes
检查现有的虚拟环境,如果先前没有创建过则只有base

创建虚拟环境myopencv(名字可自定义)
conda create -n myopencv python=3.9
回答 y
虚拟环境创建完成
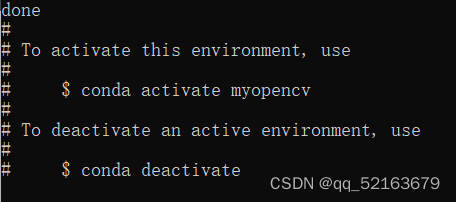
进入和退出虚拟环境
conda activate myopencv
conda deactivate
检查是否创建好
conda env list
进入创建的环境后![]()
安装opencv-python和opencv-contrib-python包
pip install opencv-python -i https://pypi.tuna.tsinghua.edu.cn/simple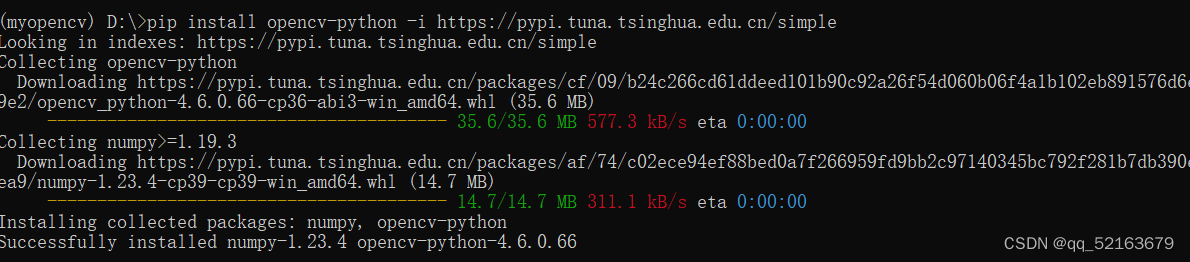
D:>pip install opencv-contrib-python -i https://pypi.tuna.tsinghua.edu.cn/simple
继续安装nb_conda(用来切换jupyter notebook中的kernel),matplotlib
conda install -c conda-forge nb_conda回答 y 
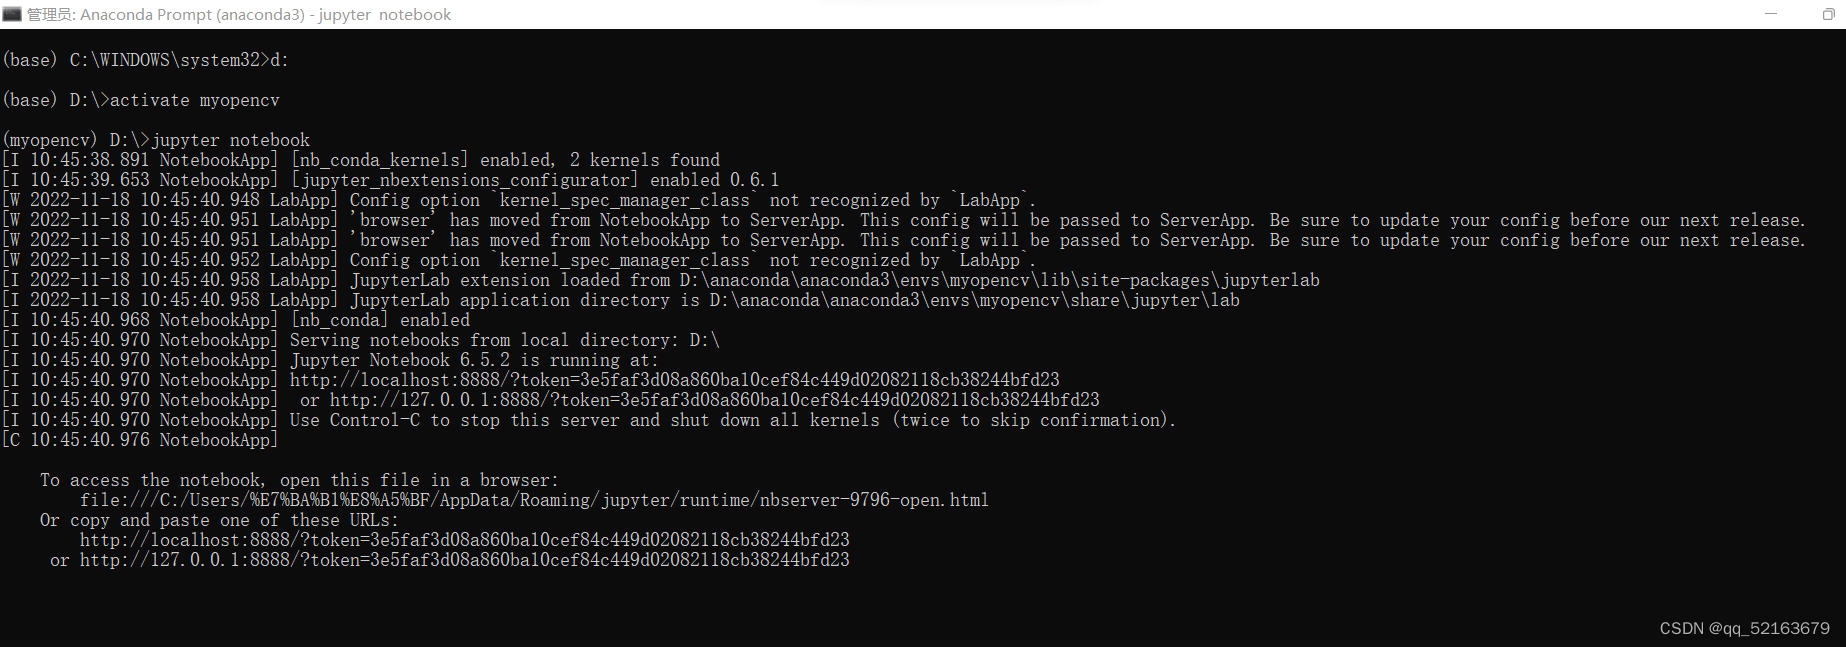
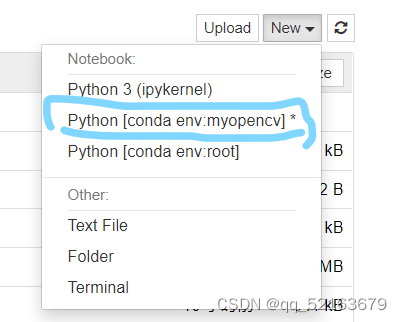
pip install matplotlib -i https://pypi.tuna.tsinghua.edu.cn/simple最后输入jupyter notebook打开后选择myopencv核即可运行

最后
以上就是激动滑板最近收集整理的关于为anaconda中的jupyter notebook配置opencv环境的全部内容,更多相关为anaconda中的jupyter内容请搜索靠谱客的其他文章。
本图文内容来源于网友提供,作为学习参考使用,或来自网络收集整理,版权属于原作者所有。


发表评论 取消回复