我是靠谱客的博主 自然大神,这篇文章主要介绍pytorch搭建卷积神经网络【第七课_tensor_图像操作_1】一、tensor打印配置二、读取图像三、 permute矩阵的块行列进行交换四、预先分配张量 然后读取图像填充张量五、显示数据及图像六、正则化数据 方法一七、正则化数据 方法二总结,现在分享给大家,希望可以做个参考。
文章目录
- 前言
- 一、tensor打印配置
- 二、读取图像
- 三、 permute矩阵的块行列进行交换
- 四、预先分配张量 然后读取图像填充张量
- 五、显示数据及图像
- 六、正则化数据 方法一
- 七、正则化数据 方法二
- 总结
前言
案例代码https://github.com/2012Netsky/pytorch_cnn/blob/main/1_image_dog.ipynb
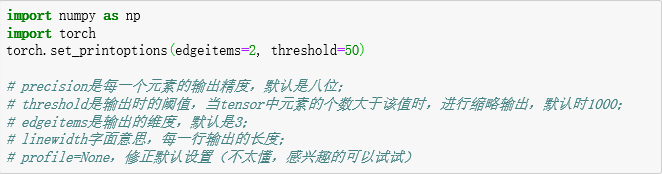
一、tensor打印配置
#!/usr/bin/env python
# coding: utf-8
import numpy as np
import torch
torch.set_printoptions(edgeitems=2, threshold=50)
# precision是每一个元素的输出精度,默认是八位;
# threshold是输出时的阈值,当tensor中元素的个数大于该值时,进行缩略输出,默认时1000;
# edgeitems是输出的维度,默认是3;
# linewidth字面意思,每一行输出的长度;
# profile=None,修正默认设置(不太懂,感兴趣的可以试试)
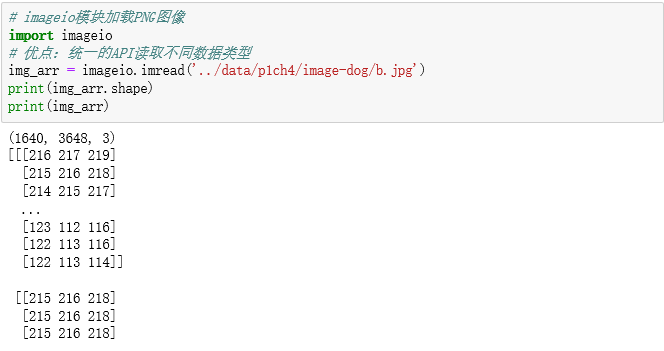
二、读取图像
# imageio模块加载PNG图像
import imageio
# 优点:统一的API读取不同数据类型
img_arr = imageio.imread('../data/p1ch4/image-dog/b.jpg')
print(img_arr.shape)
print(img_arr)
三、 permute矩阵的块行列进行交换
# permute()函数其实是对矩阵的块行列进行交换
img = torch.from_numpy(img_arr)
out = img.permute(2, 0, 1)

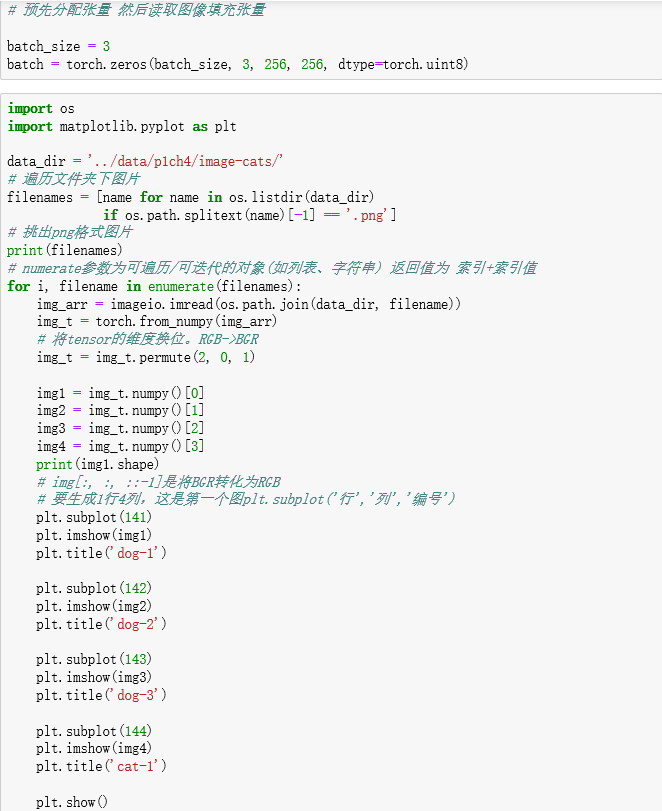
四、预先分配张量 然后读取图像填充张量
五、显示数据及图像
# 预先分配张量 然后读取图像填充张量
batch_size = 3
batch = torch.zeros(batch_size, 3, 256, 256, dtype=torch.uint8)
import os
import matplotlib.pyplot as plt
data_dir = '../data/p1ch4/image-cats/'
# 遍历文件夹下图片
filenames = [name for name in os.listdir(data_dir)
if os.path.splitext(name)[-1] == '.png']
# 挑出png格式图片
print(filenames)
# numerate参数为可遍历/可迭代的对象(如列表、字符串) 返回值为 索引+索引值
for i, filename in enumerate(filenames):
img_arr = imageio.imread(os.path.join(data_dir, filename))
img_t = torch.from_numpy(img_arr)
# 将tensor的维度换位。RGB->BGR
img_t = img_t.permute(2, 0, 1)
img1 = img_t.numpy()[0]
img2 = img_t.numpy()[1]
img3 = img_t.numpy()[2]
img4 = img_t.numpy()[3]
print(img1.shape)
# img[:, :, ::-1]是将BGR转化为RGB
# 要生成1行4列,这是第一个图plt.subplot('行','列','编号')
plt.subplot(141)
plt.imshow(img1)
plt.title('dog-1')
plt.subplot(142)
plt.imshow(img2)
plt.title('dog-2')
plt.subplot(143)
plt.imshow(img3)
plt.title('dog-3')
plt.subplot(144)
plt.imshow(img4)
plt.title('cat-1')
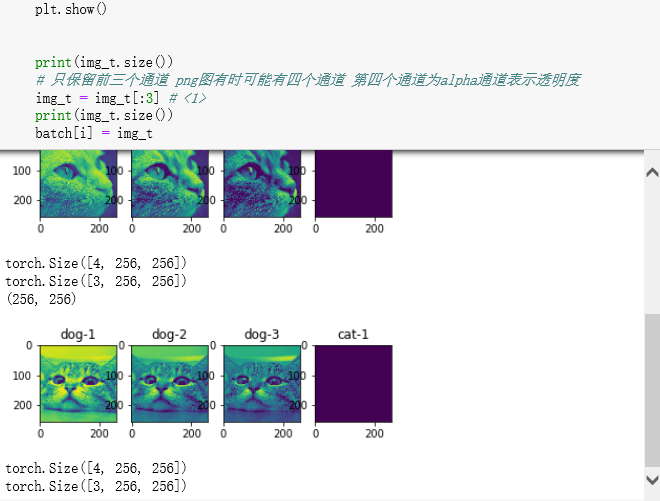
plt.show()
print(img_t.size())
# 只保留前三个通道 png图有时可能有四个通道 第四个通道为alpha通道表示透明度
img_t = img_t[:3] # <1>
print(img_t.size())
batch[i] = img_t
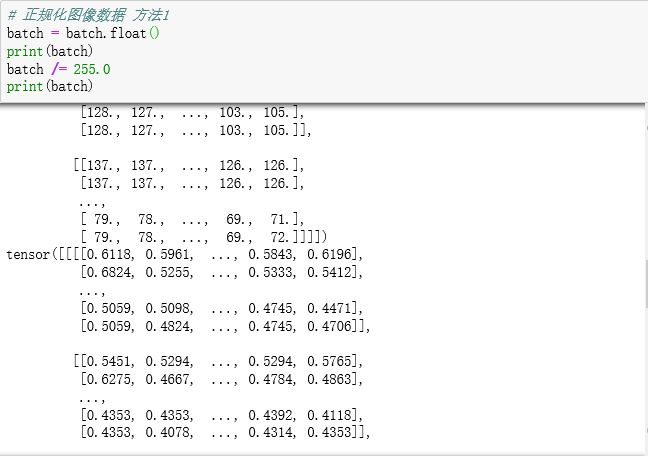
六、正则化数据 方法一
# 正规化图像数据 方法1
batch = batch.float()
print(batch)
batch /= 255.0
print(batch)
七、正则化数据 方法二
# 正规化图像数据 方法2
# 设置三个通道均值为0 std为1
n_channels = batch.shape[1]
for c in range(n_channels):
    # 分别取三个通道图 返回值是不同图片相同通道图
    mean = torch.mean(batch[:, c])
    print(batch.shape)
    print(batch[:, c].shape)
    print(mean.shape)
    print(mean)

    std = torch.std(batch[:, c])
    print(std.shape)
    print(std)

    batch[:, c] = (batch[:, c] - mean) / std
    print( batch[:, c])

总结
最后
以上就是自然大神最近收集整理的关于pytorch搭建卷积神经网络【第七课_tensor_图像操作_1】一、tensor打印配置二、读取图像三、 permute矩阵的块行列进行交换四、预先分配张量 然后读取图像填充张量五、显示数据及图像六、正则化数据 方法一七、正则化数据 方法二总结的全部内容,更多相关pytorch搭建卷积神经网络【第七课_tensor_图像操作_1】一、tensor打印配置二、读取图像三、内容请搜索靠谱客的其他文章。
本图文内容来源于网友提供,作为学习参考使用,或来自网络收集整理,版权属于原作者所有。


发表评论 取消回复